Mastering the Pick and Roll: High Screen Execution & Reads
A foundational breakdown for coaches to teach the mechanics, reads, and spacing required for a devastating high pick and roll attack.
Equipment Needed
1. Overview
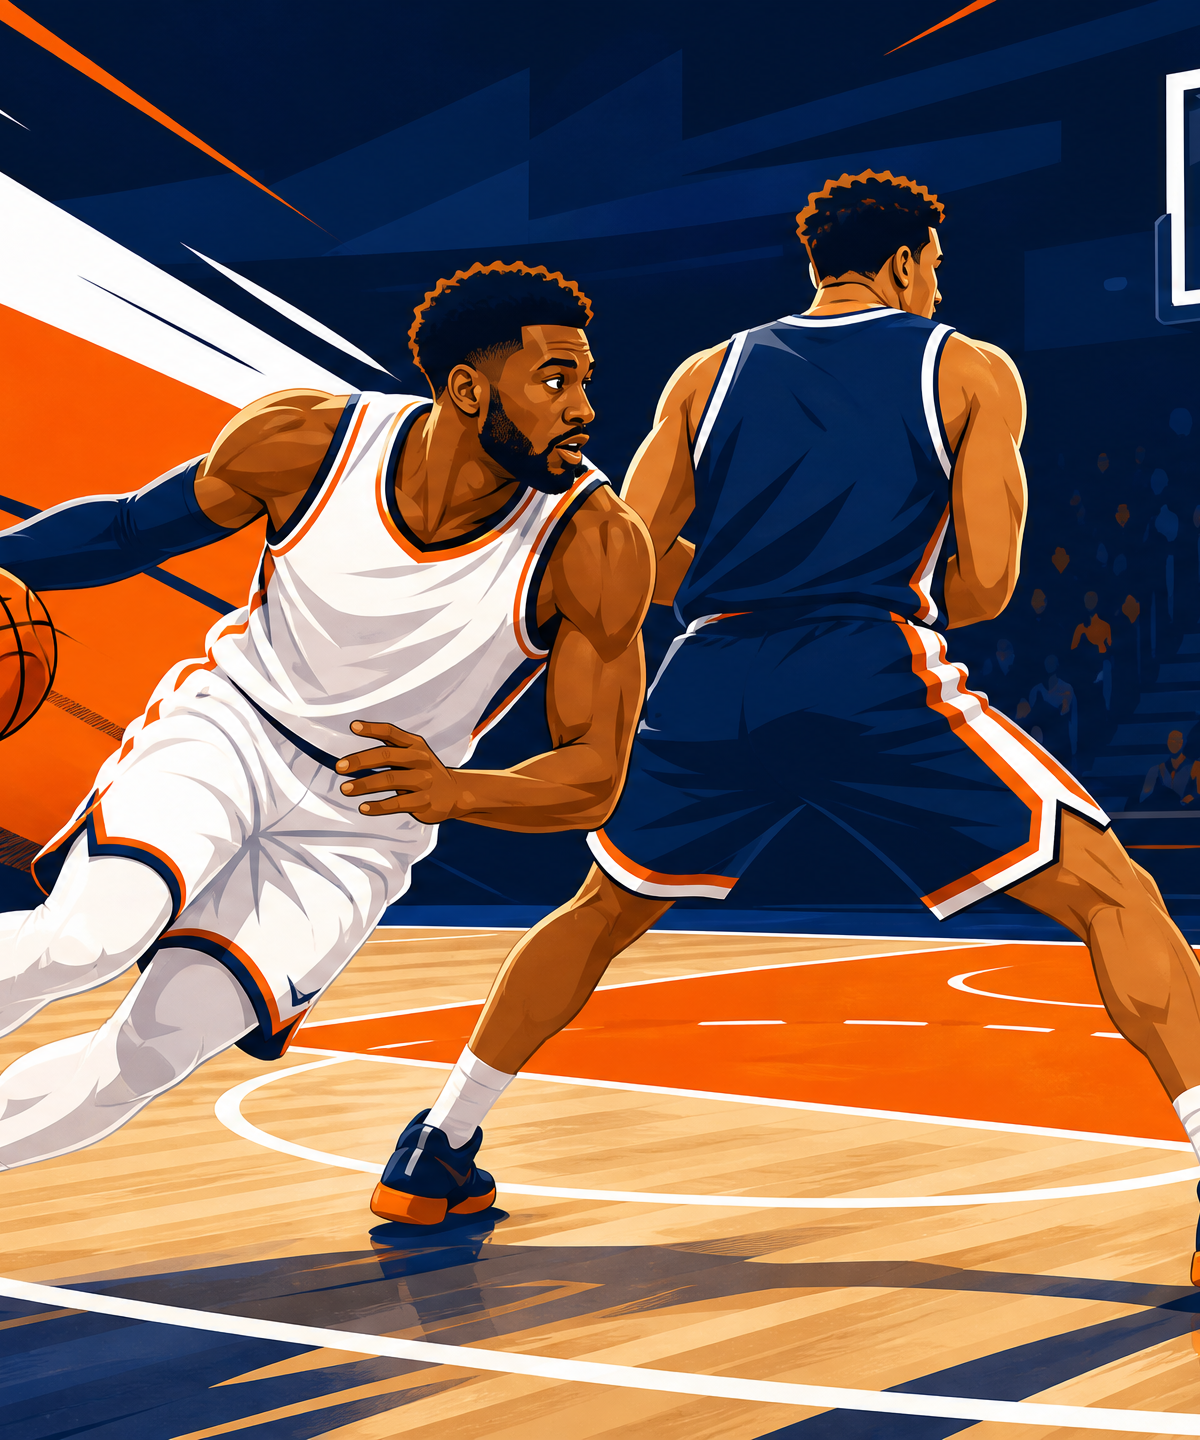
The pick and roll (PNR) is the most ubiquitous action in modern basketball, utilized at every level from youth leagues to the professional ranks. This drill resource focuses specifically on the High Pick and Roll, designed to create a two-on-one advantage at the point of attack while forcing defensive rotations.
For coaches, the goal of this drill is not just running the play, but teaching players how to read the defense. We emphasize the angle of the screen, the ball handler's patience, the screener's roll to the rim, and the crucial spacing of the off-ball players. When executed correctly, this action consistently generates high-percentage shots at the rim or open perimeter looks.
2. Setup
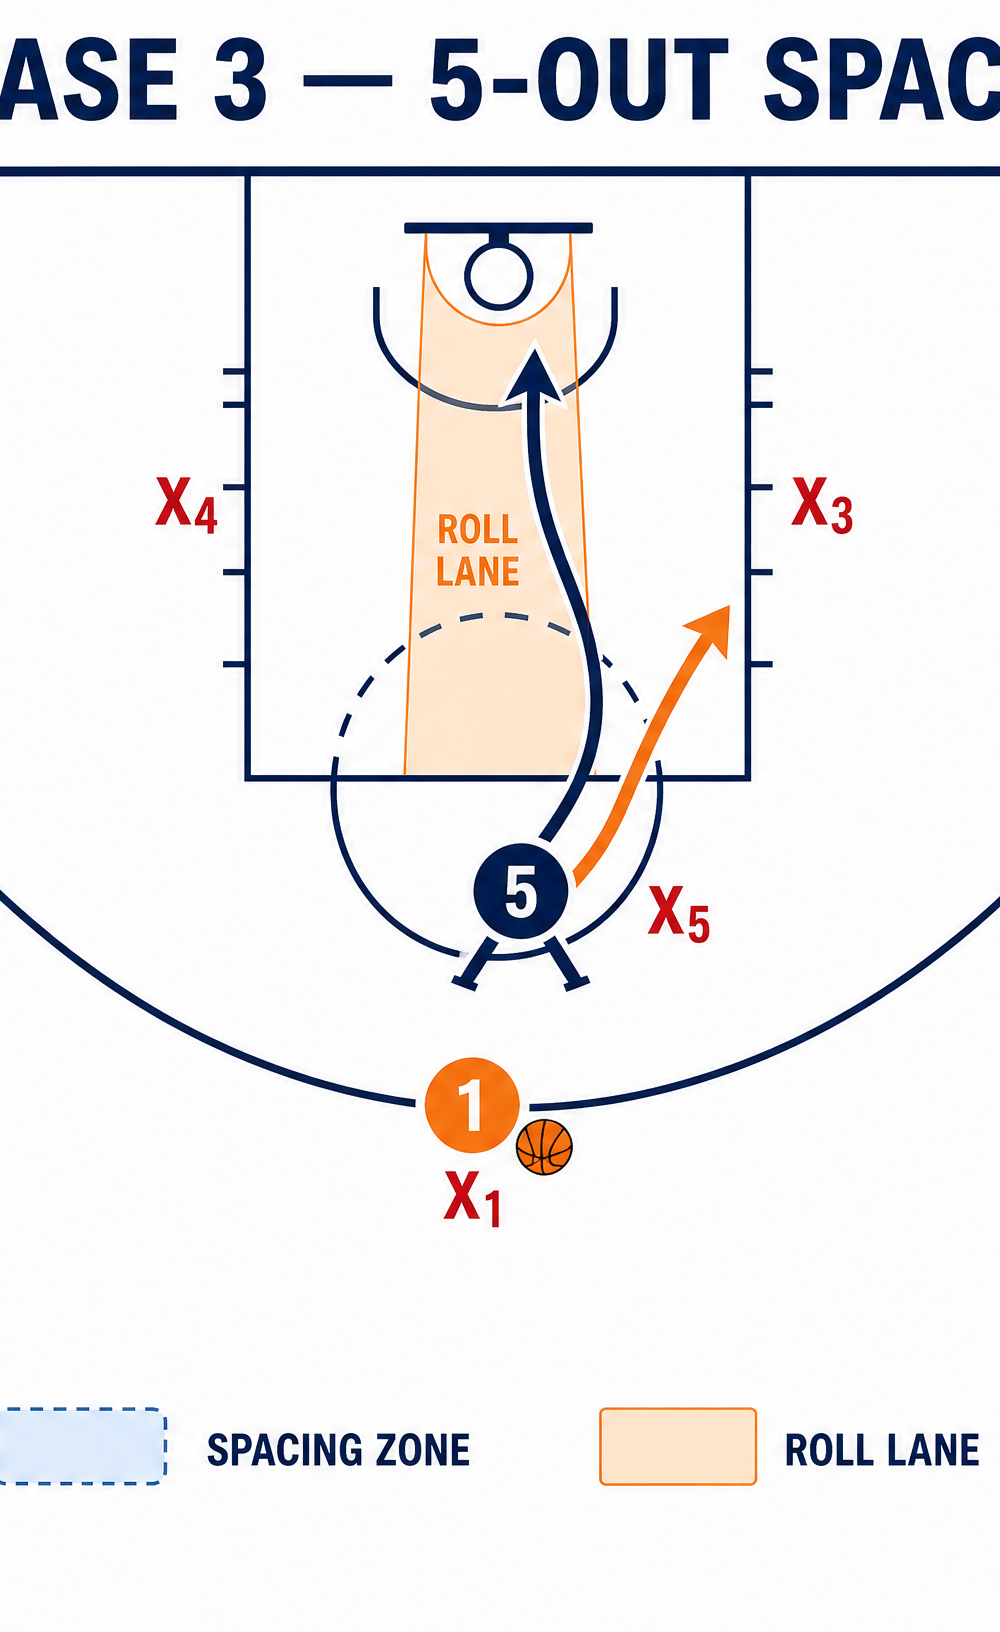
To effectively run this drill, you will need a half-court setup based on standard FIBA dimensions (28m x 15m).
- Equipment: 2-3 Basketballs, optional cones to mark spacing zones.
- Players Required: Minimum 5 players (3 offensive, 2 defensive) for the base drill, up to 10 for full 5-on-5 variations.
- Positions:
- Player 1 (Point Guard/Ball Handler): Starts at the top of the key with the ball.
- Player 5 (Center/Screener): Starts near the elbow or high post area.
- Player 2 (Wing): Positioned wide on the wing, outside the three-point arc.
- Defenders (X1, X5): Matched up against Player 1 and Player 5.
3. Step-by-Step Instructions
Phase 1: The Screen Set
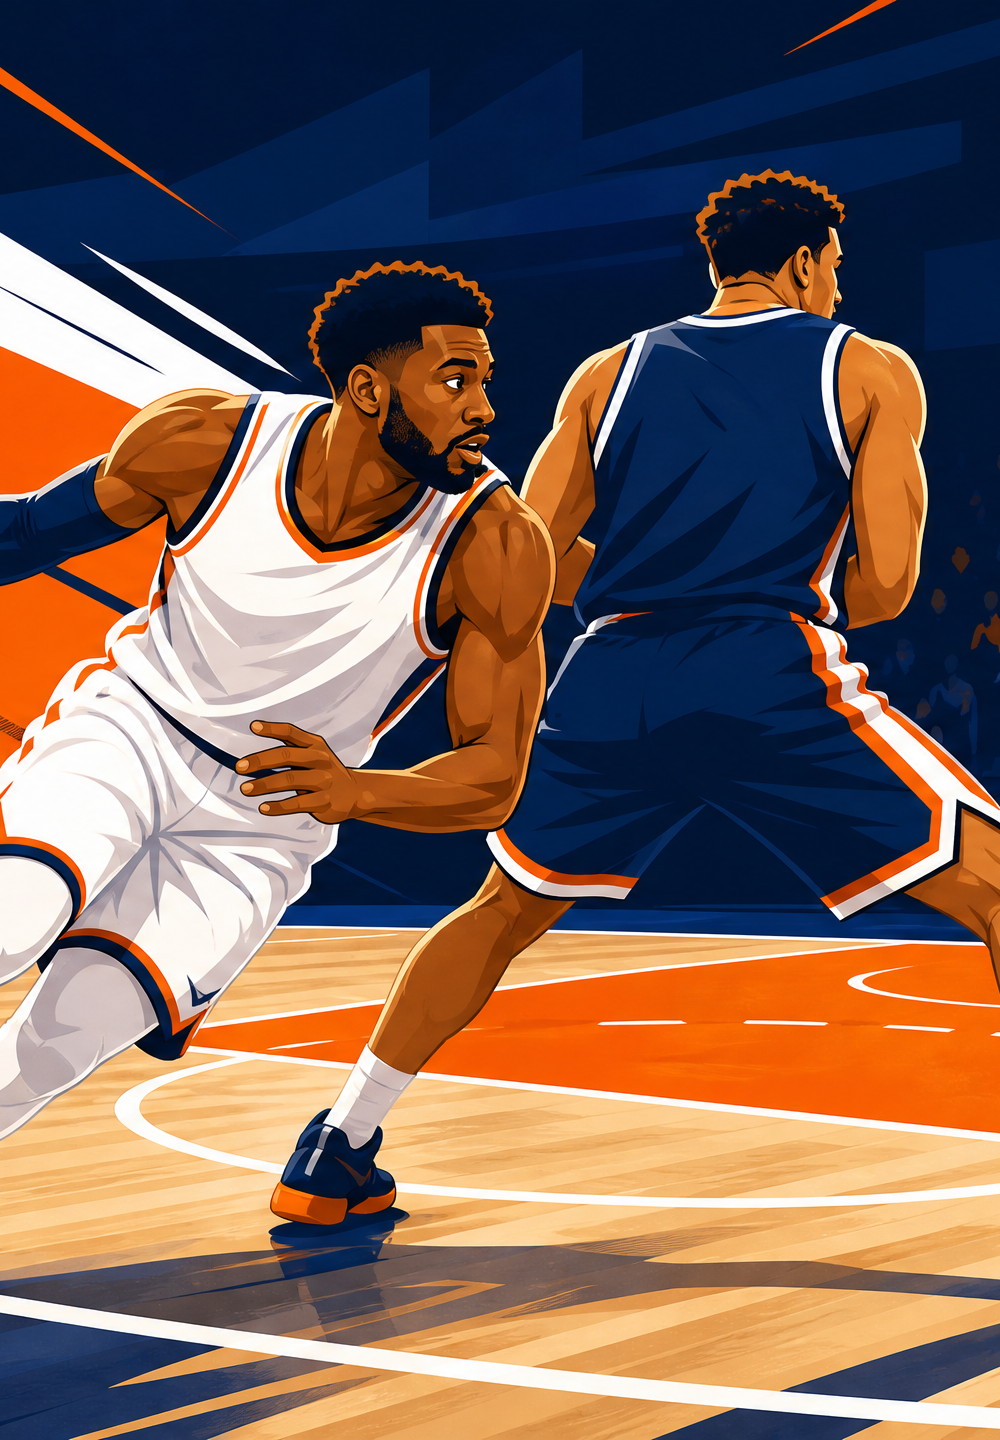
- Initiation: Player 1 brings the ball to the top of the key. Player 5 sprints from the elbow or block to set a flat or slightly angled screen on Defender X1.
- The Setup Dribble: Player 1 must use a setup dribble (a jab step or crossover) to engage X1 and force them into the screen.
- The Screen: Player 5 must arrive with a wide, legal stance, establishing position just outside X1's shoulder. The angle of the screen should point Player 1 toward the basket or the intended attack zone.
- Shoulder-to-Hip: As Player 1 drives off the screen, they must come off tightly, rubbing their shoulder against Player 5's hip to ensure X1 cannot slip through the gap.
Phase 2: The Roll and Read
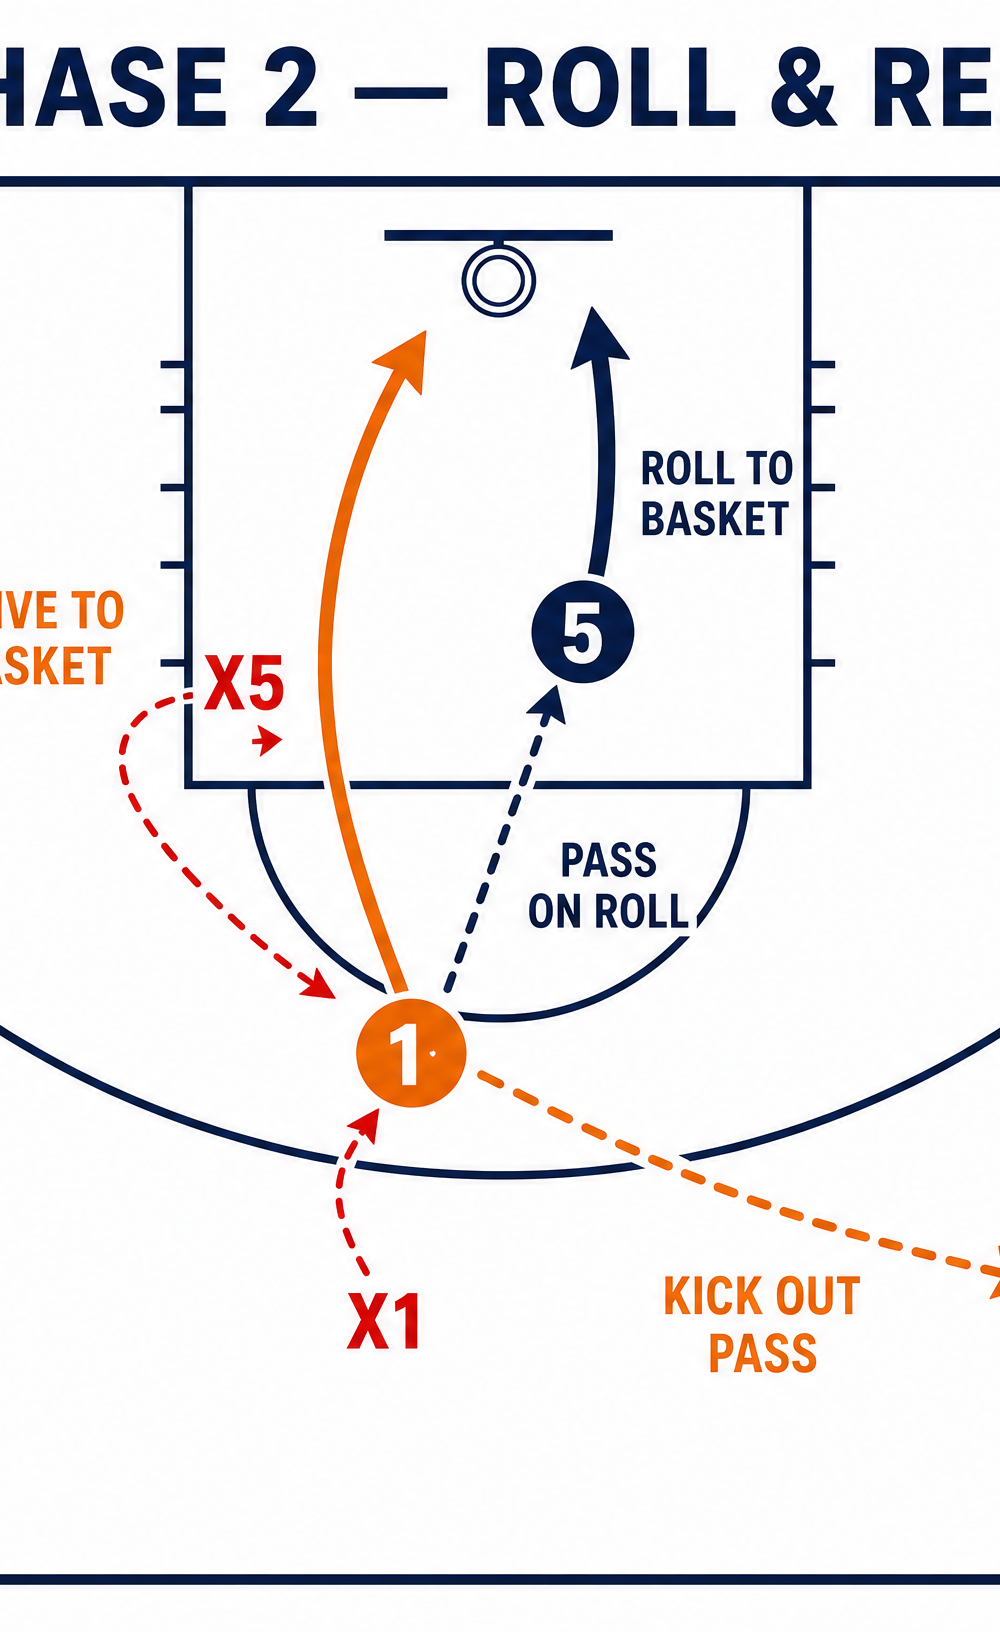
- The Attack: Player 1 comes off the screen aggressively, reading the coverage of X5 (the screener's defender).
- The Roll: Immediately after Player 1 passes, Player 5 pivots and rolls hard to the basket. The roll must be a sprint, opening the chest to the ball handler to present a clear passing target.
- The Primary Read (Drop Coverage): If X5 drops back to protect the rim, Player 1 can pull up for a mid-range jumper or attack the retreating big man. If X5 steps up (hedges or switches), Player 1 must look to hit Player 5 on the roll.
- The Secondary Read: If a third defender (e.g., X2) rotates from the weak side to bump the roller, Player 1 must locate the open shooter (Player 2) for a kick-out pass.
Phase 3: 5-Out Spacing Variation
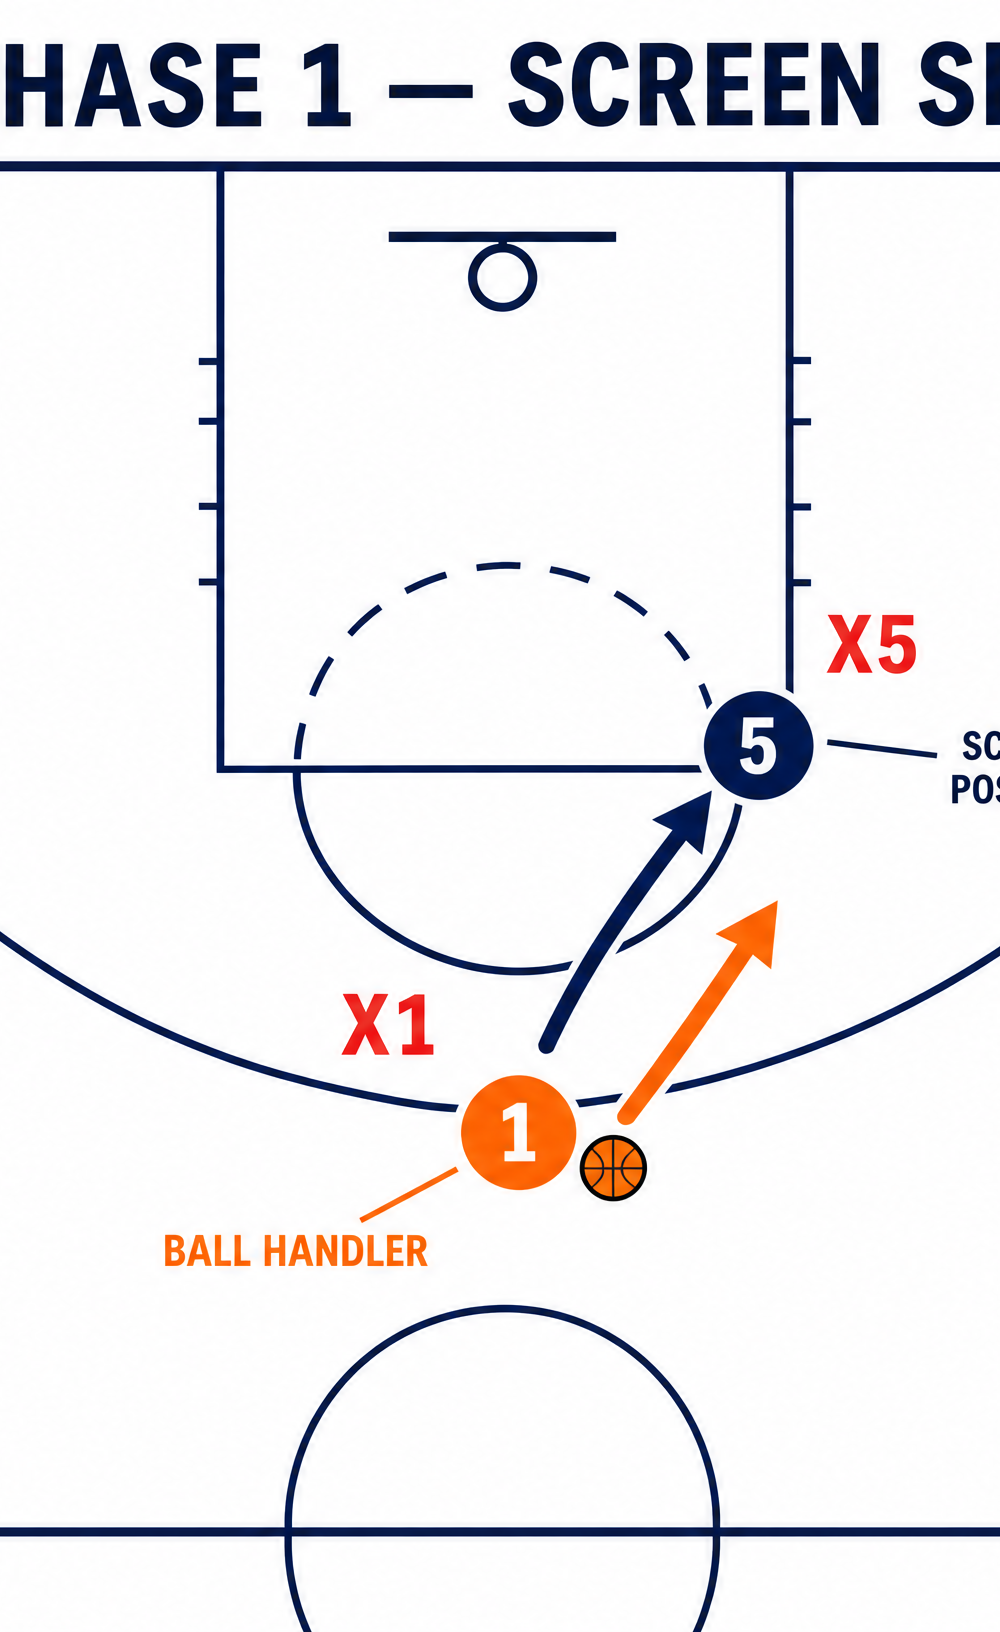
- Spacing the Floor: In a 5-out or 4-out 1-in alignment, the remaining offensive players (Players 2, 3, and 4) must maintain strict spacing outside the three-point arc.
- The Roll Lane: Player 5's roll must be down the center of the paint (the 'Roll Lane'), forcing the defense to collapse.
- The Shake or Lift: As Player 1 drives, the weak-side wing or corner player should 'shake' (move slightly up the perimeter) to create a better passing angle and punish the defensive rotation.
4. Key Coaching Points
- Patience is Paramount: The ball handler must wait for the screen to be fully set. Leaving early results in an offensive foul or a blown play.
- Screen Angle: The screener must adjust their angle based on how the defender is playing. A flat screen is often best at the top of the key to prevent the defender from going under.
- Pace of the Roll: The screener must roll hard and fast. A slow roll allows the defense to recover. The roller must be a threat to score immediately.
- Eye Discipline: The ball handler must keep their eyes up, scanning the floor to read the tagger (the weak-side defender rotating to help) while navigating the primary defense.
5. Common Mistakes
- Rejecting the Screen Incorrectly: Ball handlers often try to reject the screen without setting up the defender, leading to turnovers. Only reject if the defender overplays the screen side.
- Slipping the Screen Too Early: Screeners who slip before making contact fail to create the necessary separation for the ball handler.
- Poor Spacing: Off-ball players drifting inside the three-point line clog the driving lanes and allow their defenders to help on the roll without consequence.
6. Variations & Progressions
- Progression 1: Add a Tagger. Introduce a third defender on the weak side to force the ball handler to read the rotation and make the skip pass.
- Progression 2: Blitz/Trap Coverage. Instruct the defense to aggressively trap the ball handler, forcing the screener to short-roll and make plays in a 4-on-3 advantage situation.
- Variation: Empty Corner Pick and Roll. Clear out the strong-side corner to isolate the two-man game and remove the immediate help defender.
7. Age Adaptations
- Under 10 / Under 12: Focus purely on the mechanics of setting a legal screen and the ball handler waiting for it. Do not introduce complex defensive reads. Emphasize the 'shoulder-to-hip' concept.
- Under 14: Introduce the basic roll and the concept of reading the big defender (X5). Teach the difference between a drop and a hedge.
- Under 16 / Open: Implement full defensive coverages (Drop, Hedge, Switch, Blitz) and require the offense to read the weak-side tagger and make advanced skip passes.

