Penalty Corner Attack: The Triple-Threat Red Zone Strike
Master this highly effective penalty play that forces the defence to commit, creating overlaps out wide or soft shoulders for your tight five to exploit near the try line.
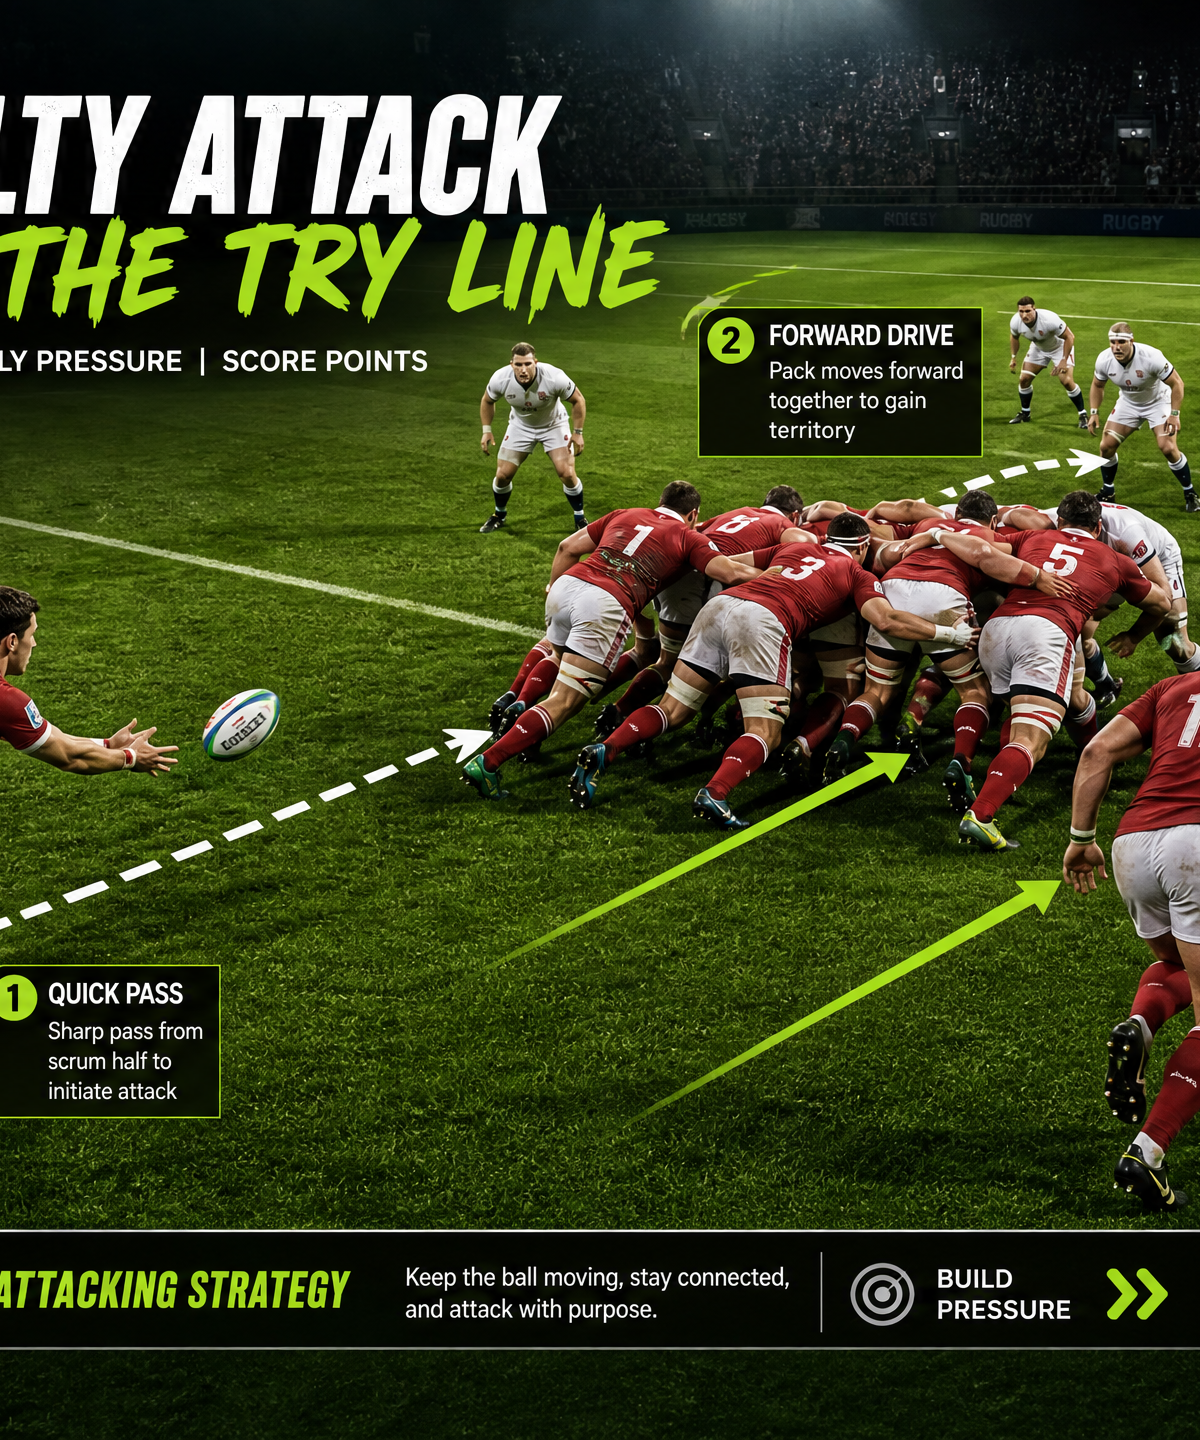
Equipment Needed
1. Overview
The "Triple-Threat Red Zone Strike" is a highly effective penalty play designed to be executed when awarded a penalty within 15 metres of the opposition's try line, particularly between the 5-metre and 15-metre channels. This set play forces the defensive line to make immediate, high-pressure decisions. By presenting a genuine forward driving threat first, it compresses the defence, creating space for either a hard-running midfield strike or a wide overlap. It is an essential weapon for turning red-zone pressure into guaranteed points.
2. Setup
Pitch Location: Between the 5m and 15m lines, inside the opposition 22m (ideally 5-10m from the try line).
Player Positioning:
- 9 (Scrum Half): Positioned at the penalty mark, ready for a quick tap or rapid pass.
- 1, 2, 3 (Front Row): Form a tight, cohesive pod exactly 3 metres ahead and slightly infield of the mark.
- 8 (Number Eight): Positioned directly behind the front row pod, acting as the primary ball carrier or driver.
- 4, 5 (Locks): Flanking the front row pod, ready to latch and drive.
- 6, 7 (Flankers): Positioned as secondary support runners on either side of the pod.
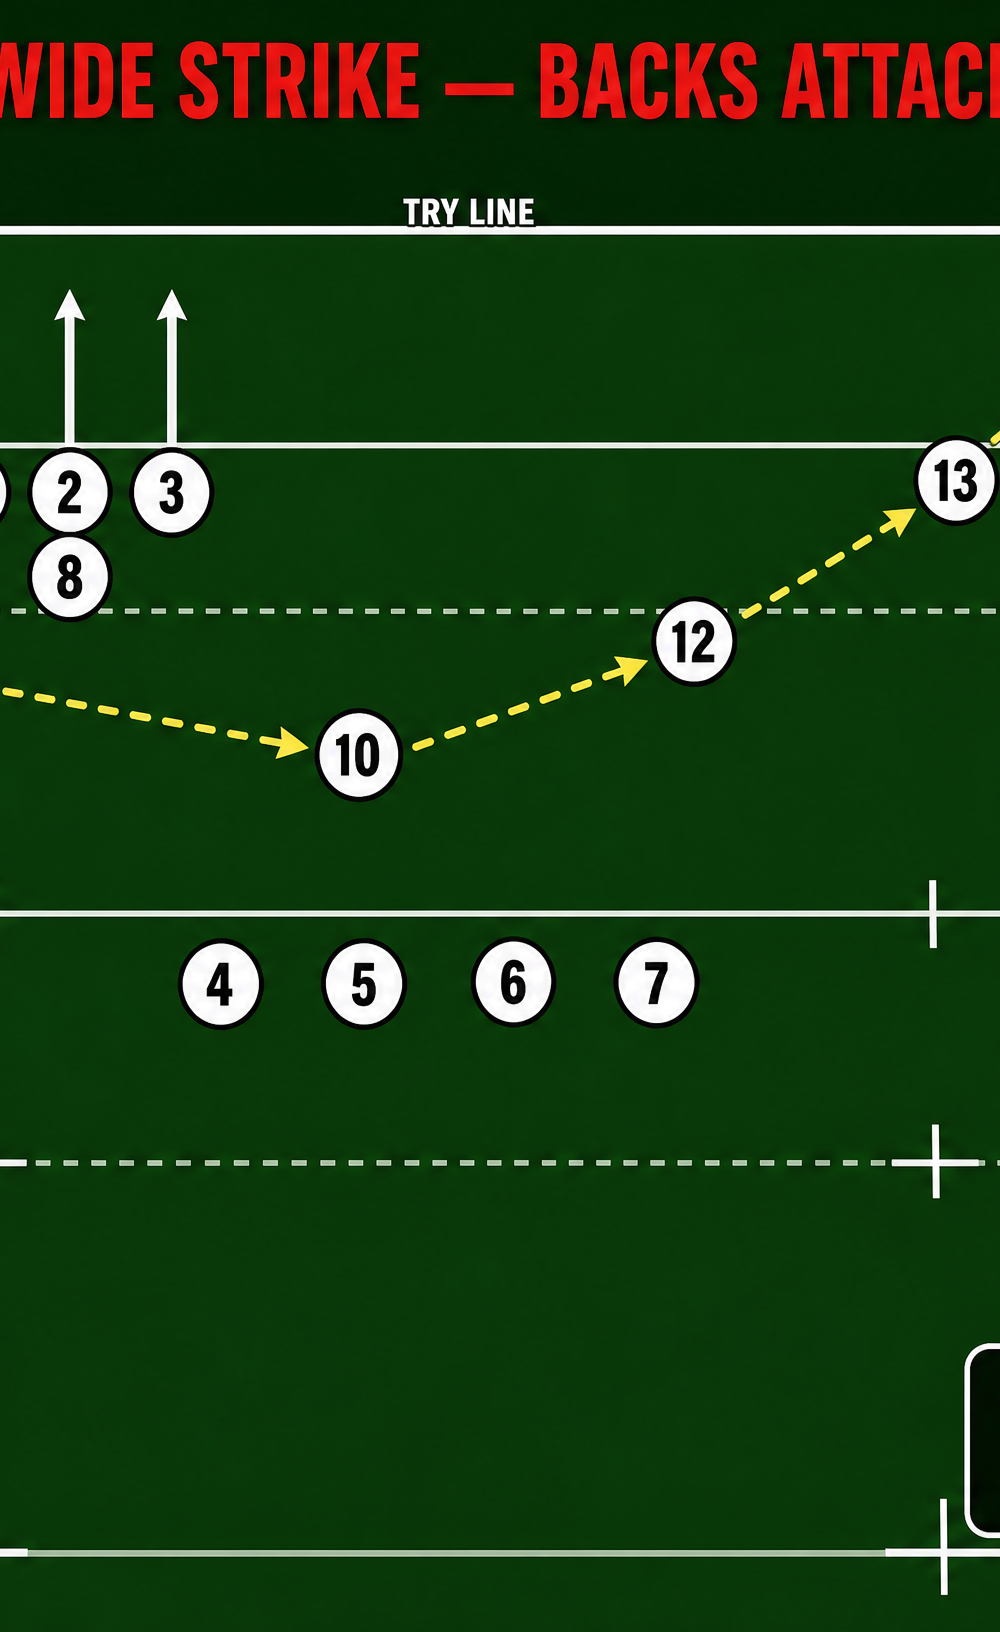
- 10 (Fly Half): Positioned 8-10 metres infield and flat, ready to receive if the ball goes wide.
- 12, 13 (Centres): Stacked slightly deeper off the 10, running hard decoy or strike lines.
- 11, 14, 15 (Back Three): Spread wide, maintaining width to stretch the defensive line.
3. Step-by-Step Instructions
Phase 1: The Forward Drive Setup
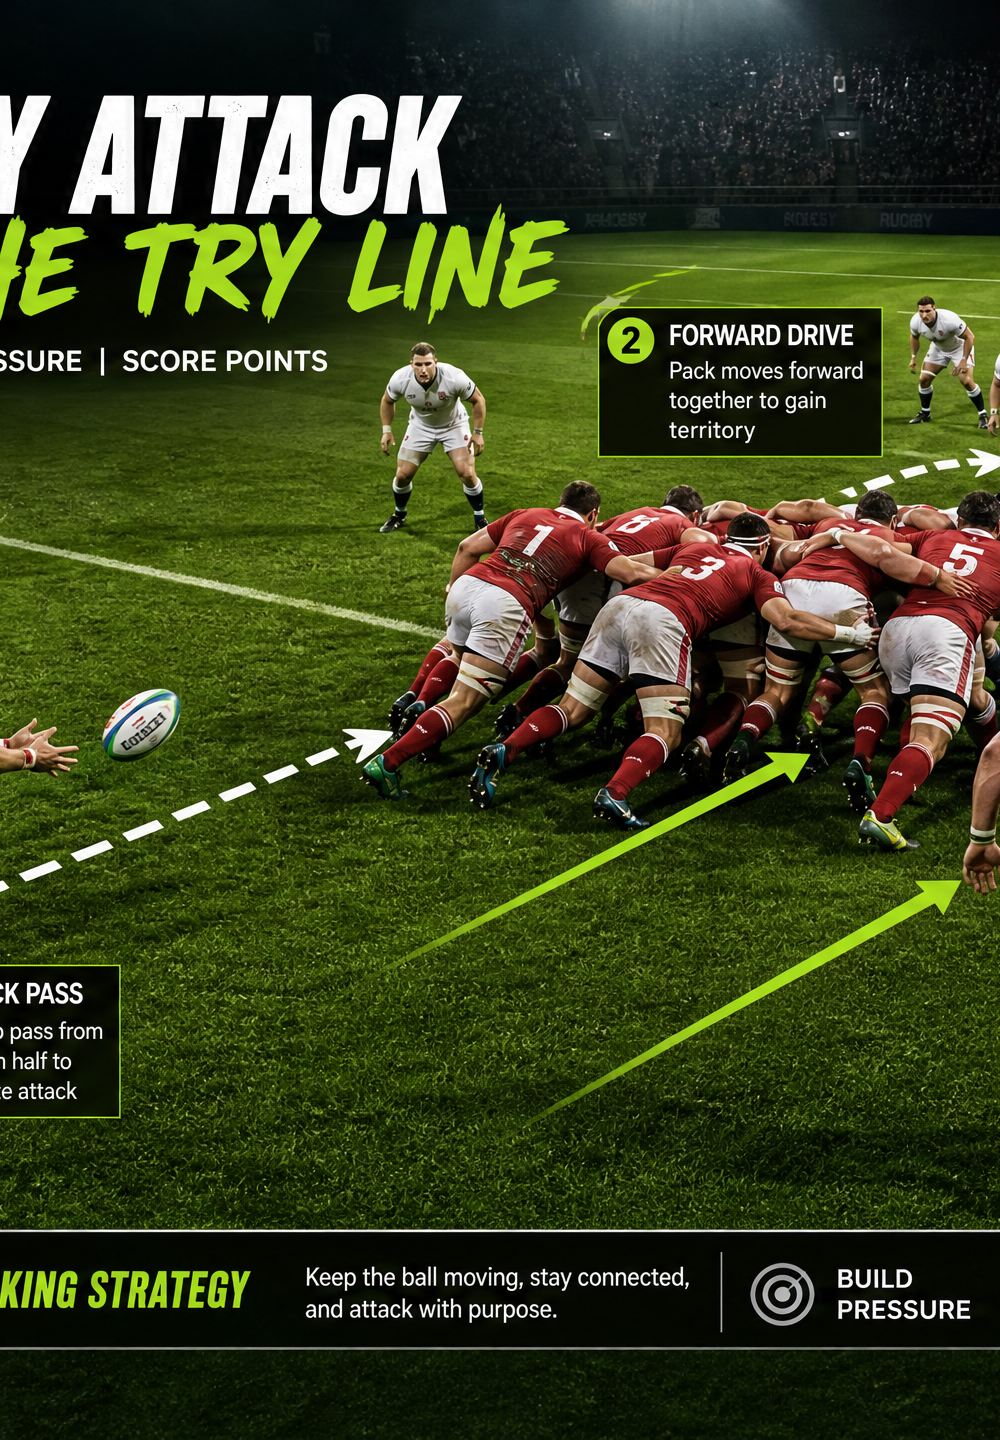
- The Tap and Go: The Scrum Half (9) taps the ball on the mark. The initial movement must be explosive to immediately engage the defensive line.
- The Decoy/Primary Drive: The front row pod (1, 2, 3) with the Number 8 accelerates aggressively straight ahead. The 9 can either pop the ball to the 8 for a direct crash ball, or use them as a highly credible decoy.
- Engaging the Guards: The forward pod's run must force the opposition's A and B defenders (guards) to commit fully to the tackle area.
Phase 2: The Wide Strike Option
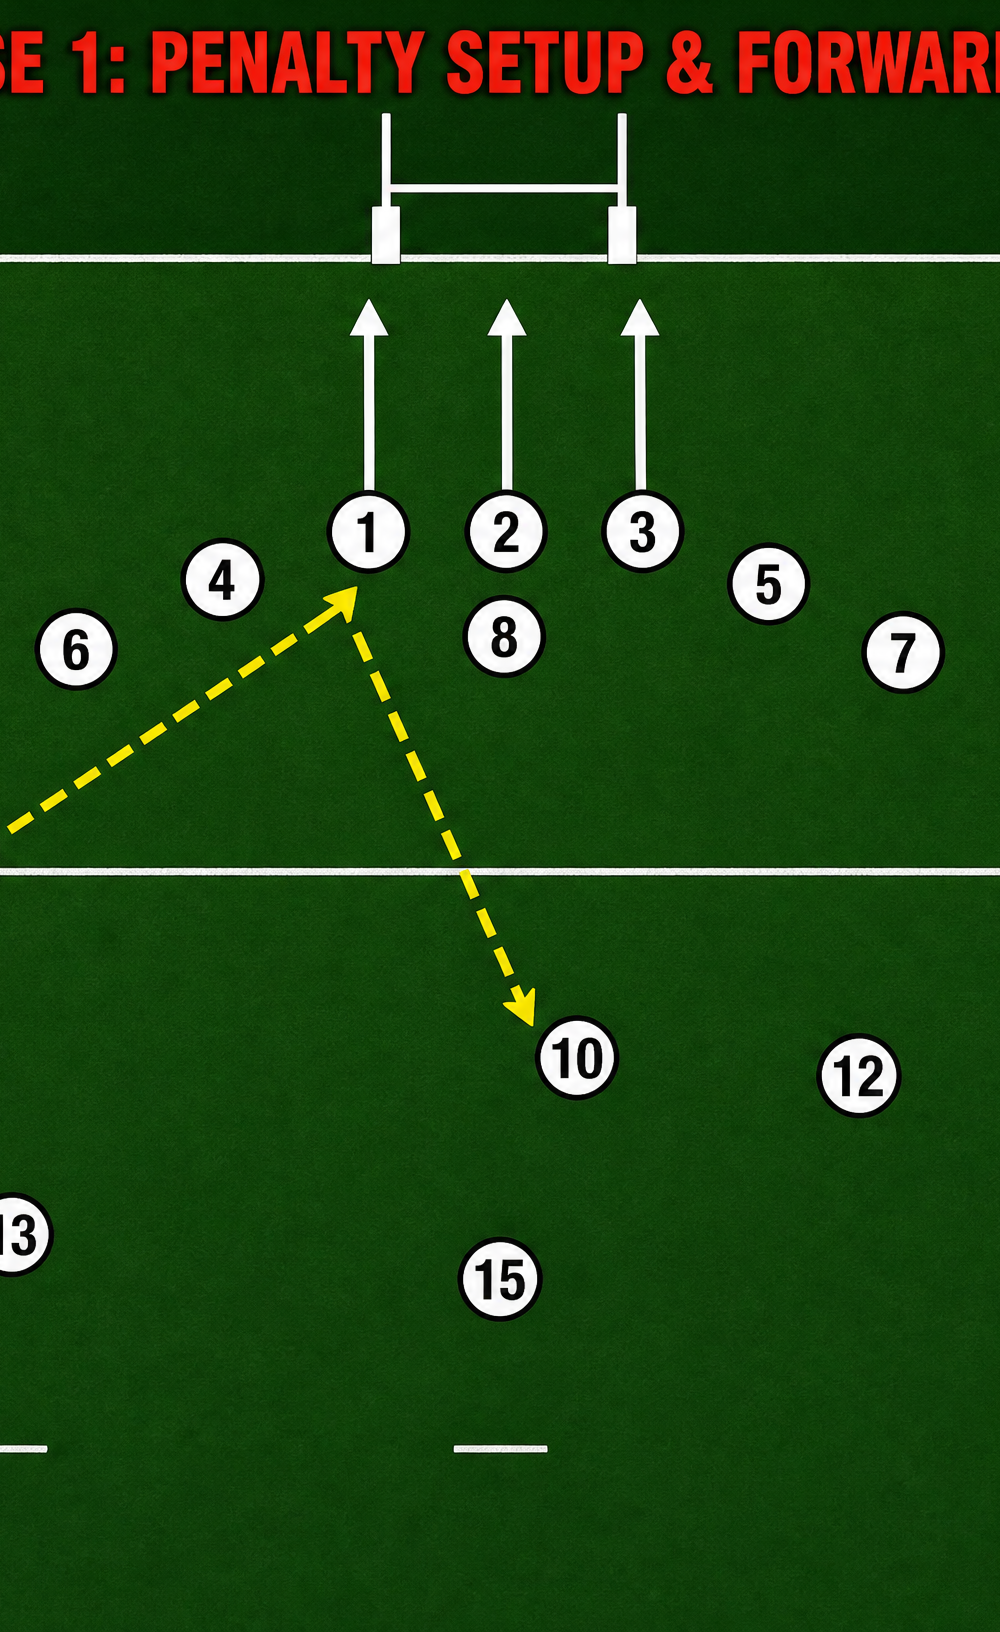
- The Pull-Back Pass: If the 9 sees the defence narrow to stop the forward pod, they execute a rapid, flat pass behind the pod to the Fly Half (10).
- Fixing the Defence: The 10 takes the ball flat to the line, engaging the opposition's 10 or 12.
- The Hard Line: The Inside Centre (12) runs a hard, direct "crash" line off the 10's shoulder, holding the inside defence.
- The Wide Release: The 10 bypasses the 12 with a pass to the Outside Centre (13) or Wing (14), who are running into the space created out wide. The Fullback (15) loops around to create an extra man overlap.
Phase 3: The Pick-and-Go Maul (Alternative)
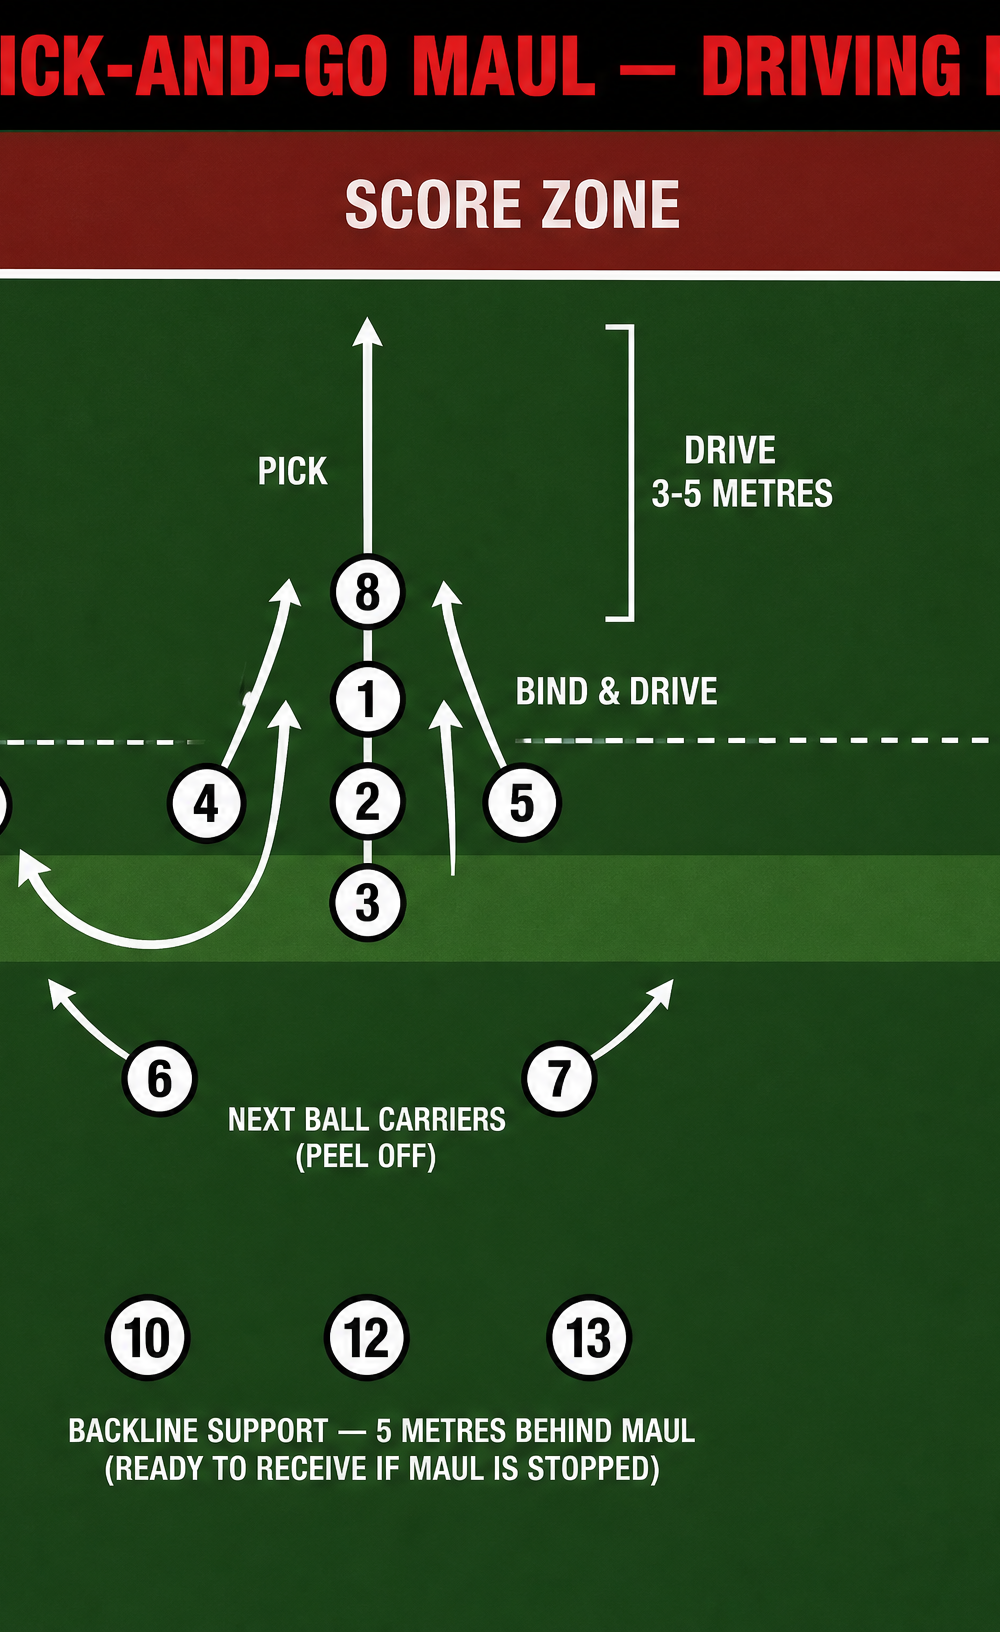
- The Direct Route: If the defence spreads too early anticipating the wide pass, the 9 hits the Number 8 in the forward pod.
- The Latch: Immediately upon contact, the 1, 2, and 3 bind tightly onto the 8, driving their legs. The Locks (4, 5) latch onto the outside to add mass and momentum.
- The Drive: The entire pod drives low and hard over the try line. The Flankers (6, 7) act as the next wave of ball carriers if the maul is stopped short.
4. Key Coaching Points
- Credibility of the Decoy: The forward pod must run as if they are getting the ball every single time. If they jog or look disinterested, the defence will drift wide.
- Speed of Service: The Scrum Half's pass (whether to the pod or the 10) must be instantaneous. Any hesitation allows the defence to realign.
- Depth and Pace: The backline (10, 12, 13) must start deep enough to hit the line at full pace, but flat enough to exploit the gaps before the defence can slide.
- Communication: The 10 must read the defence and clearly call the play (e.g., "Crash" for the forwards, "Wide" for the backs) before the 9 taps the ball.
5. Common Mistakes
- Telegraphing the Pass: The 9 looks at the 10 before tapping, allowing the defence to anticipate the wide play and drift early.
- Forwards Standing Up: The forward pod receives the ball standing upright, resulting in them being held up or driven back rather than crossing the gain line.
- Backs Overrunning: The 12 or 13 overrun the 10, resulting in a forward pass or forcing the 10 to hold the ball and take the tackle.
6. Variations & Progressions
- The Inside Pop: Instead of passing wide to the 13, the 10 pops a short pass back inside to a blindside winger (11) running a hard line against the grain.
- The Cross-Field Kick: If the defence rushes up flat and wide, the 10 executes a precision cross-field kick to the far winger (14) who has stayed wide and deep.
7. Age Adaptations
- Under 10s/12s: Focus purely on the forward drive (Phase 1). Teach the concept of running hard, straight lines and supporting the ball carrier.
- Under 14s/16s: Introduce the wide strike option (Phase 2). Emphasize the importance of the 10 squaring up the defence and the timing of the passes.
- Open/Senior: Implement the full triple-threat system, focusing on reading the defence and executing the pull-back pass or cross-field kick variations based on the defensive read.

