Building Better Shooters: The Ultimate Guide to Youth Basketball Shooting Drills
Discover 5 proven shooting drills that youth basketball coaches can use immediately to build proper form, boost confidence, and develop consistent scorers at every age level.

Building Better Shooters: The Ultimate Guide to Youth Basketball Shooting Drills
As a youth basketball coach, one of the most rewarding moments is watching a young player's confidence soar when their shot starts falling consistently. However, getting to that point requires patience, proper technique, and the right drills. Many young athletes develop bad habits early on—such as pushing the ball with two hands or shooting from too far out—because they lack the foundational strength and proper instruction.
In this comprehensive guide, we will explore the essential shooting mechanics for youth players, break down the best age-appropriate drills, and discuss how modern coaching tools like Vanta Sports can help you manage your team more effectively. Whether you are a volunteer parent coaching a local U10 team or an experienced club director, these strategies will help your players build a reliable, repeatable jump shot.
The Foundation: Teaching Proper Shooting Mechanics
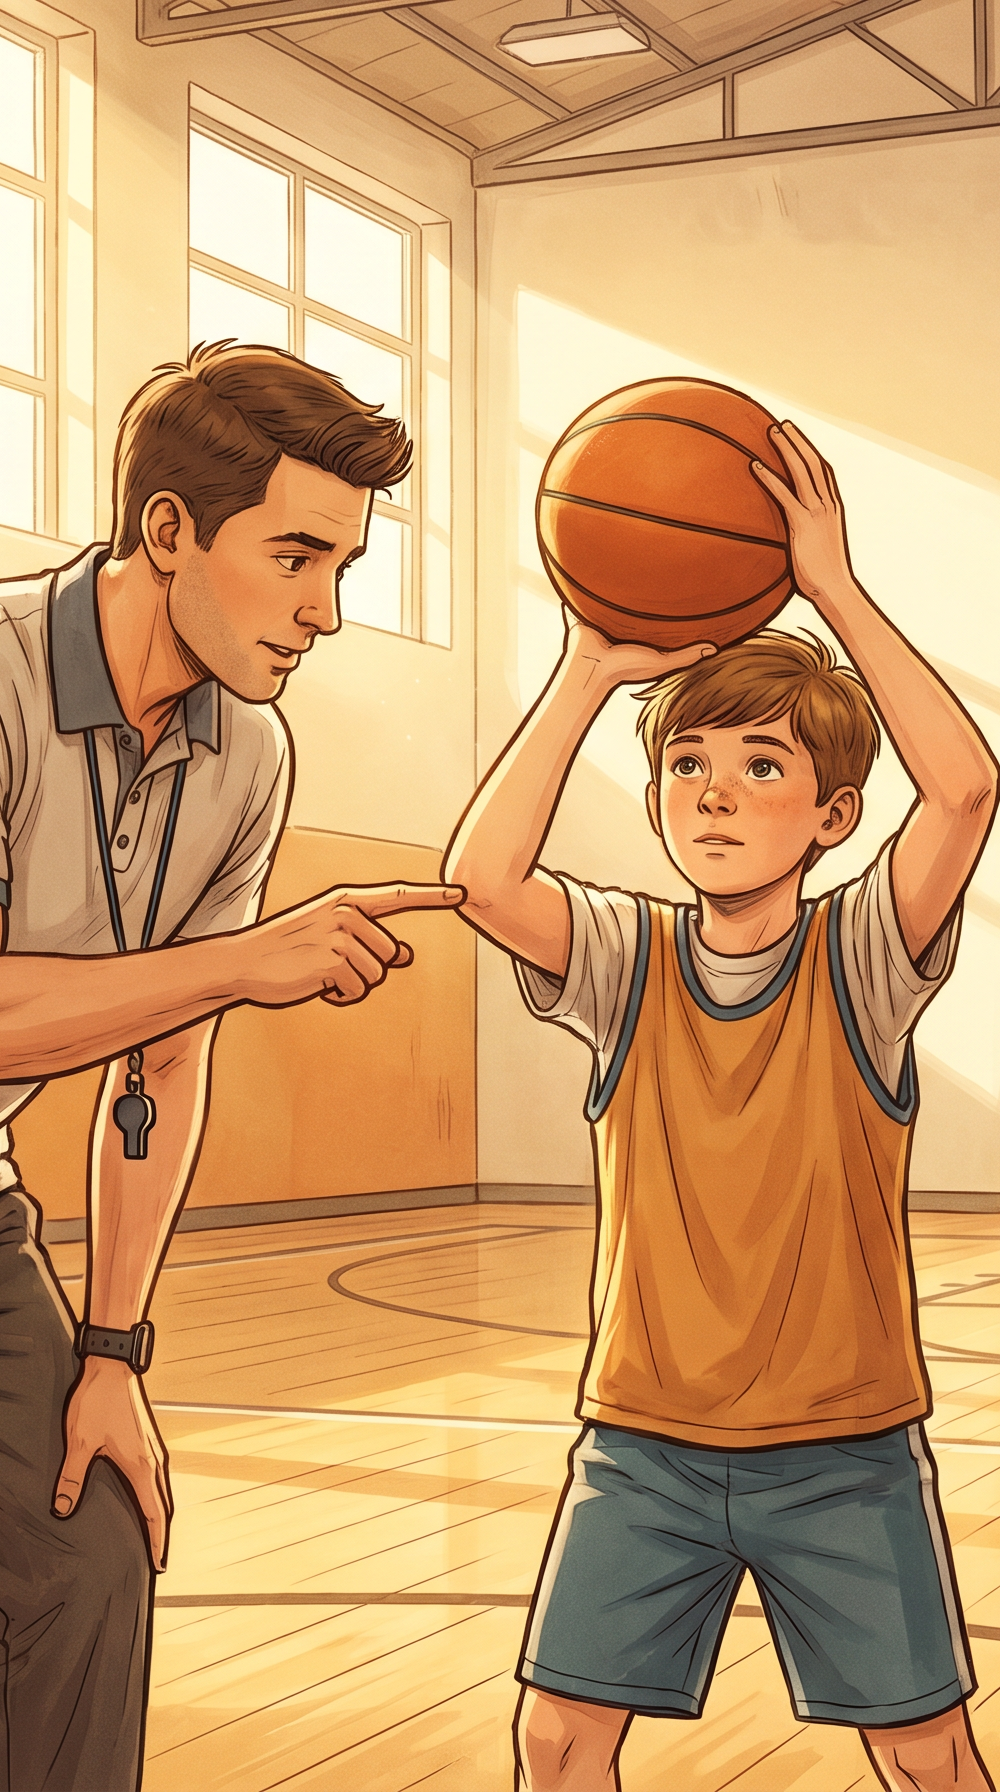
Before diving into complex drills, it is crucial to establish strong fundamentals. Young players often try to emulate NBA stars by launching deep three-pointers, but at ages 8–12, the focus must remain on form, balance, and close-range repetition.
The BEEF Principle
For decades, coaches have relied on the BEEF acronym to teach shooting fundamentals to beginners. It remains one of the most effective ways to help young players remember the key components of a good shot.
B – Balance: The foundation of every great shot. Players should have their feet shoulder-width apart, with their shooting foot slightly ahead of their non-shooting foot. Knees should be bent to generate power from the legs rather than the upper body.
E – Eyes: Focus is critical. Players should pick a specific target—whether it is the back of the rim, the front of the rim, or the square on the backboard—and keep their eyes locked on it throughout the shooting motion.
E – Elbow: The shooting elbow should be tucked in and aligned with the basket, forming an "L" shape. Flaring the elbow out is a common mistake that leads to inconsistent left-to-right misses.
F – Follow Through: The release should be smooth, with the wrist snapping forward so the fingers point down toward the rim (often described as "reaching into the cookie jar"). The guide hand should remain still and should not influence the flight of the ball.
"At age ten, kids are learning coordination, balance, motor skills, discipline, and timing. Early shooting habits often stay with a player for life, so this training stage is incredibly important." — Hoops Klub Coaching Guide

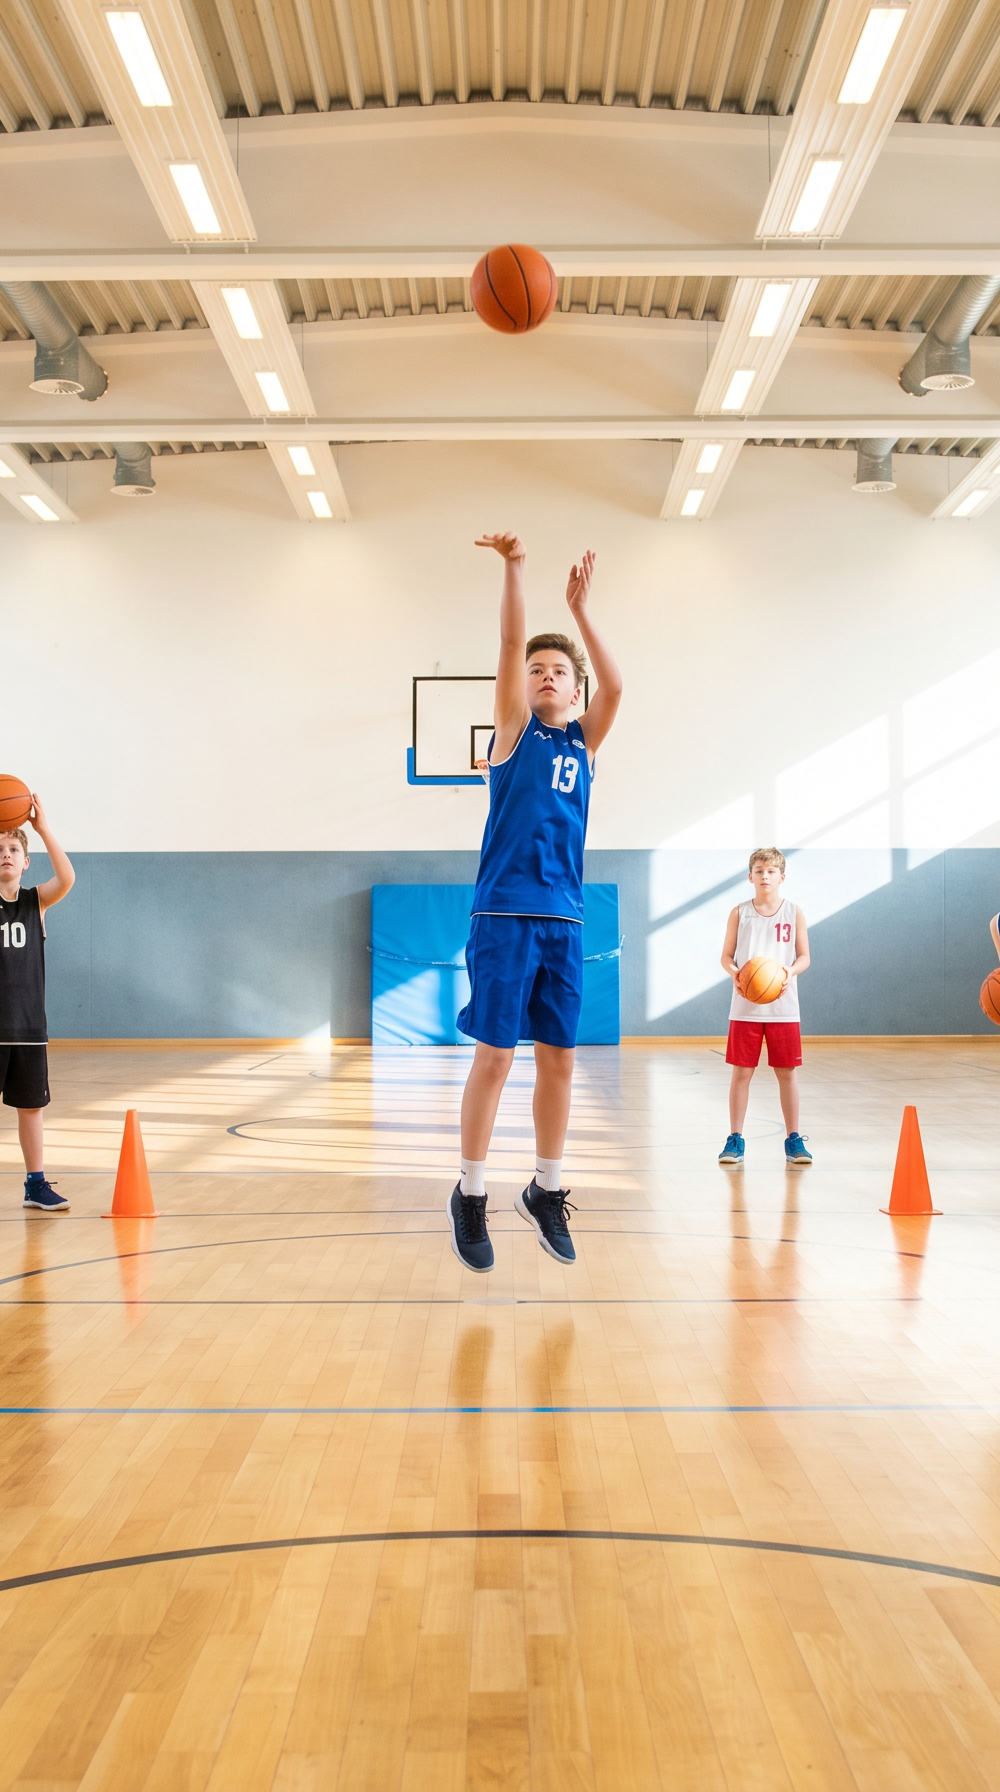
5 Essential Shooting Drills for Youth Players
Once the fundamentals are understood, it is time to put them into practice. These drills are designed to be engaging, effective, and easily implemented in your next practice session.
Drill 1: Form Shooting (The Warm-Up)
Every practice should begin with form shooting. This drill isolates the shooting mechanics and builds muscle memory without the pressure of distance or defense.
How to run it: Have players stand just two to three feet away from the basket. Using only their shooting hand, they should focus entirely on the BEEF principles. The goal is to shoot the ball with a high arc and perfect backspin, aiming for a swish.
Coaching Tip: Watch closely to ensure players are not using their guide hand to push the ball. As they make consistent shots, they can take one step back, but they should not move beyond the free-throw line during this drill. Aim for 25–50 repetitions per session.
Drill 2: The Mikan Drill
Named after Hall of Famer George Mikan, this classic drill is essential for developing touch around the basket, improving footwork, and teaching players to use both hands.
How to run it: The player starts directly under the basket. They shoot a right-handed layup off the right side of the backboard, catch the ball as it comes through the net, and immediately step to the left side to shoot a left-handed layup off the glass. This continuous, rhythmic motion should be maintained for 30 to 60 seconds.
Coaching Tip: Emphasise jumping off the correct foot (left foot for right-handed layups, right foot for left-handed layups) and keeping the ball high above the shoulders. Once players master the basics, introduce the Reverse Mikan variation, where they shoot reverse layups facing away from the backboard.
Drill 3: Five-Spot Shooting
This drill helps players become comfortable shooting from various angles on the court while maintaining proper form.
How to run it: Set up five cones or markers around the key: the two short corners (baselines), the two wings, and the top of the key (free-throw line). Players rotate through the spots, taking 5 to 10 shots at each location.
Coaching Tip: Focus on footwork. Players should practise catching the ball in a balanced stance, squaring their shoulders to the basket, and shooting in one fluid motion. Keep shots close to the basket initially—the goal is perfect form, not distance.

Drill 4: Catch, Turn, and Shoot
In a real game, players rarely get to stand still and wait for the ball. This drill introduces movement and the crucial skill of squaring up to the basket after receiving a pass.
How to run it: The player starts on the block facing away from the basket. The coach or a teammate passes them the ball. Upon catching it, the player must execute a clean jump stop, pivot to face the basket, establish their balance, and shoot.
Coaching Tip: Ensure players are staying low during the pivot. Standing up too straight causes them to lose their balance and power. This drill also builds the habit of always being ready to shoot upon catching the ball—a critical skill for game situations.
Drill 5: Pressure Free Throws
Free throws are often overlooked in youth practices, but they are critical game-deciding shots. This drill adds a fun, competitive element to free-throw practice.
How to run it: Have the team line up at the free-throw line. The first player shoots. If they make it, the pressure is on the next player—if the second player misses, they are "out" (or must complete a small physical task like three push-ups). If the first player misses, there is no pressure on the second player. Continue until one player remains.
Coaching Tip: Remind players to maintain their normal free-throw routine, take a deep breath, and focus on their form despite the added pressure from their teammates. Establishing a consistent pre-shot routine is a habit that will serve them throughout their entire playing career.
A Quick Reference: Drill Summary
| Drill | Primary Focus | Age Group | Duration |
|---|---|---|---|
| Form Shooting | Mechanics & muscle memory | 6–14 | 5–10 min |
| Mikan Drill | Layups & weak hand | 8–14 | 2–3 min |
| Five-Spot Shooting | Footwork & angles | 9–14 | 10–15 min |
| Catch, Turn & Shoot | Game-like movement | 10–14 | 10 min |
| Pressure Free Throws | Focus & routine | 8–14 | 5–10 min |
Managing Your Team with Vanta Sports
Running effective practices and teaching complex skills like shooting mechanics requires focus and dedication. The last thing a youth basketball coach needs is to be bogged down by administrative tasks, schedule changes, and parent communication. This is where Vanta Sports becomes an invaluable tool for your program.
Vanta Sports is purpose-built for youth basketball and netball clubs, providing a complete ecosystem designed to make life easier for everyone involved in the organisation.
Vanta Coach App: Your Practice Companion
For volunteer coaches who dedicate their free time to developing young athletes, the Vanta Coach App is a game-changer—and it is completely free. Instead of juggling paper notes and group texts, coaches can plan practice sessions, track player attendance, communicate schedule changes instantly, and monitor player progress throughout the season.
A Complete Ecosystem for the Whole Club
Vanta Sports goes far beyond basic team communication. It offers dedicated solutions for every stakeholder in your organisation:
| App | Who It's For | Key Features |
|---|---|---|
| Vanta Club | Club directors & administrators | Registrations, payments (Stripe), compliance & safeguarding |
| Vanta Coach App | Coaches (free) | Session planning, attendance tracking, player communication |
| Vanta Guardian | Parents & guardians | Schedules, payments, team updates |
| Vanta Player App | Players | Goal tracking, achievements, team events |
When you spend less time chasing down registration fees and updating spreadsheets, you can spend more time on the court teaching that perfect follow-through.
Common Coaching Mistakes to Avoid
When teaching shooting to young players, coaches must be mindful of their approach to avoid creating frustration and entrenching bad habits.
Focusing on Distance Over Form: Never encourage a 10-year-old to shoot three-pointers if they cannot reach the rim with proper form. Pushing the ball from the chest or hip ruins mechanics. Keep them close to the basket until their strength develops naturally.
Over-Coaching During the Shot: Give feedback after the shot, not during the motion. Shouting instructions while a player is trying to focus on the rim causes confusion and hesitation. Use the pause between repetitions to offer one clear, actionable coaching point.
Ignoring the Weak Hand: It is natural for kids to favour their dominant hand, but neglecting the weak hand limits their long-term potential. Drills like the Mikan Drill are essential for building bilateral coordination early on.
Rushing to Advanced Techniques: Progression is key. A player who has not yet mastered the basic catch-and-shoot should not be attempting pull-up jumpers off the dribble. Build the foundation first, and the advanced skills will come naturally.
Conclusion: Building Confidence One Shot at a Time
Developing consistent, accurate shooters at the youth level is a marathon, not a sprint. By focusing on the BEEF fundamentals, utilising engaging drills like Five-Spot Shooting and the Mikan Drill, and maintaining a positive, encouraging environment, you will help your players build skills that will last a lifetime.
Remember that your primary role as a youth coach is to foster a love for the game. Equip yourself with the right knowledge, structure your practices effectively, and leverage modern tools to manage the administrative heavy lifting—so your energy stays where it matters most: on the court with your players.
Ready to Take Your Training to the Next Level?
Discover how Vanta Sports helps coaches run better practices. Learn more about Vanta Sports