Mastering the Crease: The Four-Cone Batting Stance & Footwork Drill
Build an unshakeable batting foundation by mastering weight transfer, head position, and precise footwork with this essential four-cone progression drill.
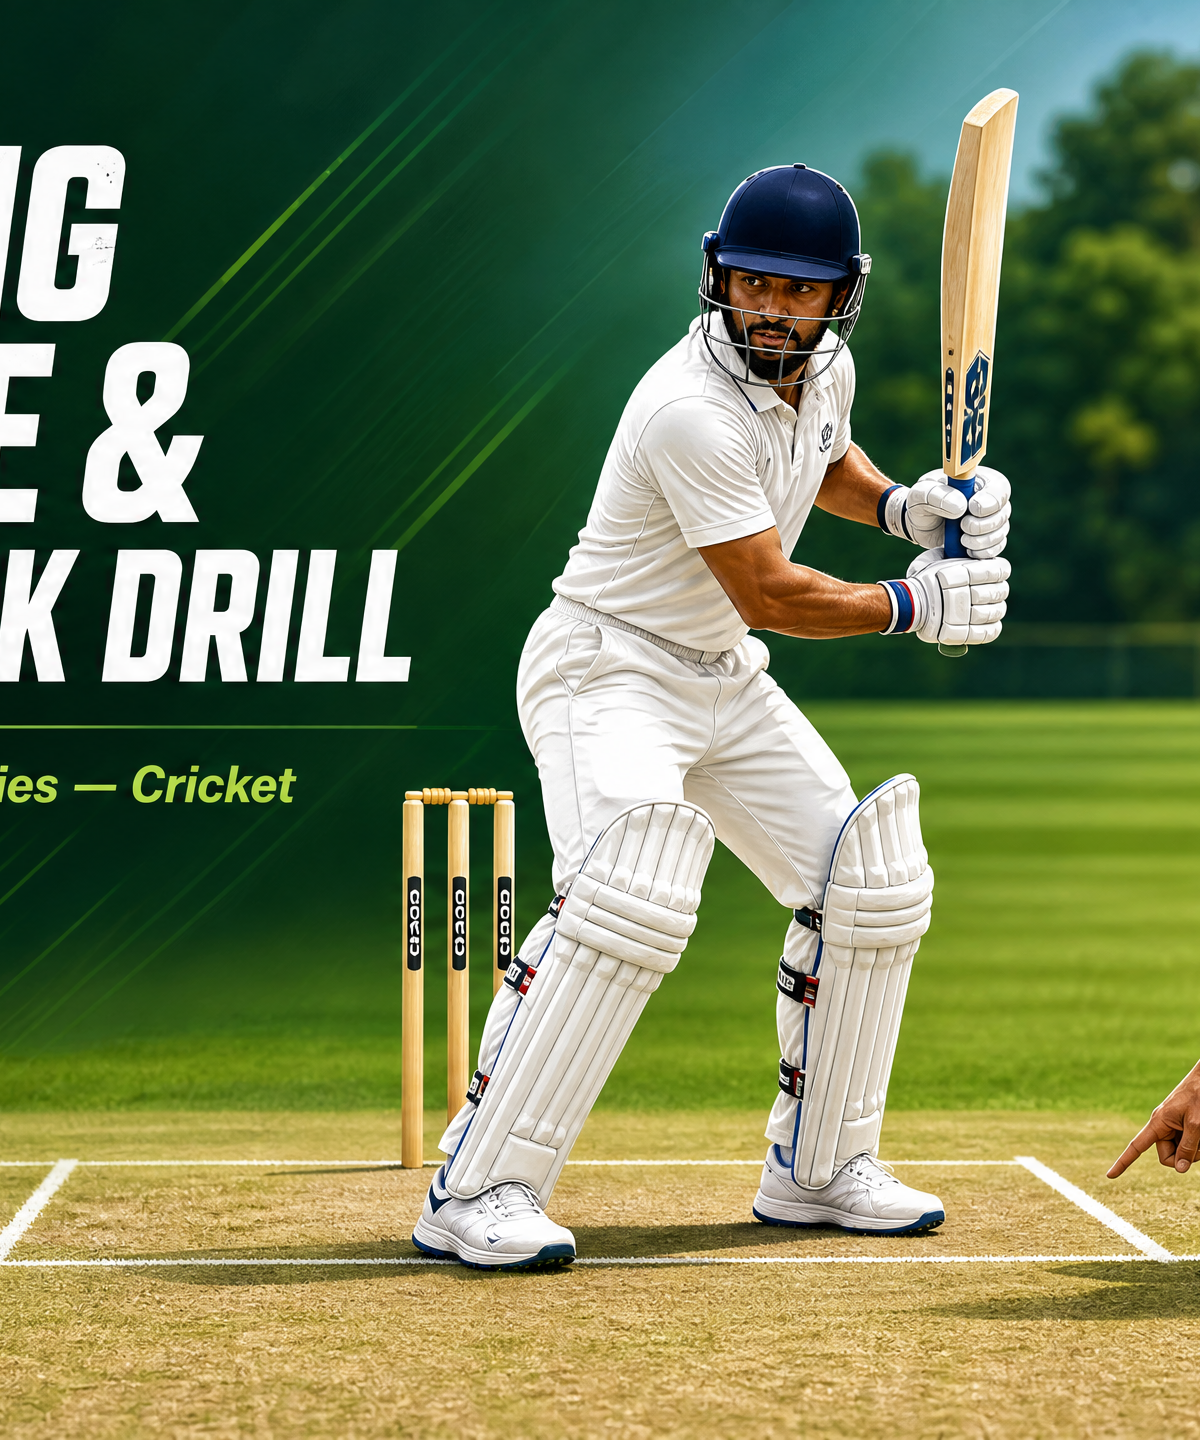
Equipment Needed
1. Overview
A batsman's stance and initial foot movement dictate their ability to play the ball late and with power. This comprehensive drill focuses on establishing a balanced, side-on batting stance and developing precise, decisive footwork. By utilizing targeted zones, coaches can isolate front-foot and back-foot movements, ensuring players learn to transfer their weight correctly while maintaining a steady head position. This drill is foundational for all batsmen, from juniors learning the basics to senior players refining their technique against pace and spin.
2. Setup
Equipment Needed:
- 1 Cricket Bat
- Full batting protective gear (Helmet, Pads, Gloves, Box)
- 6 Cricket Stumps (3 for the batting end, 3 for the bowler end)
- 4 Agility Cones (preferably orange or bright colors)
- 6-12 Cricket Balls (Incrediballs or standard leather balls depending on age/skill)
Pitch/Field Setup:
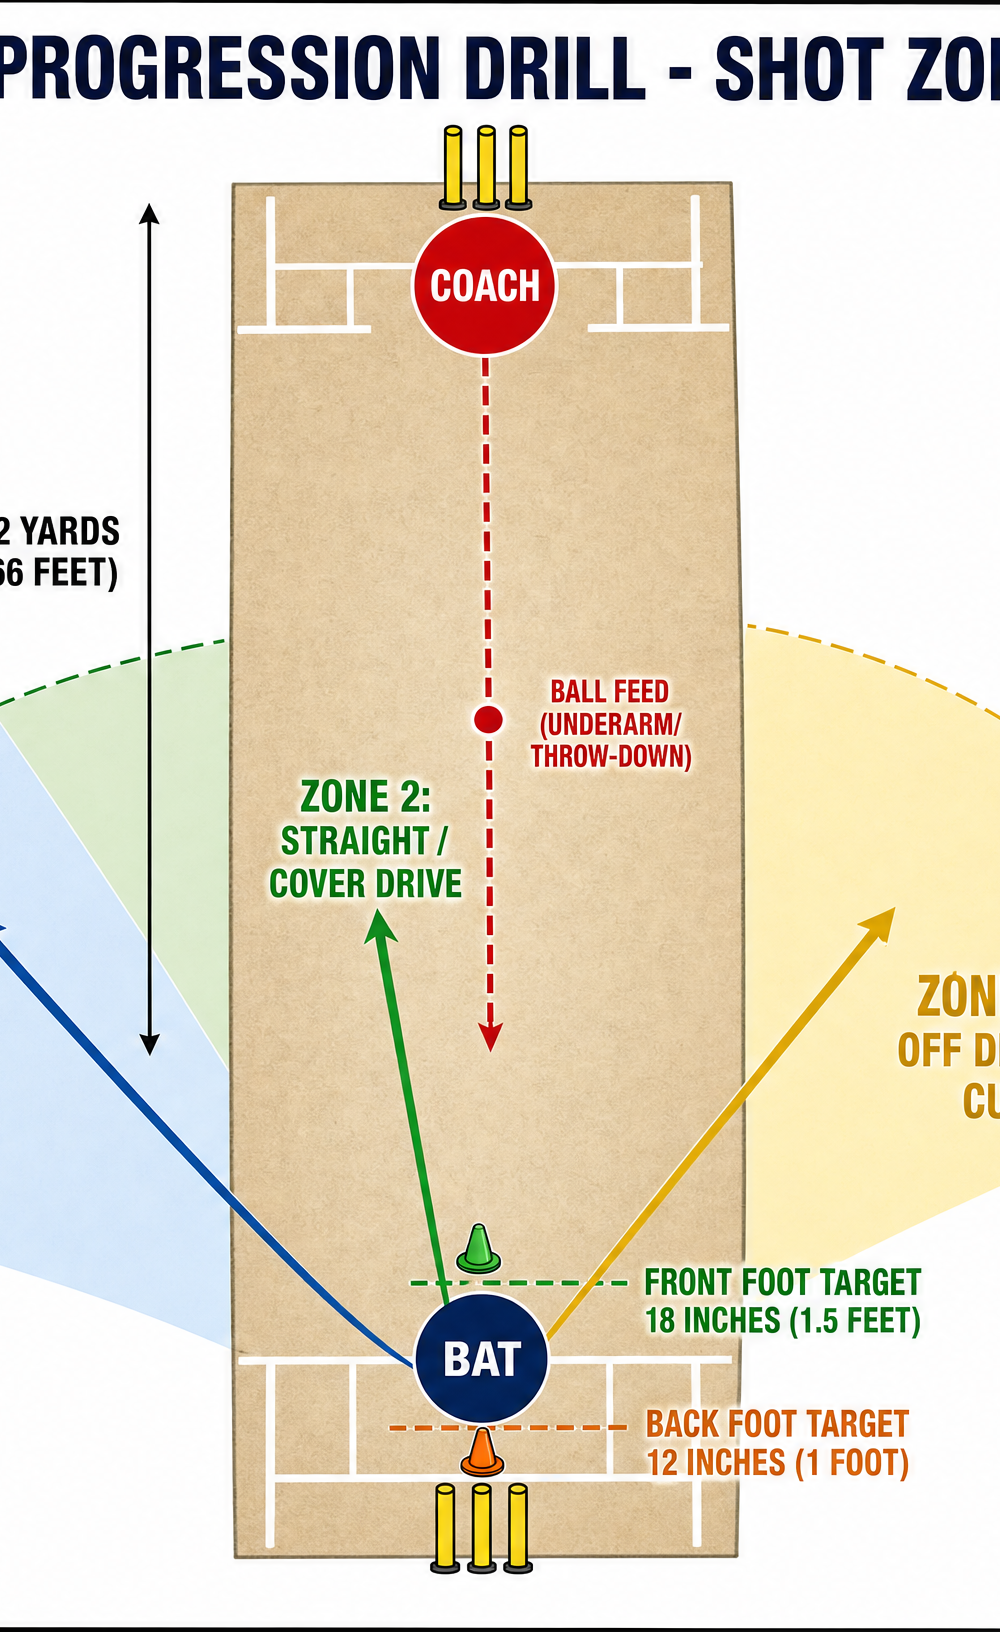
Set up on a standard 22-yard cricket pitch (or an artificial net surface). Place three stumps at the batting end and three at the bowler's end. Mark the popping crease (4 feet from the stumps) and the return creases.
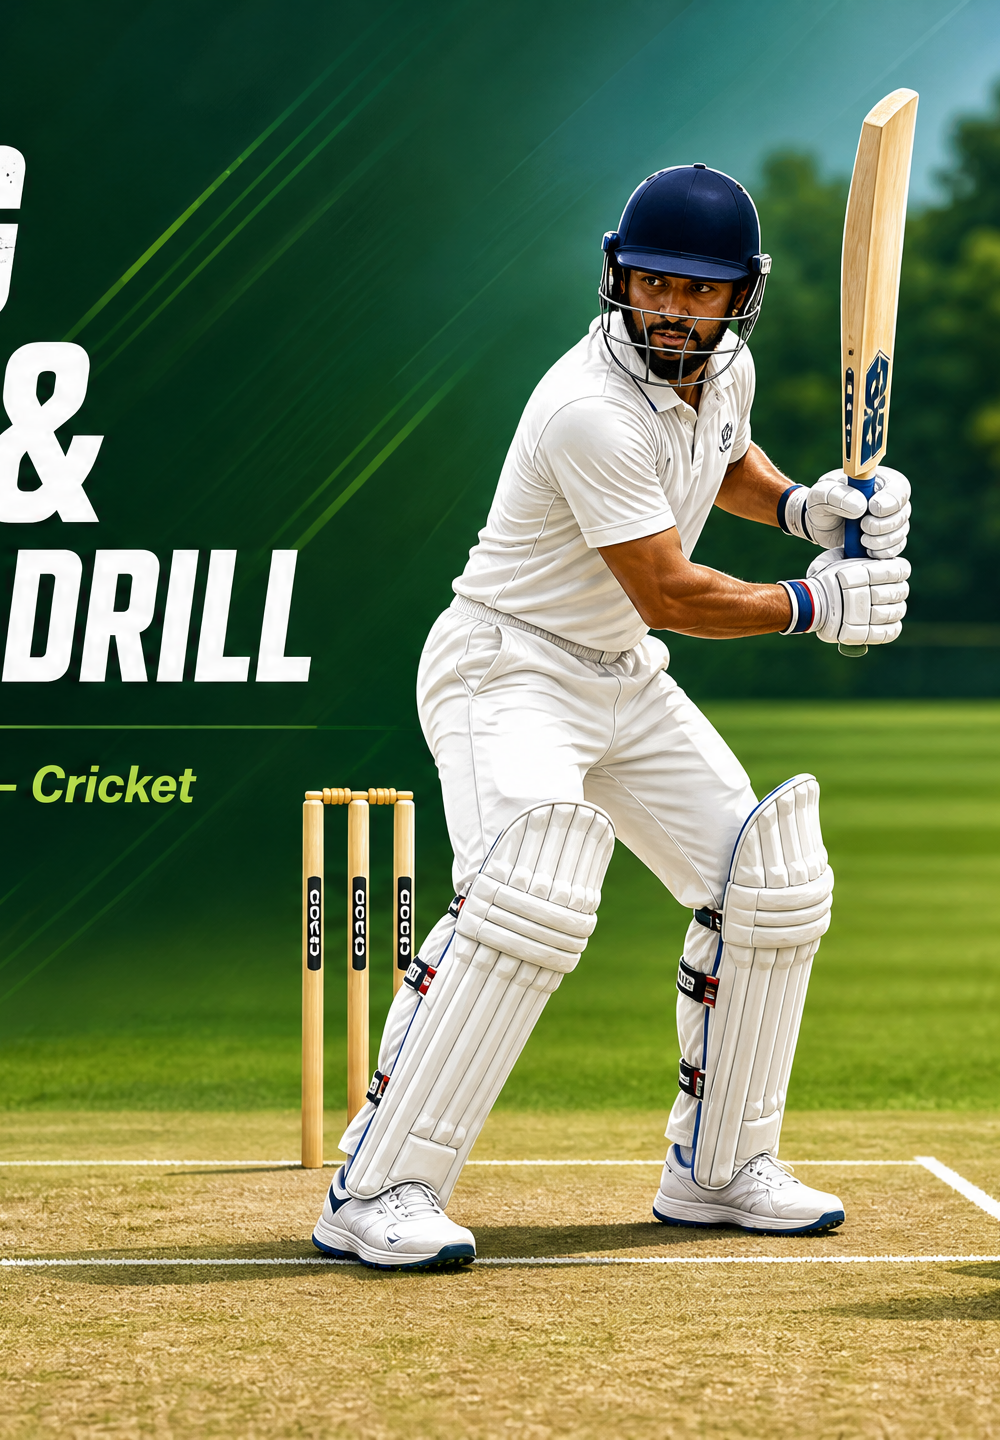
Player Positions:
- Batsman: Starts at the crease in their natural stance, taking guard on middle or leg stump.
- Coach/Feeder: Positioned 10-15 yards down the pitch (or full 22 yards for advanced throw-downs).
3. Step-by-Step Instructions
Phase 1: The Four-Cone Setup (Shadow Batting)
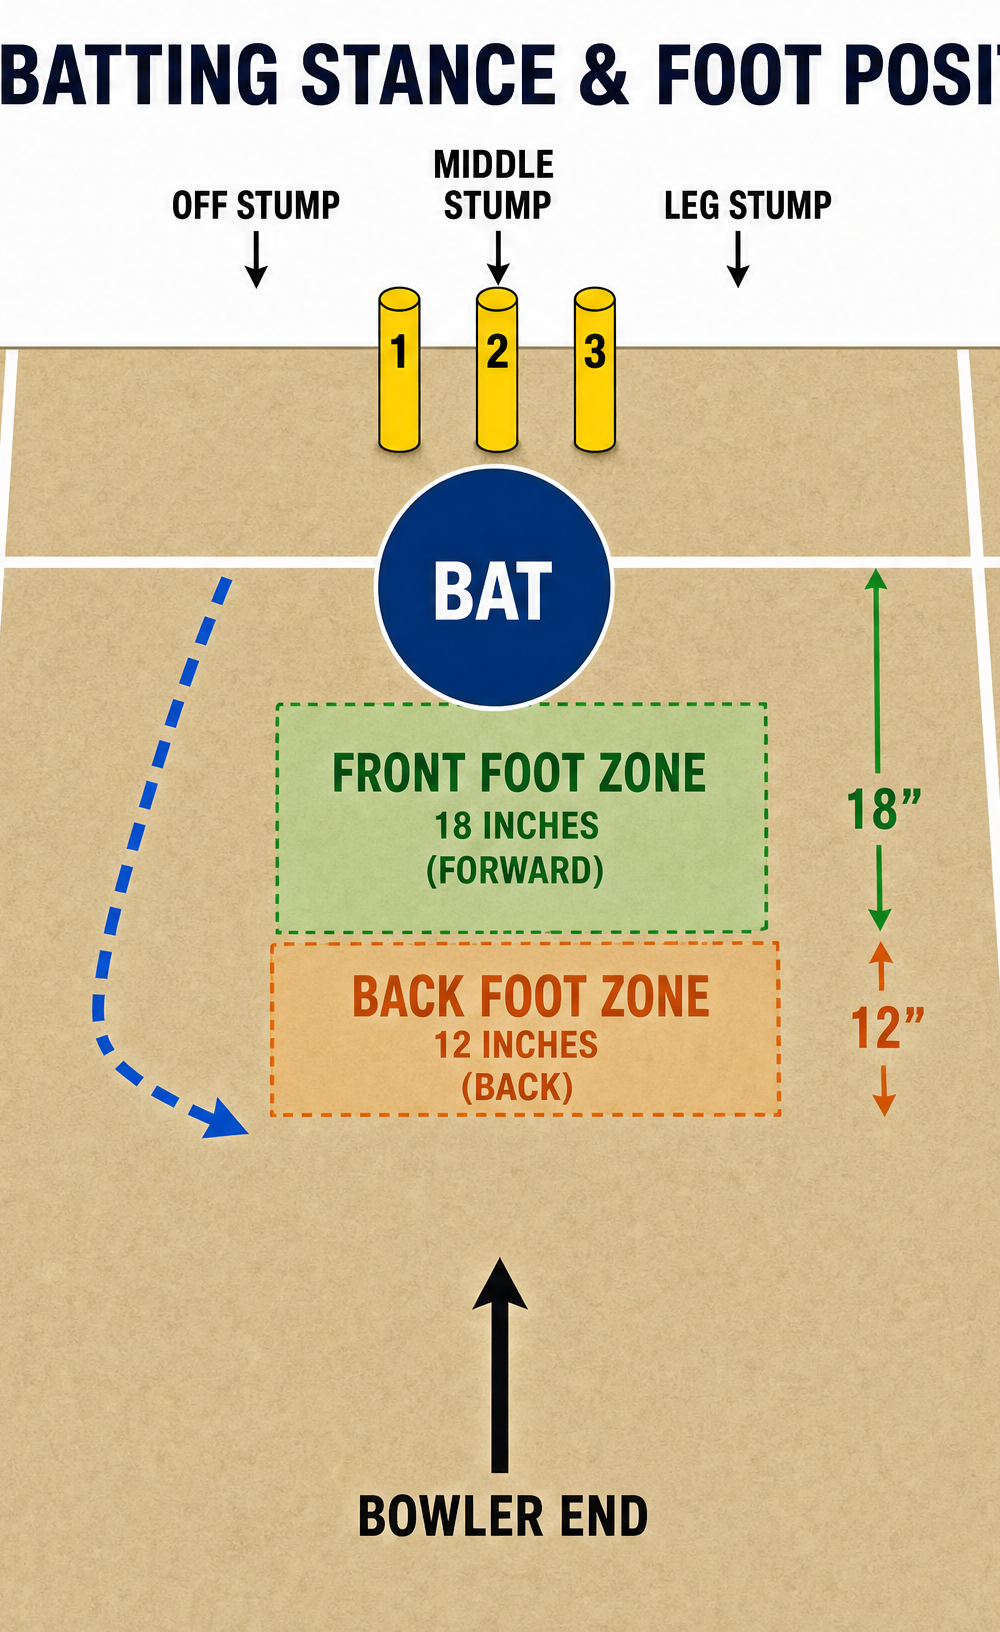
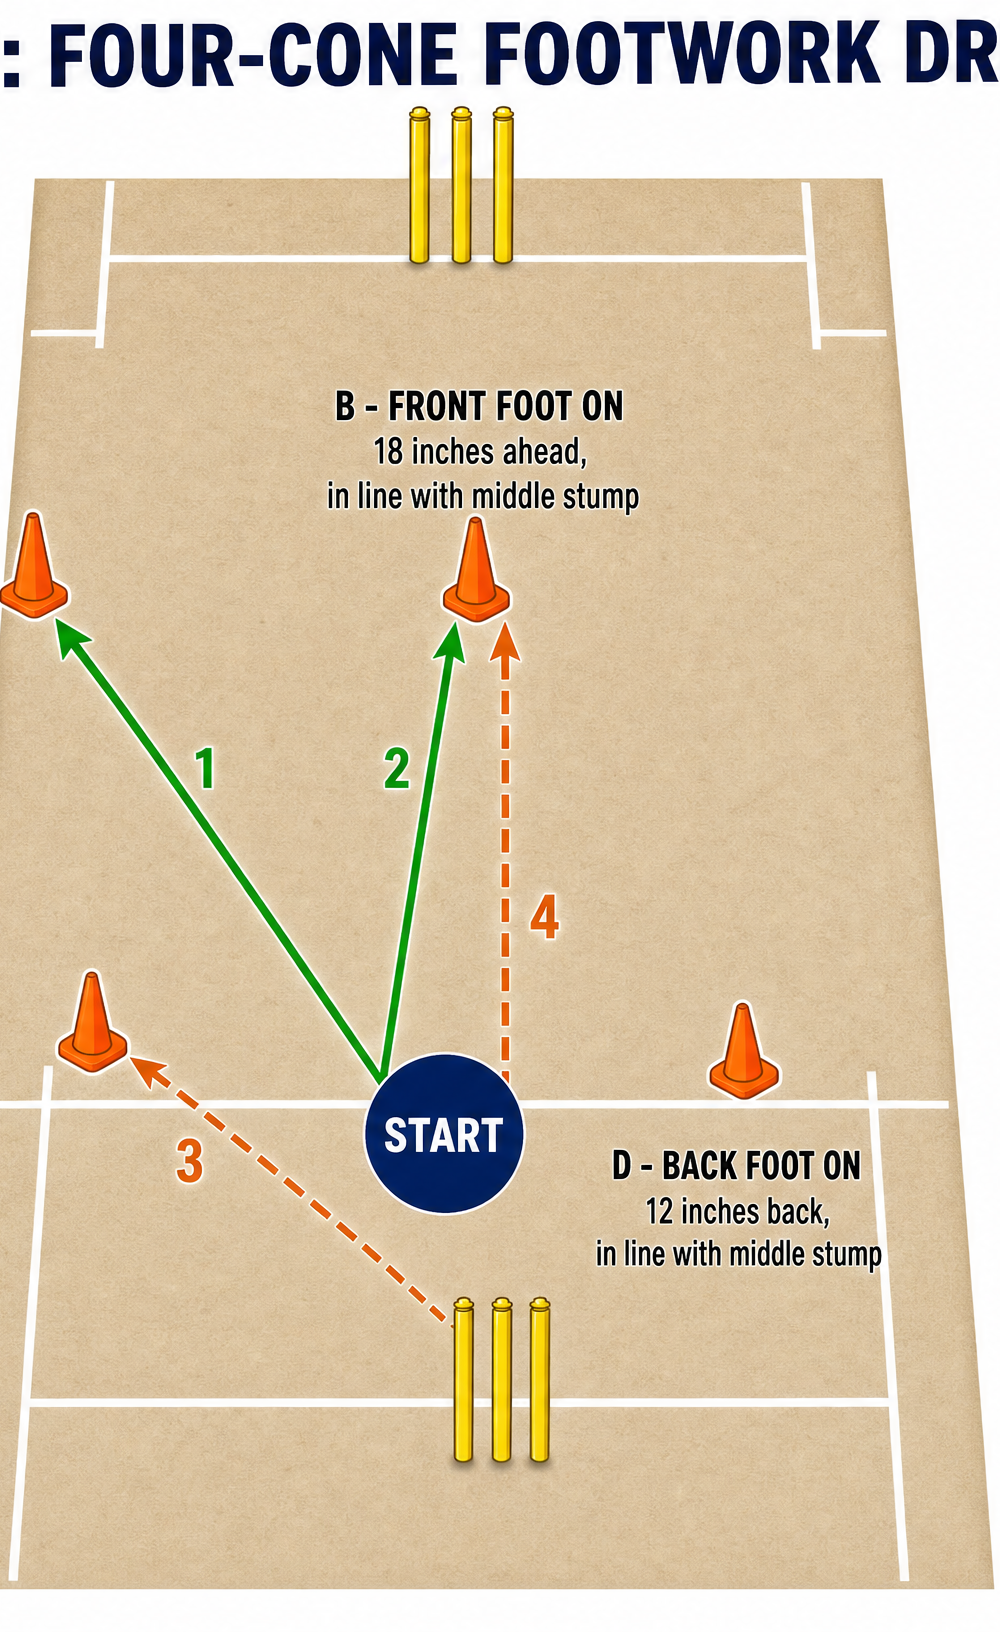
- Position the Cones: Place Cone A (Front Foot Off) 18 inches forward and 6 inches outside off stump. Place Cone B (Front Foot On) 18 inches forward, in line with middle stump. Place Cone C (Back Foot Off) 12 inches back and 4 inches toward off stump. Place Cone D (Back Foot On) 12 inches back, in line with middle stump.
- Assume the Stance: The batsman takes their stance at the popping crease. The coach checks for a balanced, side-on position with eyes level.
- Call the Cone: The coach calls out a letter (A, B, C, or D).
- Execute the Movement: The batsman executes a shadow shot, stepping precisely toward the called cone. For A and B, they step forward, bending the front knee. For C and D, they push back and across, keeping their weight slightly forward over the toes.
- Hold the Pose: The batsman holds the final shot position for 3 seconds. The coach checks head alignment and balance.
Phase 2: Underarm Feeds
- Prepare to Feed: The coach moves to 10 yards down the pitch with a bucket of balls.
- Target the Zones: The coach throws underarm feeds specifically targeting the cone zones. A full toss or half-volley toward Cone A prompts a front-foot off-drive. A short feed toward Cone C prompts a back-foot defensive or cut shot.
- Hit the Gaps: The batsman steps to the appropriate cone and plays the ball along the ground.
- Reset: The batsman resets their stance completely after every delivery.
Phase 3: Progression to Throw-Downs
- Increase Distance: The coach moves back to 15-22 yards and uses overarm throw-downs or a sidearm tool.
- Randomize Length: The coach mixes up the lengths (full, good length, short) without warning.
- React and Move: The batsman must quickly judge the length, move their feet to the correct cone zone, and execute the shot into the designated scoring areas.
4. Key Coaching Points
- Head Position is King: The head must remain still and level during the initial movement. The head should lead the footwork—where the head goes, the feet will follow.
- Lead with the Front Shoulder: For front-foot shots, the front shoulder should dip slightly and point toward the ball to ensure the weight transfers forward.
- The 'Figure 9' Shape: On the front foot, the front leg should bend, and the back leg should remain relatively straight, forming a shape like the number 9.
- Back and Across: For back-foot shots, the initial movement should be back and slightly across the crease (toward off stump) to cover the line of the ball, keeping the weight on the balls of the feet.
- Play Late: Encourage the batsman to let the ball come to them, playing it under their eyes rather than reaching out in front.
5. Common Mistakes
- Planting the Front Foot Too Early: Committing the front foot before judging the length, making the batsman vulnerable to short-pitched bowling.
- Falling Over to the Off Side: The head falls outside the line of the off stump, causing the batsman to lose balance and become a candidate for LBW.
- Heavy Feet: Being flat-footed in the stance, making it impossible to transfer weight quickly forward or backward.
- Bottom Hand Dominance: Gripping too tightly with the bottom hand, causing the ball to be hit in the air rather than along the ground.
6. Variations & Progressions
- The Blindfold Drill: Have the batsman close their eyes in their stance. The coach calls a cone, the batsman steps, and then opens their eyes to check if their foot landed exactly next to the cone. This builds proprioception.
- Pace vs. Spin: Modify the drill for spin by bringing the coach closer (8 yards) to feed looping balls, forcing the batsman to use their feet to get to the pitch of the ball or rock deep into the crease.
- Weighted Bat: Use a slightly heavier bat during the shadow batting phase to build forearm strength and reinforce the importance of core stability during footwork.
7. Age Adaptations
- Under 8 / Under 10: Focus purely on Phase 1 (Shadow Batting) and slow underarm feeds. Use a batting tee instead of moving balls to allow them to focus entirely on stepping to the cones without the pressure of timing a moving ball.
- Under 12 / Under 14: Introduce overarm throw-downs. Emphasize the difference between front-foot and back-foot lengths. Start tracking scoring zones.
- Under 16 / Open: Use a bowling machine or sidearm at high speeds. Remove the physical cones and ask the batsman to visualize the zones. Focus on micro-adjustments in the stance and playing the ball extremely late.

