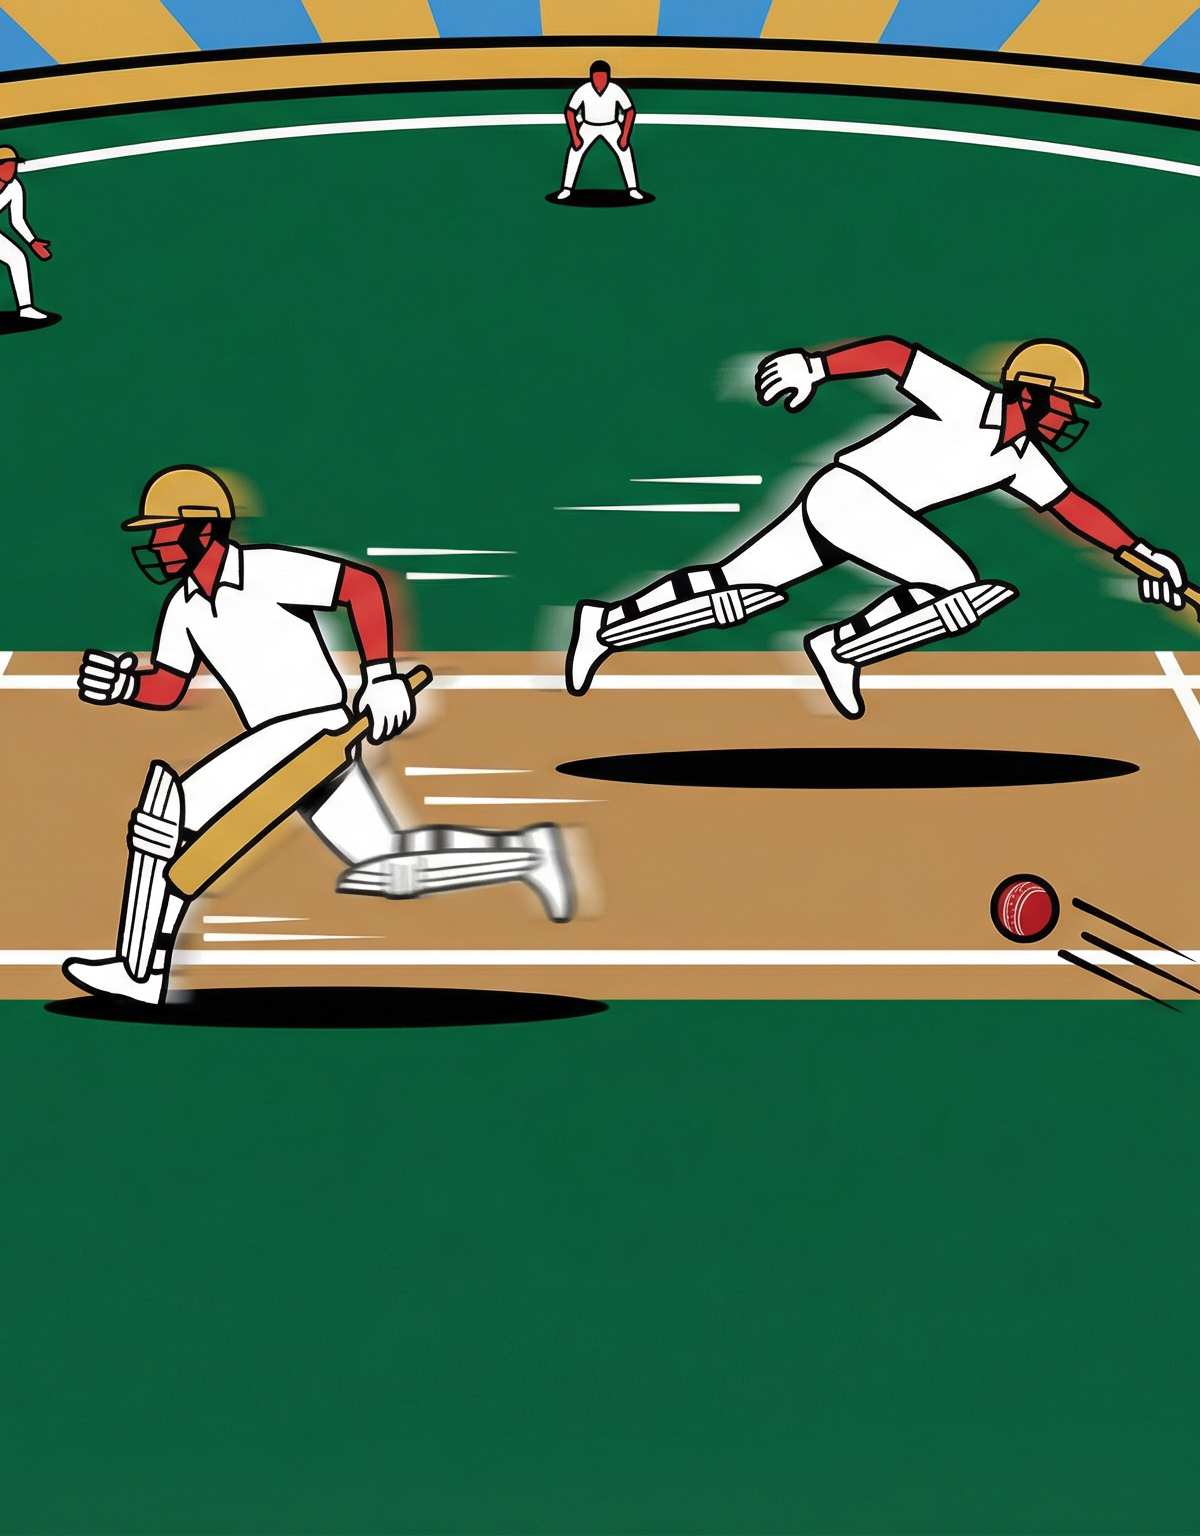
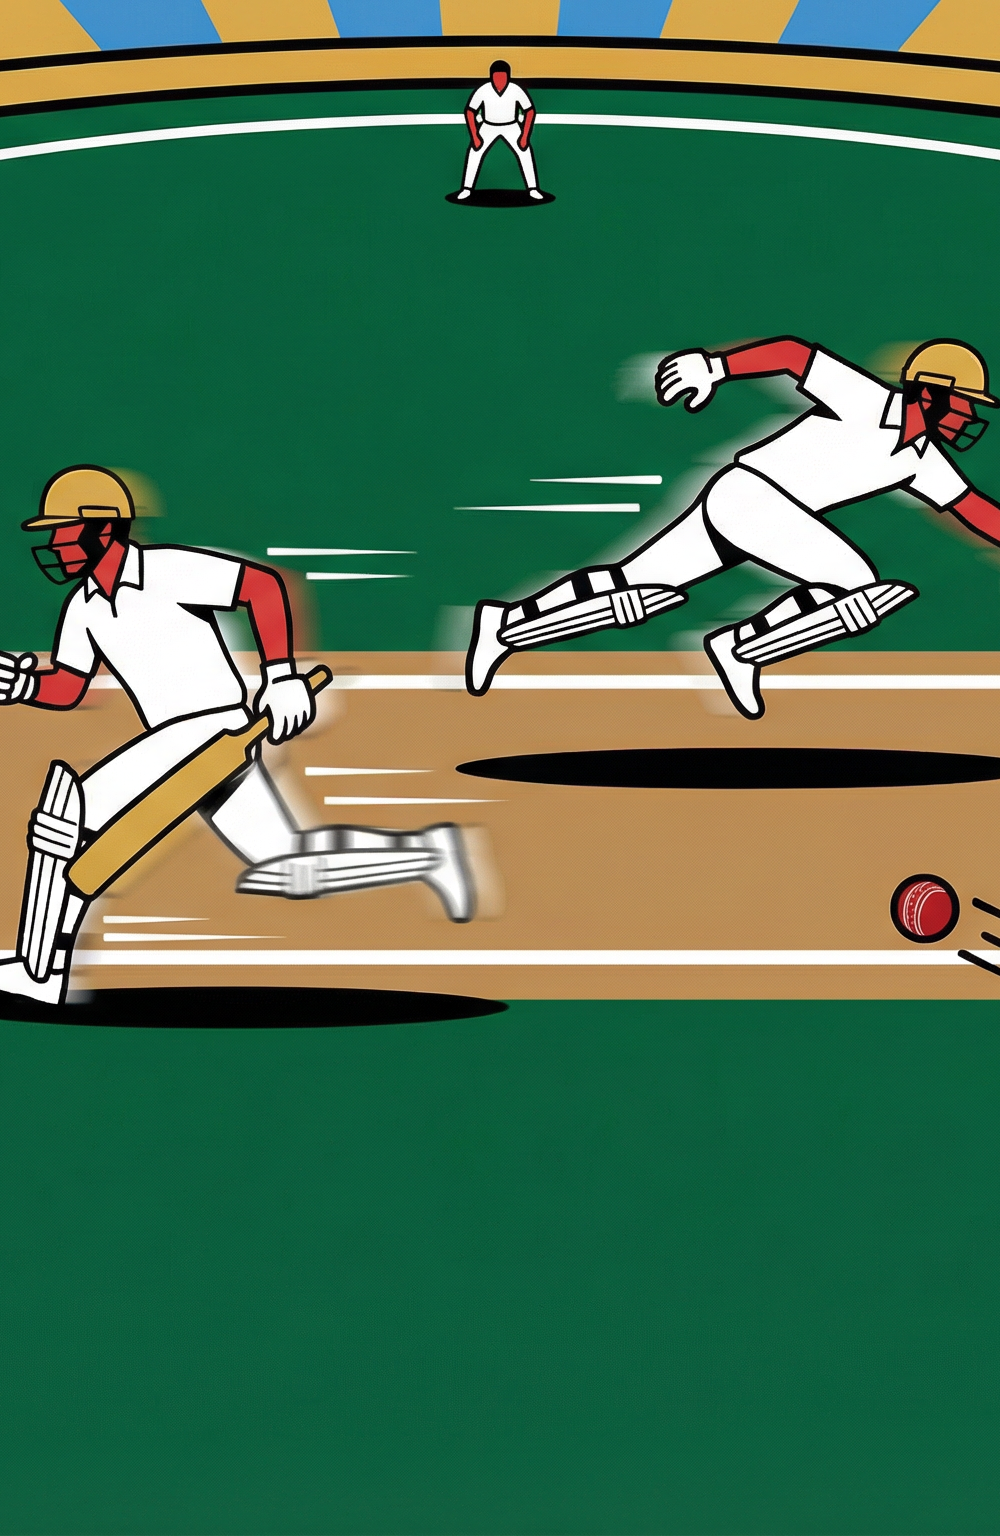
Running Between the Wickets: The Complete Coaching Drill
Master the art of converting ones into twos and eliminating run-out risk with this structured, progression-based drill that builds calling, running, and decision-making skills in pairs.
Equipment Needed
Overview
Running between the wickets is one of the most undercoached and most match-decisive skills in cricket. Studies of limited-overs matches consistently show that teams who run aggressively and efficiently score 15–25% more runs than teams who are passive between the wickets — without hitting a single extra boundary. Yet it is also the source of the most preventable dismissals in junior and club cricket alike. This drill addresses both sides of that equation.
The Running Between the Wickets Drill is a structured, multi-stage session designed to ingrain the four pillars of elite running: clear communication, explosive first movement, bat grounding at the crease, and intelligent decision-making under fielder pressure. It is suitable for use as a standalone 30–45 minute session or as a 15-minute warm-up block within a broader batting session.
Use this drill at the start of a new season to establish habits, mid-season when run-outs are costing your team matches, or as a targeted intervention for pairs who are struggling to convert singles into twos.
Setup
Equipment Required
| Item | Quantity | Notes |
|---|---|---|
| Cricket stumps (full sets) | 2 sets | Set at regulation 22-yard pitch length |
| Cricket bat | 1 per active batsman | Batsmen use their own match bats |
| Cricket balls (or incrediball) | 4–6 | Incrediballs reduce injury risk for younger groups |
| Cones (coloured) | 12 | Mark fielder zones and crease extensions |
| Stopwatch / coaching timer | 1 | For timed rotation phases |
| Scoreboard or whiteboard | 1 (optional) | Track run tallies for competitive phases |
Pitch & Field Setup
Set up a full-length 22-yard pitch on the square or in the nets area. Both sets of stumps must be in place with bails. Mark the popping crease (4 feet in front of the stumps) and return crease clearly with chalk or cone markers if playing on grass without existing markings. For the fielder-pressure phase, position cones to define the mid-on, mid-off, and cover zones at approximately 15, 15, and 30 yards from the pitch respectively.
For groups of 8 or more players, set up a waiting queue off to the leg side, 5 metres clear of the pitch, with a clear entry and exit path so rotation flows without interrupting active pairs.
Player Positions
- B1 — Striker: Takes guard at the batting crease, facing the bowler's end.
- B2 — Non-Striker: Stands at the non-striker's end, bat grounded behind the popping crease.
- F1 — Mid-On: Positioned on the leg side, 15 yards from the striker.
- F2 — Mid-Off: Positioned on the off side, 15 yards from the striker.
- F3 — Cover: Positioned on the off side, 30 yards from the pitch.
- WK — Wicketkeeper: Stands behind the stumps at the striker's end (advanced phase only).
- Coach: Positioned square of the wicket, 10 metres to the off side, with clear sightlines to both ends.
Step-by-Step Instructions

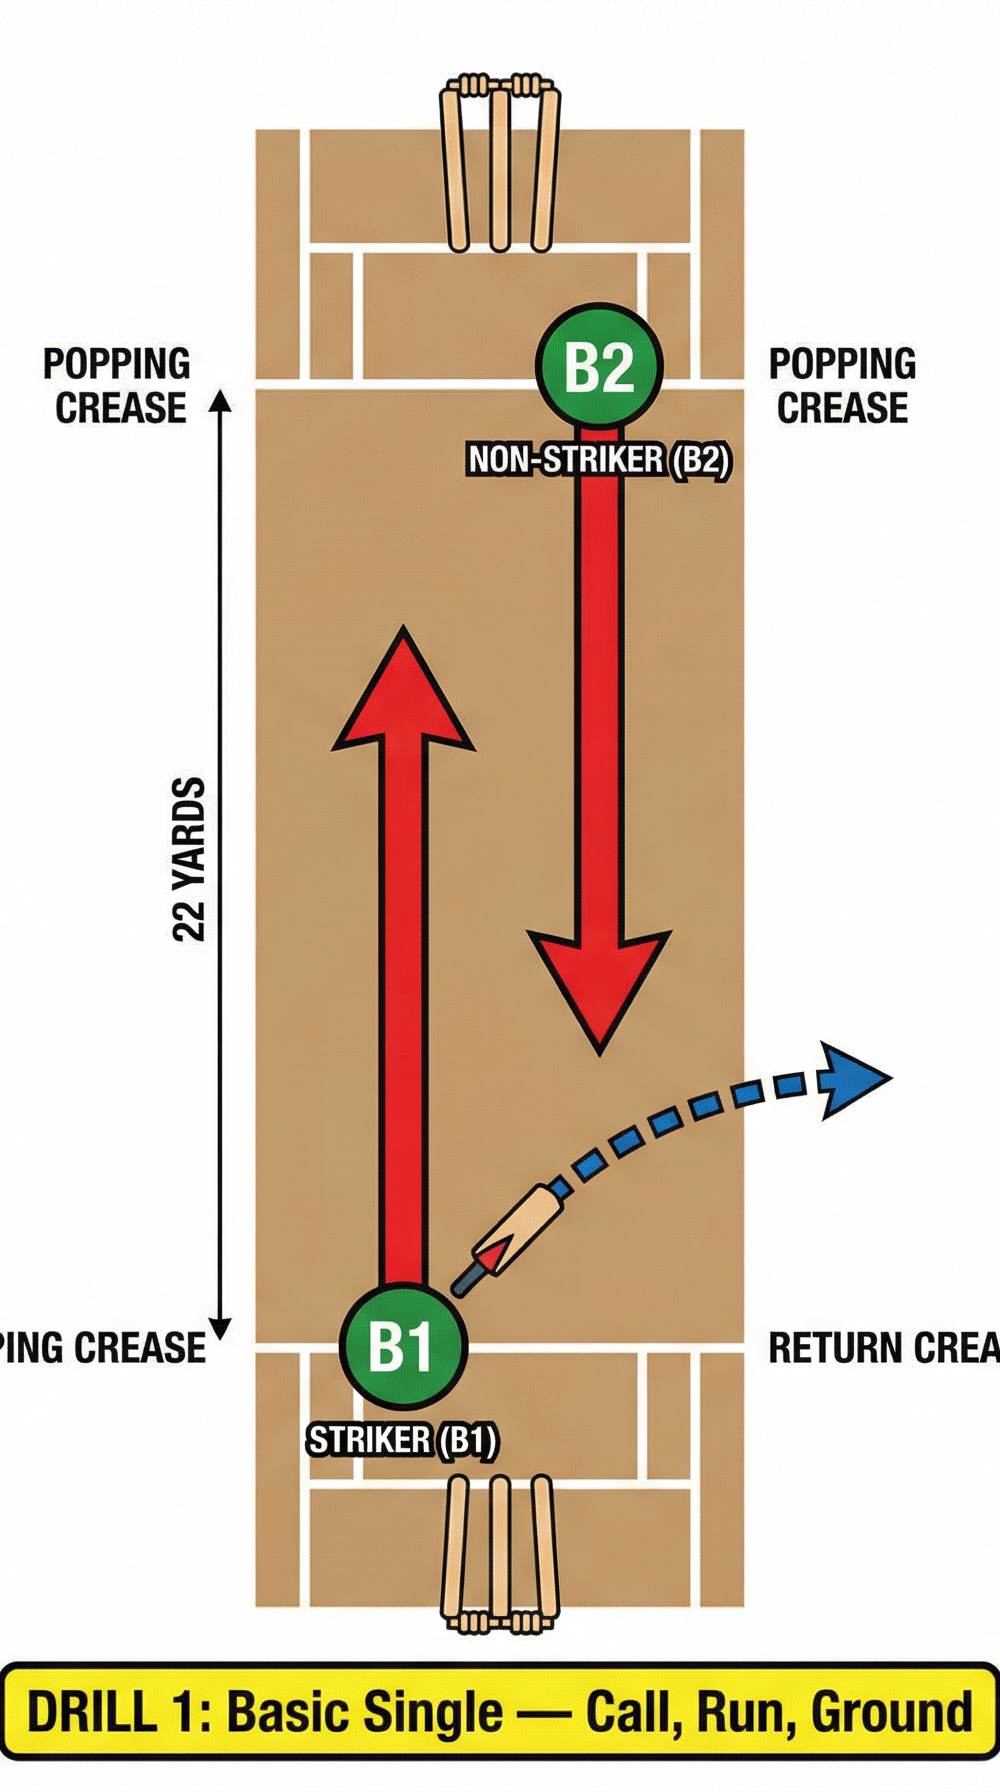
Phase 1 — The Basic Single: Call, Run, Ground (10 minutes)
1. Position B1 at the striker's end and B2 at the non-striker's end. No fielders are active in this phase — the focus is purely on mechanics.
2. The coach feeds a throw or drop-feeds a ball to B1, who plays a controlled defensive or drive shot to a designated zone (off side or leg side, called by the coach before the feed).
3. B1 must call loudly and clearly — "YES", "NO", or "WAIT" — within one second of playing the shot. Emphasise that the striker calls for all shots in front of the wicket; the non-striker calls for all shots behind the wicket.
4. On a "YES" call, both batsmen sprint immediately. B1 runs toward the non-striker's end; B2 runs toward the striker's end. Both must run in a straight line directly down the pitch, not drifting wide.
5. As each batsman approaches the far crease, they must ground their bat behind the popping crease — not their foot. The bat should be stretched forward and grounded at full extension, 6–12 inches inside the crease line.
6. After completing the run, both batsmen turn and face the ball immediately, ready to call for a second run if available.
7. Repeat 6 times per pair, rotating pairs every 6 repetitions. Coach provides verbal feedback after each rep.
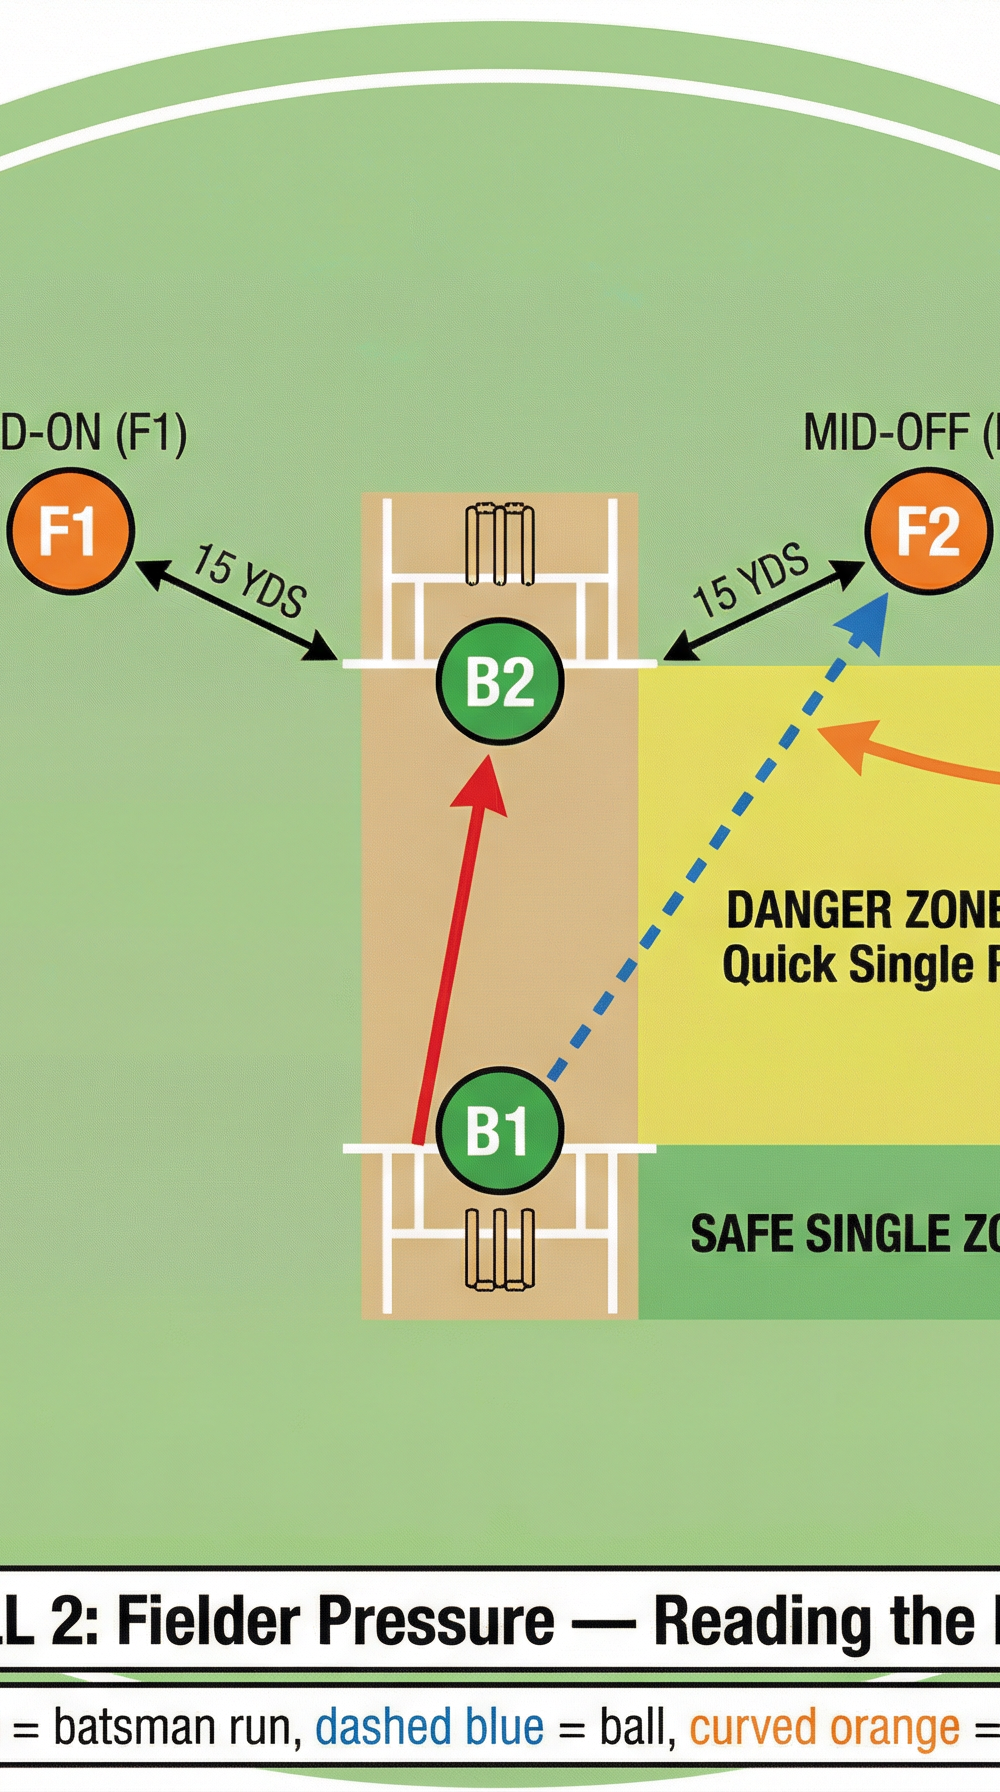
Phase 2 — Fielder Pressure: Reading the Field (10 minutes)

1. Introduce fielders F1 (mid-on), F2 (mid-off), and F3 (cover) in their designated positions. Fielders are active — they field the ball and return it to either end.
2. The coach feeds the ball to B1 as before. B1 plays the ball into one of the fielded zones.
3. B1 must now assess the fielder's position and speed of movement before calling. The decision window is approximately 1.5 seconds from bat-to-ball contact.
4. If the ball is hit to the "Safe Single Zone" (square leg, fine leg, or behind point), B1 calls "YES" immediately. If the ball is hit toward the "Danger Zone" (mid-on, mid-off, or cover), B1 must assess whether the fielder is moving quickly before committing.
5. Fielders should vary their effort — sometimes diving in quickly, sometimes moving slowly — to force genuine decision-making from the batsmen.
6. If a run-out occurs, the batting pair records a "wicket" on the scoreboard. The pair with the fewest wickets after 10 minutes wins the phase.
7. Rotate all players through batting and fielding roles. Each pair should bat for at least two 3-minute blocks.
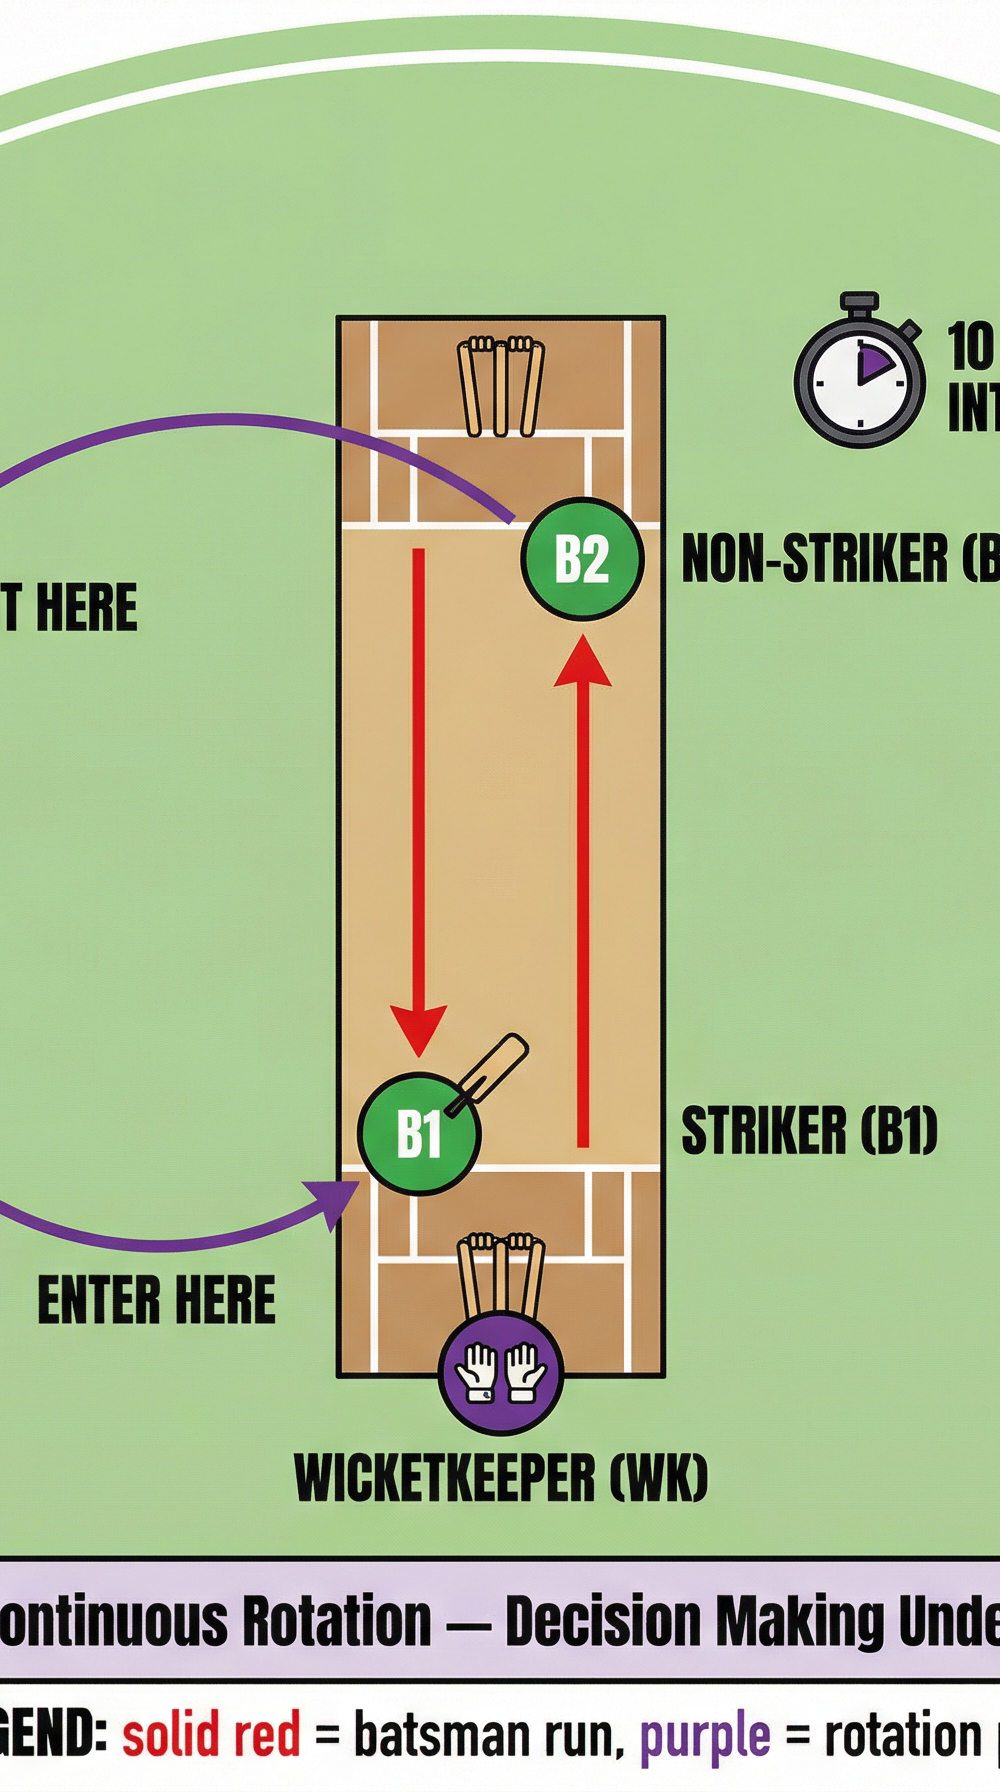
Phase 3 — Continuous Rotation: Decision Making Under Pressure (10 minutes)

1. All remaining players form the waiting queue off the leg side. The wicketkeeper (WK) takes position behind the stumps at the striker's end.
2. The coach feeds the ball to B1. The pair completes one run. After completing the run, B1 exits to the back of the queue and the next player in the queue enters as the new striker.
3. B2 remains as the non-striker for the next ball, becoming the experienced partner who guides the incoming batsman.
4. The coach feeds a new ball every 10 seconds, maintaining a high-intensity tempo. This simulates the mental pressure of rapid decision-making in T20 cricket.
5. Award 1 point per completed run and deduct 2 points per run-out. The player with the most points after all rotations wins.
6. In the final 3 minutes, increase the tempo to 7-second intervals to maximise decision-making pressure.
Key Coaching Points

1. The Call is Non-Negotiable. Every single run attempt must begin with a clear, loud verbal call. "YES", "NO", and "WAIT" are the only acceptable calls. Vague calls, hesitation, or silence are treated the same as a wrong call — they lead to run-outs. Drill this relentlessly from the first repetition.
2. The Striker Owns the Off-Side Call; the Non-Striker Owns the On-Side Behind Square. This division of responsibility eliminates the most common source of confusion. Post this rule on a cone or whiteboard at the session start so all players can refer to it.
3. First Step is Explosive — No Rocking. Many junior batsmen take a "rocking" step backward before committing to a run, losing 0.3–0.5 seconds. The first movement must be a direct, explosive drive forward toward the far crease. Use a 5-yard sprint marker to reinforce this.
4. Ground the Bat, Not the Foot. The bat, when grounded at full stretch, gives the batsman an extra 2–3 feet of reach compared to grounding the foot. This is the difference between safe and run out on a tight call. Demonstrate this visually with a measuring tape in the first session.
5. Always Back Up. The non-striker must be moving toward the striker's end as the ball is bowled or fed, not standing stationary. A good back-up position — 2–3 yards down the pitch — converts many twos into threes and is a mark of a professional batting partner.
6. Communicate After Every Ball. Between deliveries, the two batsmen should exchange a brief verbal update: field placement changes, fielder fatigue, or a reminder of the target run rate. This habit, built in training, pays dividends in match pressure.
Common Mistakes

Mistake 1 — Calling "YES" Too Late. The most common error at all levels. Batsmen wait until the ball has reached the fielder before calling, by which point it is too late to run safely. Correction: Introduce a "1-second rule" — if the call has not been made within 1 second of bat-to-ball contact, the coach blows a whistle and the rep is reset. Reinforce early calling with verbal praise.
Mistake 2 — Running Down the Middle of the Pitch. Batsmen who run in the centre of the pitch obstruct each other and slow both runners down. Correction: Place two cones 1 metre either side of the centre line to create two defined running lanes. B1 runs on the off side of the pitch; B2 runs on the leg side. Enforce this strictly in Phase 1 before introducing fielders.
Mistake 3 — Grounding the Foot Instead of the Bat. Particularly common in under-12 groups who have not been coached on the technique. Correction: Conduct a 2-minute demonstration at session start. Have a player stand at the crease and show the reach difference between foot-grounding and bat-grounding. Use a measuring tape to make the distance tangible.
Mistake 4 — The Non-Striker Not Backing Up. The non-striker stands flat-footed at the crease, waiting to see if the striker hits the ball before moving. Correction: Assign a coach or senior player to watch only the non-striker during Phase 1. Call out every instance where the non-striker is not moving as the ball is played.
Mistake 5 — Hesitation on the "WAIT" Call. When a "WAIT" call is made, one batsman often continues running while the other stops, leading to a collision or a run-out. Correction: Practise the "WAIT" scenario specifically — feed the ball to a fielder who is in a strong position, and require B1 to call "WAIT" loudly. Both batsmen must freeze immediately and return to their original crease.
Variations & Progressions
Variation 1 — Blind Fielder (Easier). Remove the fielders entirely and have the coach call out a zone ("off side", "mid-wicket", "straight") after the ball is played. Batsmen must imagine a fielder in that zone and make their run decision accordingly. This reduces the cognitive load and is ideal for introducing the drill to beginners or younger age groups.
Variation 2 — Two-Run Challenge (Harder). Instruct batsmen that every ball must result in at least two runs. This forces aggressive running and turning quickly at the crease. Introduce a live wicketkeeper and a fielder at mid-on to create genuine run-out pressure on the second run. Award bonus points for completed twos.
Progression — Match Simulation with Full Fielding Unit. Once pairs are comfortable with Phases 1–3, run a full 6-over simulation with all 11 fielders in position. The batting pair must score as many runs as possible in 6 overs using only running — no boundaries count. This is the ultimate test of the skills developed in the drill and provides a direct, measurable outcome coaches can track across sessions.
Age Adaptations
| Age Group | Key Adaptations |
|---|---|
| Under 8 / Under 10 | Shorten pitch to 16 yards. Use a tennis ball or incrediball. Focus only on Phase 1 (call and run). Use coloured cones to mark the crease visually. Keep sessions to 15 minutes maximum. Praise effort over outcome. |
| Under 12 / Under 14 | Use full 22-yard pitch. Introduce Phase 2 with 2 fielders (not 3). Emphasise bat-grounding technique. Introduce the concept of calling zones (striker calls off-side, non-striker calls on-side). Sessions of 20–25 minutes. |
| Under 16 / Open | Run all three phases in sequence. Introduce the wicketkeeper in Phase 3. Use timed intervals (10 seconds, then 7 seconds). Introduce the match simulation progression. Track run tallies and use competitive scoring to drive intensity. Sessions of 30–45 minutes. |