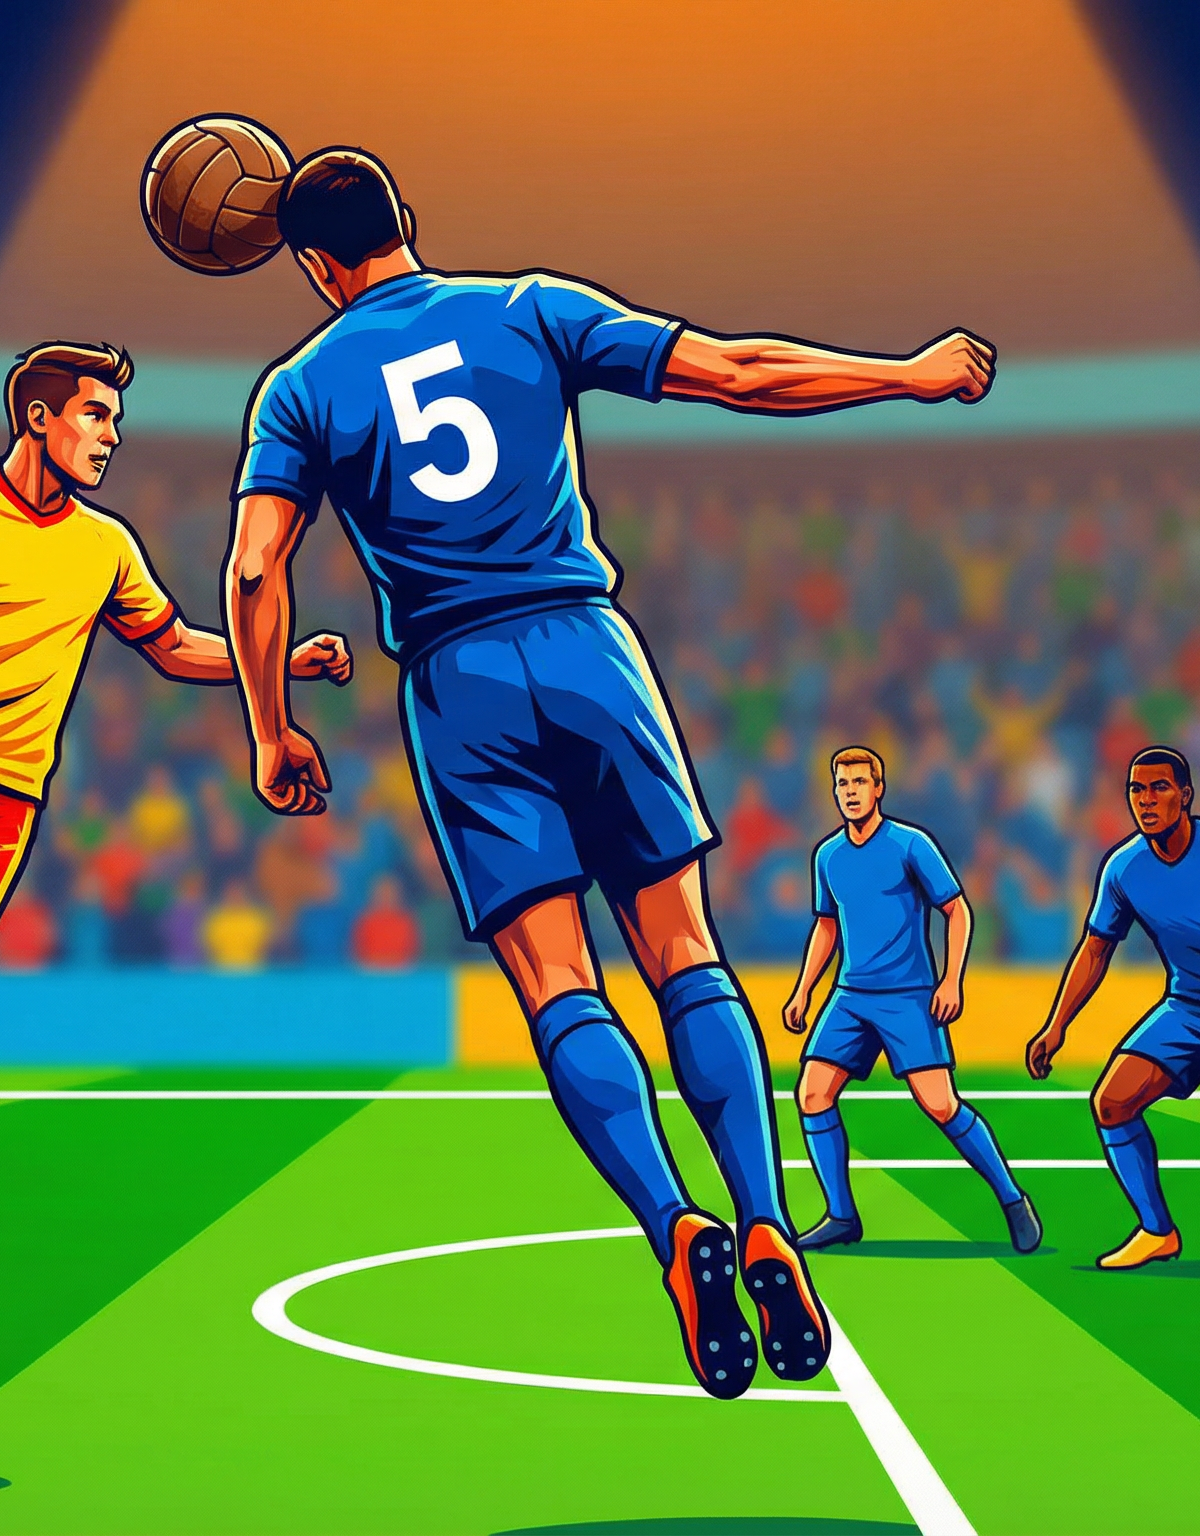
Dominant Defensive Heading: The Clear and Recover Drill
Master the art of defensive heading under pressure, focusing on height, distance, and immediate recovery to maintain defensive shape.
Equipment Needed
1. Overview
Defending crosses and aerial balls is a fundamental requirement for any successful football team. The 'Clear and Recover' defensive heading drill is designed to develop a defender's ability to attack the ball aggressively in the air, clear it with height and distance, and immediately reorganise their defensive shape. This drill bridges the gap between unopposed technical heading practice and fully contested match scenarios, allowing coaches to isolate the mechanics of a defensive header while still demanding the tactical awareness needed in a game situation. It is particularly effective for centre-backs and full-backs who frequently deal with wide deliveries into the penalty area.
2. Setup

To ensure the drill runs smoothly and replicates match conditions, setting up the pitch correctly is crucial. The drill takes place within the standard penalty area and its immediate surroundings.
Pitch Dimensions: Standard penalty area (18 yards x 44 yards) and the adjacent wide channels.
Player Positions:
- Goalkeeper (GK): Positioned on the goal line, ready to communicate and claim balls if necessary.
- Centre-Backs (CB1 & CB2): Positioned centrally, initially around 6-8 yards from the goal line.
- Full-Backs/Wide Defenders (RB & LB): Positioned wider, ready to tuck in or engage wide players.
- Servers (S1 & S2): Positioned on the left and right wings, just outside the penalty area, equipped with an ample supply of footballs.
3. Step-by-Step Instructions
Follow these steps to execute the drill effectively, ensuring players understand both the technical execution and the tactical movements required.
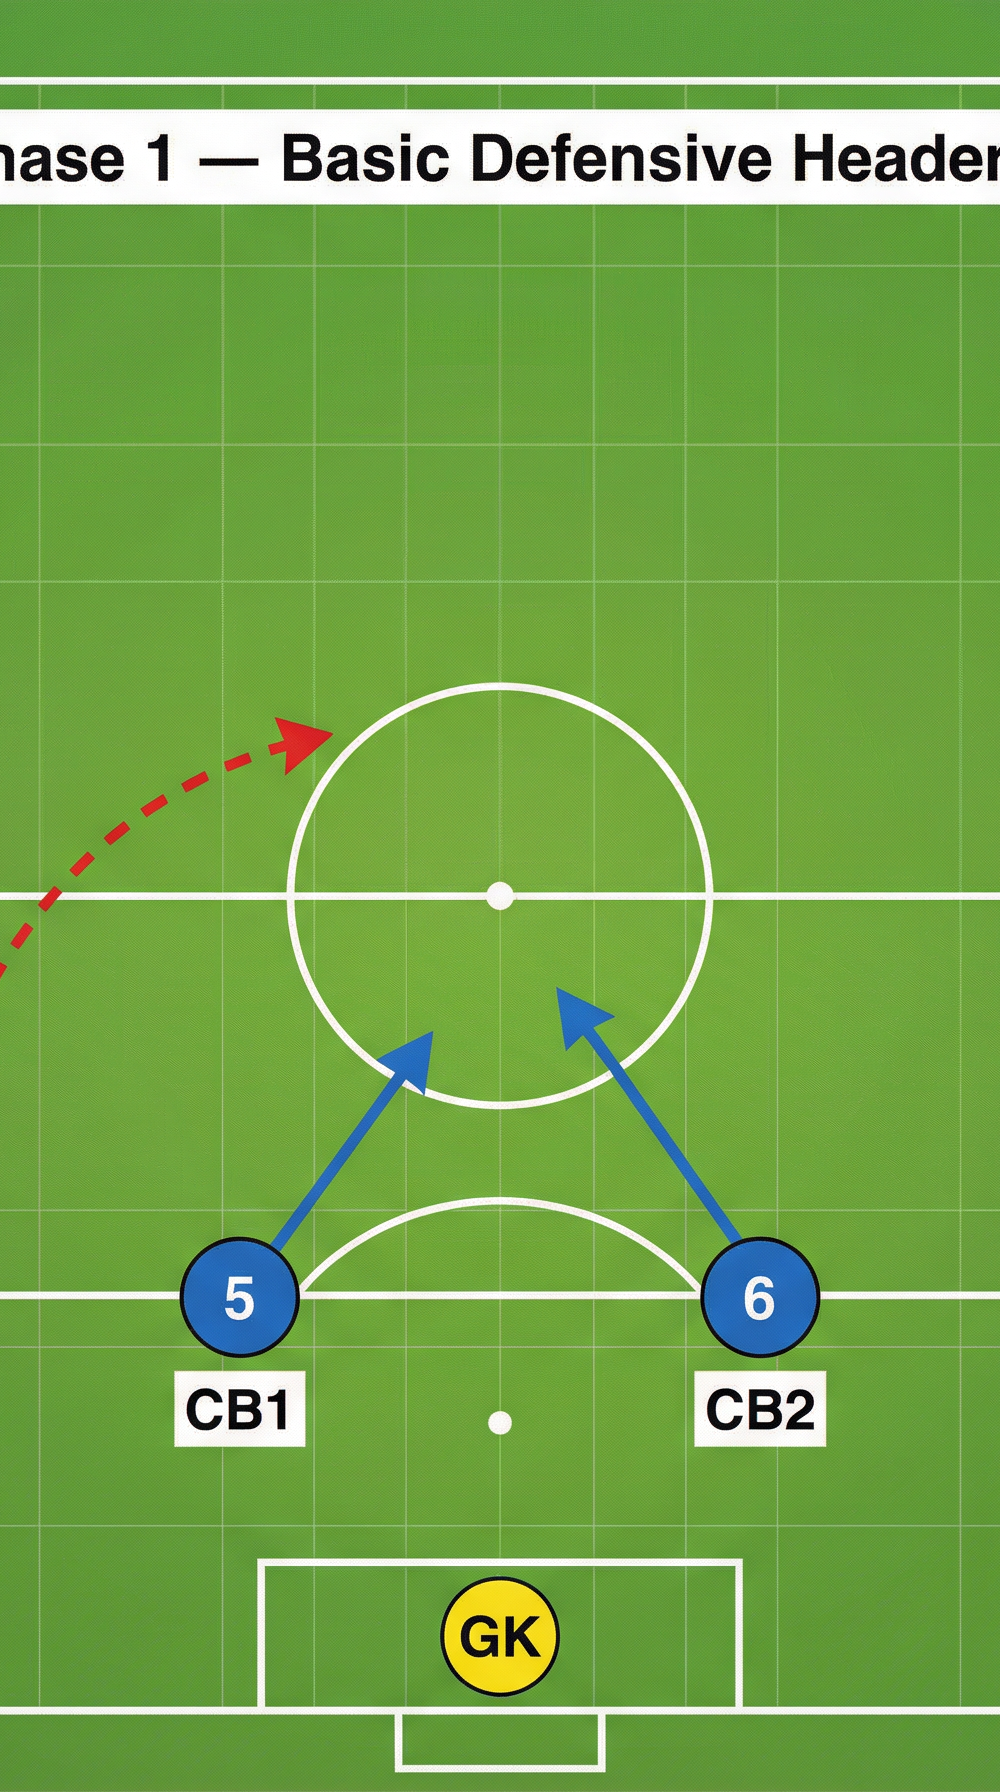
- Starting Position: The defensive unit (CB1, CB2, RB, LB) begins in a compact, organised shape inside the penalty area, simulating a defensive block preparing for a cross.
- The Trigger: The coach blows the whistle or calls "Play!" to initiate the sequence. Server 1 (S1) on the right wing prepares to deliver a cross.
- The Delivery: S1 delivers a lofted cross into the central area of the penalty box, aiming between the penalty spot and the six-yard box.
- Attack the Ball: The designated defender (usually CB1 or CB2, depending on the trajectory) must aggressively attack the ball at its highest point. The focus here is purely on generating power, height, and distance on the clearance, directing the ball wide and away from the danger zone.
- The Recovery: Immediately after the header is won and the ball is cleared, the entire defensive unit must push out and reorganise. The defender who headed the ball must quickly recover their position within the defensive line.
- Second Phase (Progression): Once the unit has recovered its shape, Server 2 (S2) on the opposite wing immediately delivers a second cross. The unit must adjust their body shape, track the flight of the new ball, and execute another dominant defensive header.
- Reset: After the second clearance, the unit resets to the starting position. Rotate the servers and defenders periodically to ensure all players practice both roles.

4. Key Coaching Points

To maximise the effectiveness of this drill, coaches should consistently reinforce these critical technical and tactical elements.
- Aggressive Starting Position: Defenders must start in a slightly staggered stance, on their toes, ready to explode towards the ball. They should not be caught flat-footed.
- Attack the Ball at the Highest Point: Timing the jump is essential. Players must meet the ball in the air, rather than waiting for it to drop, to generate maximum power and prevent attackers from challenging.
- Use the Forehead for Power: The contact point must be the flat, hard surface of the forehead. Players should keep their eyes open and their mouth closed, driving their head through the bottom half of the ball to achieve height and distance.
- Clear Wide and High: The primary objective is safety. Clearances should be directed towards the wide areas of the pitch, away from the central danger zone, and with enough height to allow the defensive line time to push out.
- Immediate Reorganisation: The drill does not end with the header. The defensive unit must react instantly to the clearance, pushing up the pitch to compress the space and catching any lingering attackers offside.
5. Common Mistakes

Watch out for these frequent errors and correct them immediately to prevent bad habits from forming.
- Waiting for the Ball: Defenders allowing the ball to come to them rather than attacking it. This gives attackers the opportunity to step in front and win the header.
- Heading with the Top of the Head: This results in a lack of power and direction, often causing the ball to drop dangerously inside the penalty area.
- Closing Eyes on Impact: Players closing their eyes out of fear or poor technique, leading to mistimed jumps and inaccurate clearances.
- Ball Watching After the Header: Defenders admiring their clearance instead of immediately recovering their position and reorganising the defensive line.
6. Variations & Progressions

Adapt the drill to suit the skill level of your players and to introduce new challenges as they improve.
- Add Passive Attackers: Introduce one or two attackers who make runs into the box but do not actively challenge for the ball. This forces defenders to track runners and make decisions under slight pressure.
- Active Contested Headers: Progress to fully contested headers by adding active attackers who compete for the cross. This replicates match conditions and tests the defenders' bravery and timing.
- Vary the Delivery: Have the servers deliver different types of crosses—driven, floated, near post, far post—to challenge the defenders to adjust their positioning and technique accordingly.
7. Age Adaptations

Tailor the drill to ensure it is safe and developmentally appropriate for different age groups.
- Under 8 - Under 10: Focus heavily on the basic mechanics of heading using lighter, softer footballs (e.g., sponge balls or size 3 balls). Remove the complex tactical movements and concentrate on attacking the ball with the forehead and keeping eyes open. Ensure distances are short and deliveries are gentle.
- Under 12 - Under 14: Introduce standard footballs (size 4) but maintain a focus on technique over raw power. Begin integrating the recovery phase and the concept of clearing the ball wide. Start with unopposed headers before gradually introducing light, passive pressure.
- Under 16 - Open: Utilise full-size footballs (size 5) and demand match-realistic intensity. Incorporate active attackers, complex variations in delivery, and strict enforcement of the immediate reorganisation phase. The focus should be on dominance, communication, and tactical discipline.