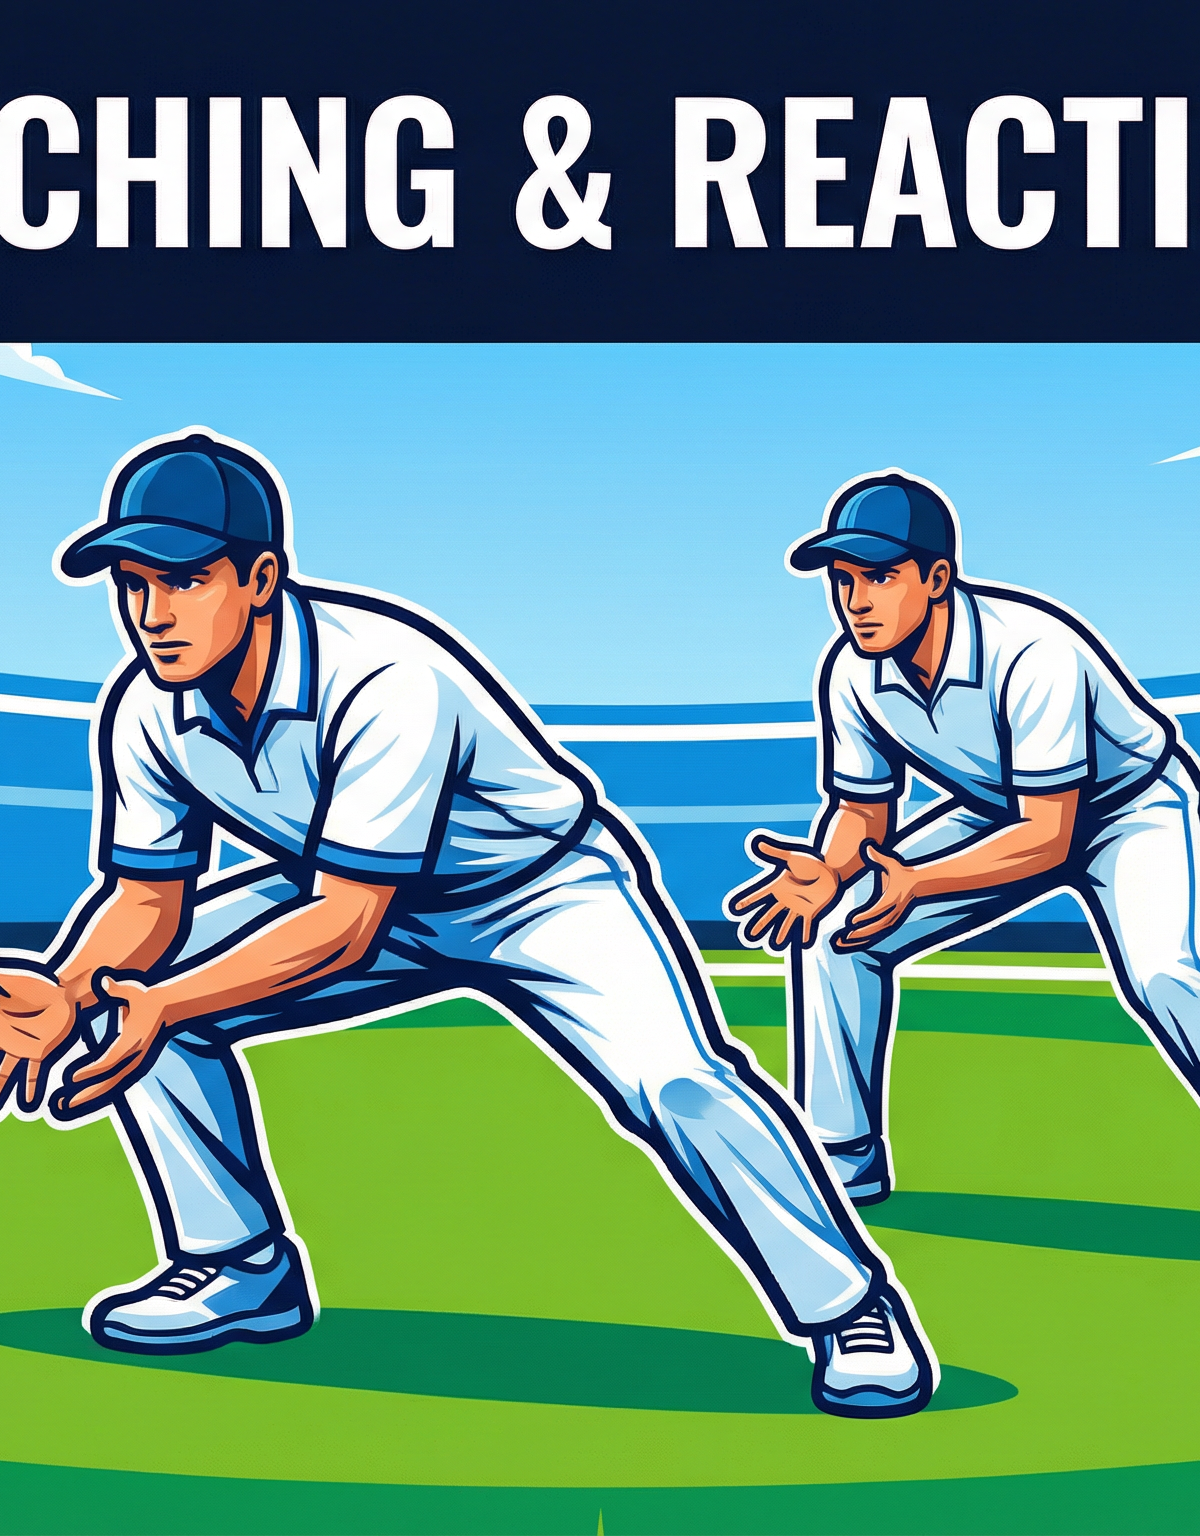
Elite Slip Catching & Reaction Drill: Building the Perfect Cordon
Master the art of slip catching with this high-intensity reaction drill designed to improve hand-eye coordination, low-stance endurance, and peripheral vision in the cordon.
Equipment Needed
1. Overview
The slip cordon is arguably the most crucial catching position in Cricket, demanding exceptional concentration, lightning-fast reflexes, and impeccable technique. This Elite Slip Catching & Reaction Drill is designed to simulate the unpredictable nature of edges off the bat. By incorporating rapid-fire feeding and lateral movement, coaches can condition players to maintain a low, athletic base while reacting instinctively to deflections. This drill is perfect for pre-match warm-ups or dedicated fielding sessions, ensuring your cordon is primed to convert half-chances into match-winning dismissals.
2. Setup

Proper setup is vital to replicate match conditions safely and effectively.
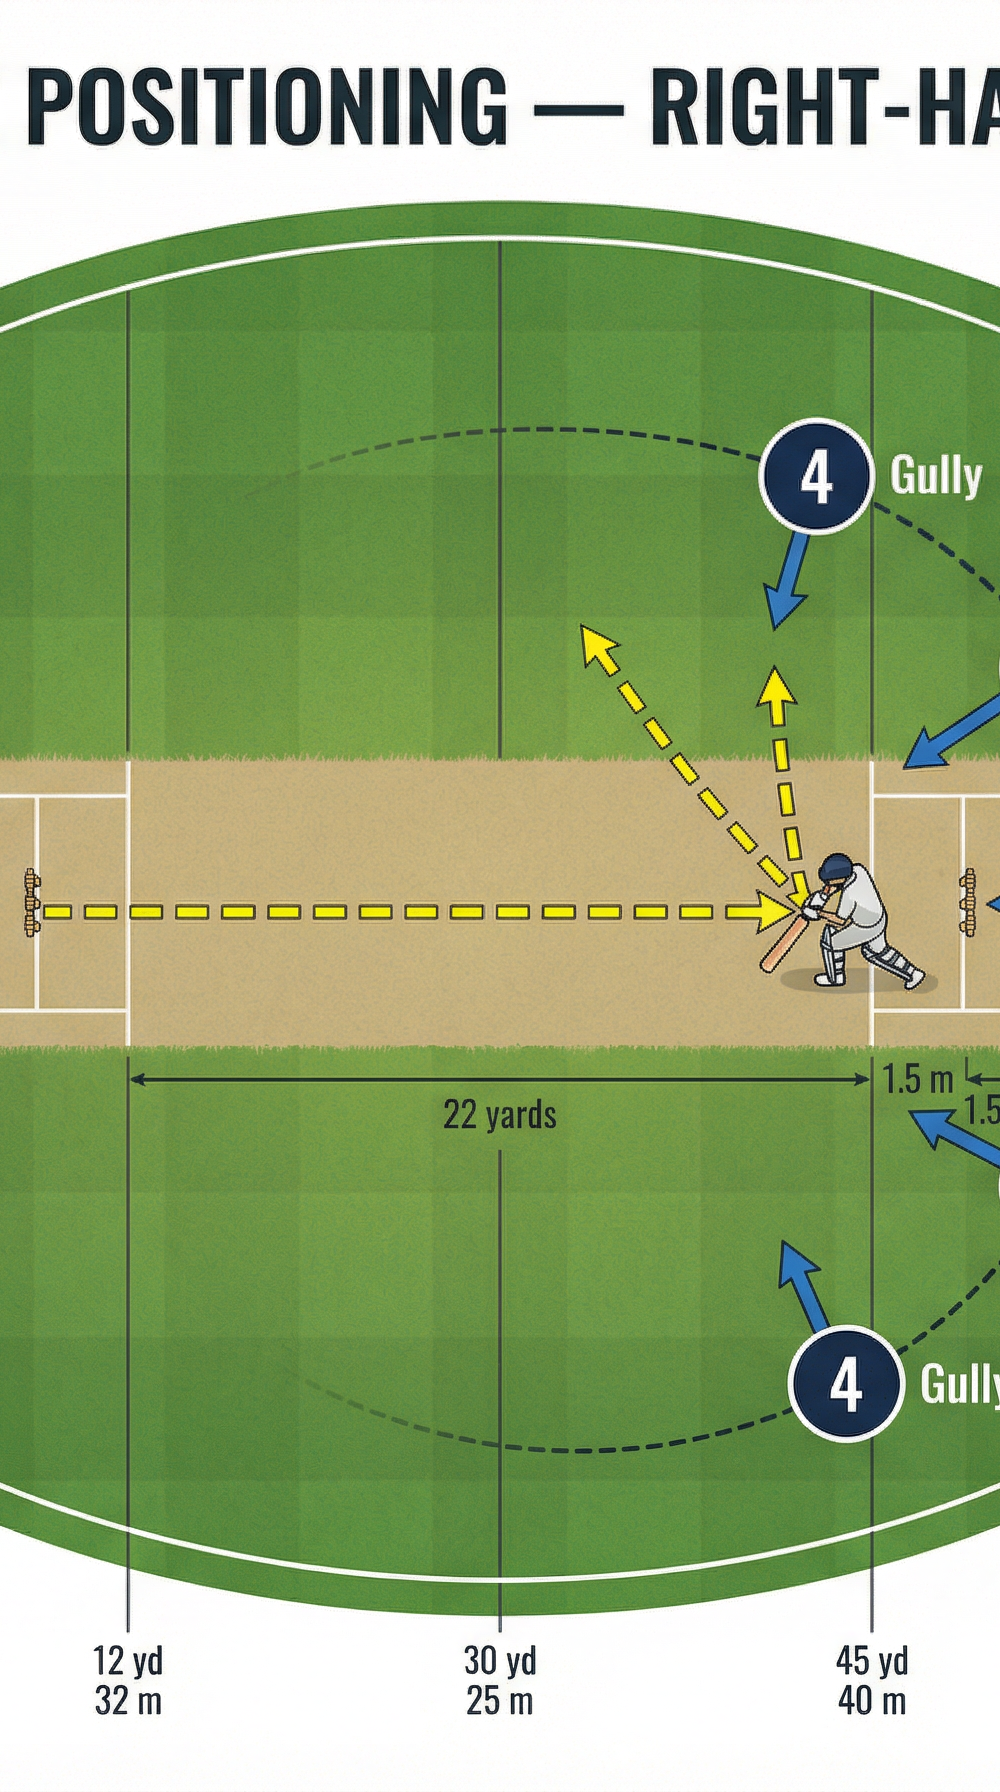
Pitch/Field Setup:
- Utilize the edge of the square or a dedicated fielding area on the oval.
- Mark out a 3-metre wide 'Catching Zone' using flat markers.
- Position the coach (feeder) exactly 5 metres away from the Catching Zone.
Player Positions:
- Arrange 4 players (P1, P2, P3, P4) in a single-file queue just outside the Catching Zone.
- The active player steps into the Catching Zone, adopting a standard slip fielding stance (feet shoulder-width apart, knees bent, weight slightly forward).

3. Step-by-Step Instructions
Follow these precise steps to execute the drill efficiently:
- Stance and Readiness: The active player (P1) steps into the Catching Zone and assumes a low, balanced slip stance. Hands must be cupped and ready, fingers pointing downwards.
- The Feed: The coach, standing 5 metres away, throws the ball firmly towards P1. The throw should vary in height and lateral deviation to simulate different types of edges.
- The Catch: P1 reacts to the trajectory, moving their feet if necessary, and secures the catch with soft hands, bringing the ball into the body to cushion the impact.
- Rotation: Immediately after securing the catch (or retrieving a drop), P1 tosses the ball back to the coach and quickly rotates to the back of the player queue.
- Next Player: As soon as P1 clears the zone, P2 steps in and assumes the ready position. The coach feeds the next ball without delay to maintain high intensity.
- Cycle: Repeat the sequence continuously for a set duration or number of catches per player.
4. Key Coaching Points
To maximize the effectiveness of this drill, emphasize the following technical aspects:
- Stay Low and Balanced: Players must maintain a low centre of gravity. The head should remain still, and eyes must track the ball from the feeder's hand all the way into the palms.
- Soft Hands: Encourage players to 'give' with the ball upon impact. Snatching at the ball increases the likelihood of drops.
- Fingers Down: For low catches, fingers should point towards the ground. For catches above waist height, fingers point upwards. Never catch with fingers pointing directly at the ball.
- Weight Forward: Weight should be slightly on the balls of the feet to allow for explosive lateral movement. Flat-footed fielders cannot react quickly enough to wide edges.
- Peripheral Awareness: While focusing intensely on the ball, players should maintain spatial awareness of their position within the 'cordon' to avoid collisions.
5. Common Mistakes
Watch closely for these frequent errors and correct them immediately:
- Rising Too Early: Players anticipating the bounce and standing up before the ball reaches them, leading to dropped low catches.
- Hard Hands: Pushing the hands out aggressively towards the ball, causing it to bounce out of the palms.
- Poor Base: Standing with feet too close together, resulting in a lack of balance and inability to dive effectively.
- Taking Eyes Off the Ball: Looking away at the last fraction of a second, often due to fear of impact or premature celebration.
6. Variations & Progressions
Keep the drill challenging by introducing these variations:
- The Deflection Board (Progression): Place a Katchet ramp or a slip cradle between the coach and the fielder to create unpredictable, realistic deflections.
- Rapid Fire (Progression): Use two coaches feeding alternately to reduce the reaction time between catches, testing stamina and concentration.
- One-Handed Focus (Variation): Instruct players to catch using only their dominant, then non-dominant hand to build unilateral coordination.
7. Age Adaptations
Tailor the drill to suit the developmental stage of your players:
- Under 10s: Use softer incrediballs or tennis balls. Reduce the feeding distance to 3 metres and focus purely on the fundamental cup technique rather than lateral movement.
- Under 14s: Introduce harder training balls. Increase the lateral spread of the feeds to encourage footwork and diving safely.
- Open/Seniors: Use match-quality cricket balls. Incorporate deflection ramps and rapid-fire feeding to challenge elite reaction times.