One-Touch Passing Combination Drill: The Triangle Interchange
Master the art of quick combination play with this high-intensity one-touch passing drill that sharpens decision-making, body shape, and movement off the ball — ready to run in your next session.
Equipment Needed
Overview
The Triangle Interchange is a structured one-touch passing combination drill designed to develop the technical and cognitive foundations of quick combination play. At its core, this drill trains players to prepare their body shape before receiving, read the movement of teammates, and execute crisp, weighted passes under time pressure — all without the luxury of a second touch.
This drill is most effective when used in the technical warm-up phase of a session (minutes 10–25), after players have completed a physical activation. It is equally valuable as a standalone technical session for midfielders, full-backs, and attacking players who are expected to play quickly in tight spaces. The principles it reinforces — scanning, body orientation, weight of pass, and movement after the ball — are directly transferable to match situations such as third-man runs, overlapping combinations, and central midfield interchanges.
Coaches working within a possession-based or high-press system will find this drill particularly aligned with their game model, as it demands the same cognitive speed and spatial awareness required in a 4-3-3 or 4-2-3-1 structure.
Setup
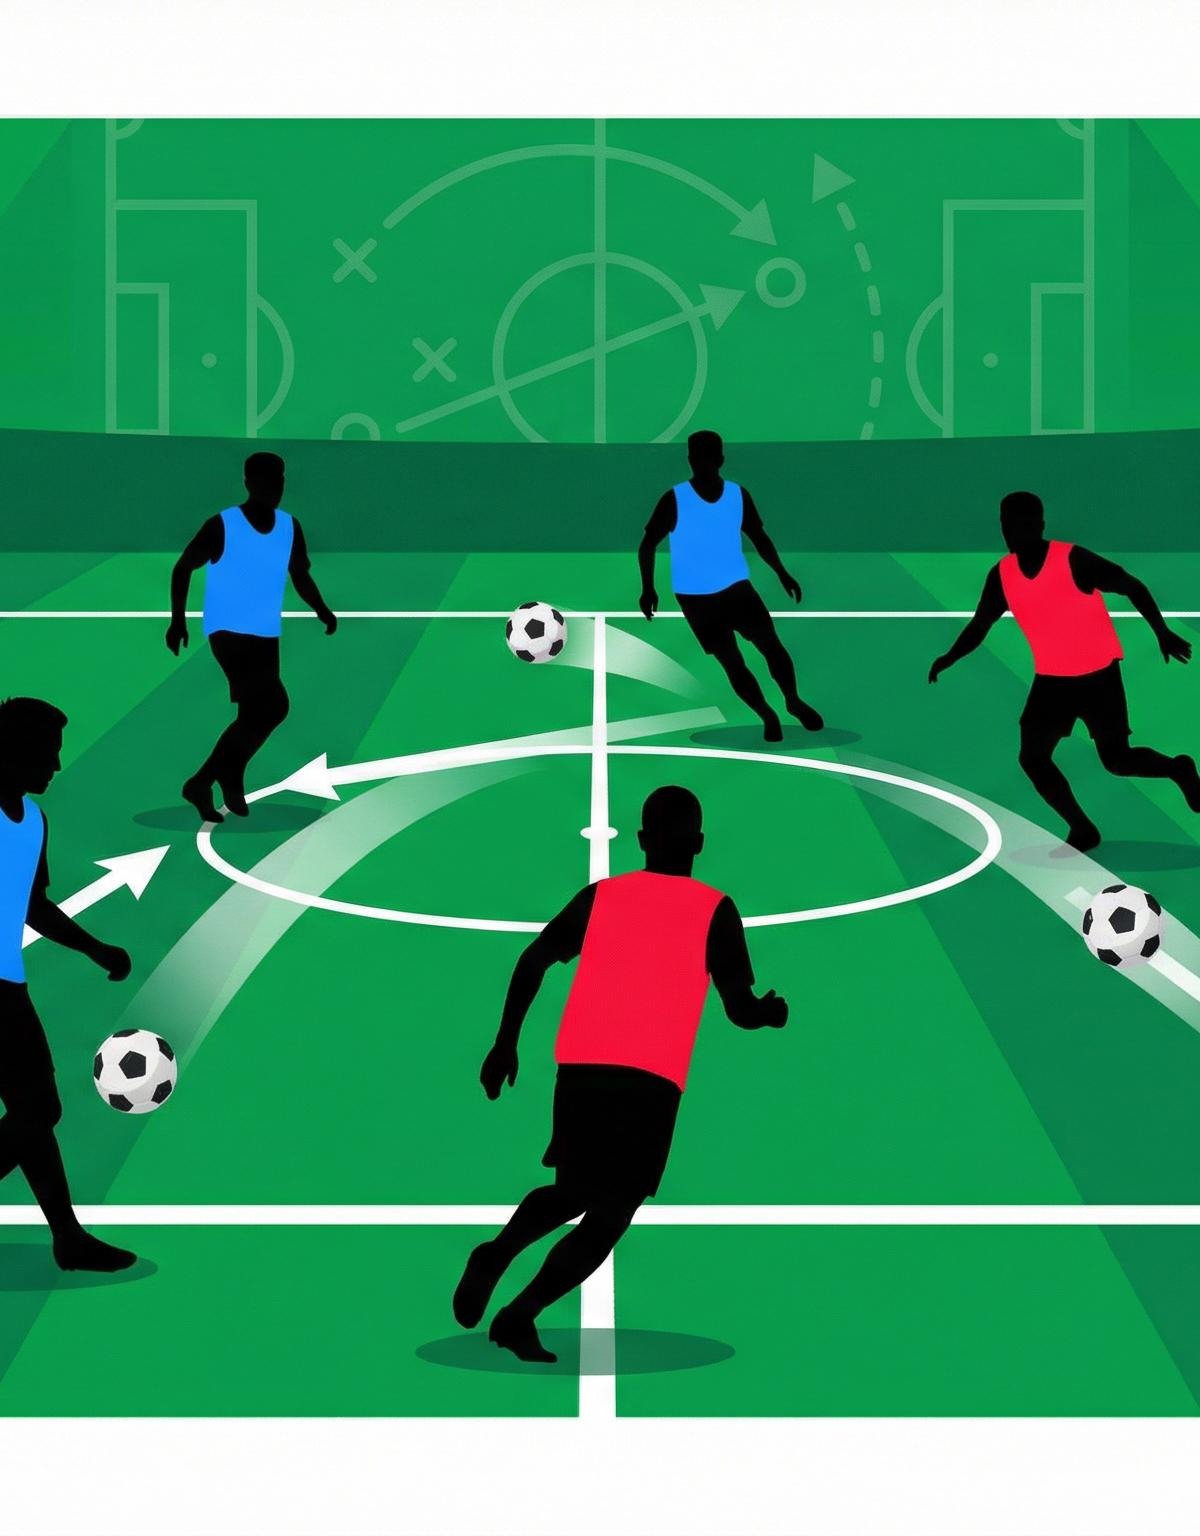
Pitch Area: A 20m × 20m grid marked with flat cones at each corner. This drill operates as a self-contained unit and can be run simultaneously in multiple grids across the training pitch, making it highly scalable for larger squads.
Players Required: 7–9 players per grid (minimum 7 to maintain flow; additional players rotate in at designated positions).
Equipment Needed:
- 8 flat cones (4 corner markers, 4 midpoint markers)
- 4–6 footballs (to maintain tempo and reduce stoppages)
- Training bibs in 2 colours (to distinguish roles if running a constrained variation)
- Agility poles (optional, for the advanced variation)
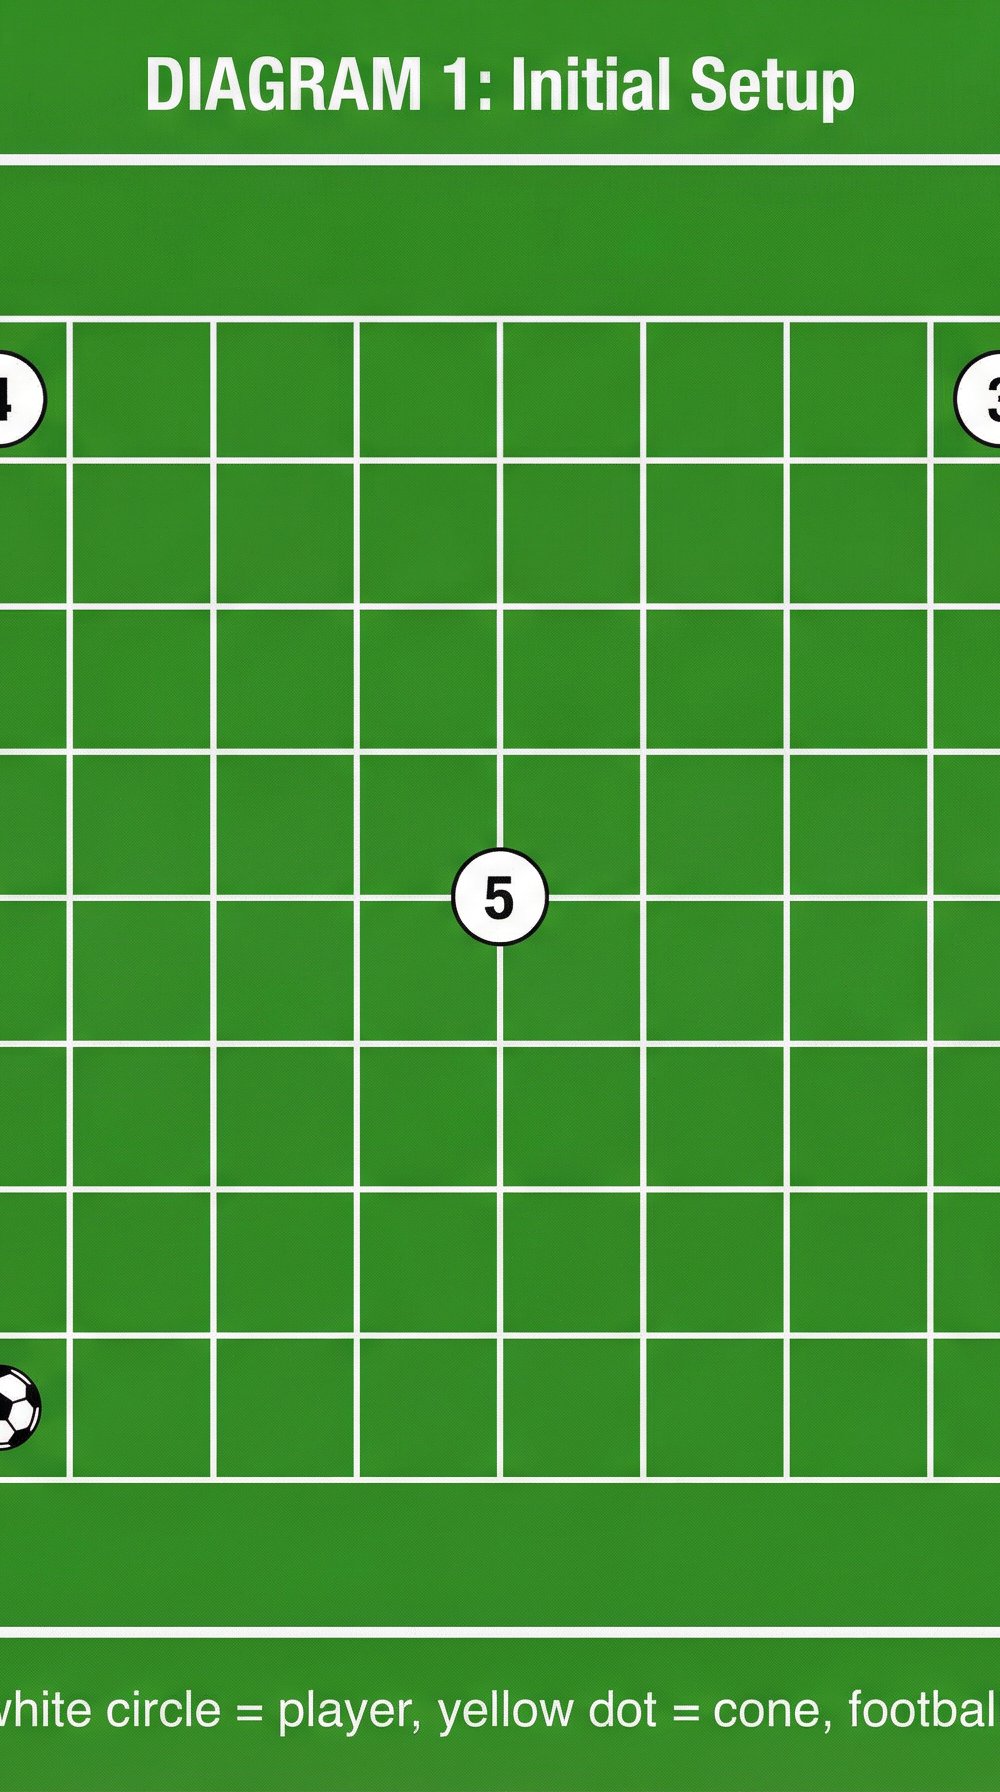
Player Positions and Starting Locations:
| Position | Starting Location | Role in Drill |
|---|---|---|
| P1 (e.g. CM / #8) | Bottom-left corner cone | Ball starter, initiates sequence |
| P2 (e.g. RB / #2) | Bottom-right corner cone | Receives and recycles wide |
| P3 (e.g. RW / #7) | Top-right corner cone | Wide outlet, plays into P5 |
| P4 (e.g. LW / #11) | Top-left corner cone | Wide outlet, finishes sequence |
| P5 (e.g. CAM / #10) | Centre of grid | Central pivot, plays one-touch lay-offs |
| P6 (e.g. LB / #3) | Left midpoint of grid edge | Wide relay player |
| P7 (e.g. CDM / #6) | Right midpoint of grid edge | Wide relay player |
Coaching Setup Tip: Before beginning, walk players through the sequence without the ball. Use verbal cues — "P1, you're the starter. P5, you're the wall. P6, you're the relay." Clarity of role before the ball moves is non-negotiable at this drill's pace.
Step-by-Step Instructions


The core passing sequence runs as follows. Each player touches the ball exactly once before it moves.
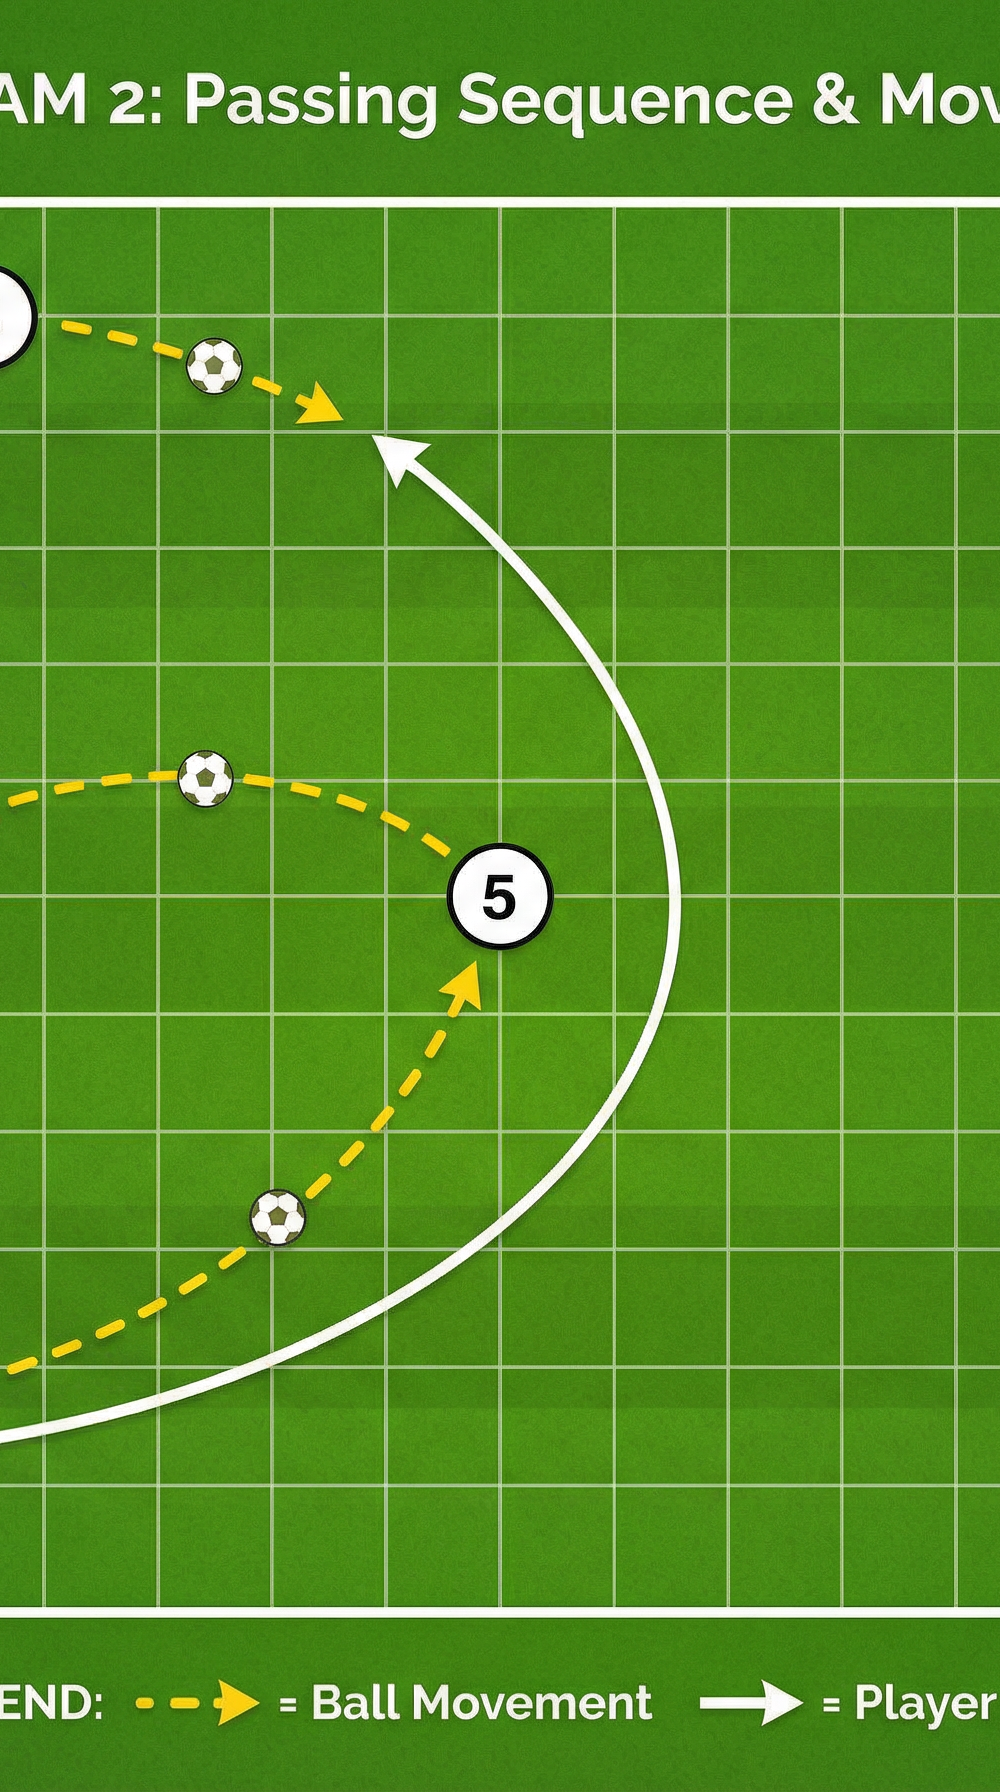
P1 plays a firm, angled pass into the feet of P5 at the centre of the grid. The pass should travel at pace — approximately 8–10 metres — and arrive at P5's stronger foot.
P5 receives and immediately lays the ball off with one touch to P6 on the left midpoint. P5's body shape must be open before the ball arrives so the lay-off is instant and accurate. P5 does not follow the ball — they hold their central position.
P6 plays one touch diagonally forward into P4 at the top-left corner cone. This pass should be driven along the ground, not floated.
Simultaneously, P1 makes a forward run after their initial pass, curving their run toward the top-left area of the grid to receive the next ball from P4.
P4 plays one touch into the path of the oncoming P1. The timing of P4's pass must match P1's run — the ball should arrive as P1 enters the space, not before.
P1 receives in stride and becomes the new "corner player" at the top-left position. P4 rotates to fill P1's vacated starting position at the bottom-left cone.
Rotate and repeat in the opposite direction. The sequence now mirrors itself: P2 starts from the bottom-right, P5 lays off to P7, P7 plays to P3, and P2 runs to receive from P3.
Session Timing: Run continuous sequences for 4 minutes, then rotate P5 (the central pivot) with a corner player. Allow 60 seconds between rotation sets. Complete 3–4 sets per session. Total drill time: approximately 20–25 minutes including rotations and coaching interventions.
Key Coaching Points

1. Body Shape Before the Ball Arrives
Every player must be half-turned and open to the field before the pass reaches them. A player who is square-on to the ball when it arrives cannot play one-touch effectively. Demand that players scan and orient themselves in the moment before the pass is made.
2. Weight and Accuracy of the Pass
One-touch passing is only possible if the incoming pass is accurate and correctly weighted. Emphasise that every player is responsible for making the next player's job easier. A heavy pass or a pass to the wrong foot breaks the sequence. Use the phrase: "Make it easy for your teammate."
3. The Runner Goes Before the Ball
P1's forward run must begin at the moment of the pass to P5, not after. If the runner waits to see where the ball goes, they will always be a step behind. Teach players to read the trigger — the moment a pass is played to the pivot, the runner commits.
4. The Pivot (P5) Must Be a Wall
P5's role is to be a reliable, efficient relay point. Their lay-off must be first-time, firm, and accurate every single time. If P5 takes two touches, the sequence breaks down. Focus coaching attention here — the pivot makes or breaks the drill.
5. Communication and Eye Contact
Players must communicate verbally and through eye contact before passes are made. A simple "yes" or "man on" call from P5 to P6 ensures the sequence flows without hesitation. Silent drills are slow drills.
6. Movement After the Ball
No player stands still after passing. Every pass must be followed by purposeful movement — either a run into space, a rotation to a new position, or a recovery to a support position. Reinforce the mantra: "Pass and move, always."
Common Mistakes

Mistake 1: Taking Two Touches
The most frequent error. Players who are not yet comfortable with one-touch play will instinctively take a controlling touch. Correction: Reduce the passing distance by 2–3 metres to give players more time, and emphasise body shape preparation. Praise players who attempt one-touch even if the execution is imperfect.
Mistake 2: Flat, Predictable Passes
Players tend to pass directly to a teammate's feet rather than into space or onto the correct foot. Correction: Instruct players to aim for the "inside of the far foot" — the foot furthest from the defender or the direction of the next pass. This small adjustment dramatically improves the flow of the sequence.
Mistake 3: The Runner Waits
P1 delays their forward run until they see the ball reach P5, arriving late and disrupting the timing of P4's pass. Correction: Use a verbal trigger system — coach shouts "Go!" as P1 plays the first pass. Over time, players internalise the trigger and self-regulate.
Mistake 4: P5 Drifting Off Their Central Position
The central pivot drifts toward the ball after playing the lay-off, leaving the centre of the grid vacant and disrupting the geometry of the sequence. Correction: Place a flat cone at P5's feet as a positional anchor. They must return to that cone after every touch.
Mistake 5: Loss of Tempo Between Sequences
After one sequence completes, players pause and wait rather than immediately resetting for the next repetition. Correction: Introduce a second ball, fed in by the coach from the sideline, the moment the first sequence completes. This forces players to stay alert and maintain concentration.
Variations & Progressions

Variation 1 — Directional Constraint (Easier)
Remove the forward run component and simply run the passing sequence around the grid in one direction (clockwise or counter-clockwise). Players pass and then follow their pass to the next position. This simplifies decision-making and is ideal for introducing the drill to a new group or for younger players developing basic one-touch technique.
Variation 2 — Add a Passive Defender (Intermediate)
Introduce a passive defender (shadow defender) who stands between P5 and P6, applying token pressure without tackling. This forces P5 to disguise the lay-off and encourages P6 to show for the ball at a better angle. Progress the defender to semi-active (can intercept but not tackle) once players are comfortable.
Progression — Three-Grid Combination with Positional Play (Advanced)
Expand the drill into a 40m × 30m area with three interconnected zones. After the Triangle Interchange sequence completes in Zone 1, the ball is transferred with one touch into Zone 2, where a new three-player combination begins. This replicates the positional play structures seen in elite pressing systems and demands sustained concentration and spatial awareness across a larger area. Limit the entire exercise to two touches maximum (one touch preferred) and introduce a 4v2 rondo in Zone 3 as the finishing element.
Age Adaptations
| Age Group | Grid Size | Key Modifications |
|---|---|---|
| Under 10 | 15m × 15m | Allow 2–3 touches; focus on body shape and communication only |
| Under 12 | 18m × 18m | Allow 2 touches; introduce one-touch lay-offs for the pivot only |
| Under 14 | 20m × 20m | Full drill as described; remove passive defender variation |
| Under 16 | 20m × 20m | Full drill with passive defender; introduce three-grid progression |
| Open / Senior | 22m × 22m | Full drill with semi-active defender; time-pressure constraints (8-second sequence limit) |
For Under 10s and Under 12s, the primary objective is not one-touch passing — it is developing the habit of scanning before receiving and understanding why body shape matters. Celebrate effort and awareness over technical perfection. For senior players, introduce a time constraint: if the full sequence is not completed within 8 seconds, the group restarts. This replicates the cognitive pressure of match-speed combination play.