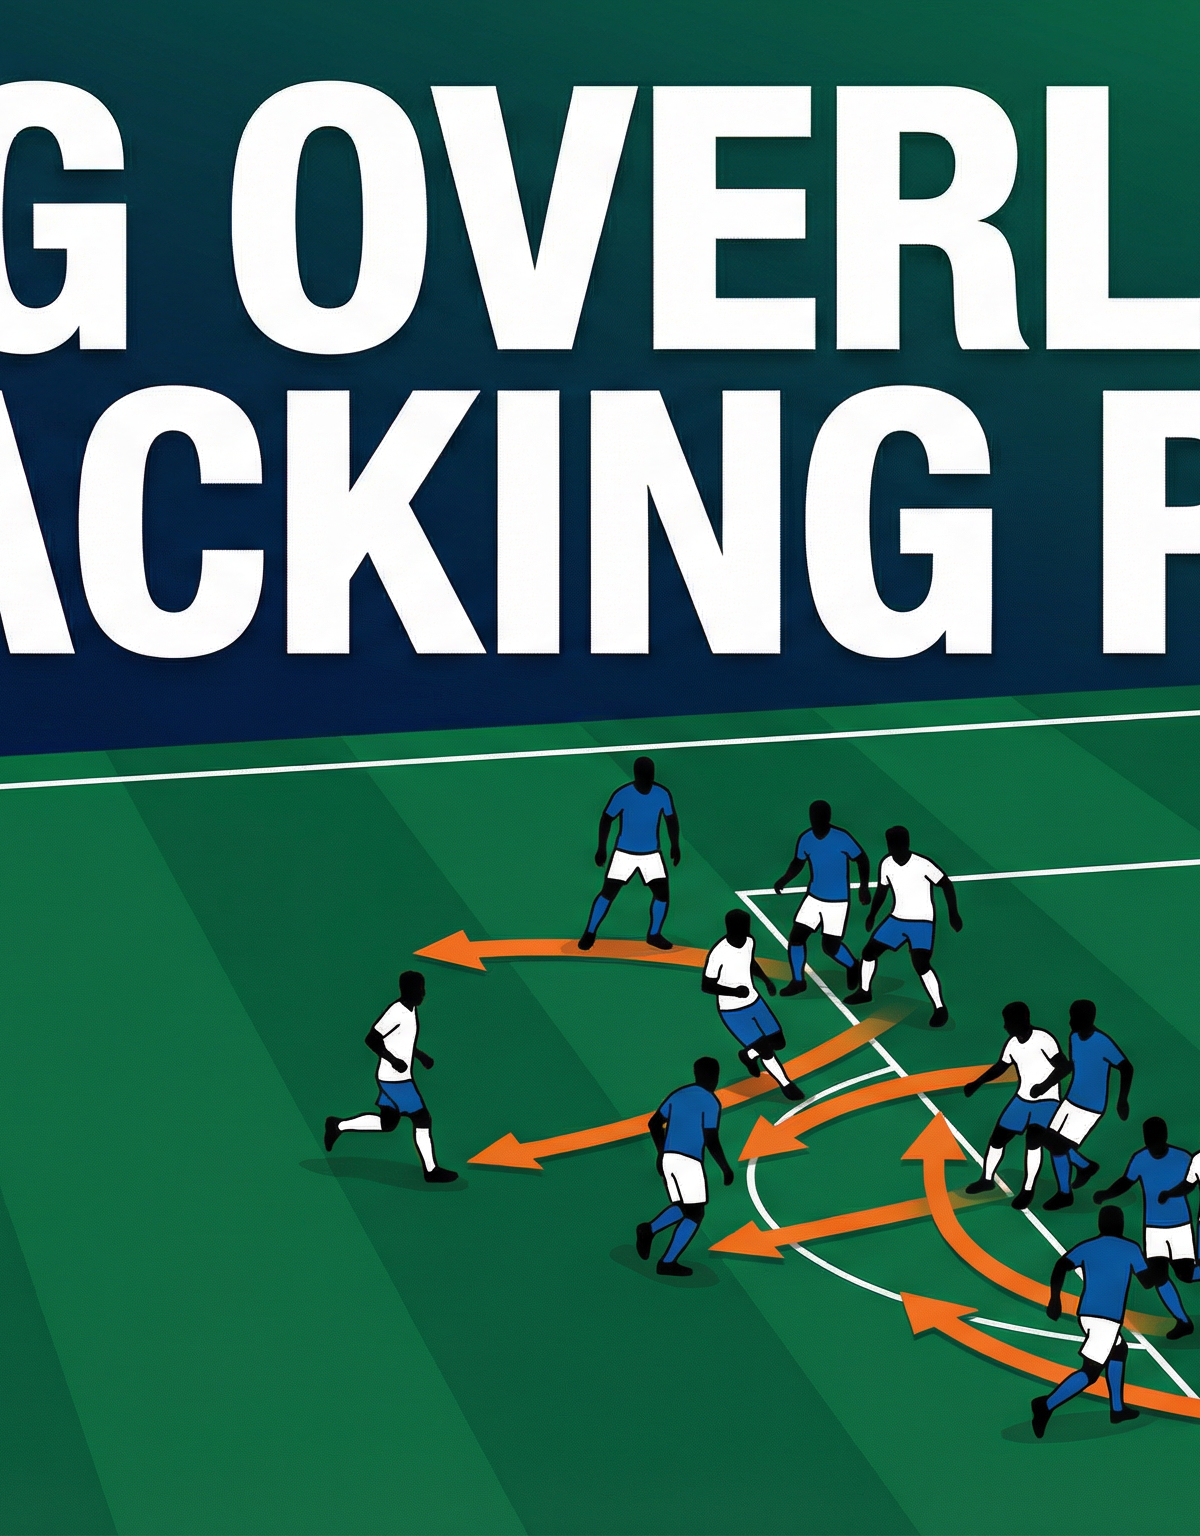
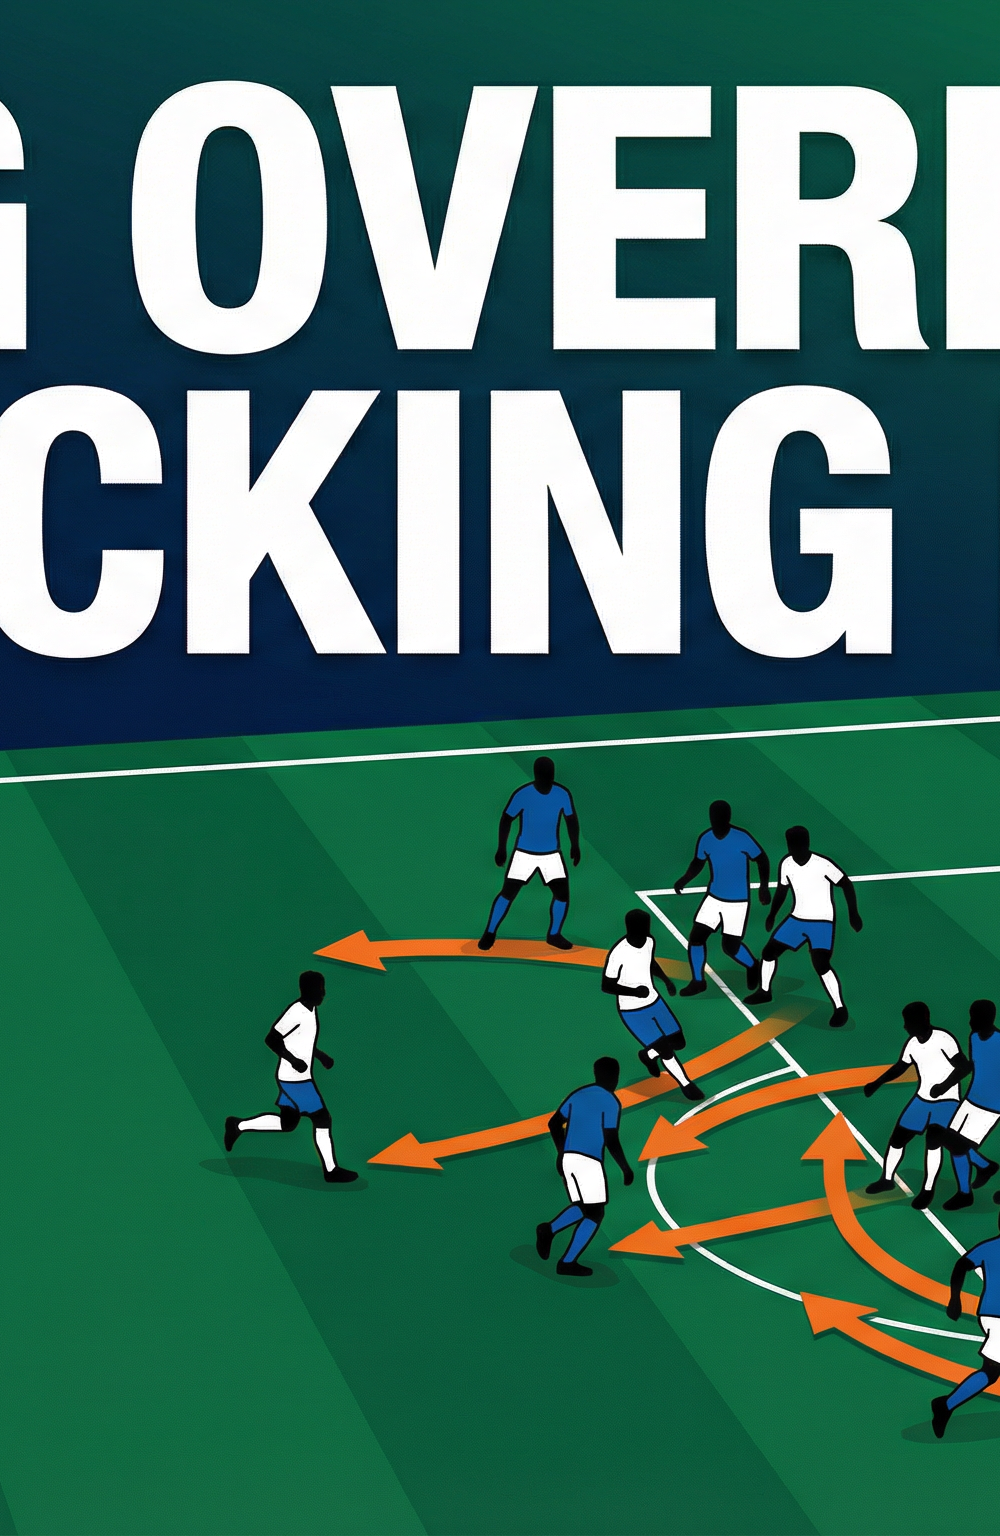
Wing Overload Attacking Play: Creating & Exploiting Numerical Superiority on the Flank
Master the wing overload to flood the right flank with three attackers, stretch the opposition's defensive shape, and deliver high-quality chances from wide areas.
Equipment Needed
Overview
The Wing Overload Attacking Play is one of the most reliable and repeatable patterns in modern football. Its core principle is straightforward: by committing three attacking players — the Right Winger (7), the Right Back (2), and the Attacking Midfielder (10) — into the same wide channel simultaneously, you create a 3v2 or 3v1 numerical advantage against the opposition's defensive flank. This forces the defending team into an impossible decision: either they commit extra defenders to cover the overload and leave the central striker (9) isolated one-on-one, or they hold their shape and surrender space for the overlapping run.
This play is most effective when your team wins possession in the central third and the opposition's defensive line is not yet fully set. It is equally potent from a structured build-up when the opposition sits in a mid-block, as the overload pulls their wide midfielder and full-back out of position, opening lanes for crosses, cutbacks, and late arrivals into the box. Use it as a primary attacking pattern in the final third, particularly when your Right Back has the athleticism to bomb forward and your Right Winger has the technical quality to beat a player one-on-one.
Setup

Equipment Required
| Item | Quantity |
|---|---|
| Full-size footballs (or age-appropriate) | 6–8 |
| Coloured bibs (two contrasting sets) | 14 |
| Flat marker cones | 20 |
| Tall poles or mannequins (optional, for defensive shape) | 4–6 |
| Portable goals or full-size goals | 2 |
Pitch Setup
Use a full-size pitch (100–110m x 64–75m) or a minimum 60m x 40m training area if working on the pattern in isolation. Mark out the right flank overload zone with cones: a corridor approximately 20m wide from the right touchline to the inside channel, running from the halfway line to the byline. This zone is the trigger area where the overload is activated.
Player Positions (4-2-3-1 Formation)
| Number | Position | Starting Location |
|---|---|---|
| 1 (GK) | Goalkeeper | Own goal |
| 2 (RB) | Right Back | Right defensive third, ready to advance |
| 3 (LB) | Left Back | Left flank, holding width |
| 4 (CB) | Centre Back | Left of centre, defensive third |
| 5 (CB) | Centre Back | Right of centre, defensive third |
| 6 (CDM) | Holding Midfielder | Just ahead of the back four, protecting |
| 8 (CM) | Central Midfielder | Central midfield, ball-playing role |
| 7 (RW) | Right Winger | Right flank, hugging the touchline |
| 10 (CAM) | Attacking Midfielder | Central, between the lines |
| 11 (LW) | Left Winger | Left flank, providing width and balance |
| 9 (ST) | Striker | Central attacking third, penalty area |
Step-by-Step Instructions

Step 1 — Build from the Back and Establish Possession (0–5 seconds)
The Goalkeeper (1) or Centre Backs (4, 5) play out from the back. The Holding Midfielder (6) drops to receive and recycle. The objective at this stage is to draw the opposition's press forward, creating space in behind their midfield line. The Right Back (2) holds a disciplined starting position on the right side of the defensive third — do not push forward yet.
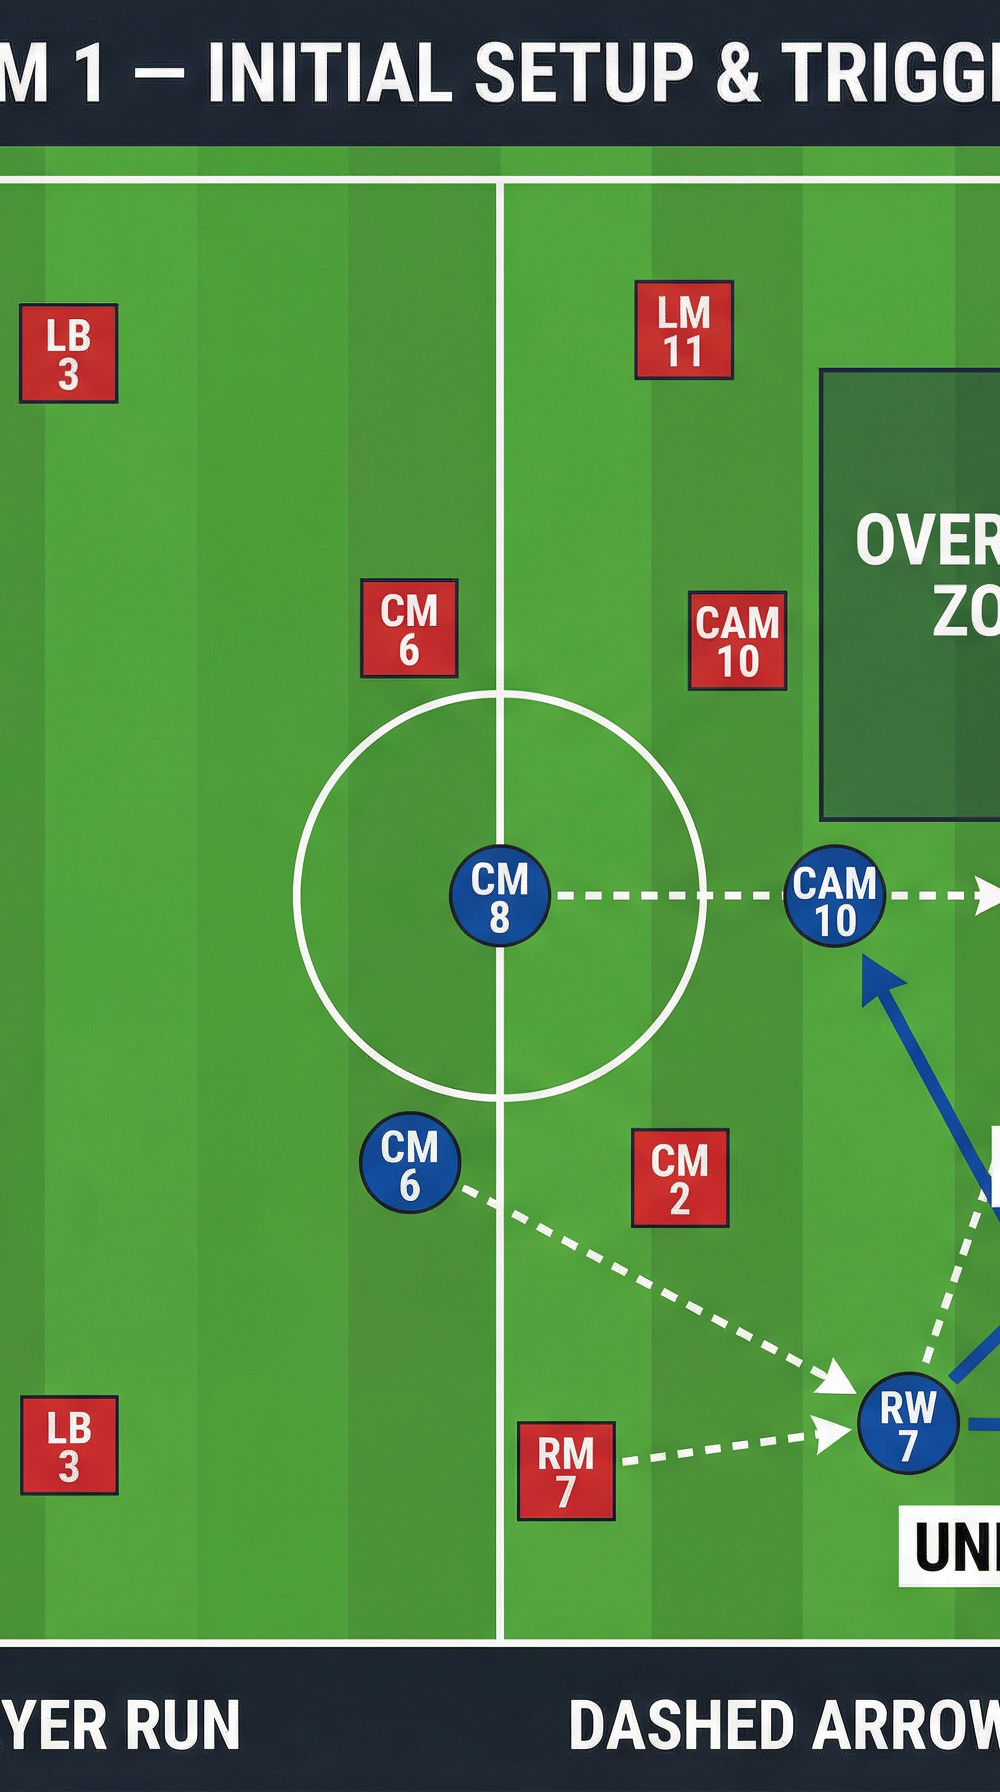
Step 2 — Central Midfielder (8) Receives and Scans (5–8 seconds)
Central Midfielder (8) receives from CM (6) and immediately scans over both shoulders. The trigger for the overload is the Right Winger (7) being in a 1v1 position on the right touchline, approximately 35–40m from goal. CM (8) must identify this and prepare to play the trigger pass.
Step 3 — Trigger Pass to Right Winger (7) (8–10 seconds)
CM (8) plays a firm, accurate pass into the feet of RW (7) on the right flank. This is the trigger pass — the moment all three overloading players begin their coordinated movement. The pass should be played to the back foot of RW (7) to give them time to turn and face the opposition goal.
Step 4 — Simultaneous Three-Player Movement (10–14 seconds)
As soon as RW (7) receives the ball, three movements happen simultaneously:
- RB (2) makes a powerful overlapping run outside RW (7), sprinting along the touchline toward the byline. This run must be timed to arrive at the byline just as RW (7) is ready to release the ball — approximately 3–4 seconds after the trigger pass.
- CAM (10) makes a sharp underlapping run inside RW (7), driving into the space between the opposition's right back and right centre-back. This run should arrive at the penalty spot area.
- ST (9) makes a near-post run, pulling the opposition's centre-backs toward the near post and creating space at the far post.
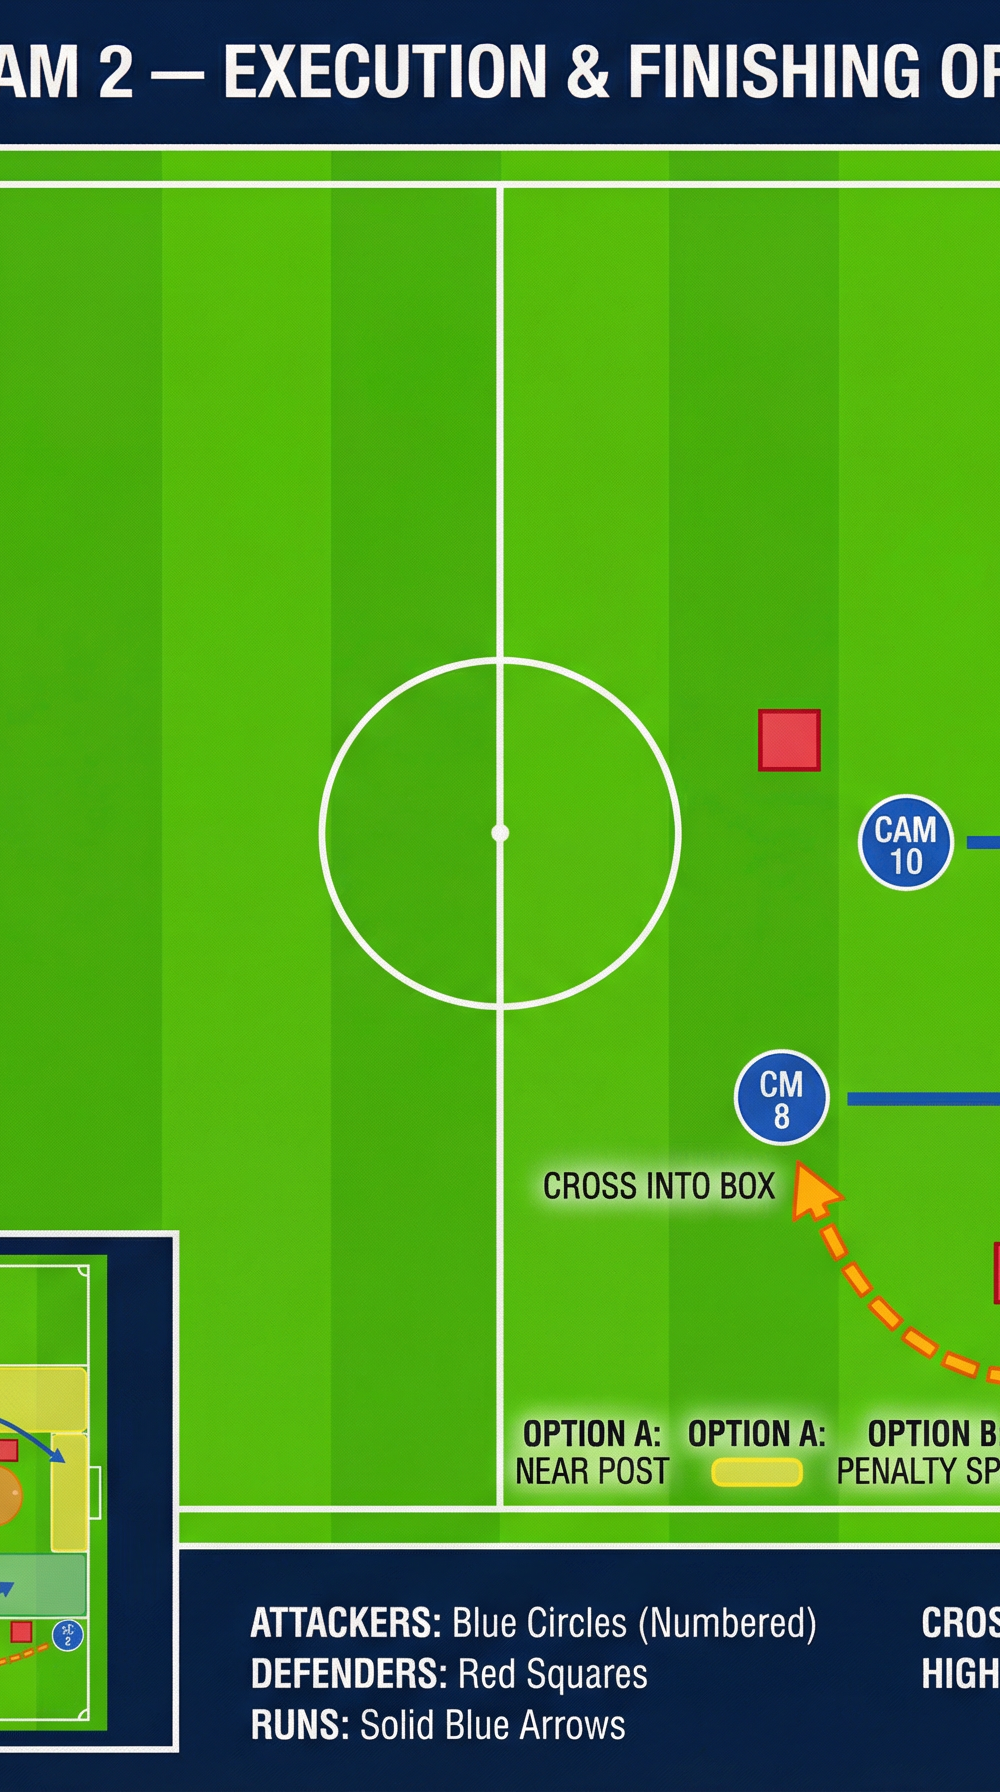
Step 5 — Right Winger (7) Makes the Decision (14–16 seconds)
RW (7) has three primary options: (a) play the ball outside to the overlapping RB (2) for a cross from the byline; (b) play the ball inside to the underlapping CAM (10) for a shot or cutback; (c) cut inside onto their stronger foot and shoot or play a through-ball. The decision should be based on which defender has committed — if the opposition's full-back tracks the overlap, the underlap is open; if they hold inside, the overlap is on.
Step 6 — Delivery and Box Occupation (16–20 seconds)
If RB (2) receives on the overlap, they deliver a low, driven cross to the penalty spot or a cutback to the edge of the box where CM (8) is arriving late. Box occupation must be: ST (9) near post, CAM (10) penalty spot, LW (11) far post. CM (8) arrives at the edge of the box for any clearances or cutbacks.

Step 7 — Defensive Transition Responsibility
If possession is lost, RB (2) must immediately recover their defensive position. CDM (6) holds their central position throughout the play to protect against counter-attacks. LB (3) does not push forward during this play — they hold their position to maintain defensive balance.
Key Coaching Points
1. Timing of the Overlap Run is Everything
The most common error is RB (2) running too early. If they arrive at the byline before RW (7) is ready to release, the defender has time to track the run and the overload is neutralised. Drill the timing: RB (2) should begin their run the moment the trigger pass leaves CM (8)'s foot, not before.
2. RW (7) Must Commit the Defender Before Releasing
RW (7) should take one or two touches to draw the opposition's full-back toward them before releasing the ball. If they release too quickly, the defender can cover both the overlap and the underlap. The winger's job is to be a decision-forcer, not just a ball-carrier.
3. Three Distinct Runs — No Bunching
All three overloading players must occupy different zones: RB (2) on the outside, CAM (10) through the inside channel, ST (9) at the near post. If two players converge on the same space, the overload collapses. Emphasise spatial awareness and communication.
4. CM (8) Must Arrive Late at the Edge of the Box
CM (8) is the safety valve. Their late run to the edge of the penalty area provides an outlet for a cutback or a second-phase opportunity. They must not arrive too early or they will be tracked by a midfielder. The cue for their run is when the ball reaches RW (7) or RB (2) near the byline.
5. Low, Driven Deliveries Beat High Crosses
Encourage RB (2) to deliver low, driven balls across the face of goal rather than high, looping crosses. A low cross at pace to the penalty spot is significantly harder for a goalkeeper and defenders to deal with than an aerial delivery. Practise this delivery in isolation before integrating it into the full pattern.
6. Defensive Balance — LB (3) and CDM (6) Stay Home
This play commits three players forward on one side. The Left Back (3) and Holding Midfielder (6) must maintain their positions to prevent a devastating counter-attack. Reinforce this constantly — the play only works if the team trusts the structure.
Common Mistakes
Mistake 1 — RB (2) Overlaps Too Early
If RB (2) sprints forward before the trigger pass is played, the opposition's winger or midfielder will track the run before it becomes dangerous. The run must be triggered by the pass, not by anticipation. Correct this by using a verbal or visual cue in training — RB (2) calls "go" only when they see the ball leave CM (8)'s foot.
Mistake 2 — RW (7) Holds the Ball Too Long
Conversely, if RW (7) takes too many touches and allows the opposition to recover their defensive shape, the overload window closes. The winger should aim to release the ball within 2–3 seconds of receiving. Use a cone gate drill to practise quick decision-making under light pressure before progressing to full opposition.
Mistake 3 — Flat Runs in the Box
ST (9), CAM (10), and LW (11) must make angled, curved runs into the box — not flat, lateral runs across the face of goal. Flat runs are easy for defenders to track. Curved runs that start deep and arrive late are far more difficult to defend. Walk players through the correct run shapes before adding pace.
Mistake 4 — Crossing from Too Deep
RB (2) sometimes delivers the cross from 30–35m out rather than getting to the byline. A cross from deep gives the goalkeeper time to claim the ball and gives defenders time to organise. Push RB (2) to get as close to the byline as possible — ideally within 5–8m of the goal line — before delivering.
Mistake 5 — LW (11) Drifting Inside Too Early
The Left Winger (11) must hold width on the far post until the ball is delivered. If they drift inside too early, they block the space for CAM (10)'s underlapping run and reduce the far-post option. Reinforce that LW (11)'s primary job during this play is to occupy the far post and stretch the defensive line.
Variations & Progressions

Variation 1 — Left-Side Mirror Overload
Run the exact same pattern on the left flank, with LB (3) overlapping LW (11) and CAM (10) underlapping from the other side. This is a natural progression once the right-side pattern is established, as it makes your team unpredictable and forces the opposition to defend both flanks simultaneously. Introduce this variation after 3–4 sessions on the right-side pattern.
Variation 2 — Double Overlap with Inverted Winger
If your RW (7) is a natural left-footer playing on the right (an inverted winger), adjust the play so that RW (7) cuts inside onto their left foot as the primary threat, while RB (2) overlaps to create the wide option. This variation is more direct and can produce more shots on goal, as the inverted winger's cut-inside is a genuine goal-scoring threat rather than just a delivery option.
Progression 1 — Add a Pressing Trigger
Once the pattern is fluent, add a pressing trigger from the opposition. Use a coach or two additional players to apply pressure on CM (8) as they receive the ball. This forces the central midfielder to play the trigger pass under pressure and replicates match conditions. It also trains the timing of RW (7)'s movement — they must be ready to receive before the pressure arrives.
Progression 2 — Full 11v11 with Defensive Shape
Progress from a pattern-of-play drill (no opposition) to a structured 11v11 where the opposition defends in a 4-4-2 mid-block. The overload must now be executed against organised resistance. Encourage the attacking team to use the overload as a primary pattern but allow them to adapt if the opposition overloads the flank in response. This develops decision-making and tactical flexibility.
Age Adaptations

| Age Group | Key Adaptations |
|---|---|
| Under 10–12 | Reduce to a 7v7 or 9v9 format on a smaller pitch (60m x 40m). Simplify to a two-player overlap (RW + RB only, no underlap). Focus on the concept of creating a 2v1 rather than a 3v2. Use walking/jogging pace initially to establish the movement pattern before adding speed. |
| Under 14–16 | Introduce the full three-player overload on a full-size pitch. Add light opposition (shadow defending) before progressing to full resistance. Begin to introduce the decision-making element — RW (7) must choose between the overlap and underlap based on the defender's movement. |
| Open/Senior | Run the full pattern at match pace against an organised defensive shape. Introduce the pressing trigger and the left-side mirror variation. Discuss tactical context: when to trigger the overload based on the opposition's defensive structure, and how to exploit the spaces created when the opposition over-commits to covering the flank. |