Mastering the Offload in Contact: The 3-Phase Progression Drill
Equip your players with the technical skills and decision-making ability to keep the ball alive through contact with this comprehensive offloading drill.

Equipment Needed
1. Overview
The ability to keep the ball alive through contact is one of the most potent attacking weapons in modern Rugby. Offloading not only maintains momentum but also forces the defense to constantly adjust, creating mismatches and line breaks. This comprehensive drill focuses on the core mechanics of taking contact, maintaining a strong body position, and executing a precise offload to a supporting player. It is designed to bridge the gap between unopposed handling drills and full-contact game scenarios.
Coaches should use this drill when their team is struggling to generate quick ball or when attackers are getting isolated in contact. It teaches the ball carrier to dominate the collision and empowers support players to run intelligent, anticipatory lines.
2. Setup
Pitch Area: Set up a 20m x 15m grid using cones. Divide the grid mentally (or with flat markers) into a Start Zone, a Contact Zone (at the 10m line), and a Support Zone.
Players: This drill works best in groups of 4 to 6 players per grid to ensure high repetition rates.
- 1 Ball Carrier (e.g., No. 12)
- 2 Support Runners (e.g., No. 13 and No. 11)
- 1 to 3 Defenders (starting with tackle bags/shields and progressing to live tackling)
Equipment:
- 4 Cones for the grid corners
- 1 Rugby ball per group
- 1-2 Tackle shields (for early progressions)
3. Step-by-Step Instructions
Step 1: The Approach
The ball carrier (12) starts at the 0m line and accelerates hard toward the defender stationed in the Contact Zone (10m line). The two support runners (13 and 11) must track the ball carrier, maintaining a position approximately 1-2 meters behind and 2 meters wide.
Step 2: Winning the Collision
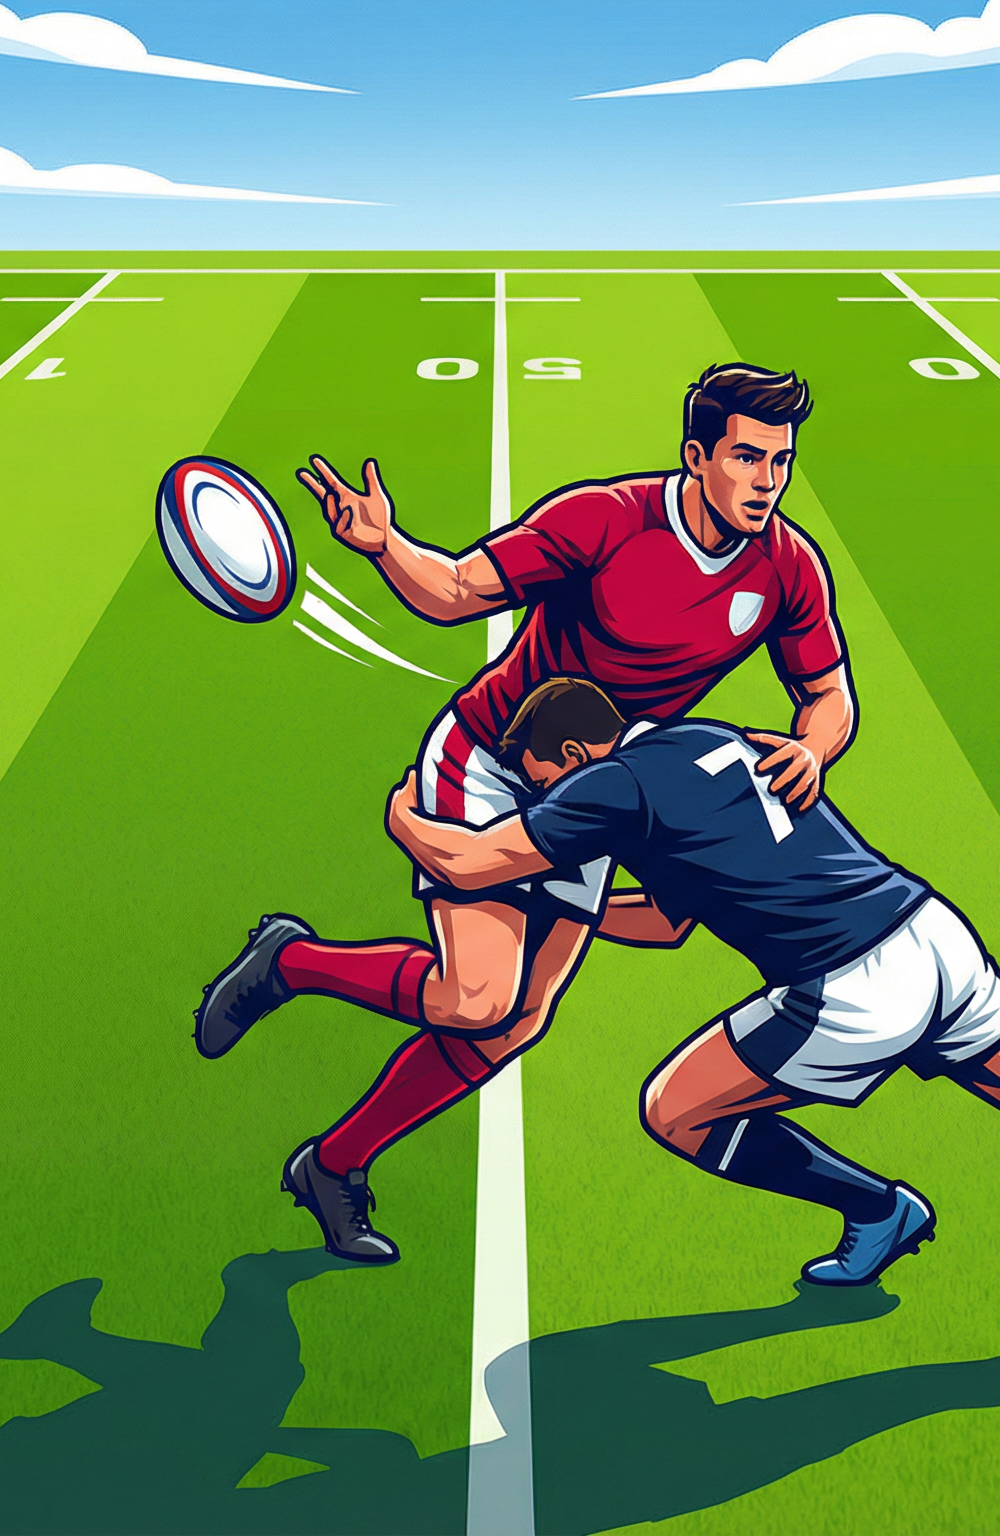
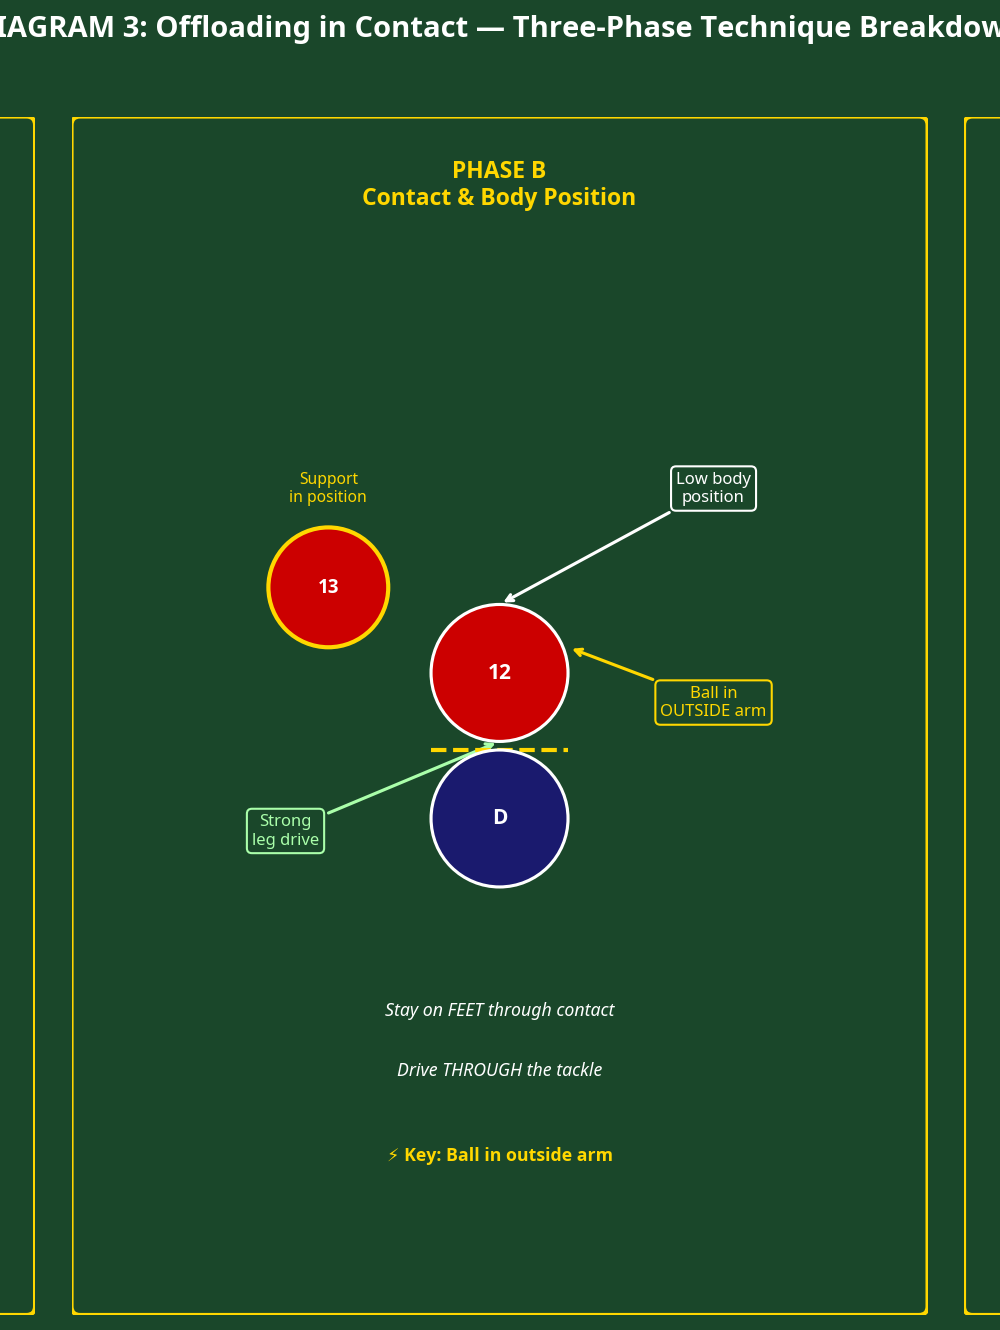
As the ball carrier approaches the defender, they must drop their body height and step into the contact. The goal is to drive through the defender's shoulder, not to be absorbed by it. The ball must be shifted away from the point of contact, secured in the outside arm.
Step 3: The Offload
Upon making contact and driving the legs, the ball carrier looks for the support runner. The support runner (13) must communicate early ("Pop!" or "Yes!"). The ball carrier executes a one-handed offload or a quick pop pass before their knees hit the ground.
Step 4: Realignment and Phase Two
Once the offload is completed, the new ball carrier accelerates into the Support Zone. The original ball carrier must quickly return to their feet to become a support option for the next phase, simulating continuous phase play.
4. Key Coaching Points
- Pre-Contact Footwork: The ball carrier must use late footwork to attack the defender's weak shoulder, preventing a dominant, wrapping tackle that kills the offload opportunity.
- Ball Security: Keep the ball in two hands as long as possible. Only shift the ball to the outside arm at the absolute last moment before the collision.
- Leg Drive: The offload is only effective if the ball carrier wins the collision. Emphasize a low body height and vigorous leg drive to punch through the tackle line.
- Support Depth: Support players must not overrun the ball carrier. They need to stay deep enough to react to the direction of the offload and accelerate onto the ball.
- Communication: The receiver dictates the offload. If there is no call, the ball carrier must tuck the ball and go to ground to present it cleanly.
5. Common Mistakes
- Forcing the Pass: Players often try to offload when the tackle is too dominant or when no support is available. This leads to turnovers. Teach them that taking the tackle and recycling is better than a 50/50 offload.
- Overrunning: Support players running flat with the ball carrier will end up having to reach backward for the offload, killing their momentum or causing a forward pass.
- Upright Contact: Going into contact standing tall allows the defender to wrap the ball and the arms, making an offload impossible.
6. Variations & Progressions
Progression 1: Passive to Live Defense
Start with the defender holding a tackle shield and only offering passive resistance. Once the technique is sound, remove the shield and introduce live, wrap tackling below the waist.
Progression 2: Multi-Phase Continuity
Introduce a second and third defender. After the first offload, the new ball carrier must immediately confront a second defender, requiring the remaining support players to adjust their lines for a second consecutive offload.

Variation: The Blind Blindside
Force the support players to react dynamically by having the defender deliberately tackle the ball carrier to one specific side. The support players must read the tackle and quickly reposition to the "free" side to receive the offload.
7. Age Adaptations
- Under 8s - Under 10s: Focus entirely on the pop pass before contact (the "pre-contact offload"). Do not encourage offloading while wrapped in a tackle, as core strength and ball security are still developing. Use touch or tag variations.
- Under 12s - Under 14s: Introduce the tackle shield. Focus on the concept of keeping the arms free during the collision. Emphasize the "fight to stay on your feet" principle.
- Under 16s and Open: Full live tackling. Focus heavily on decision-making (when to offload vs. when to go to ground) and the speed of the support runners' reactions.