Penalty Corner Attack Play: The 'Blind Shark' — Exploiting the Short Side
Master the 'Blind Shark' penalty corner set play — a three-phase, multi-option attack that exploits the short side, fixes the defensive wall, and creates a scoring opportunity wide or over the top in the attacking 22.

Equipment Needed
Overview
The 'Blind Shark' is a penalty corner attack play designed for use when your team earns a penalty within the attacking 22, within 10–15 metres of the touchline. Rather than opting for goal or a straightforward kick to touch, this play weaponises the spatial imbalance that a corner penalty creates. The defending team is forced to retreat 10 metres, which compresses their defensive line and leaves the short-side channel — between the touchline and the defensive wall — dangerously undermanned.
This play is most effective when used against a defence that is slow to reorganise after conceding a penalty, or when the opposition's defensive wall consistently drifts infield. It is a high-percentage play at intermediate and advanced levels, and a superb confidence-builder for developing teams when run in a simplified form.
When to use it: Penalty awarded within the attacking 22, within 15m of the touchline. Score within 5 points. Opposition wall shows infield drift. Your 9 and 10 have strong communication.
Setup
Equipment Required
- 1 match ball
- 8–10 marker cones (to mark the 10m exclusion zone and player alignment channels)
- 1 set of training bibs (to differentiate attackers from defenders in practice)
- Pitch with standard markings (100m × 70m)
Pitch Setup
The play is executed in the attacking 22, with the penalty spot positioned approximately 10–15m from the touchline and 5–15m from the try line. Coaches should use cones to mark the 10m exclusion arc during training so players develop an accurate spatial sense of the available space.
Player Positions at Setup

Diagram 1 shows the initial player alignment. The scrum-half (9) stands over the ball. All other attacking players adopt their pre-play positions before the referee's whistle.
| Position | Player | Starting Location |
|---|---|---|
| Scrum-Half (9) | Ball carrier | Over the penalty spot |
| Fly-Half (10) | First receiver | 5m infield, 3m behind 9 |
| Inside Centre (12) | Second receiver | 8m infield, 5m behind 9 |
| Outside Centre (13) | Strike runner | 15m infield, 8m behind 9 |
| Left Wing (11) | Wide decoy / loop | On or near the far touchline |
| Fullback (15) | Deep support | 20m behind the gain line |
| Number 8 (8) | Short carry option | 2m to the right of 9 |
| Openside Flanker (7) | Ruck support | 3m behind 9, right channel |
| Blindside Flanker (6) | Blindside carry / crash | 2m to the left of 9, short side |
Step-by-Step Instructions


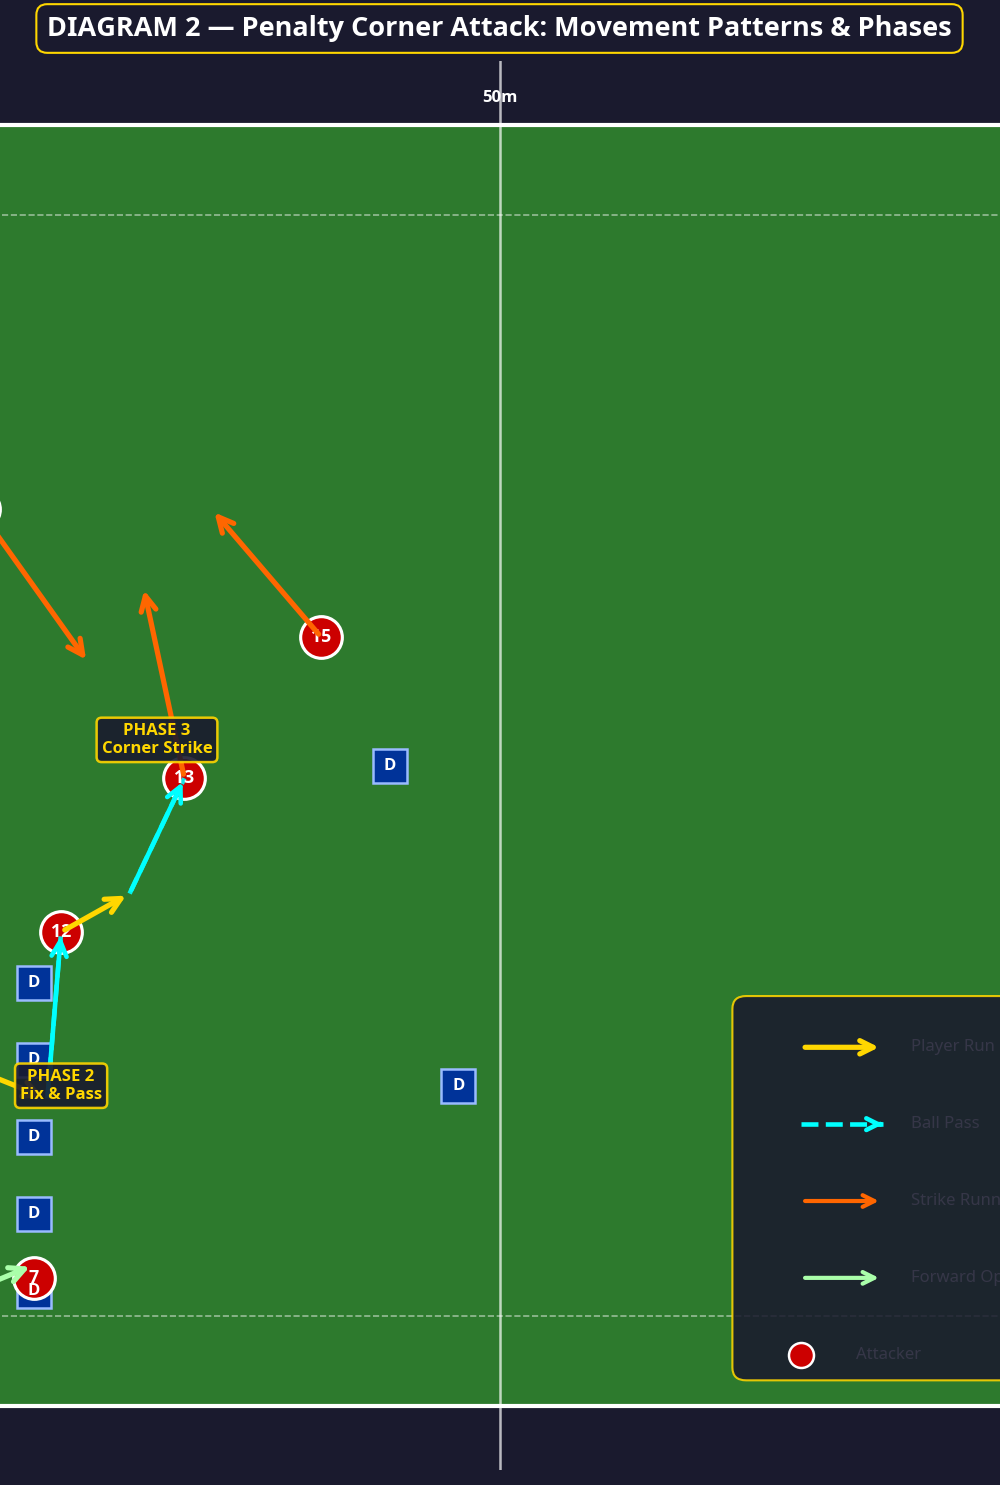
Diagram 2 illustrates the three-phase movement pattern. Yellow arrows indicate player runs, cyan dashed arrows indicate ball passes, orange arrows show strike runners, and green arrows show forward carry options.
Phase 1 — Tap and Trigger (0–3 seconds)
- The scrum-half (9) taps the ball and immediately looks to the short side. This is the trigger action that sets the play in motion. All players begin their pre-assigned movements simultaneously on the tap.
- The blindside flanker (6) takes a hard 3-metre carry into the short-side channel, drawing the nearest defender and creating a brief 2v1 opportunity on the blind side. This is the decoy carry — 6 does not need to make the gain line; the objective is to fix one defender.
- Simultaneously, the number 8 (8) offers a short ball option to 9's right, acting as a dummy runner to hold the defensive wall's attention.
- The scrum-half (9) passes flat and fast to the fly-half (10), who has moved into a flat receiving position approximately 5m infield.
Phase 2 — Fix and Pass (3–6 seconds)
- The fly-half (10) receives the ball running flat and hard at the defensive line, targeting the gap between the first and second defenders in the wall. The objective is to fix the nearest defender — 10 must commit the defender before releasing.
- The inside centre (12) runs a hard support line 2m outside 10, presenting as the obvious next pass. The outside centre (13) runs a slightly deeper, wider arc, timing their run to arrive at pace.
- The fly-half (10) passes to the inside centre (12), who takes the ball at pace and immediately looks to fix the next defender in the line.
- The inside centre (12) passes to the outside centre (13), who should now be running into open space outside the defensive wall.
Phase 3 — Corner Strike (6–10 seconds)
- The outside centre (13) attacks the corner at pace. At this point, the left wing (11) executes an in-to-out loop run, crossing behind 13 to offer a late support option if the corner is covered.
- The fullback (15) has tracked the play from depth and is now arriving as a third option, either to receive a pass from 13 or to support a chip-and-chase if the corner is defended.
- If the corner is fully covered, 13 may execute a grubber kick into the in-goal area, with 11 and 15 competing for the touchdown.
Key Coaching Points

Tempo is everything. The play only works if the tap is taken quickly, before the defence has fully organised. Drill your 9 to read the referee's signal and act within 2 seconds of the penalty being awarded. A slow tap allows the defence to set their wall and eliminates the spatial advantage.
10 must run flat, not deep. The most common error at fly-half is drifting too deep and allowing the defensive line to reset. The fly-half must receive the ball running forward and at the same depth as the gain line. Use a cone gate in training to enforce this.
Fix before you pass. Emphasise to 10 and 12 that the pass must not be released until a defender has been genuinely committed. A premature pass simply shifts the problem outward without creating a numerical advantage.
The decoy runners are not decoration. The blindside flanker (6) and number 8 (8) must run their lines with full conviction. A half-hearted decoy run is transparent to experienced defenders. Reward committed decoy running in training, even when the ball does not come.
13 must make a decision early. By the time the outside centre receives the ball, they should already know whether to attack the corner, pass to 11 on the loop, or kick. Hesitation at this point kills the play. Use video review to help 13 develop pre-decision habits.
Fullback timing is critical. The fullback (15) must not arrive too early, which would crowd the strike zone, nor too late, which renders them irrelevant. The cue for 15 to accelerate is the moment 12 receives the ball from 10.
Common Mistakes

1. Slow tap by the scrum-half. Players often wait for teammates to get into position before tapping. This is counterproductive — the play is designed to exploit disorganisation, so the tap should come immediately. In training, use a stopwatch and penalise any tap taken more than 3 seconds after the penalty is awarded.
2. Fly-half drifting laterally instead of running forward. When 10 drifts across the field rather than running at the line, the defensive wall simply slides with them, and no defender is fixed. Correct this with a cone placed 1m in front of 10's starting position — they must run over or past the cone before passing.
3. Inside centre (12) telegraphing the pass to 13. If 12 looks directly at 13 before receiving the ball, the defending winger will read the play and drift early. Coach 12 to look infield (at a non-existent target) before switching their eyes to 13 at the last moment.
4. Outside centre (13) slowing down at the gain line. Players instinctively decelerate when approaching defenders. Remind 13 that their job is to attack the space, not the defender. Use a resistance band in training to build the habit of accelerating through contact.
5. Fullback (15) arriving in the strike zone too early. If 15 joins the line before 12 has received the ball, they crowd the space and alert the defence to the wide threat. Use a coloured cone as a visual trigger for 15's acceleration cue during training.
Variations & Progressions

Variation 1 — 'Shark Bite' (Simplified Short-Side Finish)
Instead of running the full three-phase sequence, the play terminates at Phase 1. The scrum-half taps and passes directly to the blindside flanker (6), who carries hard into the corner with the number 8 (8) as immediate support. This is a lower-risk option when the short side is clearly undermanned, and is the recommended starting point for teams learning the play.
Variation 2 — 'Shark Fin' (Chip-and-Chase)
In Phase 3, instead of the outside centre (13) running the corner, the fly-half (10) executes a chip kick over the defensive wall immediately after receiving the ball. The left wing (11) and fullback (15) compete for the ball in the in-goal area. This variation is highly effective against a defensive wall that rushes aggressively and is best used as a second-game option once the defence has been conditioned to expect the running play.
Progression — Add Live Defenders
Begin the drill with passive defenders (walking pace only), then semi-active (50% effort), then fully live. Only advance to the next level when the attacking unit executes the play correctly at least 4 out of 5 attempts. This graduated approach builds confidence and ensures technical habits are embedded before competitive pressure is applied.
Age Adaptations

Under 12 and Below: Run only Phase 1 (the 'Shark Bite' variation). Reduce the number of moving parts to three players: the scrum-half, one forward carrier, and one support runner. Focus entirely on the habit of taking a quick tap and communicating clearly. Use a 40m × 30m grid rather than a full pitch.
Under 14: Introduce Phase 2 (the Fix and Pass sequence). Use four to five players and passive defenders. At this age, the primary coaching focus should be on the fly-half running flat and the inside centre fixing their defender before passing. Do not introduce the fullback support role until the core sequence is reliable.
Under 16 and Open Age: Run the full three-phase play with all nine players and live defenders. Introduce the 'Shark Fin' chip variation as a second-game option. At open age, add a pre-play communication code (e.g., a hand signal from 9 to 10) so the play can be called live during a match without alerting the opposition.