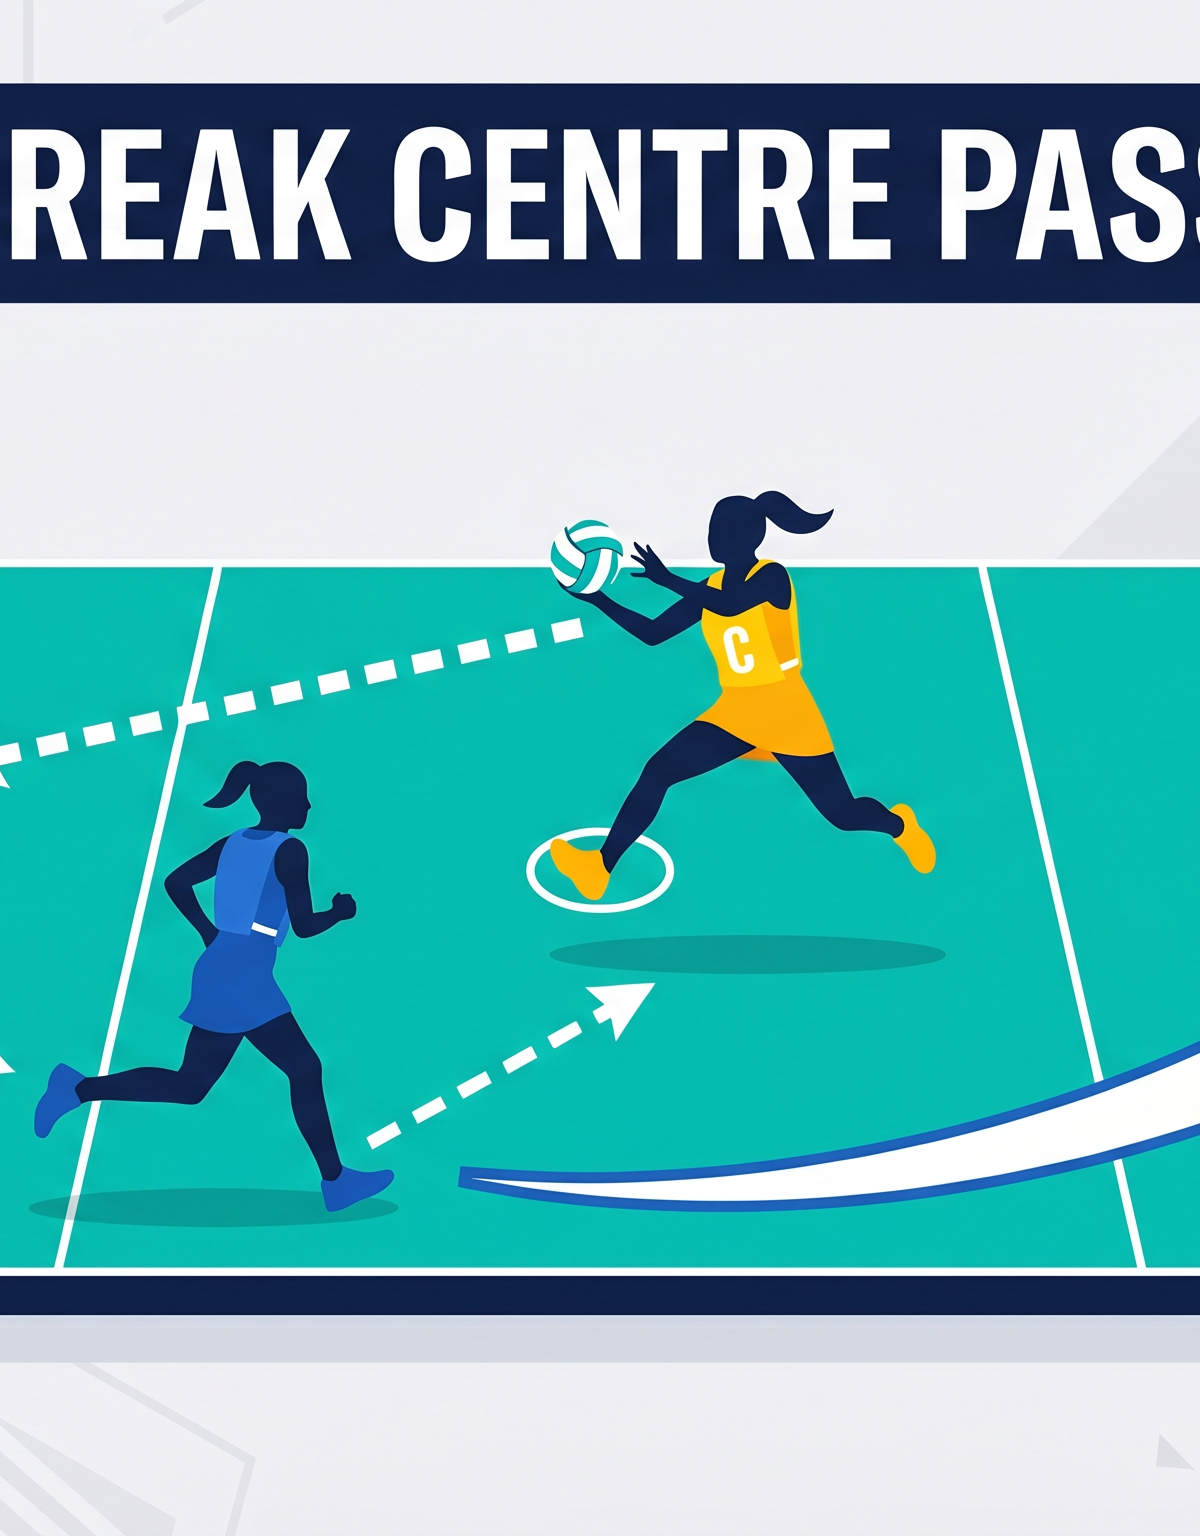
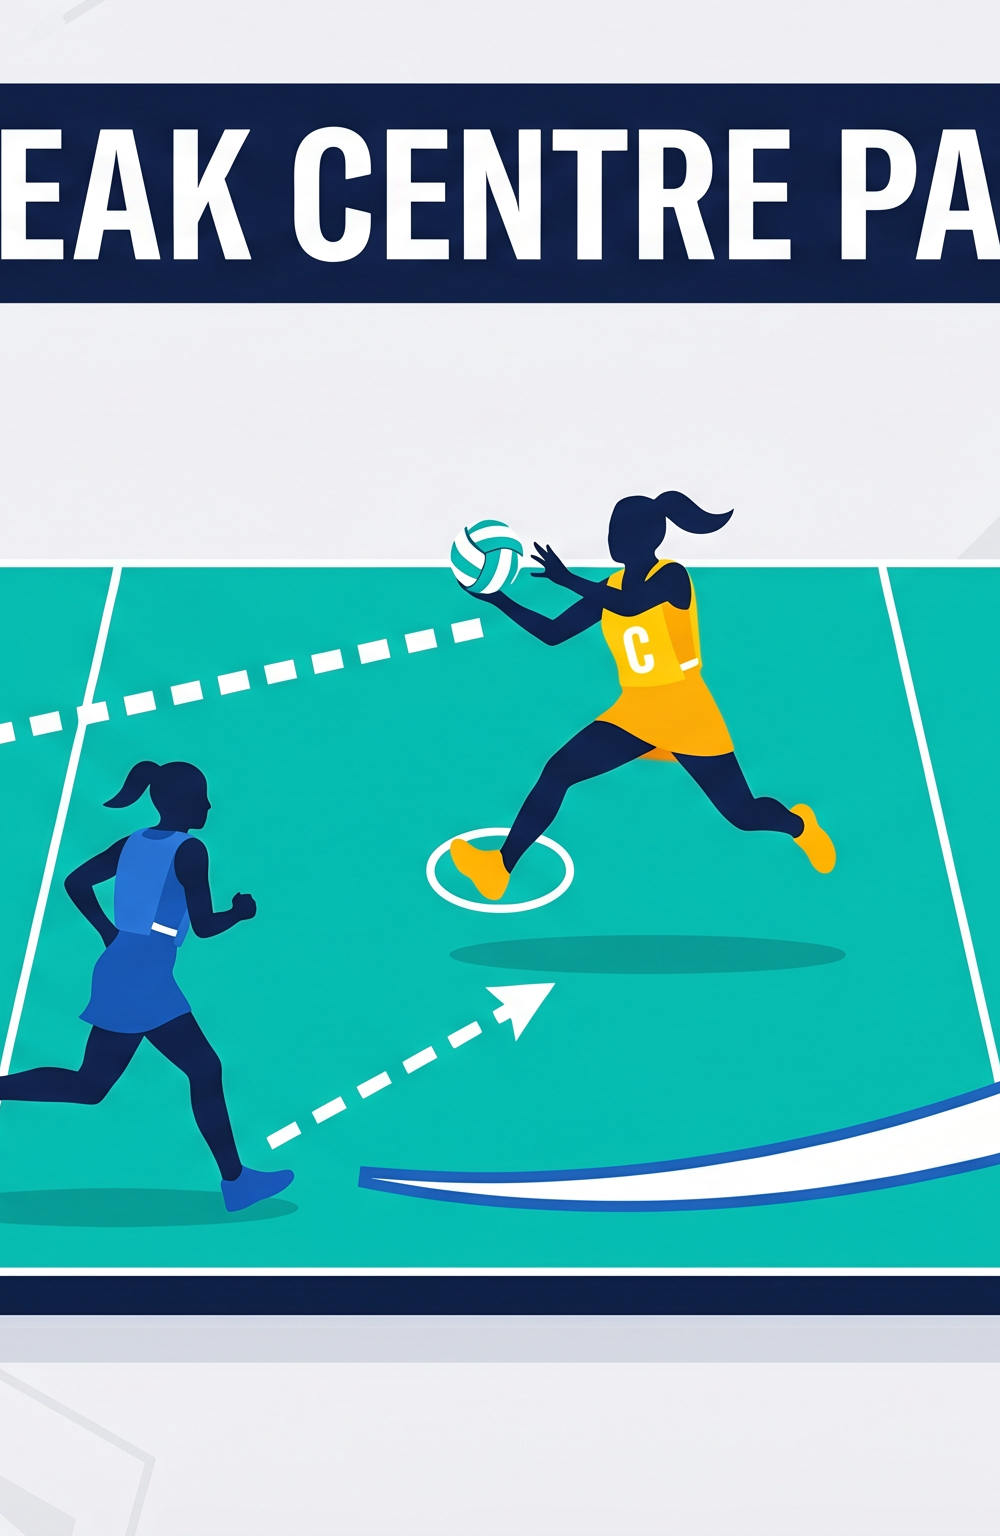
Fast Break Centre Pass: The Double Lead Split Play
Master a high-tempo centre pass strategy that uses a split double lead to tear open the defence and deliver the ball straight to the circle edge.
Equipment Needed
1. Overview
The Fast Break Centre Pass is an aggressive, high-tempo offensive strategy designed to transition the ball from the centre third to the shooting circle in just three rapid passes. By utilising a coordinated double lead from the Wing Attack (WA) and Goal Attack (GA), this play forces the defending team to make split-second decisions, inevitably opening up space for a direct drive. It is particularly effective when you need to inject pace into the game, break a stagnant attacking rhythm, or capitalise on a slower defensive unit that struggles to track dynamic, splitting movements.
2. Setup
Court Setup: Full court (30.5m x 15.25m)
Players Required: Minimum 5 (C, WA, GA, GS, GD), ideally full 7-a-side for opposed practice.
Equipment: 1 Netball, positional bibs.
Starting Positions
- Centre (C): Inside the centre circle (0.9m radius), holding the ball, ready to step and pass.
- Wing Attack (WA): Positioned in the centre third, typically wide on the transverse line, angled to drive hard into space.
- Goal Attack (GA): Positioned in the attacking third, near the transverse line, ready to counter the WA's movement.
- Goal Shooter (GS): Holding space deep in the goal circle, prepared to rebound or present a front lead.
- Goal Defence (GD): Stays back in the defensive third to provide a reset option if the primary forward options are covered.
3. Step-by-Step Instructions
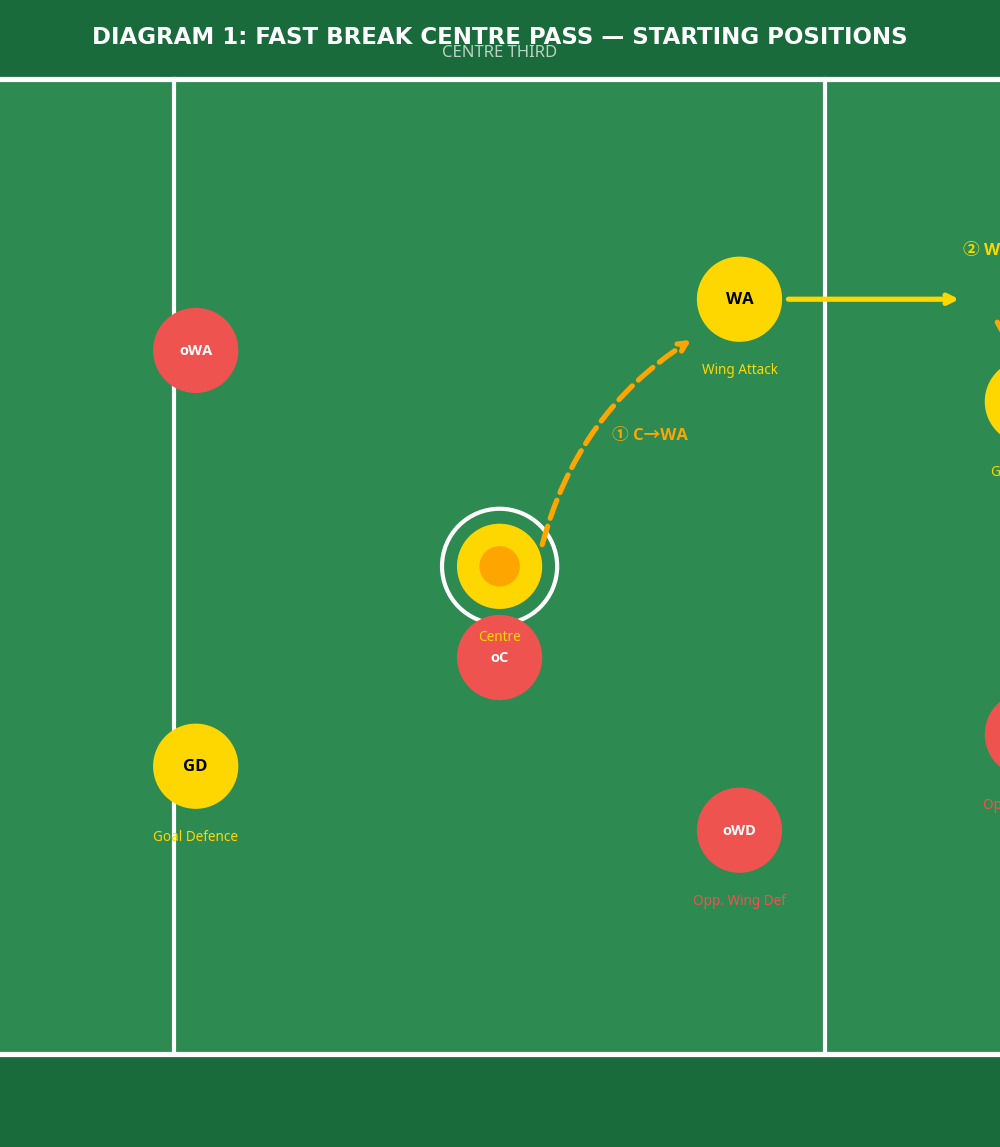
Step 1: The Trigger
As the umpire blows the whistle, the C steps forward out of the centre circle. Simultaneously, the WA and GA initiate a coordinated "split" movement.
Step 2: The Split Drive (Option A & B)
- The WA drives hard on a sharp angle towards the sideline in the centre third, drawing the opposing Wing Defence (WD) away from the middle.
- The GA reads this movement and drives hard into the space created, typically cutting towards the middle of the attacking third.
- The C reads the defence and delivers a fast, flat pass to the player who has gained the most separation (usually the WA on the first phase).

Step 3: The Second Phase
As the WA receives the ball, the GA immediately re-angles their run, cutting aggressively towards the top of the goal circle (the "circle edge"). The WA lands, balances, and delivers a quick second pass to the driving GA.
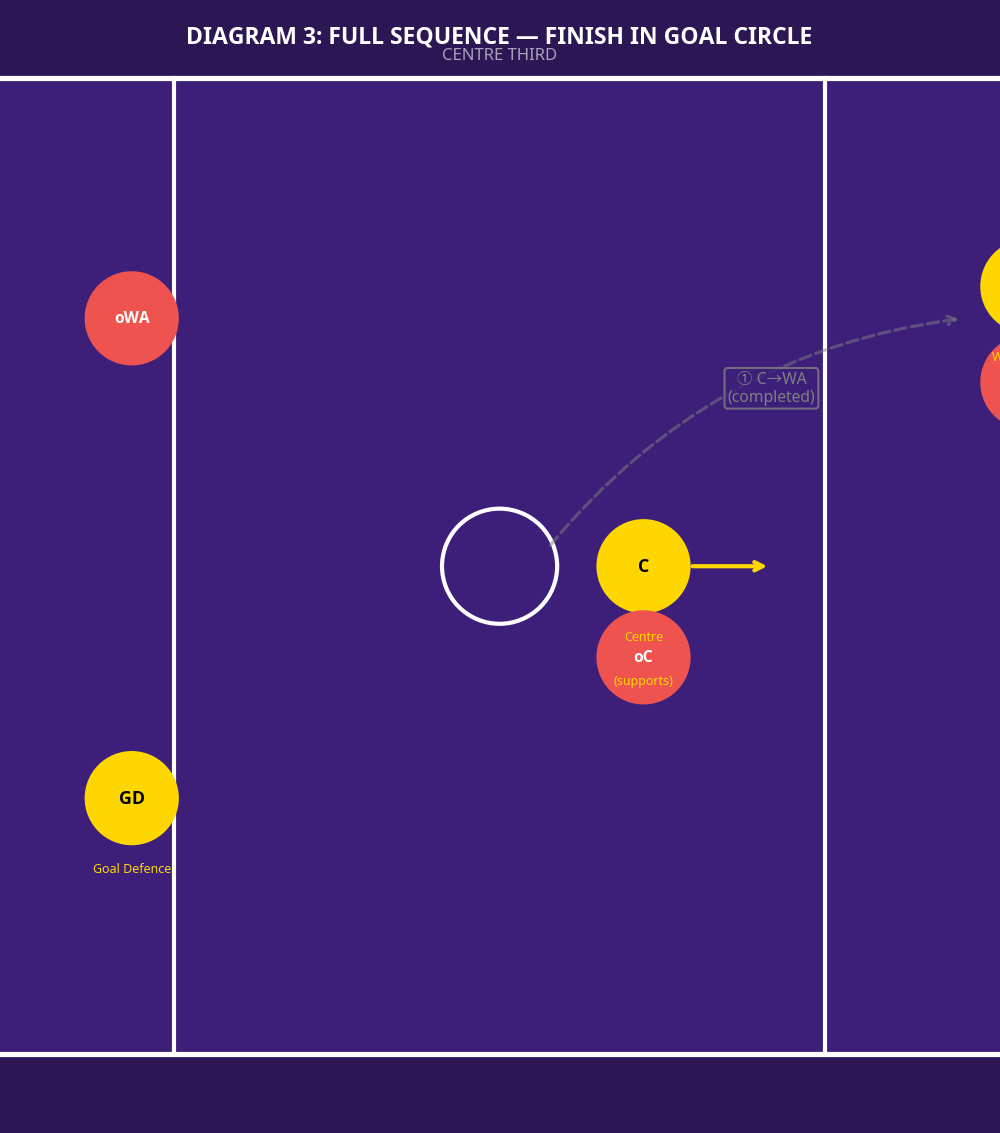
Step 4: The Finish
Upon receiving the ball at the circle edge, the GA turns fully to face the post. The GS, who has been holding their defender deep, now pops out for a short, sharp pass. The GA delivers the final feed to the GS, who turns and shoots.

4. Key Coaching Points

- Timing is Everything: The WA and GA must not move before the whistle, but their explosion off the mark must be instantaneous. The split only works if both players drive with 100% intent.
- Read the Defender: The C must keep their head up and read the shoulders of the defenders. Pass to the attacker who has established front position or clear space.
- Flat, Hard Passing: Loopy passes give the defence time to recover. Ensure all passes in the fast break are driven hard and flat to the receiver's chest or out in front of their drive.
- Clear the Space: If the GA receives the first pass from the C, the WA must immediately clear out to create space for the GS to work, or drive to the circle edge to offer support.
- Turn and Face: Receivers (especially the GA on the second phase) must turn fully to face the goal post immediately upon landing to assess the shooting options instantly.
5. Common Mistakes

- Crowding the Space: Both the WA and GA driving into the same channel, allowing one defender to cover both options.
- Holding the Ball Too Long: The C hesitating on the first pass, which allows the defence to set up their zone or recover their marking positions.
- Fading on the Drive: Attackers curving their runs rather than driving in sharp, straight lines, making the pass easily interceptable.
- Ignoring the Reset: Forcing the ball forward when the fast break is well-defended, rather than using the GD or WD for a safe reset pass.
6. Variations & Progressions

- The Dummy Split: The WA shapes to drive wide but suddenly cuts back inside for a short, sharp pass from the C, while the GA goes long.
- The GS Screen: The GS comes out of the circle to set a screen on the GA's defender, allowing the GA a free run to the circle edge.
- Adding Defensive Pressure: Progress the drill from unopposed (shadow defence) to 50% pressure, and finally to full 7-v-7 match simulation.
7. Age Adaptations

- Under 10s: Focus purely on the timing of the first pass. Simplify the split so one player always drives straight and the other goes wide.
- Under 12s/14s: Introduce the concept of "reading the defence." Teach the C to look at the defender's hips to decide which option to take.
- Under 16s/Open: Demand high-speed execution. Introduce the "dummy split" and focus on the transition speed from the second pass into the shooting circle.