Defensive Shape Transition: Breaking the High Press
Master the art of absorbing pressure and launching devastating counter-attacks by drilling your team on defensive shape transitions when facing a high press.
Equipment Needed
1. Overview
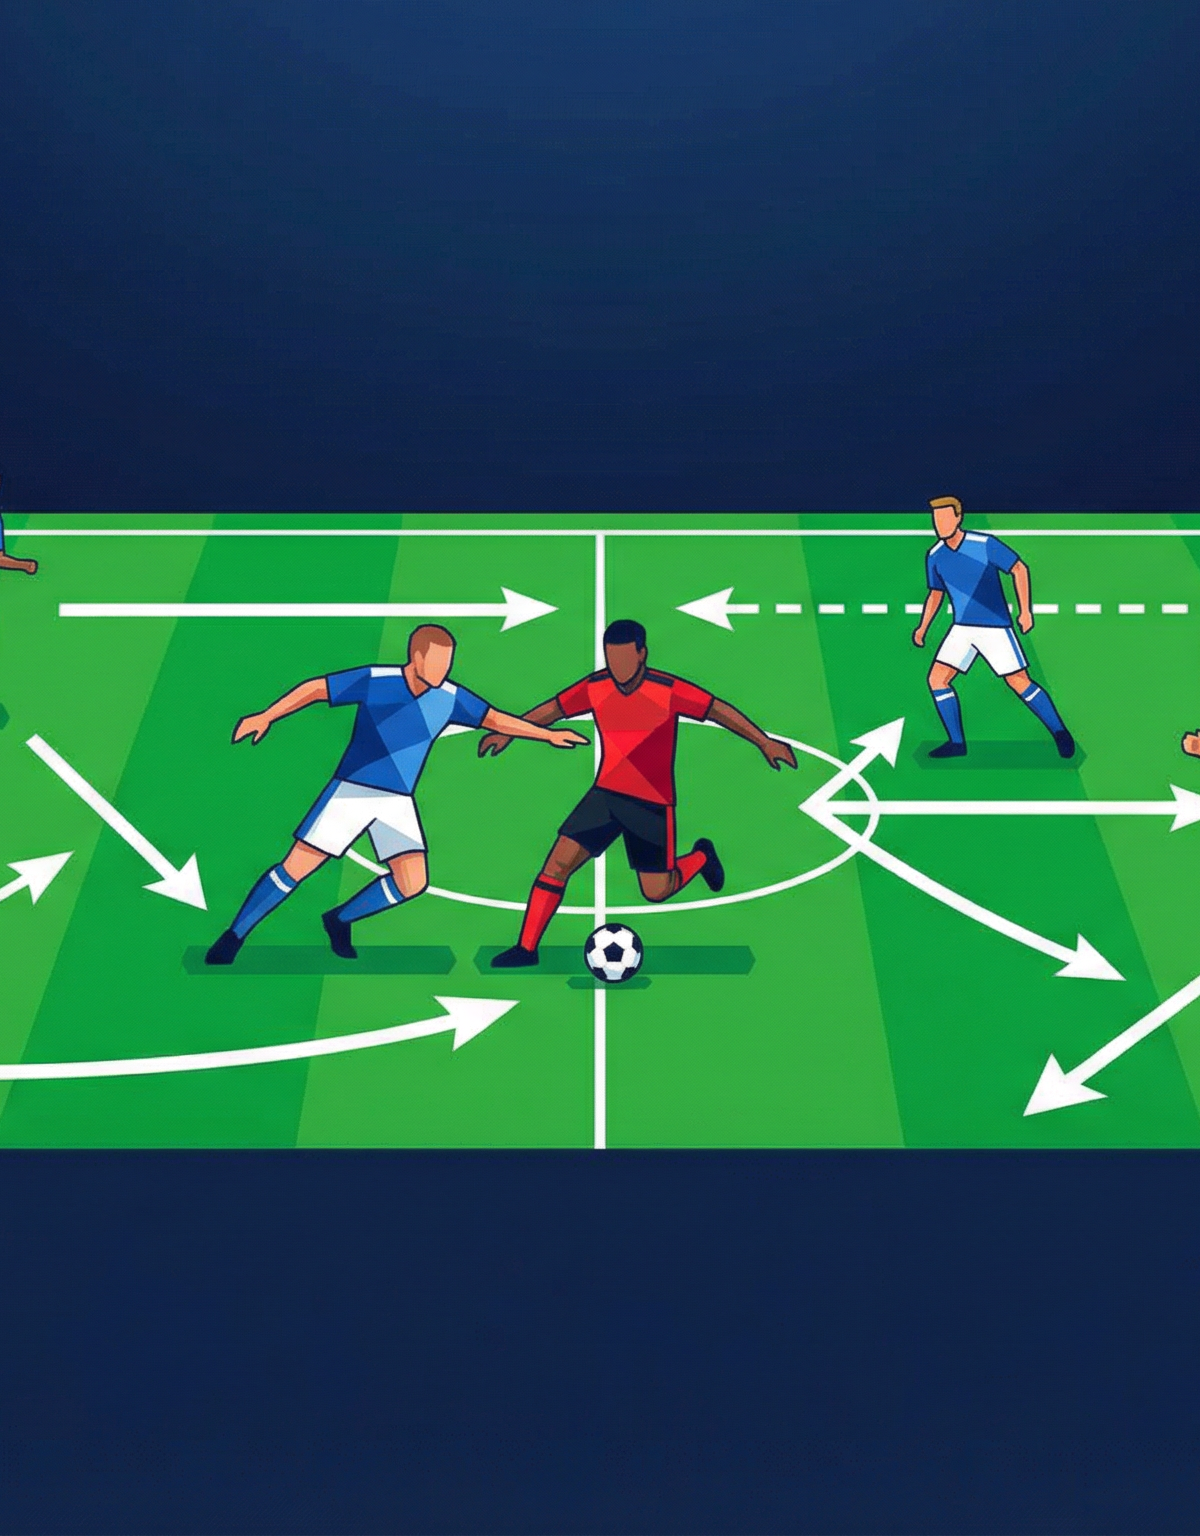
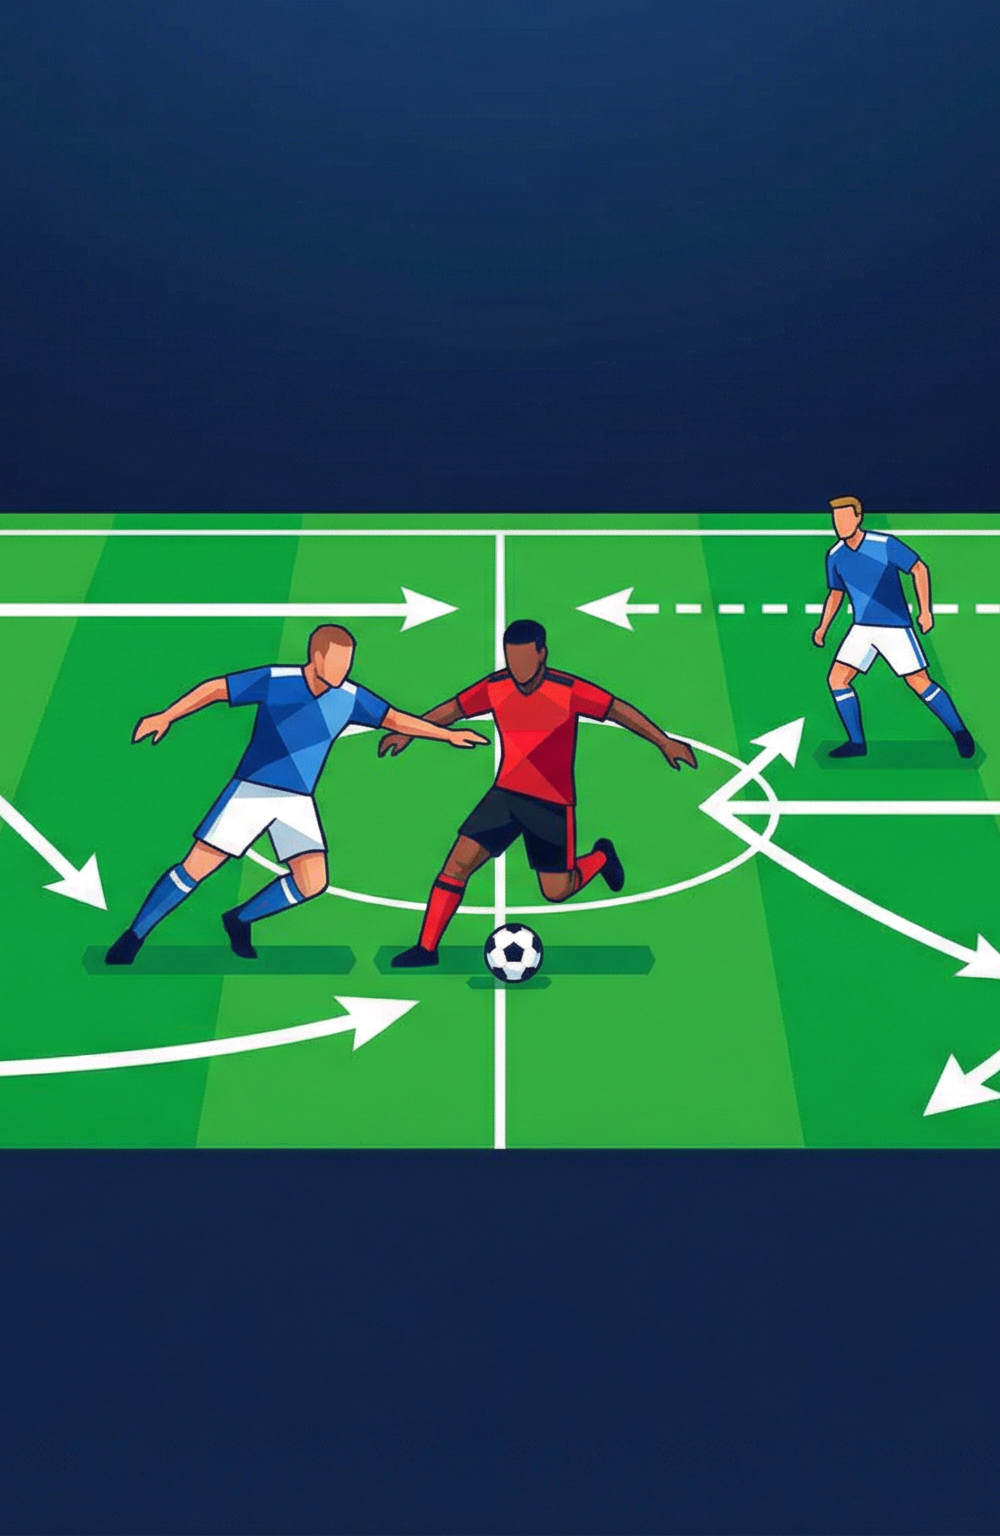
When facing a high-pressing opponent, maintaining a compact defensive shape is critical. However, merely surviving the press is not enough; elite teams use the opponent's aggression against them. This set play focuses on absorbing high pressure in a structured 4-4-2 mid-block, drawing the opposition forward, and executing a rapid, vertical transition to exploit the space left behind their defensive line. By mastering this transition, your team will turn defensive vulnerability into high-quality goal-scoring opportunities.
2. Setup

Pitch Dimensions: Standard 11v11 pitch (100-110m x 64-75m).
Players: 11v11 (can be adapted for smaller-sided games, e.g., 8v8).
Equipment: Full-size goal, bibs (two colours), plenty of footballs at the goalkeeper's station, and flat markers to outline specific zones if required.
Starting Positions:
- Defending Team (Blue): Set up in a compact 4-4-2 formation. The back four should be positioned across the width of the penalty area, roughly 18-25 metres from their own goal line. The midfield four sits compactly 10-15 metres ahead of the defensive line. The two strikers position themselves centrally, ready to drop into pockets of space or make runs in behind.
- Pressing Team (Red): Positioned aggressively in the defending team's half, mimicking a high press. The front three or four should be ready to sprint and close down the ball carrier immediately upon the goalkeeper's distribution.
3. Step-by-Step Instructions
Phase 1: Absorbing the Press
- Initial Distribution: The sequence begins with the goalkeeper (1) in possession. The centre-backs (4 and 5) split to the edges of the penalty area, inviting the press.
- Drawing the Opposition: The goalkeeper plays a firm, flat pass to a centre-back (e.g., 4). The red team's forwards immediately initiate a high press, attempting to lock the ball on one side of the pitch.
- Compact Shape Maintenance: The blue team must maintain their compact shape. The full-backs (2 and 3) stay connected to the centre-backs, while the central midfielders (6 and 8) drop slightly to offer passing angles, ensuring the distances between players remain tight (no more than 10-15 metres).
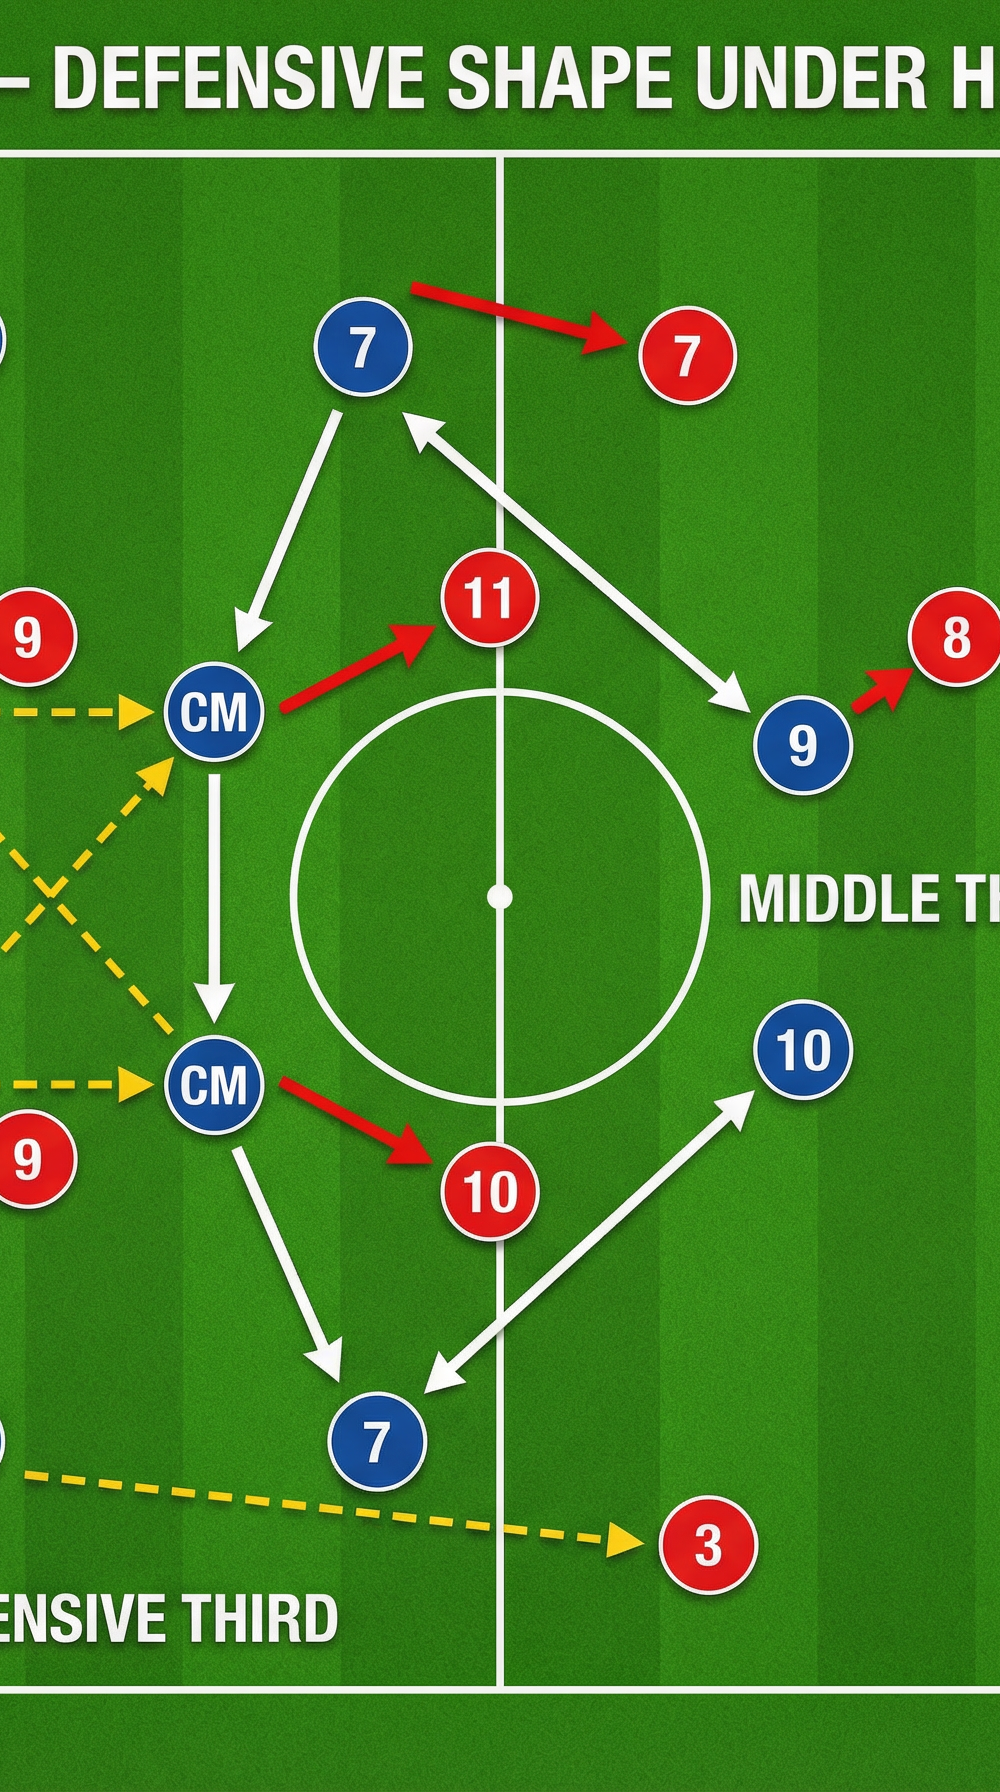
Phase 2: Breaking the Lines
- The Trigger: As the red team commits players forward, spaces open up behind their midfield line. The centre-back (4) scans for the trigger movement: a central midfielder (8) or a dropping striker (9) moving into a pocket of space between the opposition's midfield and defensive lines.
- The Line-Breaking Pass: The centre-back (4) plays a sharp, vertical or diagonal pass bypassing the first line of the press, finding the player in the pocket (8).
- Turning and Driving: The receiving player (8) must receive on the half-turn, taking their first touch forward to break the midfield line and drive into the transition zone.

Phase 3: Attacking Exploitation
- Synchronised Runs: As the ball carrier (8) drives forward, the attacking players must make synchronised runs to stretch the scrambling defence. The striker (9) makes a darting run in behind the defensive line. The opposite winger (11) makes a diagonal run towards the near post, while the second striker (10) attacks the far post.
- The Final Ball: The ball carrier (8) assesses the options and plays a decisive through-ball into the path of the striker (9) or wide to the advancing winger (11).
- Finishing: The attacking players execute a quick, clinical finish in the goal-scoring zone before the red team can recover their defensive shape.
4. Key Coaching Points
- Patience and Composure: The defensive team must not panic under pressure. Encourage players to trust their shape and wait for the right moment to play the line-breaking pass.
- Body Shape on Receiving: Players receiving the ball in pockets of space (e.g., the central midfielders) must adopt an open body shape, allowing them to see the incoming pass and the space ahead simultaneously.
- Weight and Accuracy of Passes: Line-breaking passes must be struck firmly and accurately to bypass the press without being intercepted. A slow pass will allow the pressing team to recover.
- Timing of Runs: Attacking runs must be timed perfectly to stay onside and exploit the space behind the defensive line at the exact moment the line-breaking pass is played.
- Rapid Transition: Once the press is broken, the transition must be explosive. Players must sprint to support the attack and overwhelm the retreating defence.
5. Common Mistakes
- Forcing the Pass: Playing the ball forward too early before the opposition has committed to the press, resulting in a low-percentage pass and loss of possession.
- Lack of Movement: Players remaining static, failing to create passing angles or drop into pockets of space to receive the line-breaking pass.
- Poor Body Shape: Receiving the ball facing one's own goal, slowing down the transition and allowing the pressing team to close the space.
- Hesitation in Attack: Delaying the final pass or shot, allowing the opposition defence to recover and organise.
6. Variations & Progressions
- Progression 1: Add a Time Limit: Introduce a 10-second rule from the moment the press is broken to get a shot on goal. This encourages rapid, decisive attacking play.
- Progression 2: Overload the Press: Increase the number of pressing players (e.g., 6v4 in the defensive third) to heighten the pressure and challenge the defending team's composure.
- Variation 1: Different Starting Points: Begin the sequence from a throw-in or a free-kick in the defensive third, rather than a goal kick, to simulate different match scenarios.
7. Age Adaptations
- Under 8 - Under 10: Focus on the basic concepts of spreading out when in possession and passing to open teammates. Simplify the transition by removing the offside rule and encouraging players to dribble forward if they have space.
- Under 12 - Under 14: Introduce the concept of pockets of space and receiving on the half-turn. Emphasise the importance of communication and quick decision-making under pressure.
- Under 16 - Open: Demand high-intensity pressing and rapid, precise transitions. Focus on the tactical nuances of exploiting specific spaces left by the opposition's pressing structure.