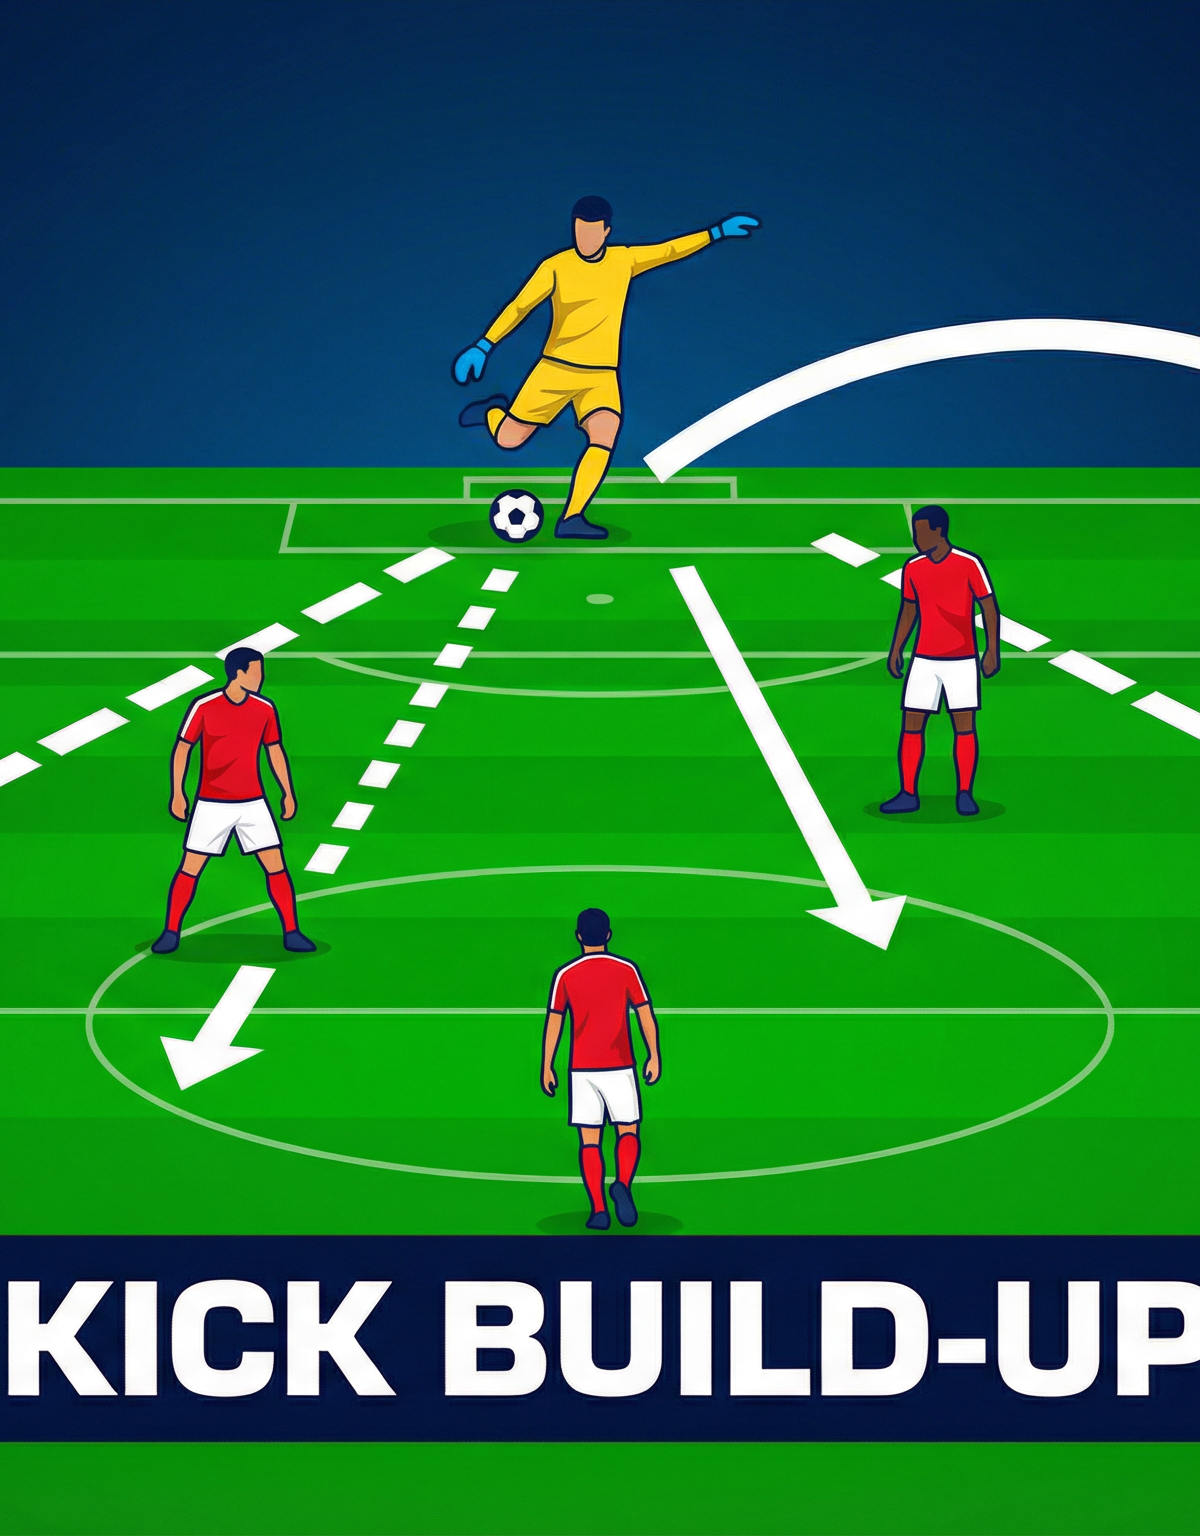
Mastering the Goal Kick Build-Up: Playing Through the Press
Learn how to systematically progress the ball from a goal kick, drawing the opposition forward to create and exploit space in advanced areas.
Equipment Needed
1. Overview
The goal kick build-up play is a foundational tactical sequence designed to establish possession deep in your own half and systematically progress the ball through the opponent's pressing lines. Rather than relying on a low-percentage long ball that often results in a 50/50 aerial duel, this structured approach allows teams to draw the opposition forward, create numerical advantages (overloads) in the first and second thirds of the pitch, and exploit the spaces left behind. It is particularly effective against teams that employ a high or mid-block press, as it invites pressure to bypass it. Use this set play when your team has technically proficient centre-backs who are comfortable on the ball and central midfielders capable of receiving under pressure in tight areas.
2. Setup
To execute this build-up play effectively, a precise setup is required. The standard pitch dimensions (100-110m x 64-75m) provide the canvas for this spatial manipulation.

Equipment Needed:
- 1 full-size goal
- 10-12 footballs (placed near the goal for quick restarts during practice)
- Cones or flat markers (to denote starting positions and target zones)
- Bibs (for differentiating the attacking team and the pressing opposition)
Player Positions & Pitch Setup:
- Goalkeeper (GK - 1): Starts with the ball inside the 6-yard goal area, ready for a quick distribution.
- Centre-Backs (CB1 - 2, CB2 - 3): Split wide, positioning themselves on the edges of the 18-yard penalty area. This maximum width stretches the first line of the opposition's press.
- Full-Backs (LB - 4, RB - 5): Push high and wide, advancing towards the halfway line. Their advanced positioning pins back the opposition wingers or full-backs, creating central space.
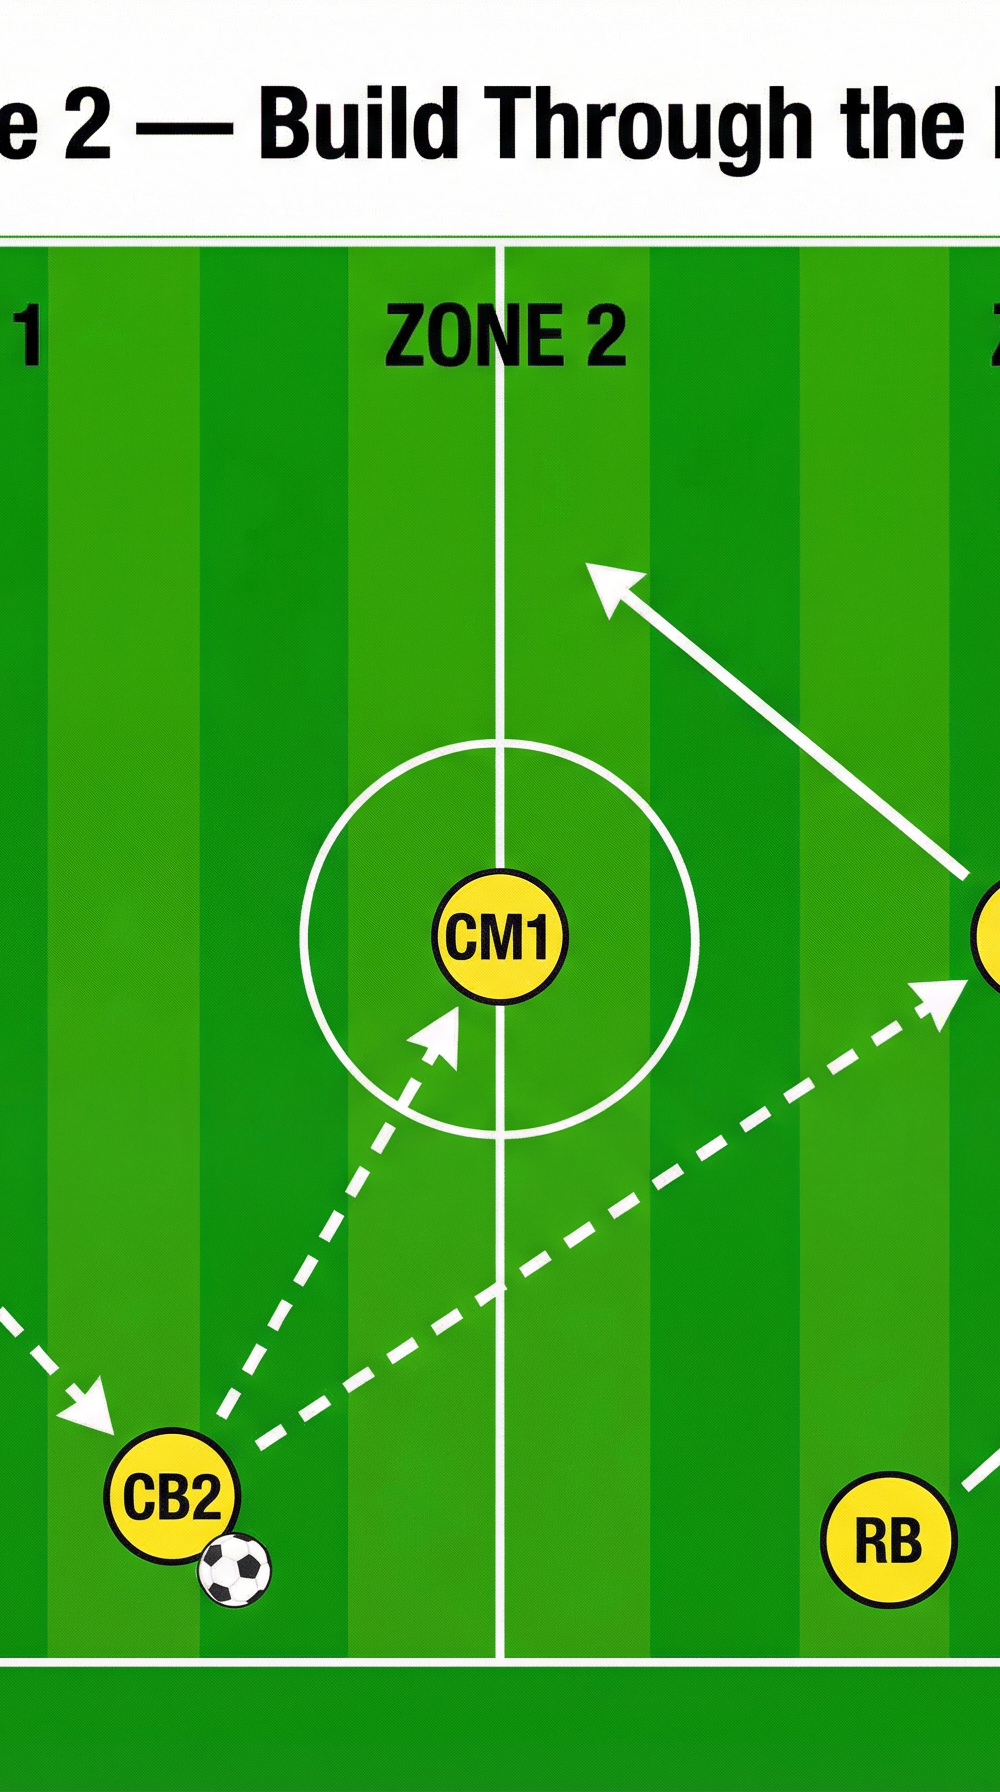
- Central Midfielders (CM1 - 6, CM2 - 8): Positioned centrally, initially higher up but prepared to drop into the space between the penalty area and the halfway line (Zone 2) to offer passing angles.
- Striker (ST - 9): Positioned high, near the halfway line, ready to make dynamic runs to stretch the opposition vertically and offer a direct outlet if the short build-up is heavily congested.

3. Step-by-Step Instructions

Step 1: The Initial Setup and Trigger
The Goalkeeper (GK) places the ball in the goal area. The Centre-Backs (CB1 and CB2) immediately split to the edges of the penalty box. The Full-Backs (LB and RB) advance up the touchlines. This movement must be sharp and coordinated, acting as the trigger for the build-up phase. The GK assesses the opposition's pressing structure before deciding on the initial pass.
Step 2: The First Pass (Breaking the First Line)
The GK plays a crisp, firm pass along the ground to one of the Centre-Backs (e.g., CB2). The pass must be played to the player's safe foot (furthest from the pressing attacker) to allow for an open body shape upon receiving. If the opposition striker presses the GK aggressively, the pass must be played quickly to exploit the space vacated by the pressing forward.
Step 3: Midfield Rotation and Receiving (Breaking the Second Line)
As the ball travels to CB2, the near-side Central Midfielder (CM1) drops dynamically into the half-space to offer a forward passing option. The opposite Central Midfielder (CM2) moves slightly higher or laterally to create a staggered midfield line, avoiding flat passing angles. CB2 receives the ball, takes a positive first touch forward, and plays a penetrating pass into the feet of the dropping CM1.

Step 4: Progression and Exploitation
CM1 receives the ball on the half-turn, scanning over their shoulder before the ball arrives. From this position, CM1 has three primary options:
- Switch the Play: If the opposition has shifted heavily to the ball side, CM1 can play a sweeping pass to the opposite Full-Back (LB) who has space to advance.
- Play Through the Lines: If the Striker (ST) makes a well-timed diagonal run, CM1 can play a direct, incisive pass forward to exploit the space behind the opposition's midfield line.
- Combine and Advance: CM1 can play a quick combination (wall pass) with the advancing Full-Back (RB) on the near side to bypass a pressing midfielder and progress into the final third.
4. Key Coaching Points
- Body Shape and Scanning: Players must adopt an open body shape when receiving the ball, allowing them to see the entire pitch. Scanning the environment before receiving is critical to identify pressing triggers and available passing options.

- Pace and Weight of Pass: Passes must be firm and driven along the ground. A slow pass invites pressure and allows the opposition to intercept. The weight of the pass should dictate the receiver's next action (e.g., a firm pass to the back foot encourages a turn).
- Movement Off the Ball: The success of the build-up relies entirely on coordinated, dynamic movement off the ball. Players must create angles of support, constantly adjusting their positioning based on the location of the ball and the opposition.
- Decision Making Under Pressure: Players must remain composed when pressed. They need to recognize when to play short, when to switch the play, and when to utilize the longer option (the Striker) if the short options are completely closed down.
- Goalkeeper as a Sweeper: The Goalkeeper must act as an additional outfield player, offering a back-pass option to relieve pressure and circulating the ball to the opposite side of the pitch if necessary.
5. Common Mistakes
- Static Positioning: Players waiting for the ball to arrive rather than actively moving to create passing angles. This makes the team predictable and easy to press.
- Poor First Touch: A heavy or negative first touch immediately invites pressure and limits the player's subsequent options, often leading to turnovers in dangerous areas.
- Forcing the Pass: Attempting a high-risk pass through a congested central area when a safer, wider option is available. Patience is key in the build-up phase.
- Lack of Communication: Failing to provide verbal or visual cues to teammates (e.g., "Man on!", "Turn!", "Time!"), leading to poor decision-making under pressure.
6. Variations & Progressions
- Progression 1: Add Opposed Pressure: Introduce 2-3 pressing forwards (in bibs) to actively disrupt the build-up. This forces the attacking team to execute the play under realistic match conditions and improves decision-making speed.
- Progression 2: Time Limit: Implement a rule where the attacking team must progress the ball past the halfway line within a specific time frame (e.g., 8 seconds) or a set number of passes (e.g., maximum 5 passes).
- Variation 1: The 'False 9' Drop: Instead of the Central Midfielder dropping, instruct the Striker to drop deep into the midfield space to receive the ball from the Centre-Back, confusing the opposition's marking scheme.
- Variation 2: Asymmetrical Full-Backs: Have one Full-Back push extremely high while the other remains deeper, creating a back three in possession and overloading one side of the pitch.
7. Age Adaptations
- Under 8 - Under 10: Focus heavily on the fundamental mechanics: the goalkeeper's distribution and the centre-backs receiving with an open body shape. Reduce the pitch size and remove opposed pressure initially. Emphasize simple, short passes and build confidence on the ball.
- Under 12 - Under 14: Introduce the concept of the dropping central midfielder and basic positional rotation. Add light, passive pressure from the opposition. Begin focusing on scanning and decision-making before receiving the ball.
- Under 16 - Open: Implement the full tactical sequence with active, aggressive pressing from the opposition. Focus on complex variations, rapid ball circulation, and exploiting overloads in different zones of the pitch. Demand high technical execution and tactical understanding.