Mastering the Stop: Essential Footwork and Landing Technique Drill
A foundational drill to help players master the crucial two-foot and one-foot landing techniques, reducing injury risk and improving passing speed.
Equipment Needed
Overview
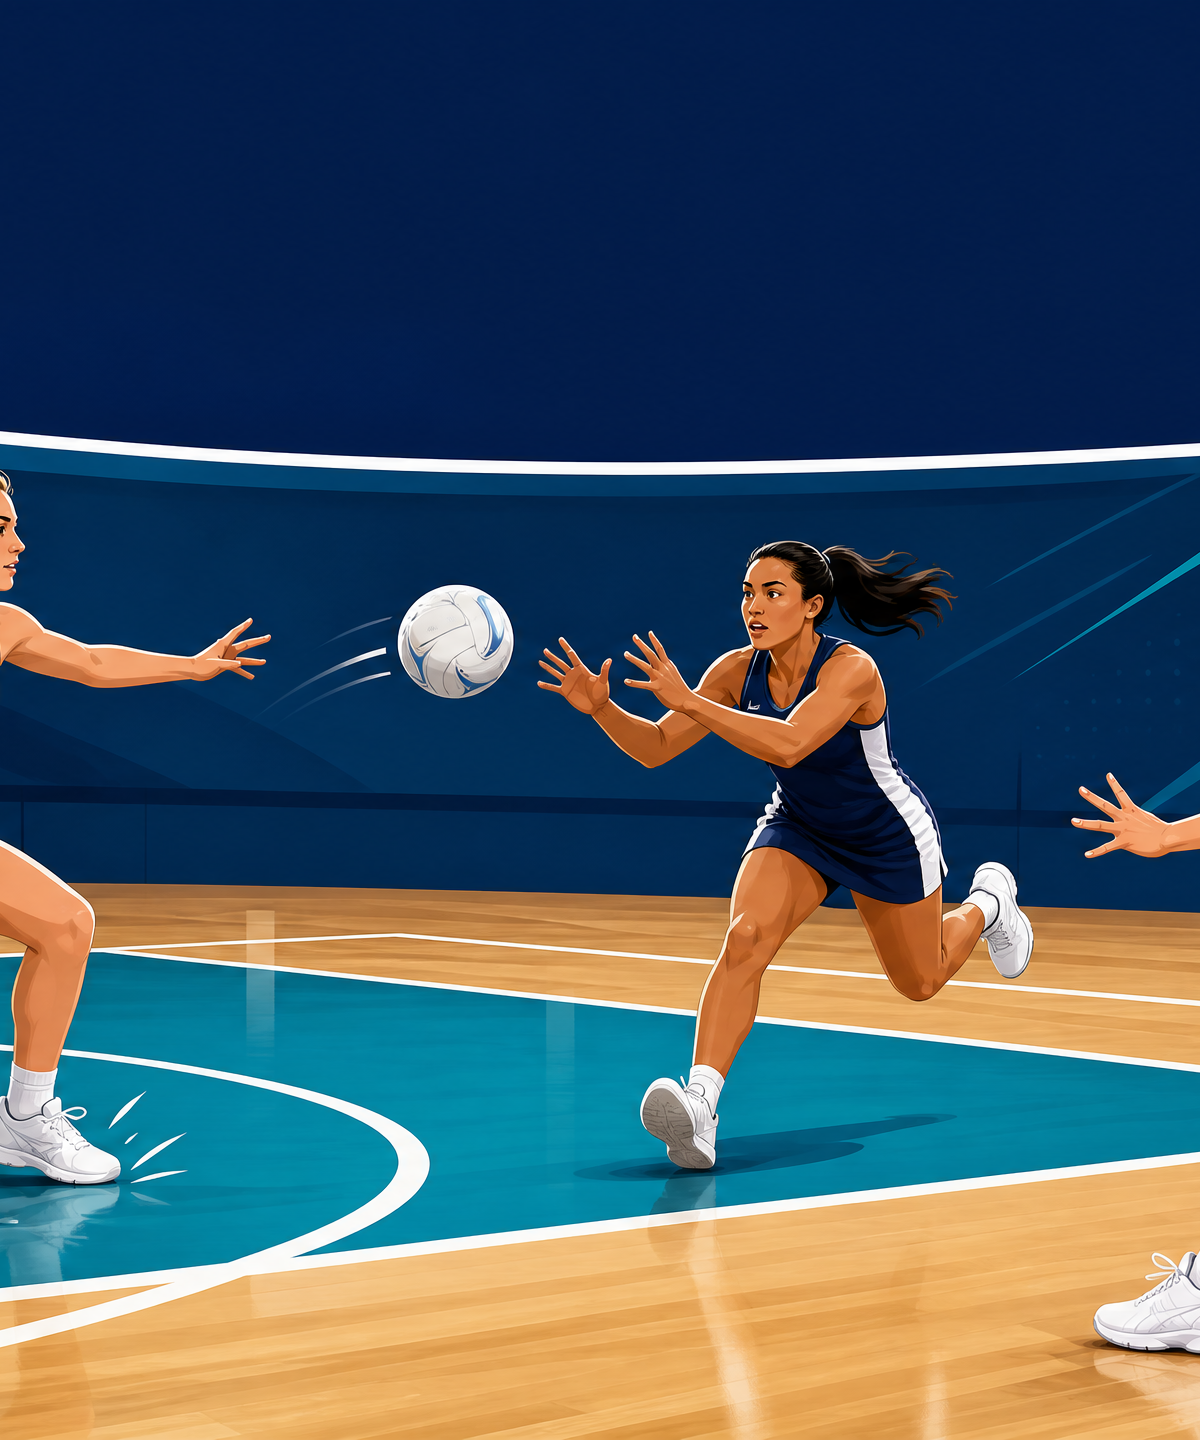
Footwork is the absolute foundation of Netball. Without safe, balanced, and legal landings, players cannot effectively execute the next phase of play. This drill is designed to build muscle memory for both the two-foot stop (simultaneous landing) and the one-foot stop (1-2 landing). By drilling these fundamental movements, coaches can significantly reduce the risk of knee and ankle injuries while ensuring players are balanced and ready to distribute the ball quickly.
Use this drill early in the season to establish correct habits, or as a regular warm-up progression for teams of all levels.
Setup
- Equipment Needed: 1 Netball per group of 5-6 players, 4-8 marker cones.
- Court Area: Centre third or Goal third (can be run across the transverse line).
- Player Positions: This drill works for all positions (GS, GA, WA, C, WD, GD, GK).
Court Setup
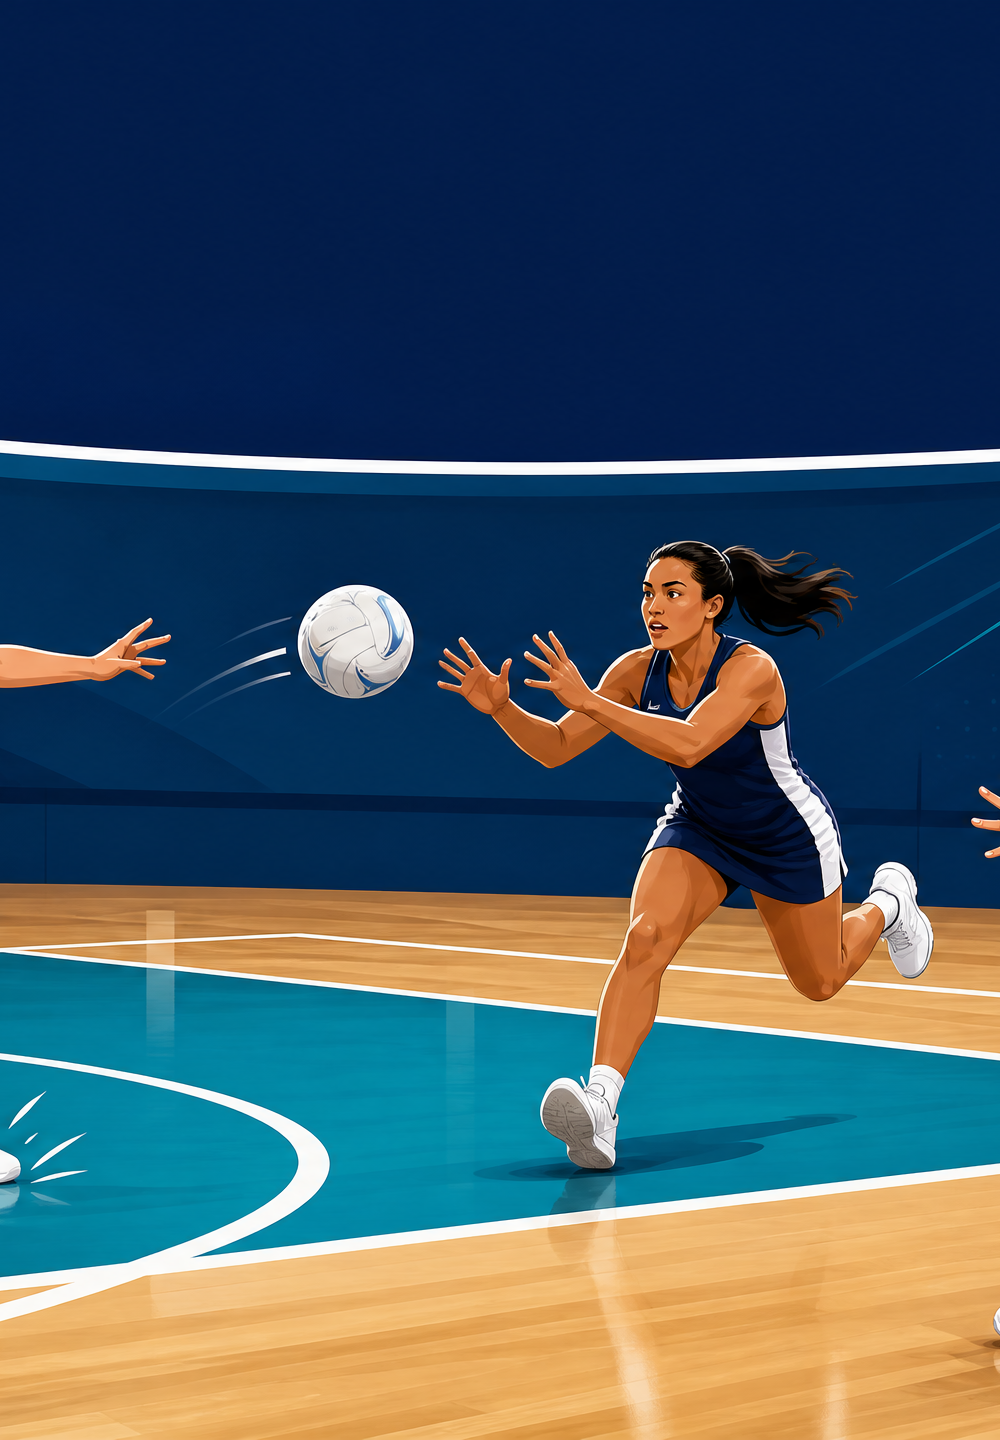
Set up a 5m x 5m grid using four marker cones in the centre third. Alternatively, for the progression, use the goal third and place cones to mark specific driving channels.
Step-by-Step Instructions
Phase 1: The Basic Landing Grid (Without Ball)
- Positioning: Instruct 6 players to stand in a 3x2 grid formation inside the 5m x 5m coned area.
- The Drive: On the coach's whistle, all players drive forward diagonally for exactly 2-3 metres.
- The Stop: The coach calls "STOP!" or blows the whistle again. Players must immediately execute a two-foot simultaneous landing.
- The Check: Coaches walk through the grid and physically check the players' balance. Are their knees bent? Are their feet shoulder-width apart? Are their shoulders over their knees?
- Reset and Repeat: Players jog backward to their starting position. Repeat 5 times for the two-foot landing, then switch to the one-foot (1-2) landing for another 5 repetitions.
Phase 2: Drive and Land (With Ball)
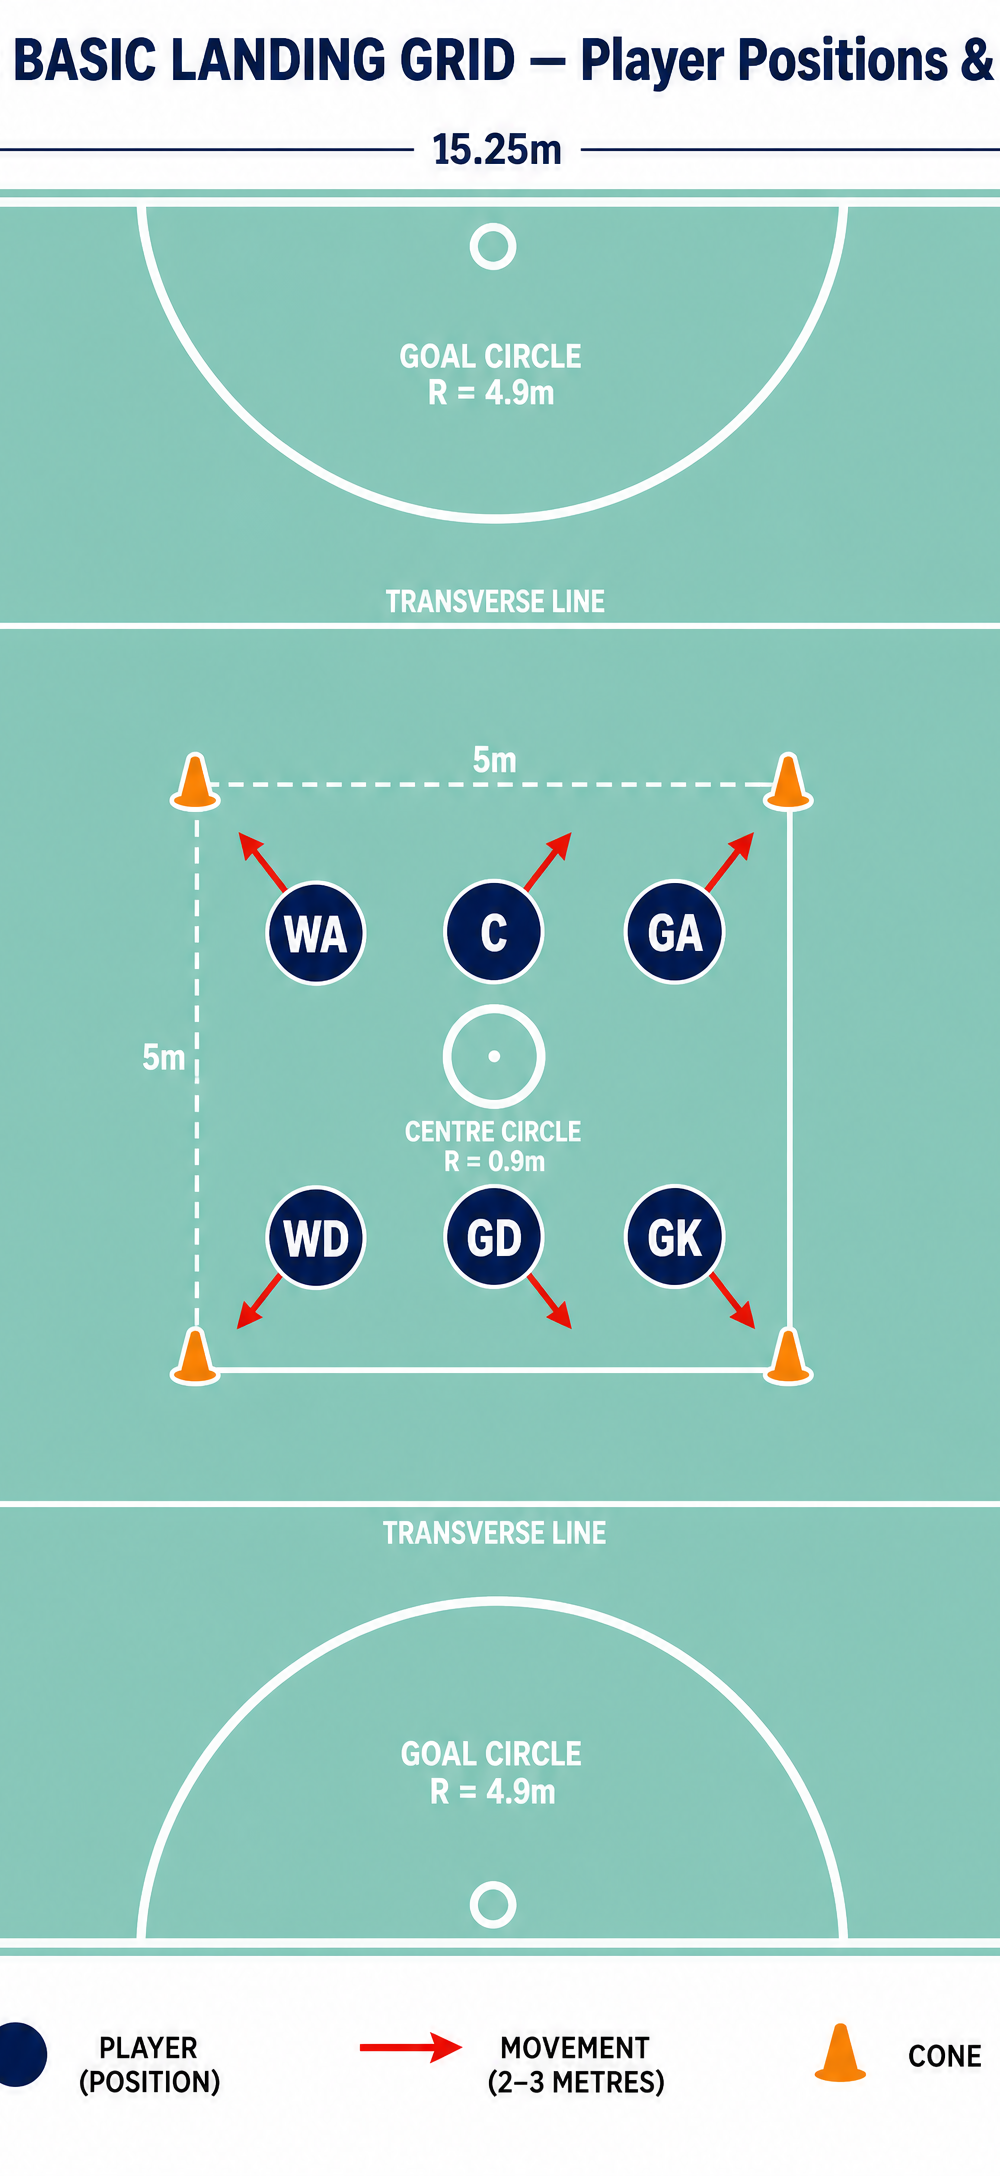
- Positioning: Set up in the goal third. Place a thrower (Player 2 / Centre) on the transverse line with a ball.
- The Drive: Player 1 (WA) starts 4 metres away and drives strongly toward the thrower.
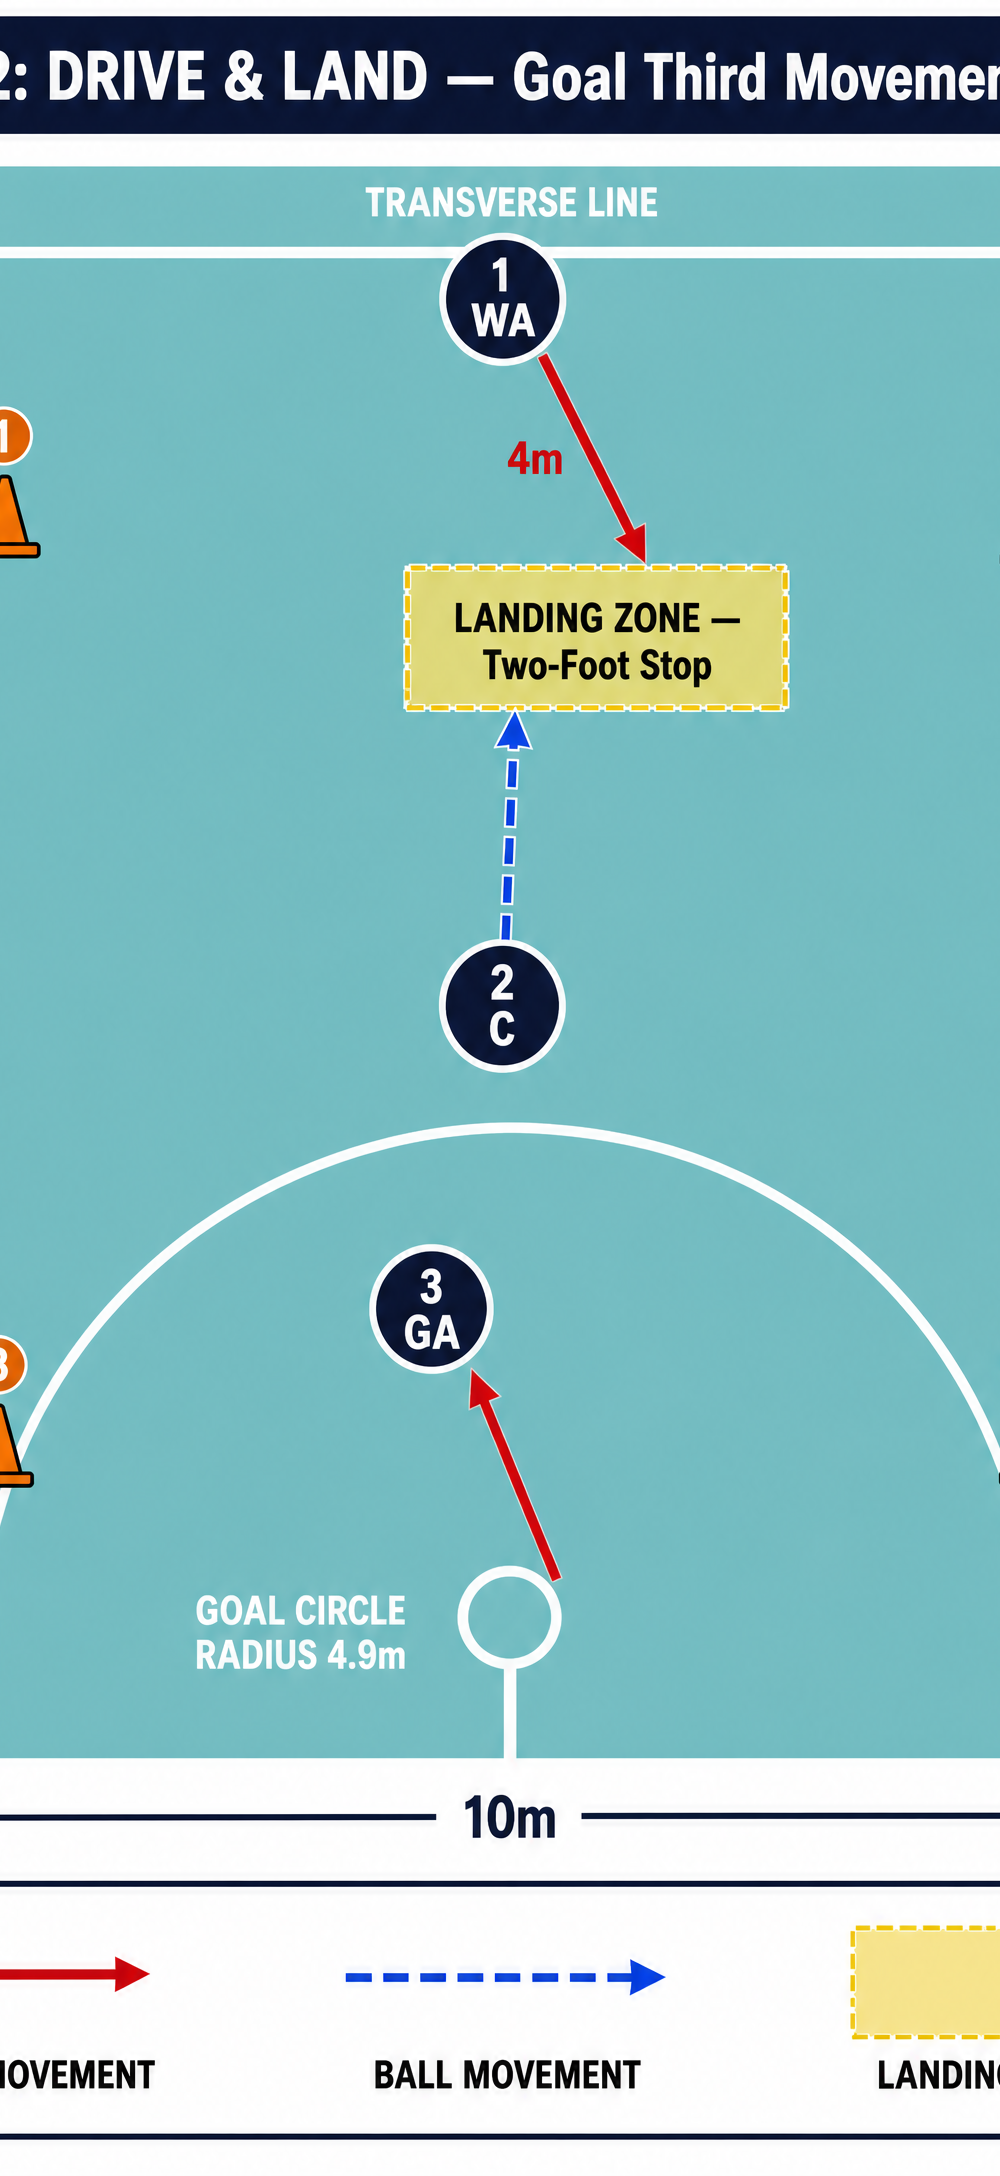
- The Catch and Land: The thrower delivers a flat, hard chest pass. Player 1 must catch the ball in the air and land in the designated "Landing Zone" using a two-foot stop.
- The Pivot: Once balanced, Player 1 pivots on their outside foot to face down-court.
- The Release: Player 1 delivers a pass to Player 3 (GA) who is driving toward the goal circle.
- Rotation: Player 1 becomes the new thrower, Player 3 joins the driving line, and the thrower joins the end of the driving line.
Key Coaching Points
- Eyes Up: Players must keep their eyes on the ball and the thrower, not looking down at their feet as they land.
- Soft Knees: Emphasize a "soft" landing. Knees should be bent to absorb the impact, acting like shock absorbers.
- Base of Support: Feet should be shoulder-width apart on a two-foot landing to provide a strong, balanced base.
- Core Engagement: Players must engage their core to prevent their upper body from tipping too far forward upon landing.
- Catch Then Land: The ball must be secured in the hands before the feet hit the ground to avoid stepping rules.
Common Mistakes
- Landing Heavy: Players landing flat-footed or with straight legs, causing a jarring impact. Correction: Cue "soft knees" and "land on the balls of your feet."
- Narrow Base: Landing with feet too close together, resulting in poor balance and easily being pushed off the ball. Correction: Cue "shoulder-width apart."
- Dragging the Grounded Foot: On a 1-2 landing, the first grounded foot drags as the player tries to slow down, resulting in a footwork penalty. Correction: Ensure the player is dropping their hips to decelerate, rather than relying on friction.
Variations & Progressions
- Progression 1: Add a Defender. Introduce a passive defender who shadows the driving player. This forces the receiver to focus on a strong, balanced landing under pressure.
- Progression 2: The Directional Pivot. After landing, the coach calls out "Left" or "Right". The player must immediately pivot in that direction before passing.
- Variation 1: High Ball Landing. The thrower delivers a lob pass, forcing the receiver to jump high, catch at full extension, and focus heavily on a balanced, two-foot landing from a greater height.
Age Adaptations
- Under 8s / Under 10s: Focus entirely on Phase 1 (without the ball). Make it a game like "Statues" where they must freeze perfectly balanced when the whistle blows.
- Under 12s / Under 14s: Introduce Phase 2. Focus heavily on the timing of the catch (catching in the air) to avoid the common "step, catch, step" habit.
- Under 16s / Open: Execute the drill at match intensity. Incorporate Progression 1 (defenders) and demand perfect, instantaneous balance upon landing to facilitate a rapid release of the ball.

