Mastering the Two-Foot Land: Precision Footwork Drill
Equip your players with the essential footwork and balance needed to execute a perfect two-foot landing under match pressure, reducing stepping calls and improving passing accuracy.
Equipment Needed
Overview
The foundation of any successful netball team is impeccable footwork. A strong, balanced landing is critical not only for avoiding stepping calls but also for setting up the next phase of play. This drill focuses on the mechanics of the two-foot landing, ensuring players can stop their momentum efficiently, maintain balance, and quickly transition into a strong passing position. It is an essential conditioning and skill-building exercise suitable for all levels, designed to ingrain the muscle memory required for perfect landings.
Setup
Equipment Needed:
- 1 Netball
- 4 Cones (preferably bright orange)
- Court space (minimum of one third, ideally the centre third for the initial grid)
Court Setup:
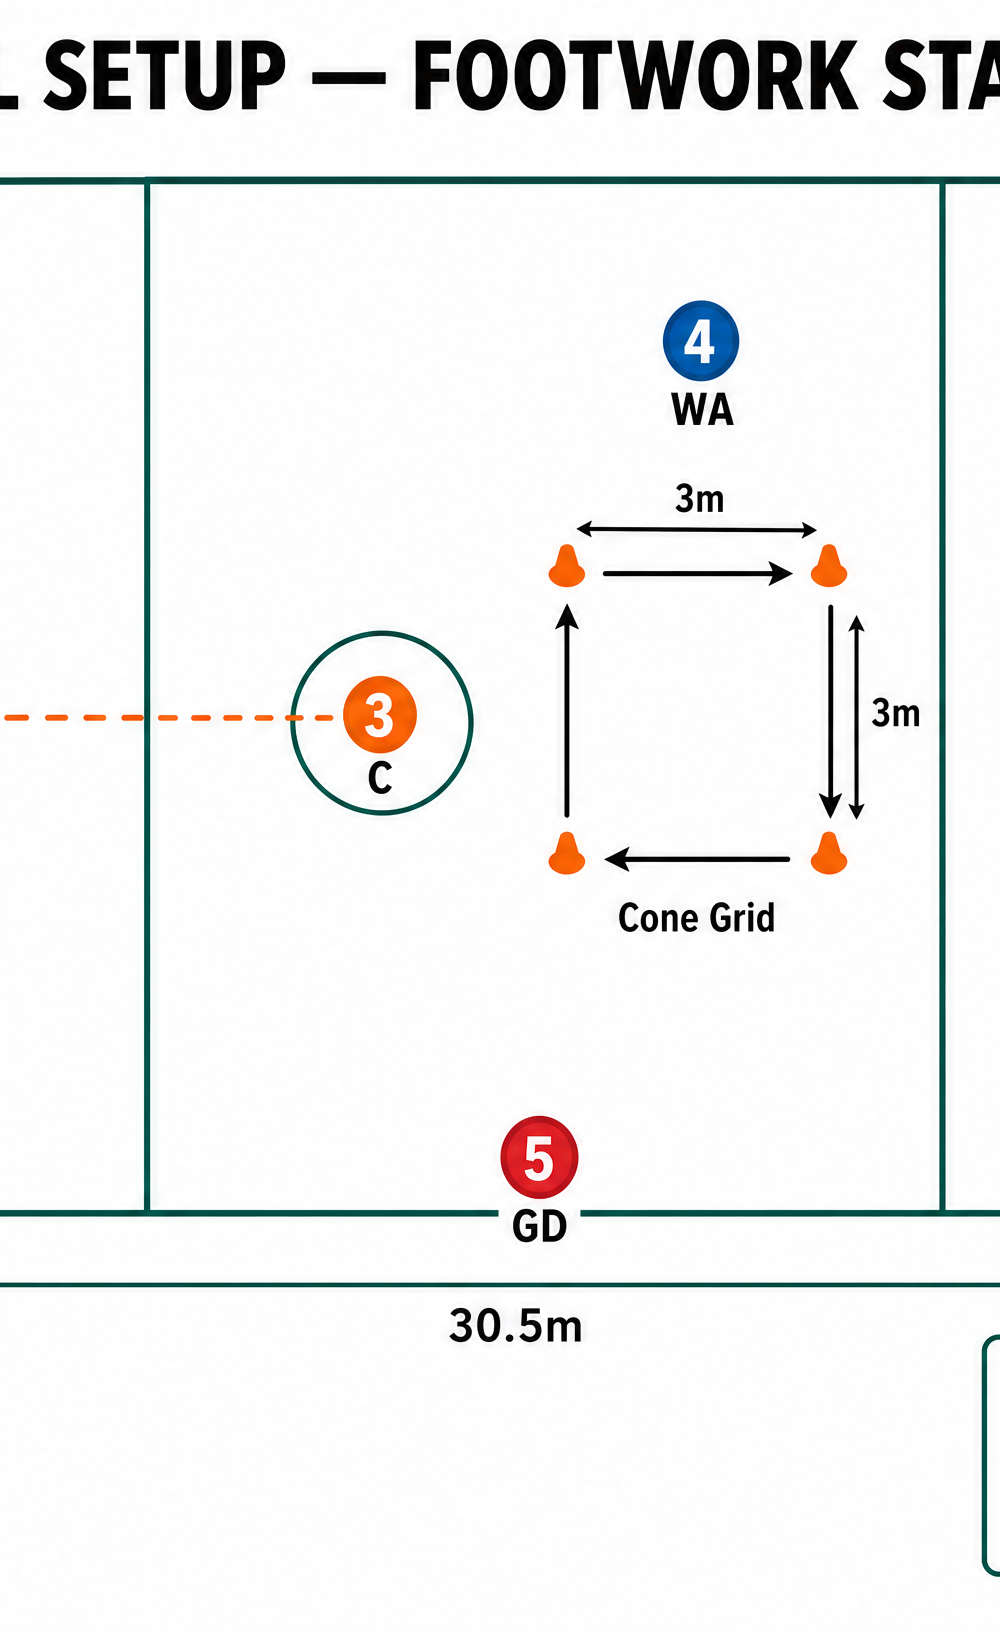
- Set up a 3m x 3m square using the four cones in the centre third of the court.
- Ensure the area is clear of any other equipment to prevent tripping hazards.
Player Positions:
- Player 1 (Worker): Starts on one corner of the cone grid.
- Player 2 (Feeder): Starts approximately 3-4 metres away from the grid, holding the ball.
Step-by-Step Instructions
- The Drive: The Worker (Player 1) drives hard to the next cone in the square. The movement should be explosive and purposeful, simulating a drive to receive a pass in a game situation.
- The Catch and Land: As the Worker approaches the cone, the Feeder (Player 2) delivers a crisp, chest-height pass. The Worker must catch the ball mid-air and execute a simultaneous two-foot landing precisely at the cone.
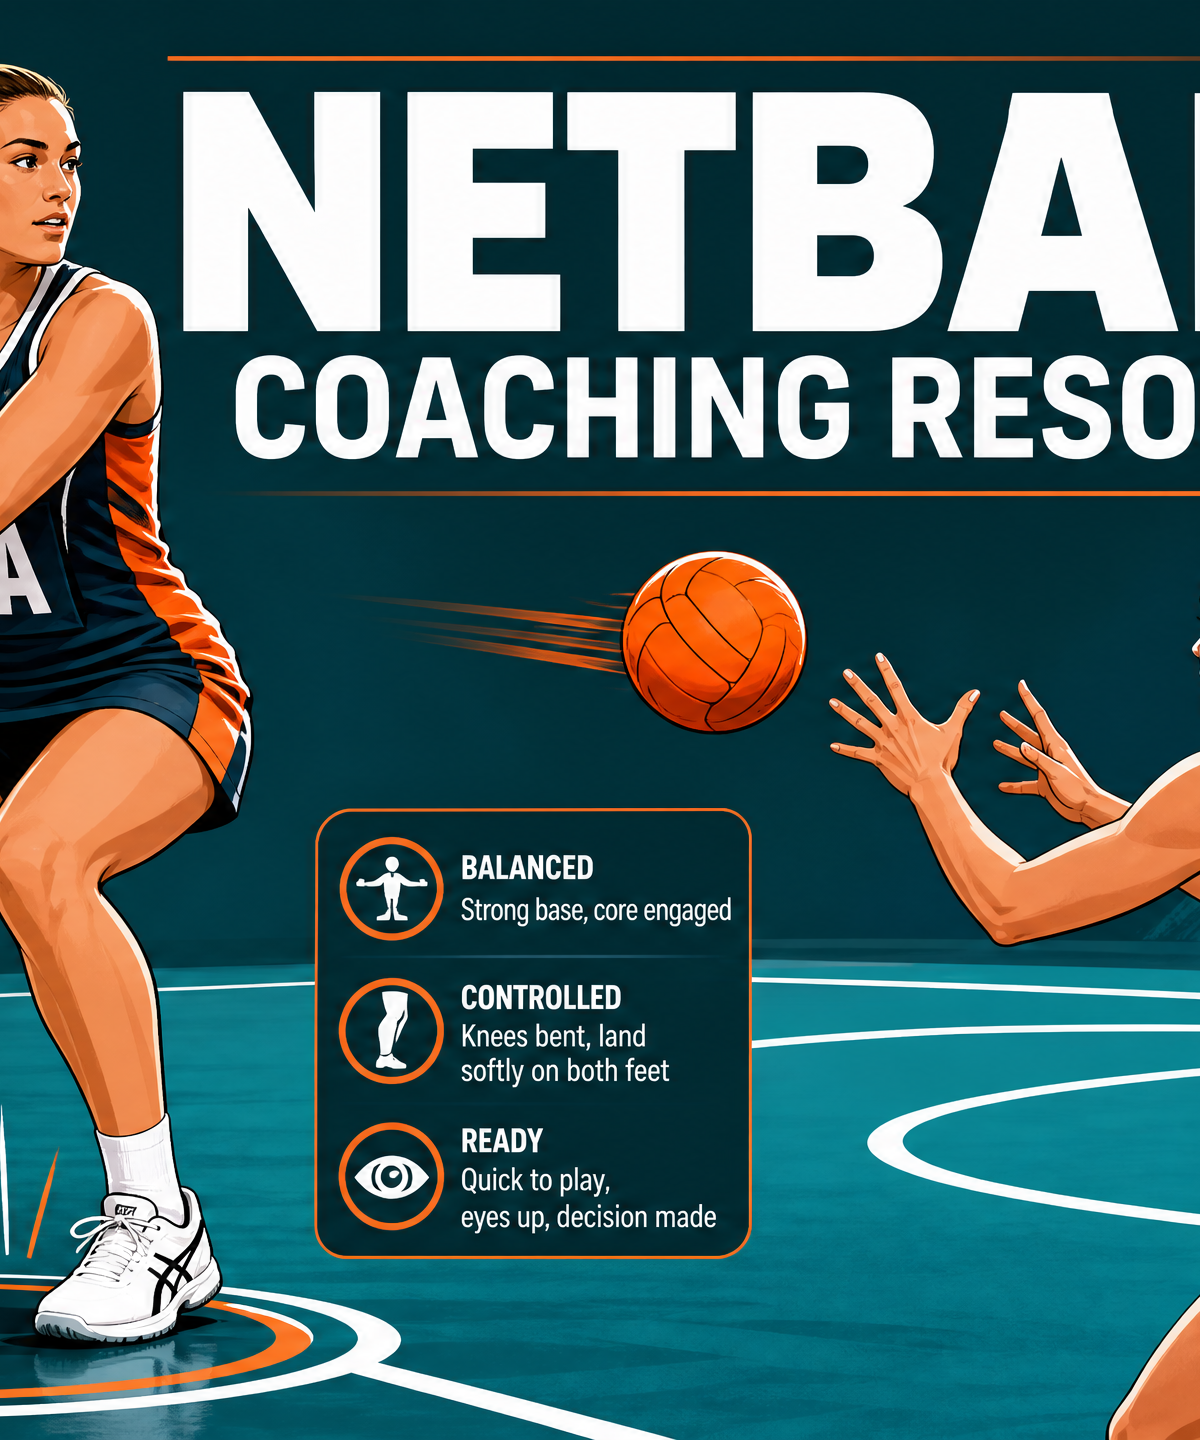
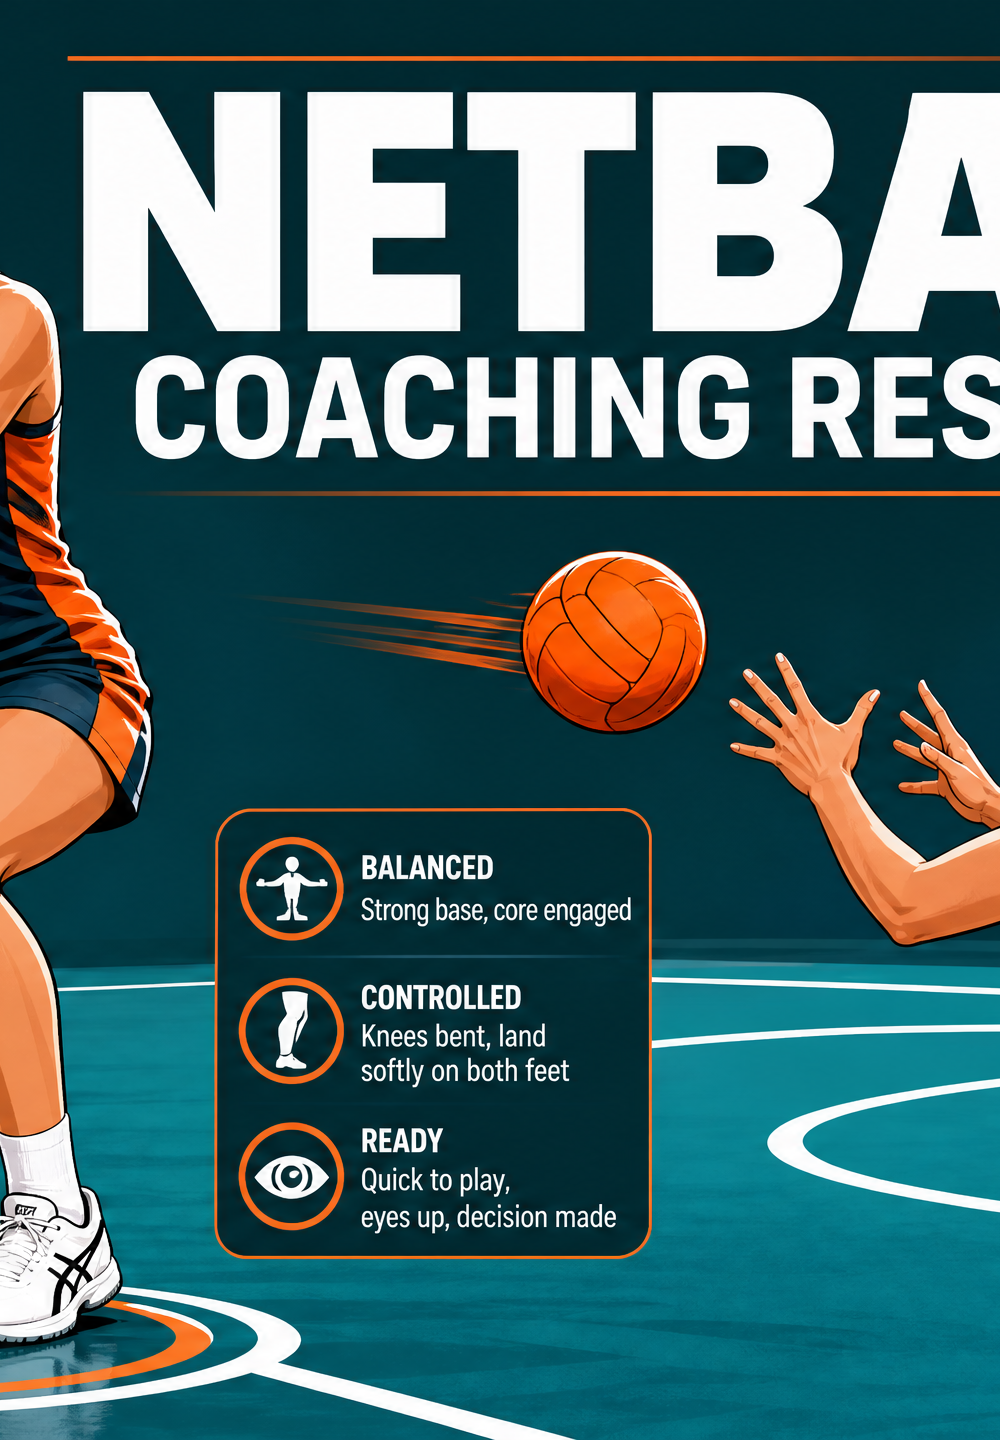
- The Balance Check: Upon landing, the Worker must hold the position for a full two seconds. Knees should be bent, feet shoulder-width apart, and the core engaged to ensure complete stability.
- The Return Pass: After demonstrating control, the Worker pivots (if necessary, though a two-foot land allows pivoting on either foot) and delivers a strong, accurate pass back to the Feeder.
- The Next Drive: The Worker immediately resets and drives to the next cone in the sequence. Repeat the process for a total of 8-10 repetitions before switching roles.
Key Coaching Points
- Eyes on the Ball: Players must track the ball into their hands before focusing on the landing.
- Soft Knees: Emphasize bending the knees upon impact to absorb the shock and lower the centre of gravity for better balance.
- Simultaneous Impact: Both feet must strike the ground at exactly the same time to avoid stepping calls. Listen for a single 'thud', not a 'pat-pat'.
- Strong Core: A tight core prevents the upper body from swaying forward, which often leads to a loss of balance and subsequent stepping.
- Quick Release Preparation: Even while holding the balance, the player's body should be positioned ready to make the next pass.
Common Mistakes
- The 'Stutter Step': Landing on one foot and quickly bringing the second down, which is a stepping violation if the first foot is then lifted.
- Stiff Legs: Landing with straight legs, causing a jarring impact and making it difficult to maintain balance or change direction quickly.
- Reaching for the Ball: Leaning too far forward to catch the ball, pulling the player off balance upon landing.
- Narrow Base: Landing with feet too close together, resulting in a weak base of support.
Variations & Progressions
To keep the drill challenging and relevant to match play, introduce the following progressions once the basic technique is mastered.
Progression 1: Adding Defensive Pressure
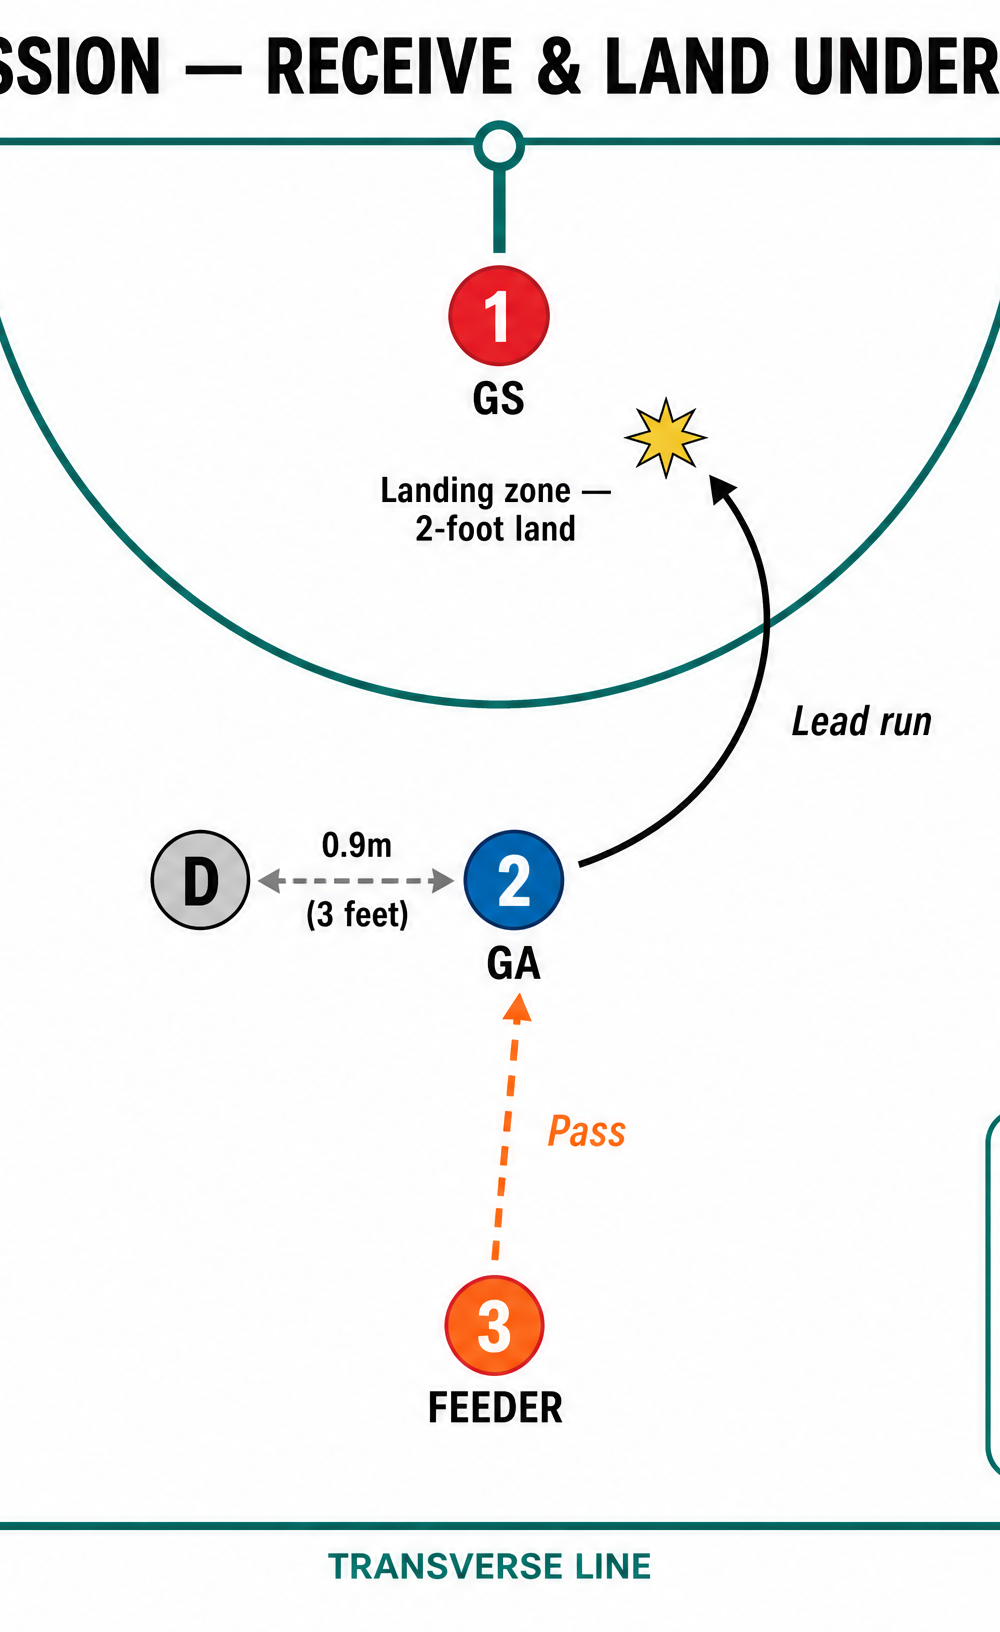
Introduce a defender (D) to apply passive or active pressure on the receiver.
- The Worker now drives into a designated landing zone within the goal circle.
- The Defender applies a 3-foot mark (0.9m) as soon as the Worker lands.
- The Worker must maintain their two-foot landing balance while protecting the ball from the defender's reach.
Progression 2: Directional Changes
Instead of a simple square, have the Feeder call out specific cones or use a reactive agility setup where the Worker doesn't know which direction they will drive until the last second.
Age Adaptations
- Under 8s & Under 10s: Focus purely on the landing mechanics without the ball first. Have them jump and land on two feet like a 'frog'. Introduce the ball only when they can consistently stick the landing.
- Under 12s & Under 14s: Emphasize the speed of the drive and the precision of the pass. Introduce the balance check (holding for 2 seconds) to ensure they aren't rushing the movement.
- Under 16s & Open: Introduce the defensive pressure variations early. Focus on the speed of transition from the landing into the next pass or movement.

