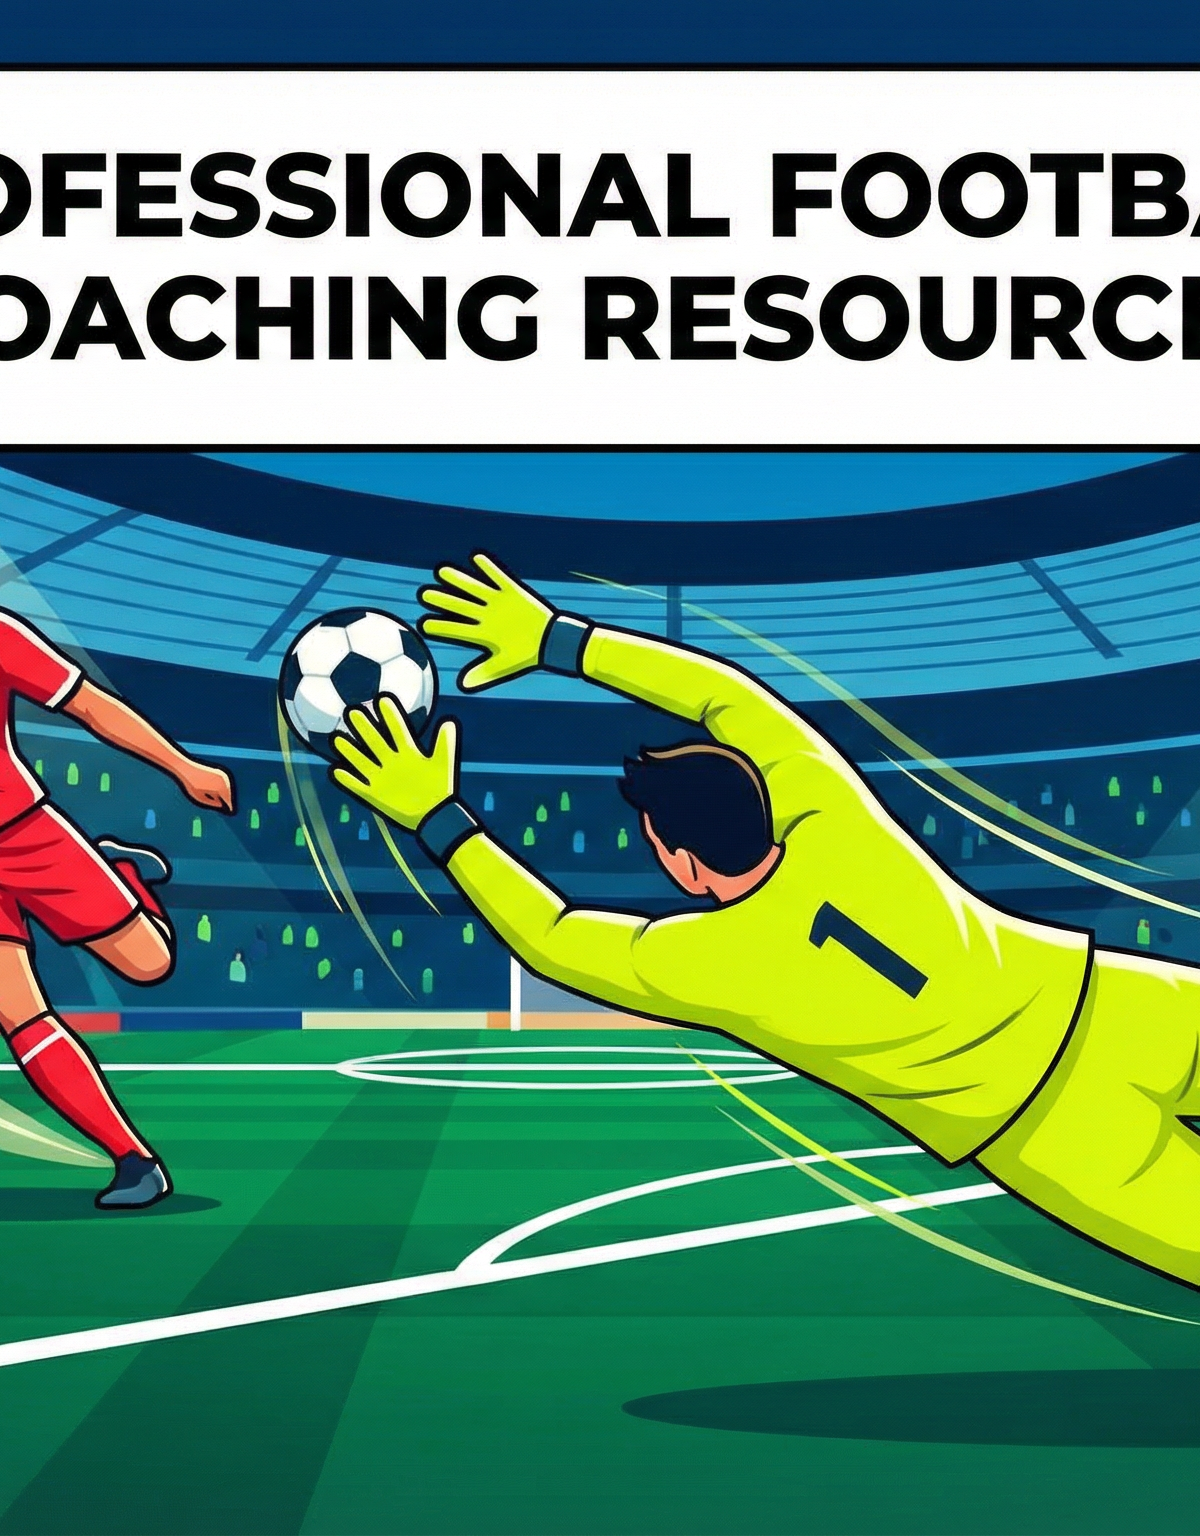
Elite Goalkeeper Shot-Stopping and Positioning Matrix
Develop your goalkeeper's shot-stopping ability, lateral movement, and positional awareness under high-intensity match conditions.
Equipment Needed
1. Overview
The Elite Goalkeeper Shot-Stopping and Positioning Matrix is designed to challenge goalkeepers in high-intensity, match-realistic scenarios. This drill focuses on developing explosive lateral movement, rapid recovery, and precise positioning relative to the ball. By incorporating multiple angles of attack and rapid-fire shooting, coaches can effectively simulate the chaotic environment of the penalty area during a match. This resource will guide you through setting up and executing a session that sharpens your goalkeeper's reflexes and decision-making skills under pressure.
2. Setup

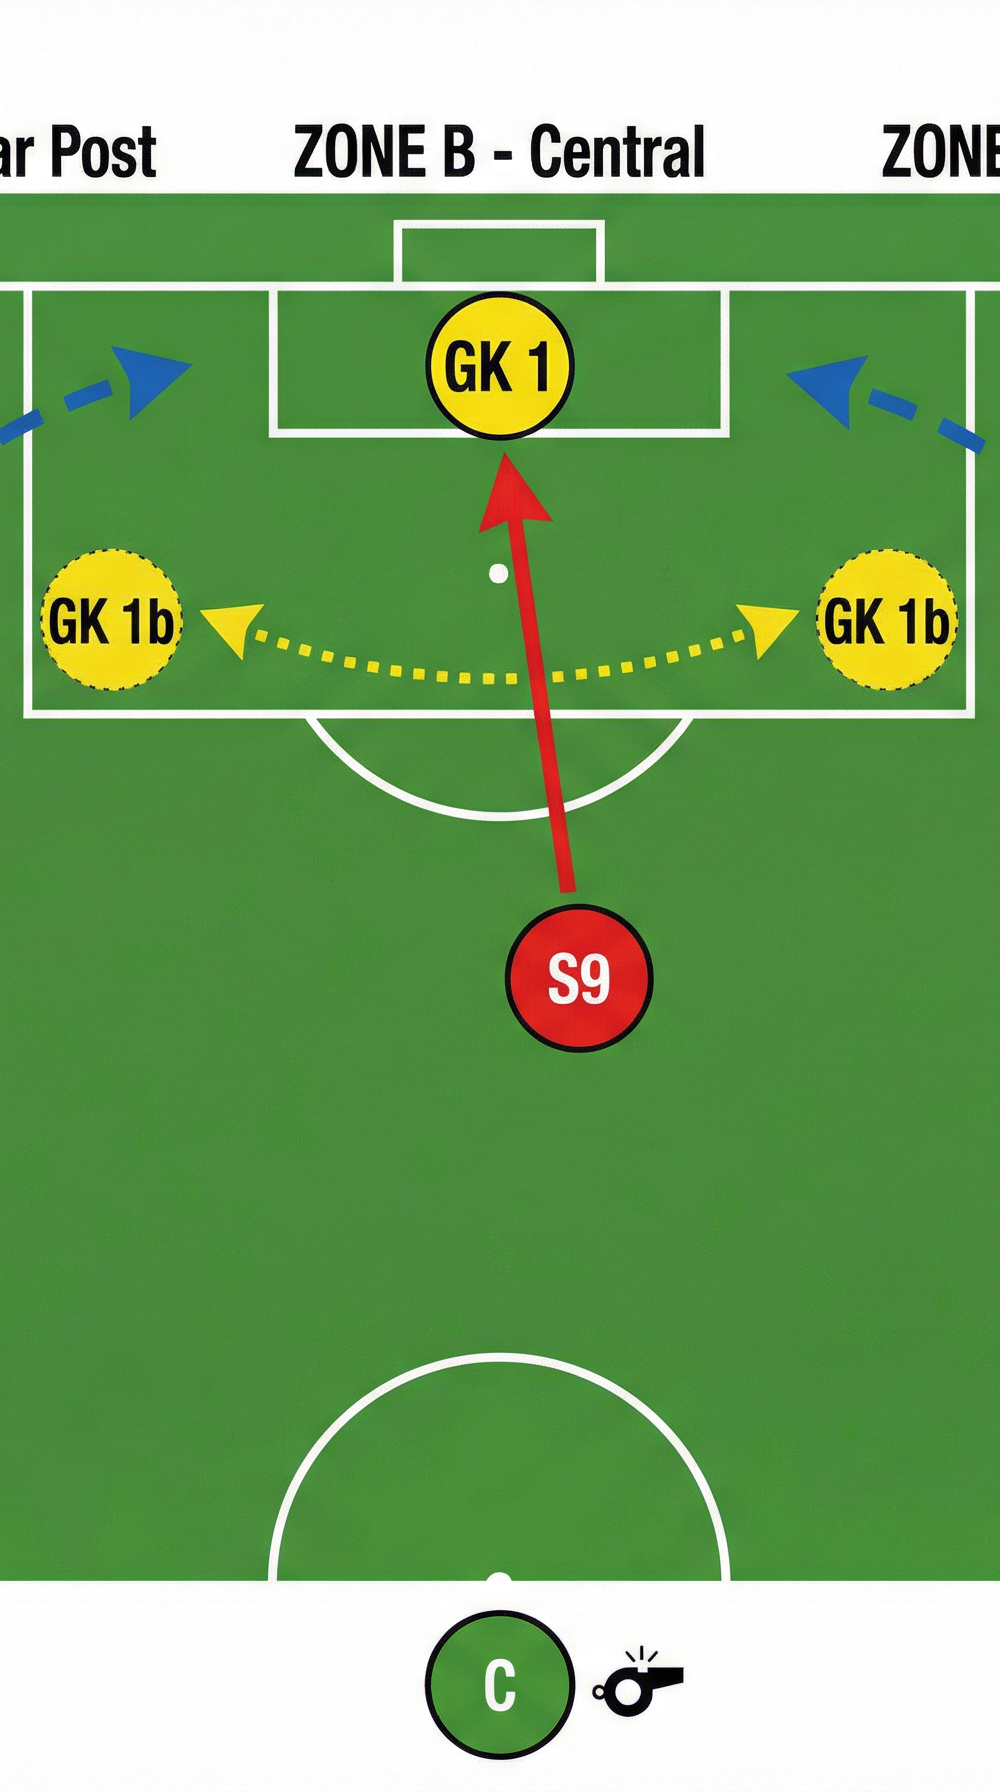
To ensure the drill runs smoothly and safely, proper setup is essential. This drill utilizes the standard penalty area (18-yard box) of a full-sized pitch (100–110m x 64–75m).
Equipment Needed:
- 1 Full-size goal
- 10–15 Footballs (fully inflated)
- 6–8 Cones (for marking starting positions)
- 3 Mannequins (optional, to simulate defenders)
Player Positions:
- GK 1: Starting centrally on the goal line.
- S9, S10, S11 (Shooters): Positioned on the edge of the penalty area (18 yards out) in a semi-arc formation.
- C (Coach/Server): Positioned 25 yards out, centrally located to distribute the ball.
3. Step-by-Step Instructions

Follow these steps to execute the drill effectively. Maintain a high tempo to replicate match conditions.
- Initial Positioning: The goalkeeper (GK 1) starts on the goal line, adopting a balanced set position with weight slightly forward on the balls of the feet.
- The Trigger: The coach (C) initiates the drill by playing a firm pass to one of the three shooters (S9, S10, or S11) positioned on the edge of the penalty area.
- Positional Adjustment: As the ball travels from the coach to the shooter, the goalkeeper must quickly adjust their position to cut down the angle. This requires explosive footwork to get into the line of the ball.
- The Shot: The receiving player takes one touch to control (or strikes first time if appropriate) and shoots firmly at goal. The goalkeeper must react and attempt to make the save.
- Recovery and Reset: Immediately after the shot (whether saved, scored, or missed), the goalkeeper must quickly recover to their feet and reset their central position. The coach immediately plays the next ball to a different shooter, forcing the goalkeeper to readjust their angle and prepare for the next shot.

4. Key Coaching Points

To maximise the effectiveness of this drill, focus on these critical teaching points:
- The Set Position: Ensure the goalkeeper is perfectly still and balanced at the exact moment the ball is struck. Any movement during the strike will compromise their ability to dive effectively.
- Angle Play: The goalkeeper must understand how to narrow the angle. They should draw an imaginary line from the ball to the centre of the goal and position themselves on that line, stepping out appropriately to reduce the visible target area.
- Footwork: Emphasise quick, sharp lateral steps rather than crossing the feet. Explosive power comes from a strong push-off from the leg closest to the direction of the dive.
- Handling vs. Deflecting: Teach the goalkeeper to make good decisions. If the shot is manageable, catch and hold the ball. If the shot is too powerful, focus on strong wrists and parrying the ball wide and away from the danger zone (Zone A or Zone C).
- Recovery Speed: The drill is only as good as the recovery. Demand maximum effort to get back to the feet and reset for the next phase of play.
5. Common Mistakes

Watch out for these frequent errors and correct them immediately:
- Being Caught on the Move: The most common mistake is the goalkeeper still adjusting their feet when the shot is taken. This leads to poor balance and weak dives.
- Drifting Too Far Off the Line: While narrowing the angle is important, stepping out too far makes the goalkeeper vulnerable to chips or being beaten by a well-placed shot to the far post.
- Parrying Back into the Danger Zone: Weak wrists or poor technique can result in the ball being parried straight back into the central area (Zone B), setting up an easy rebound for the attacking team.
- Poor Starting Position: Starting too deep on the goal line gives the shooter too much of the goal to aim at.
6. Variations & Progressions
Adapt the drill to suit the skill level of your goalkeepers.
- Progression 1 — Add Rebounders: Introduce two wide players (W7, W11) who follow in for rebounds. If the goalkeeper parries the ball into play, the drill continues until the ball is cleared or a goal is scored.
- Progression 2 — Visual Obstruction: Place mannequins between the shooters and the goalkeeper to simulate a crowded penalty area. The goalkeeper must adjust their position to maintain a clear line of sight to the ball.
- Variation — First-Time Finishes: Require the shooters to strike the ball first time from the coach's pass. This significantly reduces the goalkeeper's reaction and adjustment time, increasing the difficulty.
7. Age Adaptations

Tailor the drill for different age groups to ensure it is developmentally appropriate.
- Under 10s: Focus heavily on the correct set position and basic catching techniques. Reduce the distance of the shooters to 12–15 yards and use softer, more manageable shots.
- Under 14s: Introduce the concept of angle play and lateral movement. Increase the tempo slightly and encourage proper diving technique.
- Under 18s/Open: Run the drill at full match speed. Emphasise explosive recovery, handling under pressure, and decision-making regarding parrying versus catching.