Counter-Pressing After Losing Possession: The 5-Second Press
Master the art of the immediate counter-press — learn how to coach your team to win the ball back within five seconds of losing it, turning defensive moments into devastating attacking opportunities.
Equipment Needed
Overview
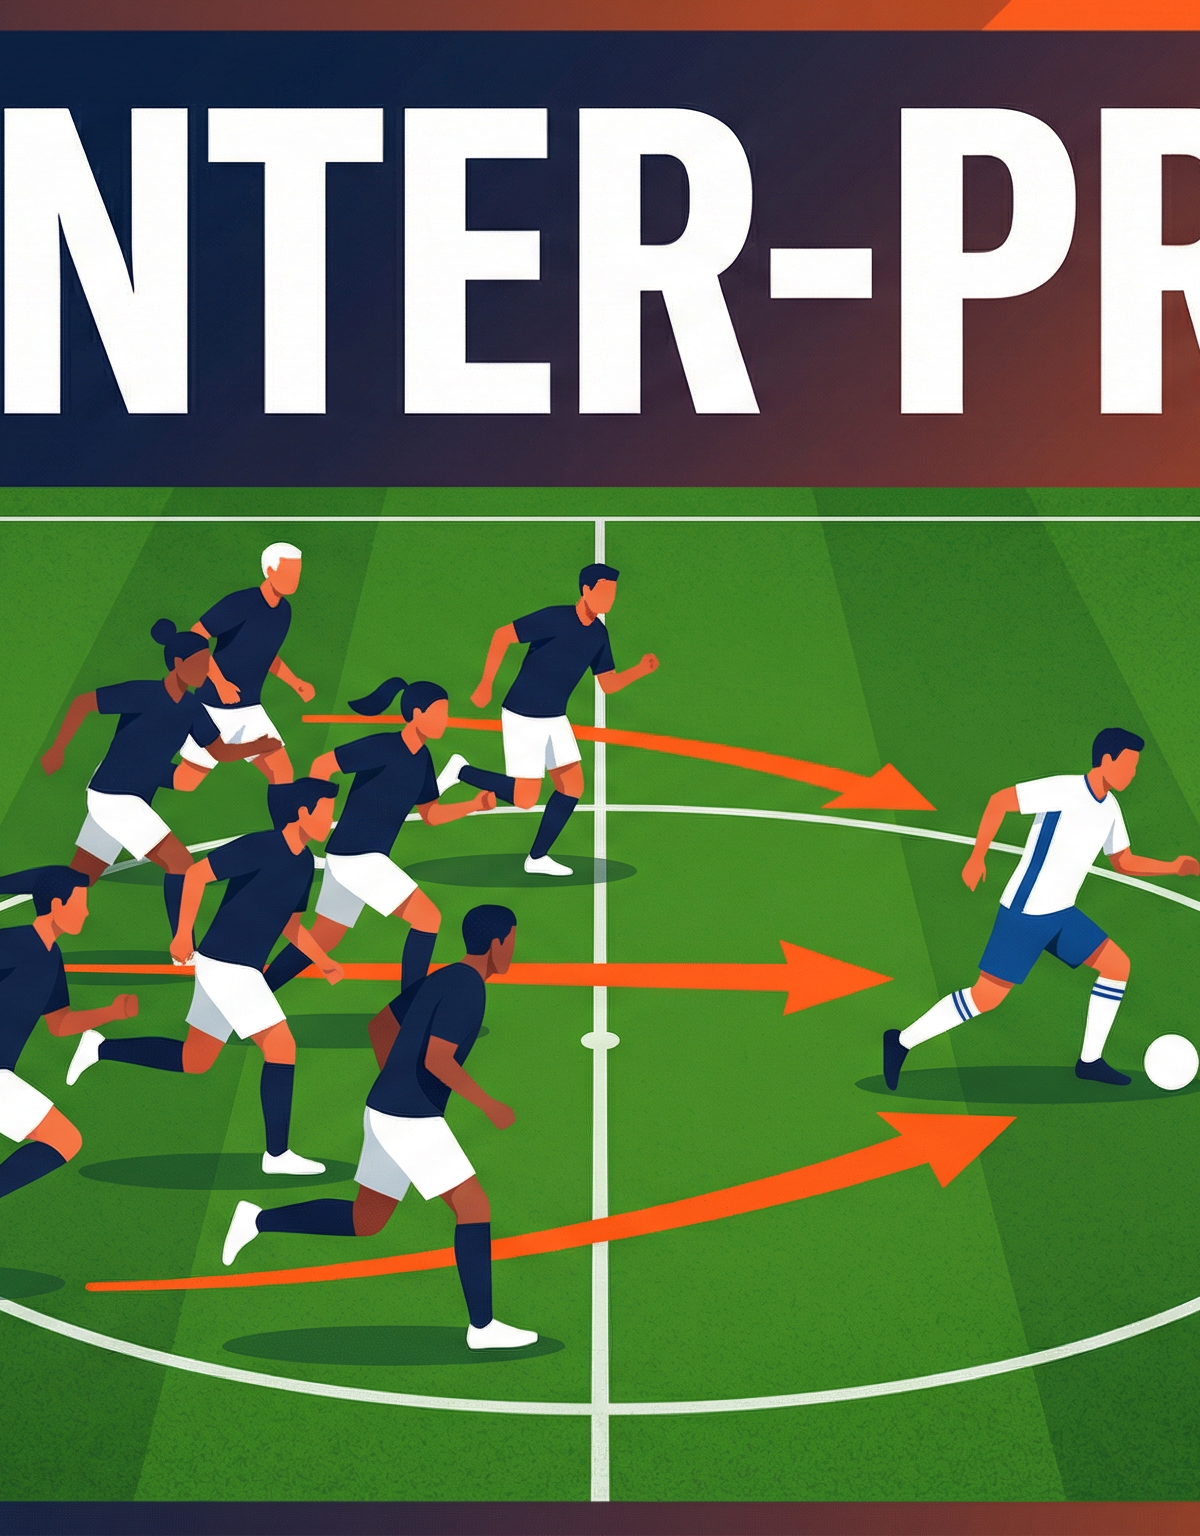
The counter-press — or Gegenpressing as it is widely known — is one of the most potent weapons in modern football. The core principle is deceptively simple: the moment your team loses possession, every outfield player immediately transitions into an aggressive, coordinated pressing unit with the sole aim of winning the ball back within five seconds and within 15–20 metres of where it was lost.
This play is most effective when possession is lost in the opponent's half or around the halfway line (between the 50m and 80m mark on a 105m pitch), where the opposition is least organised and their defensive structure has not yet been established. At that moment, the opponent's players are still in attacking mindsets, their shape is compact and close together — paradoxically making them easier to press — and your team is already positioned high up the pitch.
The tactical goal is twofold: first, to prevent the opposition from launching a dangerous counter-attack against your exposed defensive line; second, to recover possession in a high-value area of the pitch where a quick transition can create a goal-scoring opportunity. Teams that execute this effectively, such as those coached by Jürgen Klopp and Pep Guardiola at the elite level, consistently generate a disproportionate number of goals directly from counter-press recoveries.
When to use it: Deploy the counter-press as your team's default response to losing the ball in the middle and attacking thirds. It is particularly effective after a misplaced pass, a failed dribble, or a set-piece that breaks down. It is less appropriate when possession is lost deep in your own half, where a structured defensive block is the safer response.
Setup
Equipment Required
- Full-size or 3/4-size pitch (minimum 70m x 50m for training; ideally 100–110m x 64–75m for match-realistic sessions)
- 1 match ball per group (4–6 balls total for the session)
- 2 sets of coloured bibs (e.g., navy and red)
- 4 full-size goals or 8 portable mini-goals
- Cones to mark pressing trigger zones (approx. 20 cones)
- Coaching whiteboard or magnetic tactics board
Pitch Setup
For the primary training exercise, divide the pitch into three horizontal zones using cones:
| Zone | Location | Purpose |
|---|---|---|
| Defensive Third | Own goal line to 35m | Recovery/reorganise zone — no press initiated here |
| Middle Third | 35m to 70m | Press trigger zone — counter-press activated immediately |
| Attacking Third | 70m to opponent's goal | High press zone — press within 3 seconds of loss |
Place 4 cones at the corners of the middle third to visually reinforce the press trigger area for players during training.
Player Positions (4-3-3 Formation)
| Number | Position | Role in Counter-Press |
|---|---|---|
| 1 | Goalkeeper (GK) | Sweeper-keeper — steps up to 25m from goal to cover space behind press |
| 2 | Right Back (RB) | Tucks inside to cover right channel; does not press wide unless triggered |
| 3 | Left Back (LB) | Tucks inside to cover left channel; mirrors RB |
| 4 | Centre Back 1 (CB1) | Holds defensive line at 40m; does not press unless ball is won nearby |
| 5 | Centre Back 2 (CB2) | Holds defensive line at 40m; communicates line height to GK |
| 6 | Defensive Midfielder (DM) | Sits 5m behind the press; covers second ball and protects CB line |
| 7 | Right Winger (RW) | Cuts inside immediately to block right back's passing lane |
| 8 | Central Midfielder (CM) | Presses aggressively toward ball side; closes off central pass options |
| 9 | Striker (ST) | First presser — initiates the press by closing the ball carrier |
| 10 | Attacking Midfielder (AM) | Second presser — cuts off the nearest central passing option |
| 11 | Left Winger (LW) | Cuts inside immediately to block left back's passing lane |
Step-by-Step Instructions

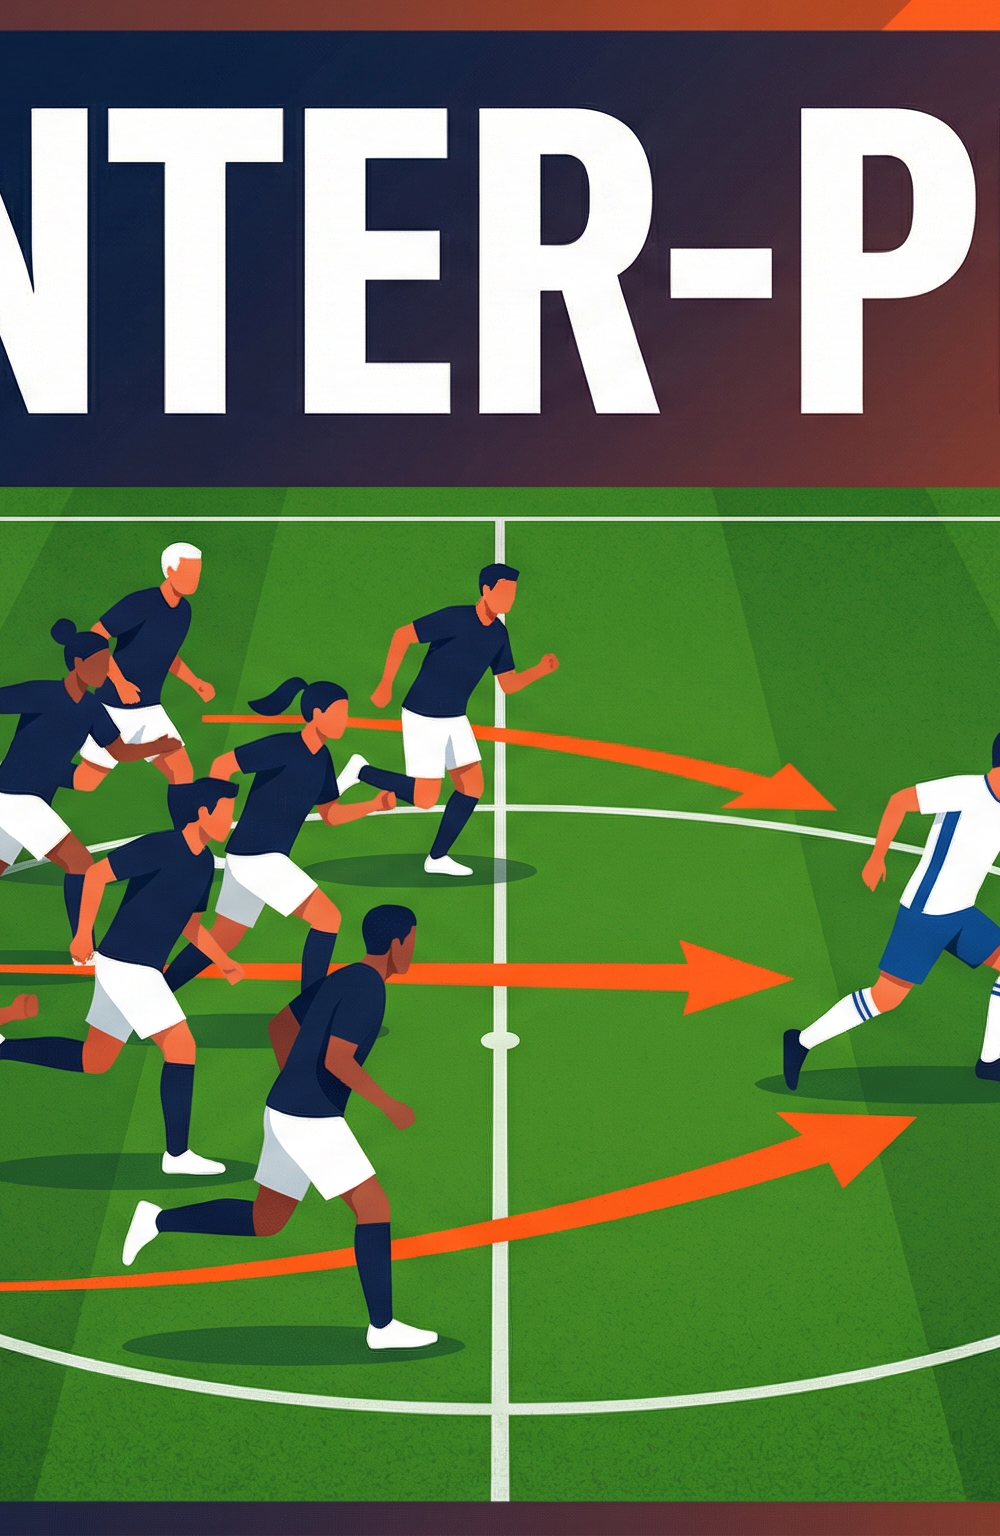
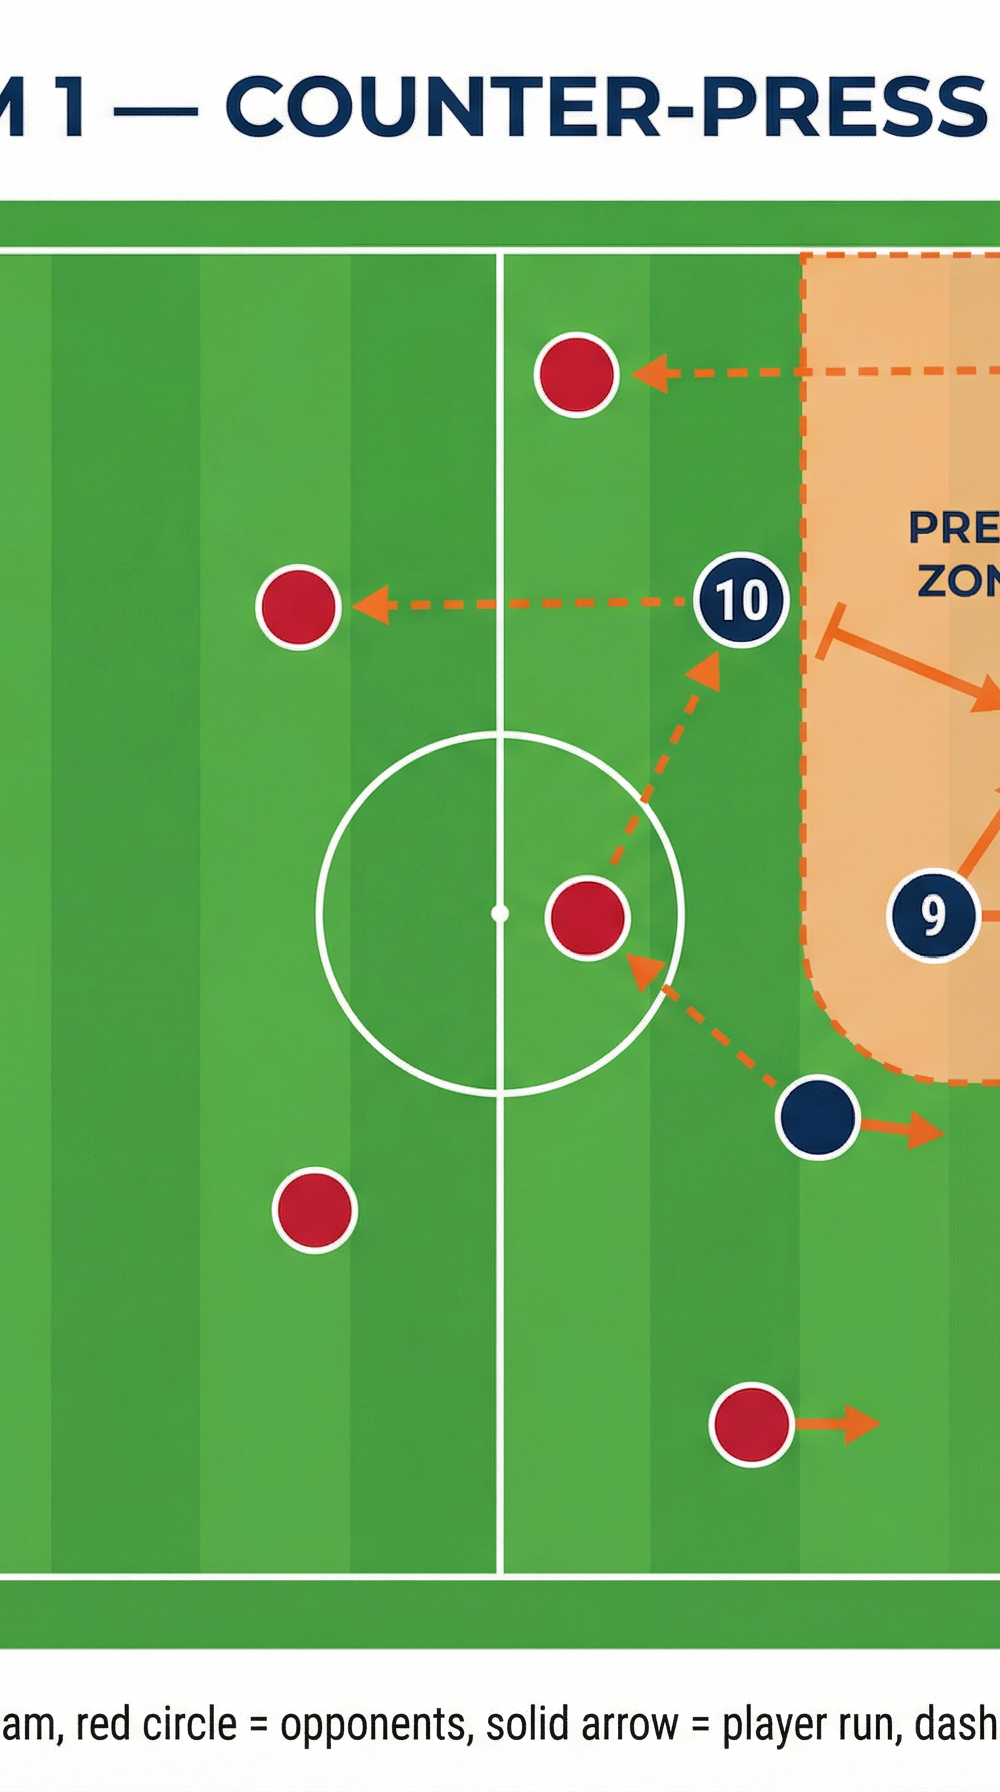
Diagram 1 shows the counter-press trigger moment: the three nearest players (9, 10, 7) converge on the ball carrier in the Press Zone, cutting off all short passing options.
Step 1 — Recognise the Trigger (0–1 second)
The moment possession is lost, the player who lost the ball (or the nearest teammate) shouts "Press!" as the verbal trigger. Every player within 15 metres of the ball must react immediately. There is no waiting, no hesitation. The trigger word is non-negotiable — it must become automatic through repetition in training.
Step 2 — The First Presser Engages (1–2 seconds)
Player 9 (ST) — or whichever player is closest to the ball carrier — sprints directly at the opponent at full intensity. The objective is NOT to win the ball immediately, but to force the opponent's head down, restrict their vision, and prevent them from playing a forward pass. The first presser approaches from a slight angle to channel the opponent toward the touchline or a weaker foot.
Step 3 — Cut Off the Nearest Passing Lanes (1–3 seconds)
Simultaneously, the two nearest teammates to the ball carrier take up positions to cut off the two most likely short passing options. Player 10 (AM) moves to shadow the nearest central midfielder. Player 7 (RW) or 11 (LW) — depending on which side the ball is lost — cuts inside to block the full-back outlet. These players do NOT sprint at the ball; they position themselves in passing lanes, forcing the opponent to either dribble under pressure or play a longer, riskier ball.
Step 4 — Compact the Space (2–4 seconds)
Player 8 (CM) pushes forward to reduce the space between the press and the midfield block. The DM (6) holds their position 5–8 metres behind the press, ready to intercept any ball that breaks through. The RB (2) and LB (3) tuck inward to close the central corridor, preventing the opponent from switching play through the middle.

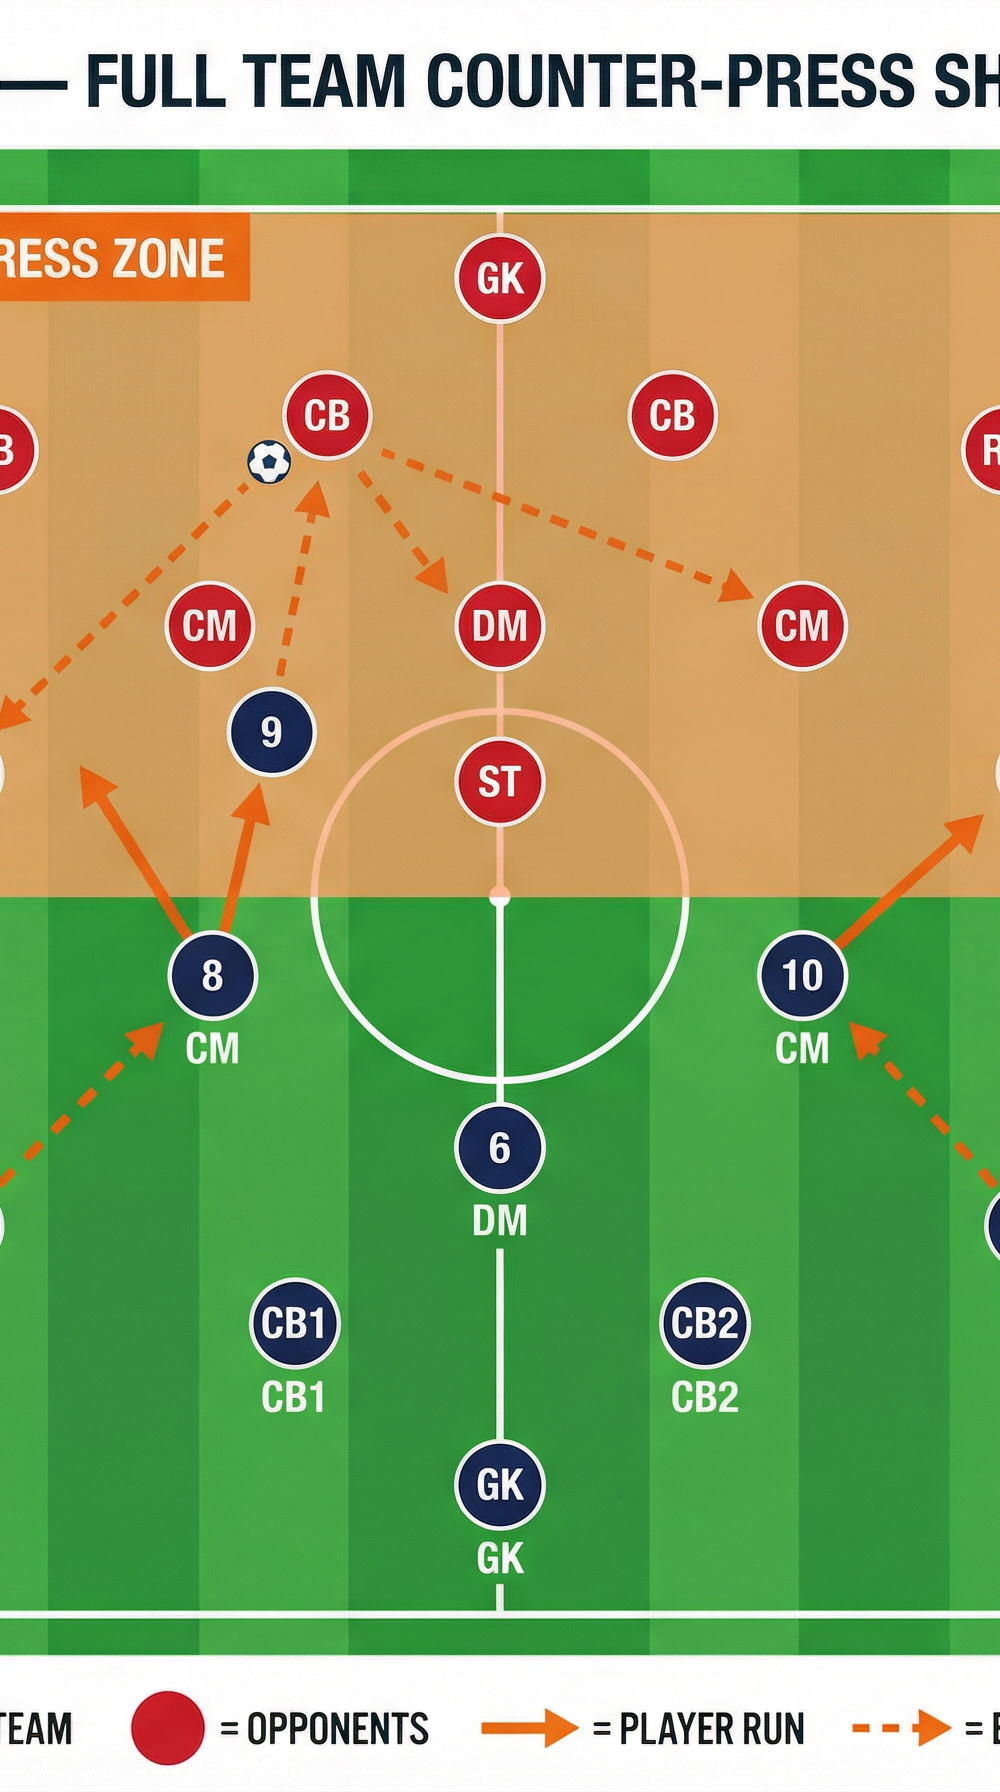
Diagram 2 illustrates the full 4-3-3 counter-press shape: the front three and two central midfielders form the active press unit, while the DM and back four maintain structural compactness behind them.
Step 5 — Win the Ball or Force the Long Ball (3–5 seconds)
With three to four players converging, the opponent has two options: attempt a risky dribble (which the first presser is positioned to intercept) or play a long ball under pressure. If the opponent plays long, the CB1 (4) and CB2 (5) are positioned to win the aerial duel, and the DM collects the second ball. Either outcome is a success — the team has either won the ball back or forced the opponent into a low-percentage action.
Step 6 — Immediate Transition to Attack (5+ seconds)
The instant possession is regained, the team must switch mentality from pressing to attacking in under one second. The player who wins the ball looks forward immediately. Players 7, 10, and 11 who were pressing are now in advanced positions — they become instant attacking outlets. The ball is played quickly into space before the opponent can reorganise.

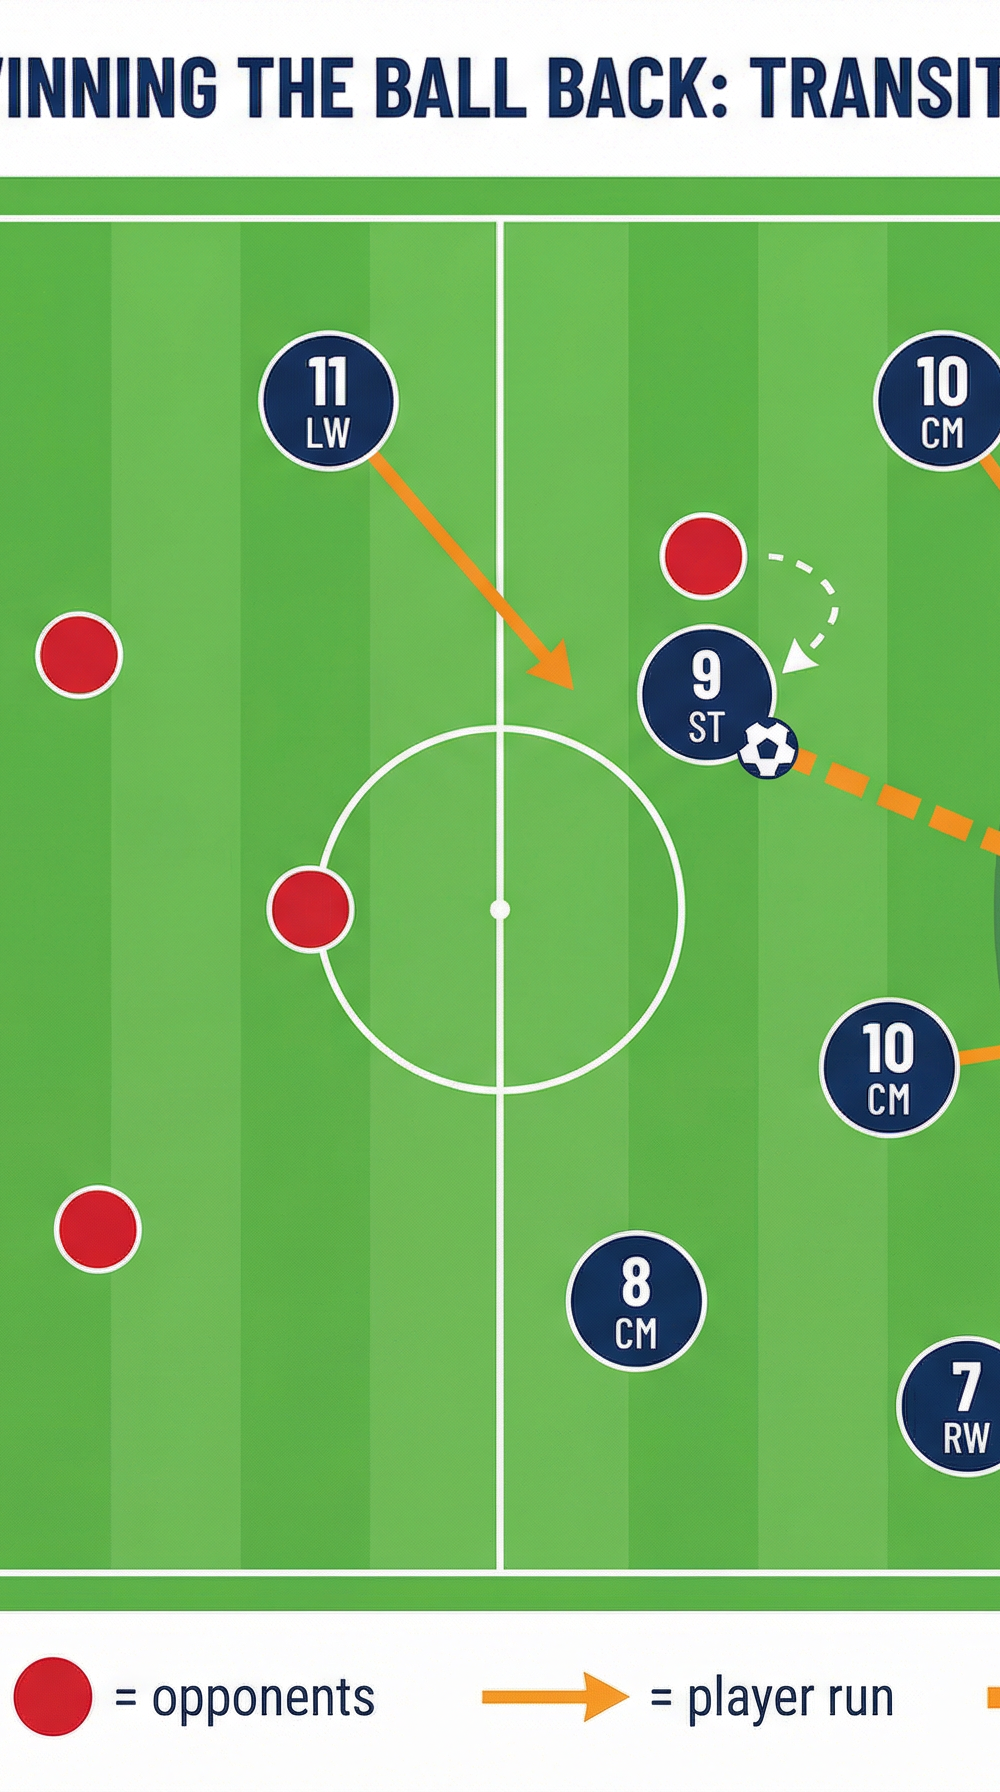
Diagram 3 shows the transition to attack after the counter-press succeeds: Player 9 wins the ball back and immediately plays into the channel for Player 10, while 11 and 7 create a 3v2 overload in the attack zone.
Key Coaching Points
1. React in the First Second — Not the Third.
The counter-press only works if players react the moment possession is lost, not after they've processed what happened. Drill the verbal trigger relentlessly. Use video analysis in training to show players the difference between a 1-second and a 3-second reaction — the space and options available to the opponent are dramatically different.
2. Press With Purpose, Not Panic.
The first presser must approach the ball carrier with controlled aggression — at full speed but with body shape that channels the opponent. Sprinting directly at the ball with no angle simply allows the opponent to play around the presser. Teach players to approach from a 10–15 degree angle to force the opponent toward the touchline or onto their weaker foot.
3. Cover Shadows, Not Just the Ball.
The second and third pressers must think about passing lanes, not the ball. A player who runs toward the ball when they should be covering a passing lane creates gaps rather than closing them. Use the coaching cue: "Get in their shadow — if they look up, they should see you blocking the pass."
4. The DM is the Safety Net — Not a Presser.
The defensive midfielder (6) must resist the temptation to join the press. Their role is to sit 5–8 metres behind the press, cover the space in front of the centre-backs, and collect any second balls. If the DM presses, the central corridor opens up and the opposition can play through the press with one pass. Reinforce this constantly.
5. Win It Back or Win the Long Ball.
Coach players to understand that forcing a long ball under pressure is also a success. If the press is executed correctly and the opponent is forced to play long to their goalkeeper or a centre-back, the team has achieved its defensive objective. Celebrate this outcome in training — do not only reward direct ball recoveries.
6. Transition Speed is the Reward.
The counter-press is only fully effective if the team can transition to attack immediately after winning the ball. Spend equal time in training on the 3-second attack that follows a successful press. Players must understand that their pressing positions are also their attacking starting positions.
Common Mistakes

Mistake 1 — Pressing Too Late (After 3+ Seconds)
The most common error. Players watch the ball being lost, process it, then decide to press — by which point the opponent has already played out of the press. Correction: Use a reaction drill where the coach deliberately loses the ball and players must react before the coach counts to two. Repetition builds the automatic response.
Mistake 2 — All Players Chasing the Ball
When multiple players sprint at the ball carrier without covering passing lanes, the press becomes chaotic and easily bypassed with one pass. Correction: Assign clear press roles in training (first presser, lane blocker, second ball cover) and hold players accountable to their specific role, not the ball.
Mistake 3 — The DM Joining the Press
When the DM pushes up to join the press, a gap opens in front of the centre-backs. One pass through this gap and the opponent is in behind the entire team. Correction: Use a shadow drill where the DM must stay within a defined 10m x 10m zone during the press phase, regardless of where the ball goes.
Mistake 4 — Pressing in the Defensive Third
Initiating a counter-press when possession is lost near your own penalty area is extremely high-risk. If the press is beaten, the opponent has a clear path to goal. Correction: Clearly define the press trigger zones with cones in training and establish a rule: no counter-press inside the defensive third — drop into a compact defensive block instead.
Mistake 5 — Slow Transition After Winning the Ball
Players celebrate winning the ball back instead of immediately transitioning to attack. The opponent has 2–3 seconds to reorganise — that window must be exploited. Correction: In training, immediately reward any team that scores within 5 seconds of winning the ball back from a counter-press with a bonus point.
Variations & Progressions
Variation 1 — Rondo to Counter-Press (Easier)
Begin with a 6v2 rondo in a 12m x 12m grid. When one of the two defenders wins the ball, the six possession players immediately counter-press to win it back. This isolates the reaction and pressing mechanics in a small, controlled environment before scaling to full pitch. Ideal for introducing the concept to younger or less experienced players.
Variation 2 — Positional Play + Counter-Press (Intermediate)
Set up a 9v9 positional game on a 60m x 45m pitch with two small goals. Play normal positional football, but whenever a team loses the ball, they have a maximum of 5 seconds to win it back or concede a point to the opposition. If they win it back within 5 seconds, they earn a bonus point. This creates the competitive pressure that mirrors match conditions.
Progression — Full 11v11 Counter-Press Game (Advanced)
Play a full 11v11 game on a full-size pitch (100–110m x 64–75m). Introduce a rule: if the pressing team wins the ball back within 5 seconds of losing it, the goal scored from that possession counts double. This creates a powerful incentive for the entire team to press collectively and transition quickly, replicating the decision-making demands of a competitive match.
Age Adaptations

| Age Group | Key Adaptations |
|---|---|
| Under 10 (U10) | Focus only on the first presser role. Use a 4v4 or 5v5 format on a 30m x 20m pitch. Teach the concept of "chase the ball the moment we lose it" without complex lane-blocking assignments. Use fun games like "sharks and minnows" to build pressing instinct. |
| Under 12 (U12) | Introduce the concept of the second presser blocking the nearest pass. Use 7v7 on a 50m x 35m pitch. Introduce the verbal trigger cue. Focus on reaction speed rather than tactical complexity. |
| Under 14 (U14) | Introduce the three-player press unit (first presser, lane blocker, second ball cover). Use 9v9 on a 70m x 50m pitch. Begin to assign specific roles by position. Introduce the DM as the safety net. |
| Under 16 (U16) | Full counter-press system with all 11 players. Introduce press trigger zones. Begin to analyse video of the press in training. Introduce the transition-to-attack phase as a structured component. |
| Open/Senior | Full tactical implementation including press triggers, zone rules, and transition protocols. Use GPS data or video analysis to measure press reaction times and ball-recovery rates. Set team targets (e.g., win 60% of balls back within 5 seconds in the attacking third). |