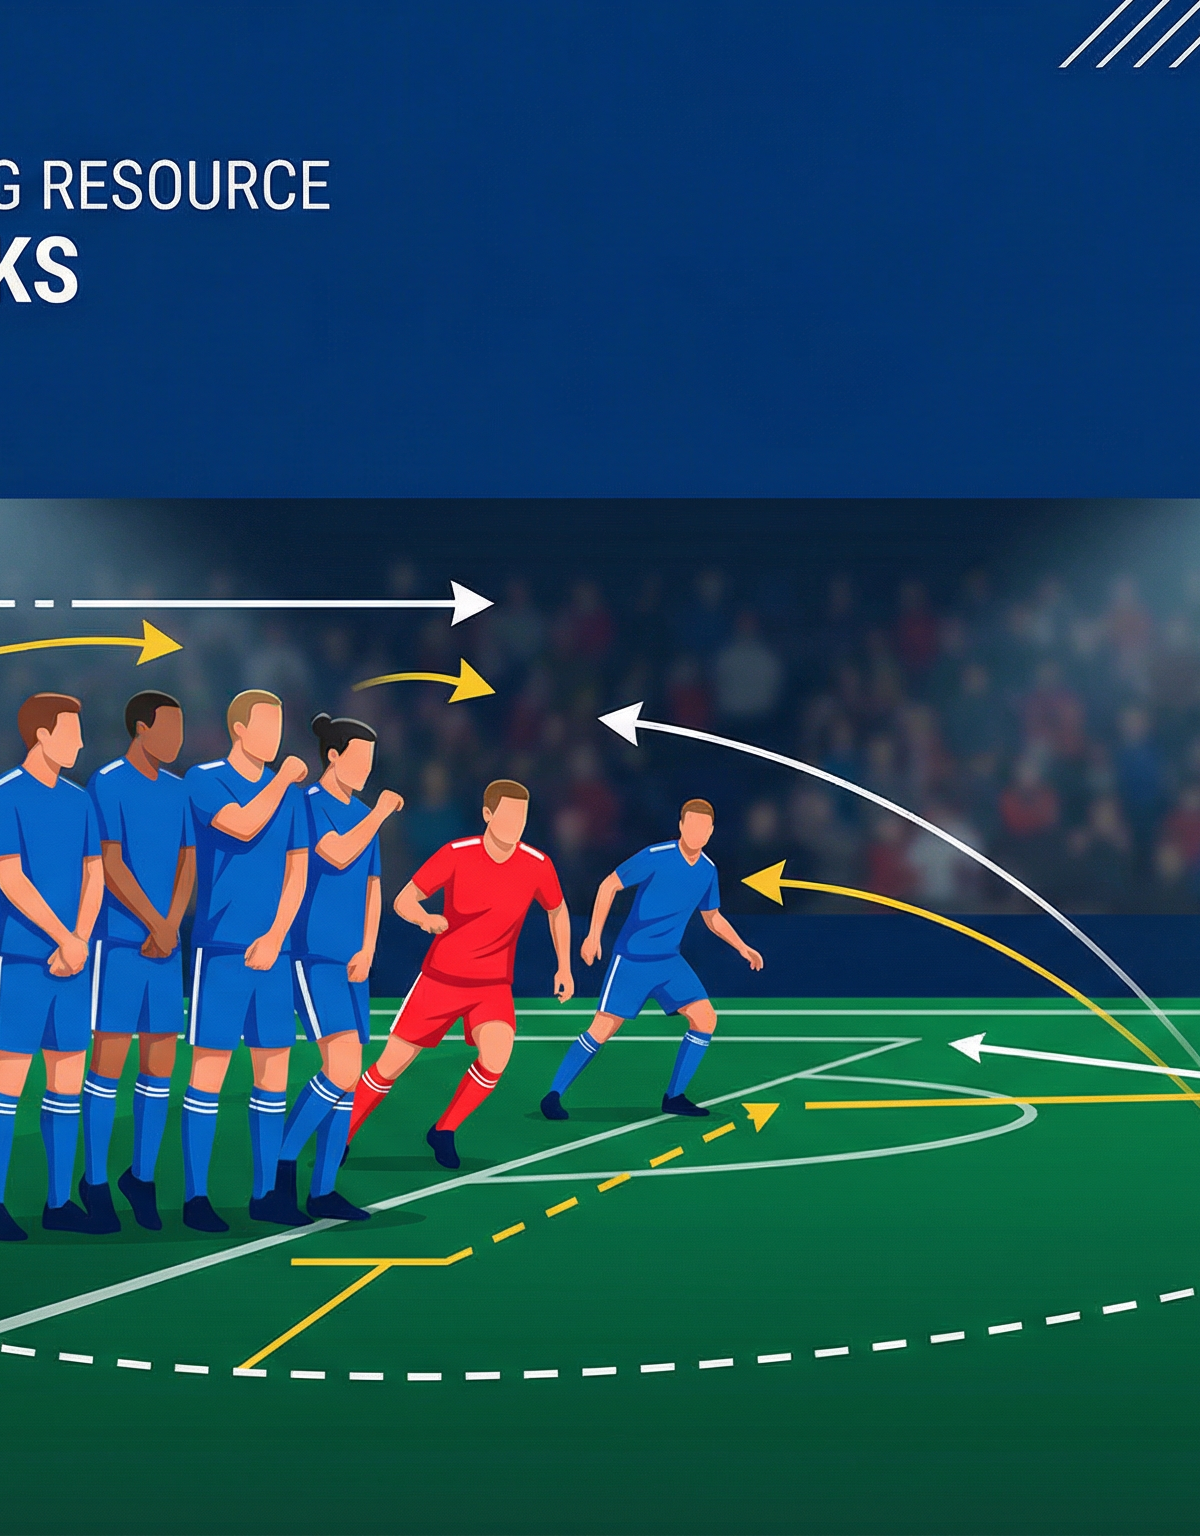
Free Kick Wall and Delivery Play: The Dummy & Cutback
Master the art of attacking free kicks with this dummy run and cutback variation designed to exploit defensive walls and create high-percentage scoring opportunities.
Equipment Needed
1. Overview
Direct free kicks around the penalty area (20-30 metres from goal) are prime scoring opportunities, yet many teams rely solely on a direct shot over the wall. This set play, The Dummy & Cutback, is designed to manipulate the defensive wall and the goalkeeper's positioning. By initiating a dummy run over the ball, we force the wall to shift and the goalkeeper to adjust their weight. This momentary imbalance is then exploited with a short, angled pass to a late-arriving midfielder who drives a low, powerful shot on target. It is an excellent routine to use when the opposition sets up a rigid, predictable 4-man or 5-man wall and expects a direct strike.
2. Setup
Pitch Area: The attacking third, specifically 20 to 30 metres from goal, centrally or slightly offset.
Equipment: 1 full-size goal, 4-5 mannequins (or defending players) to form a wall, plenty of footballs.
Player Positions:
- Player 9 (The Decoy): A known free-kick specialist standing over the ball, creating the illusion of a direct strike.
- Player 10 (The Setter): Positioned slightly behind and to the side of the ball, ready to execute the short pass.
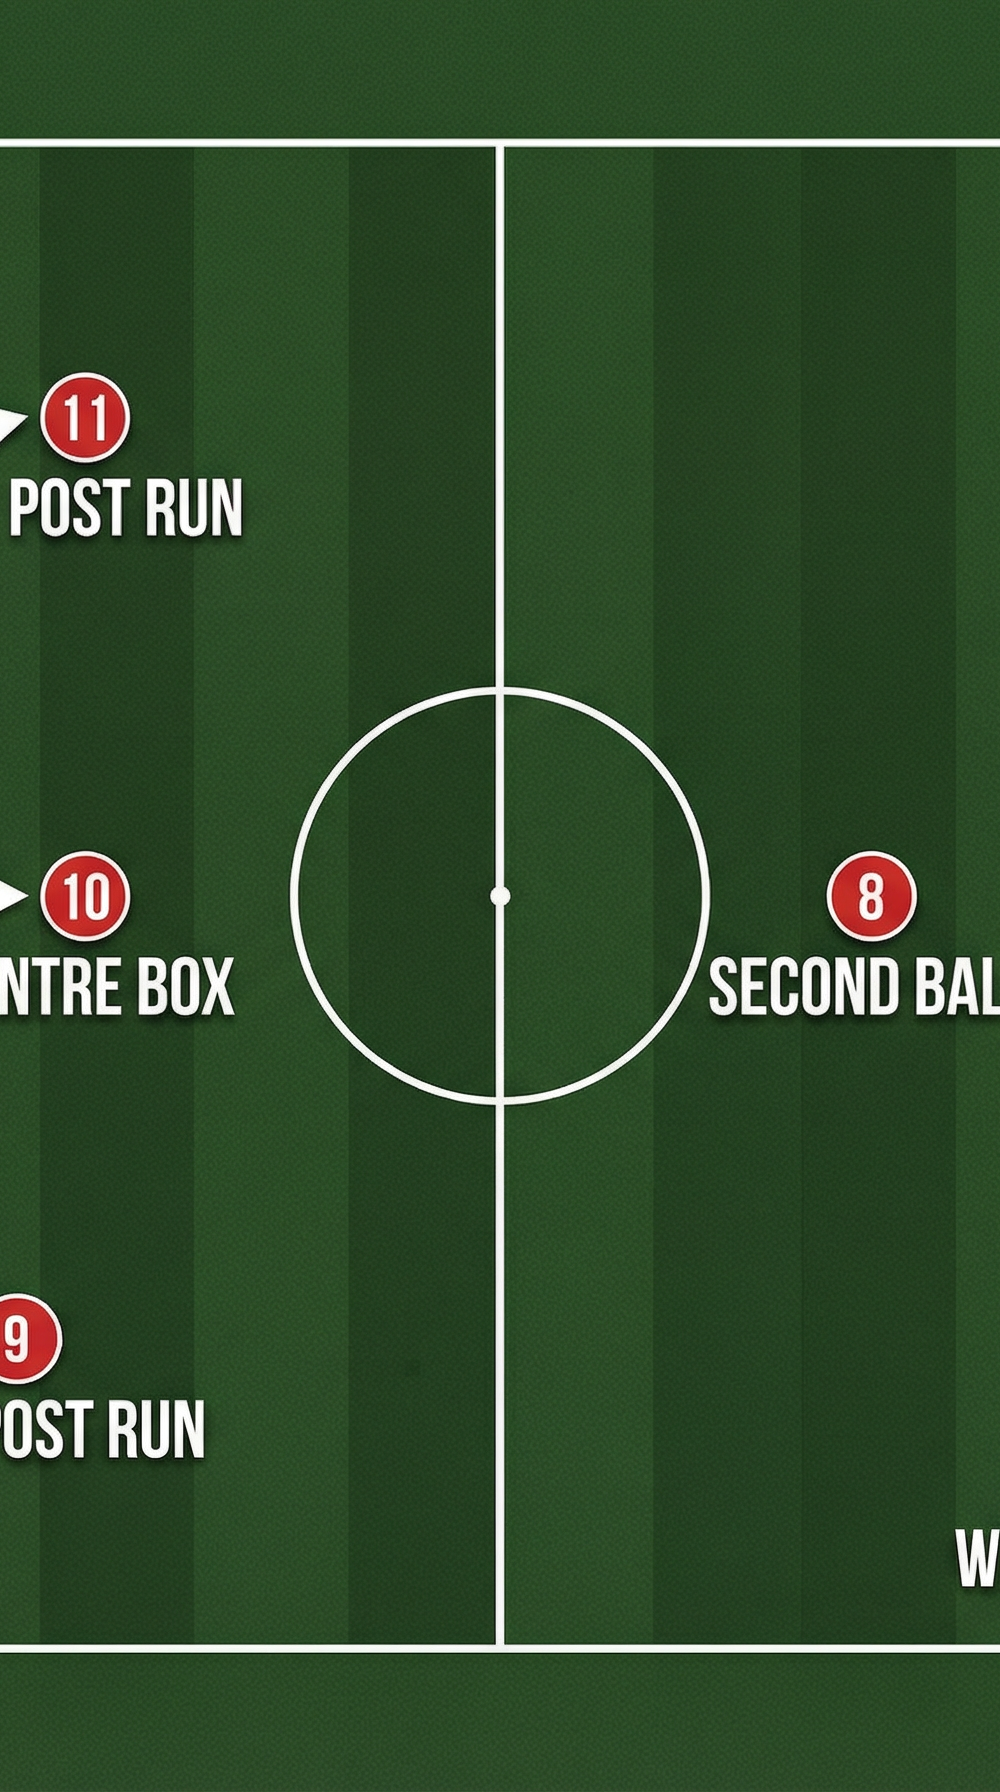
- Player 6 (The Finisher): Starting deeper (around 35-40 metres out), preparing for a late, explosive run into the shooting zone.
- Player 11 (The Poacher): Positioned on the blind side of the wall, making a run to the far post for rebounds.
- Player 7 & 8 (The Distractors/Cover): Positioned wide or at the edge of the box to occupy defenders and prevent quick counter-attacks.

3. Step-by-Step Instructions
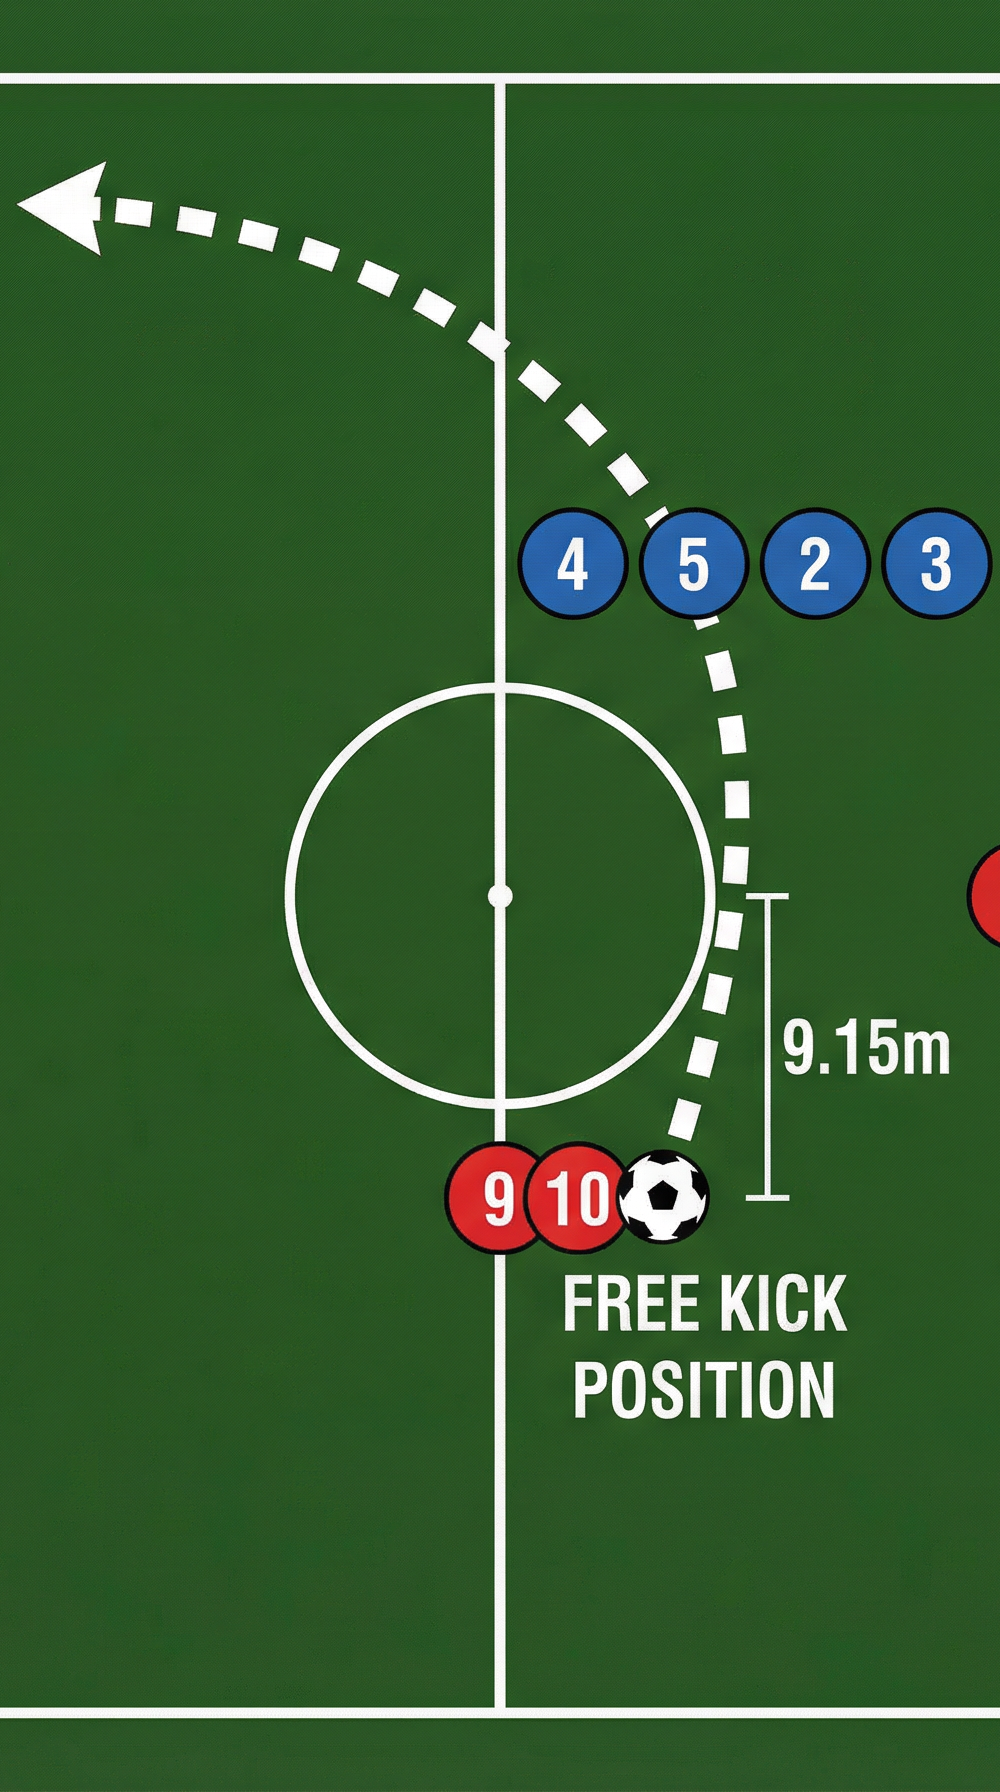
- The Setup: Place the ball 25 metres from goal. Player 9 and Player 10 stand over the ball, discussing the play to sell the deception. The defensive wall is set at the mandatory 9.15 metres.
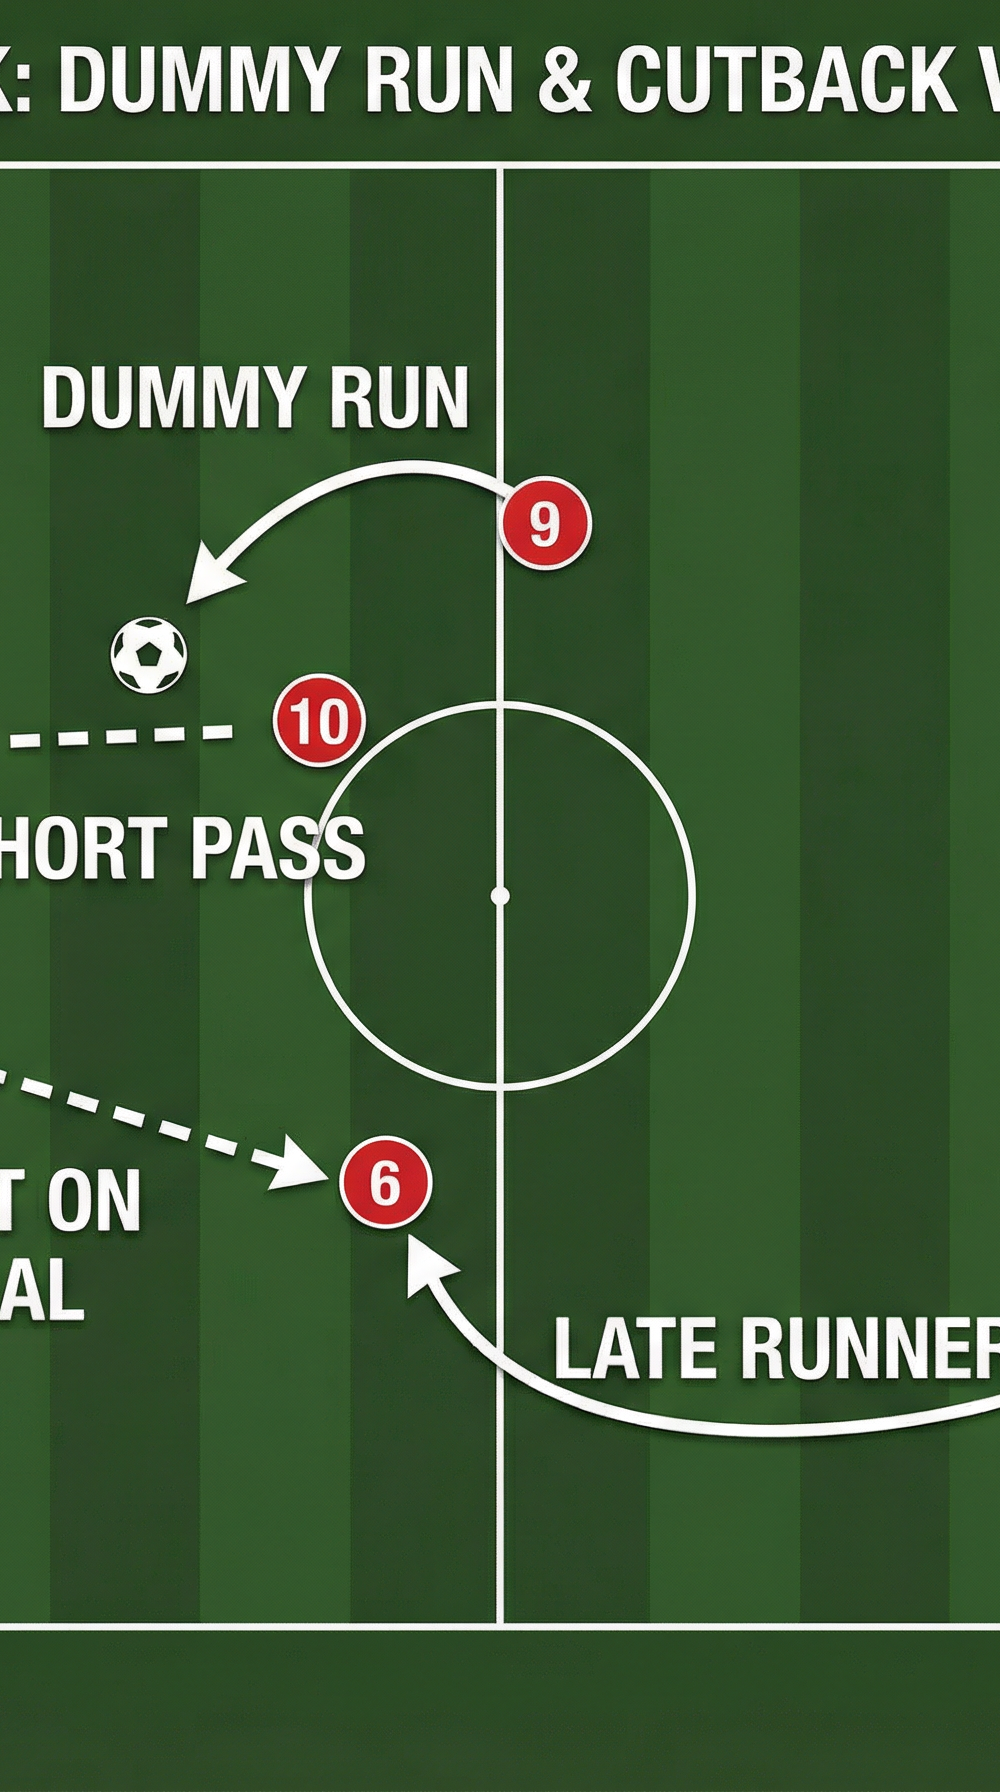
- The Trigger: Player 9 begins their run-up with intense focus on the goal, accelerating as if to strike the ball with power.
- The Dummy: Player 9 steps completely over the ball and continues their run into the penalty area, drawing the eyes of the wall and forcing a slight shift in the defensive line.
- The Pass: Immediately as Player 9 clears the ball, Player 10 steps up and plays a crisp, angled pass (about 3-5 metres) diagonally backward and to the side, away from the shifting wall.
- The Strike: Player 6, who timed their run from deep, meets the ball in stride and strikes a low, driven shot toward the near post or back across the goalkeeper.
- The Follow-up: Player 11 crashes the far post, anticipating any spills or parries from the goalkeeper.

4. Key Coaching Points

- Sell the Fake: The success of this play hinges entirely on Player 9's acting. The run-up must be aggressive and convincing to force the wall to jump or shift.
- Timing is Everything: Player 6 must time their run perfectly so they do not have to break stride before striking the ball. Arriving too early kills the momentum; arriving too late allows the defence to close down the space.
- Pass Quality: Player 10's pass must be weighted perfectly—firm enough to reach Player 6 quickly, but soft enough to be struck first time. It must also be angled correctly to open up the shooting lane.
- Low and Hard: Player 6 should focus on keeping the shot low. A driven shot on the ground is much harder for a scrambling goalkeeper to save, especially through traffic.
- Anticipate the Rebound: Attackers (like Player 11) must expect the goalkeeper to parry the low shot and be ready to pounce on the loose ball.
5. Common Mistakes

- Poor Deception: Player 9 casually jogging over the ball without intent, failing to move the defensive wall.
- Static Finisher: Player 6 standing still waiting for the pass rather than attacking the ball on the move, allowing defenders to block the shot.
- Telegraphed Pass: Player 10 looking directly at Player 6 before passing, alerting the defence to the variation.
- Overhitting the Pass: Player 10 playing the ball too hard, forcing Player 6 to take a touch and ruining the element of surprise.
6. Variations & Progressions

- The Wide Delivery (Progression): Instead of a shot, Player 6 can use the space created to deliver a first-time cross into the box for Player 9 (who continued their run) or Player 11.
- The Reverse Pass (Variation): If the defence aggressively closes down Player 6, Player 10 can fake the pass to Player 6 and instead slip a reverse pass down the side of the wall for Player 9.
7. Age Adaptations

- Under 10s / Under 12s: Focus primarily on the basic mechanics of the short pass and the shot. Keep the distances shorter (15-20 metres) and use fewer defenders in the wall to build confidence.
- Under 14s / Under 16s: Emphasize the timing of the runs and the quality of the deception. Introduce mannequins for the wall to simulate match conditions safely.
- Open / Senior: Demand perfection in timing, weight of pass, and shooting accuracy. Incorporate active defenders who can react to the dummy run to increase the difficulty.