High-Pressure Free Throw Rotation Drill
A dynamic free throw routine that simulates late-game pressure while incorporating active rebounding and continuous rotation.
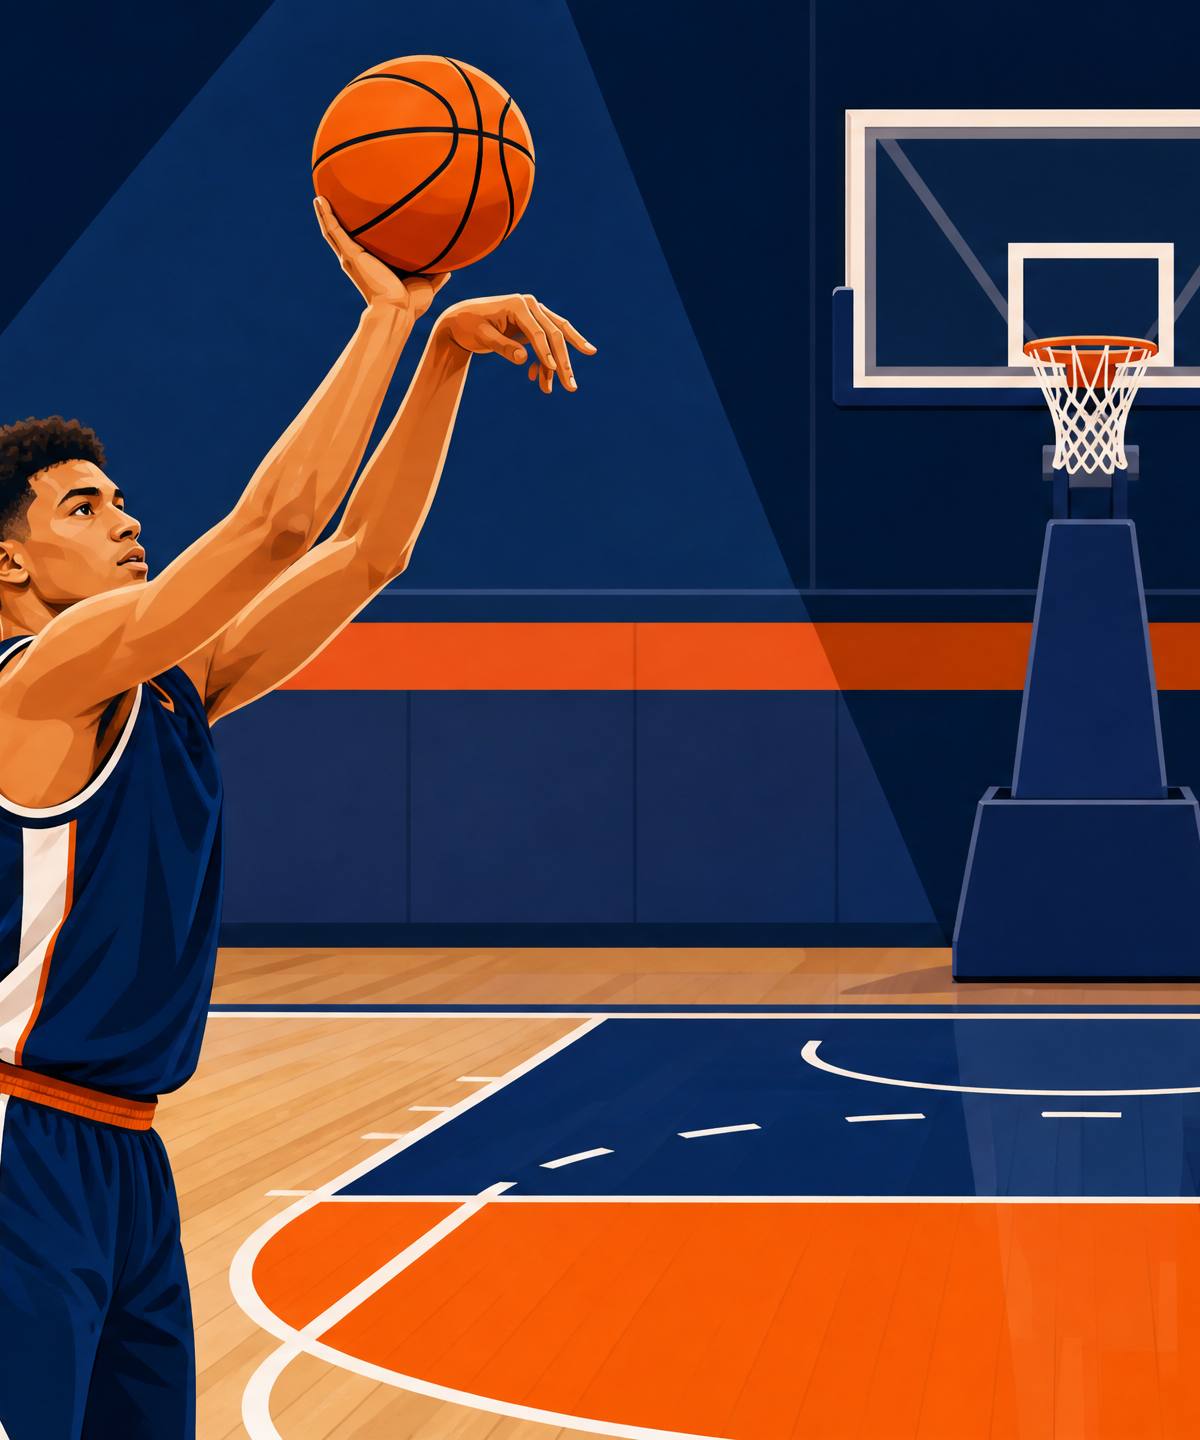
Equipment Needed
1. Overview
Free throws win games, but practicing them in a static, low-pressure environment rarely translates to game-time success. The High-Pressure Free Throw Rotation Drill is designed to bridge the gap between practice and competition. By incorporating continuous movement, active rebounding, and a structured rotation, this drill forces players to quickly find their rhythm, execute their routine under mild fatigue, and maintain focus while teammates surround the lane.
This drill is best utilized toward the end of a rigorous practice session or interspersed between high-intensity conditioning segments to simulate late-game fatigue.
2. Setup
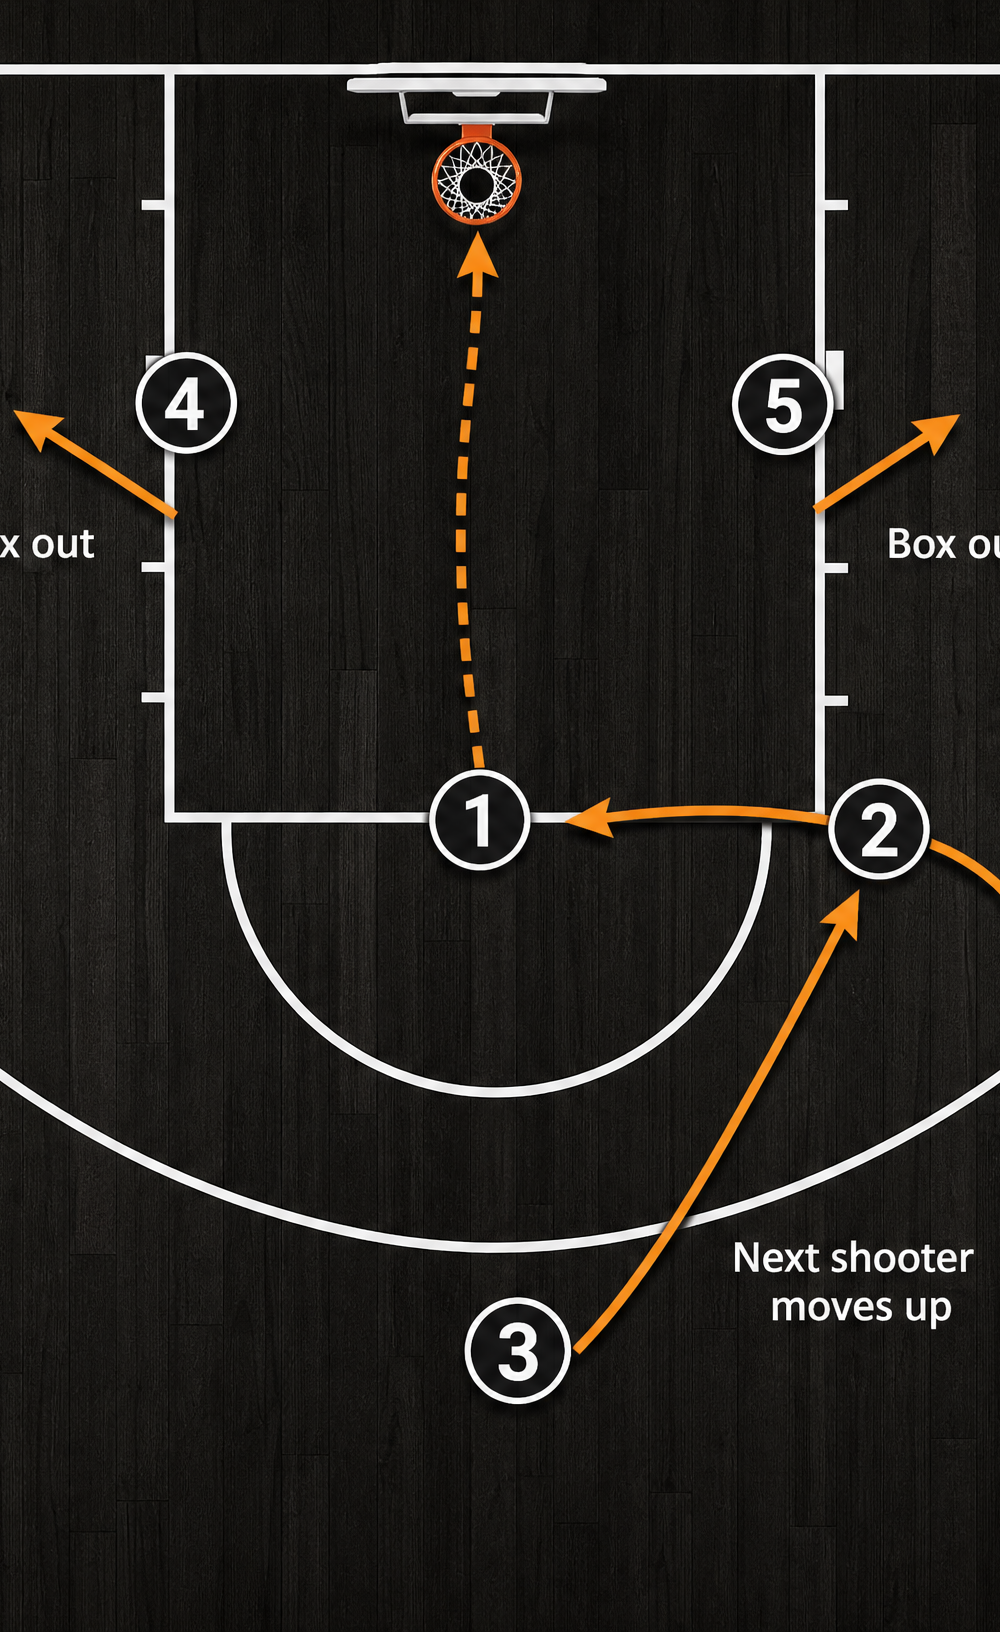
To execute this drill effectively, you will need the following setup:
- Equipment: 1 Basketball per group.
- Court Setup: Standard half-court using the key/paint area. The free throw line is located 5.8m from the baseline, and the lane is 4.9m wide.
- Players Required: 5 players per basket (can be adapted for 4 or 6).
- Player Positions:
- Player 1 (Shooter): Starts at the center of the free throw line.
- Players 2, 3, 4, 5 (Rebounders): Positioned on the designated lane spaces along both sides of the key, alternating sides.
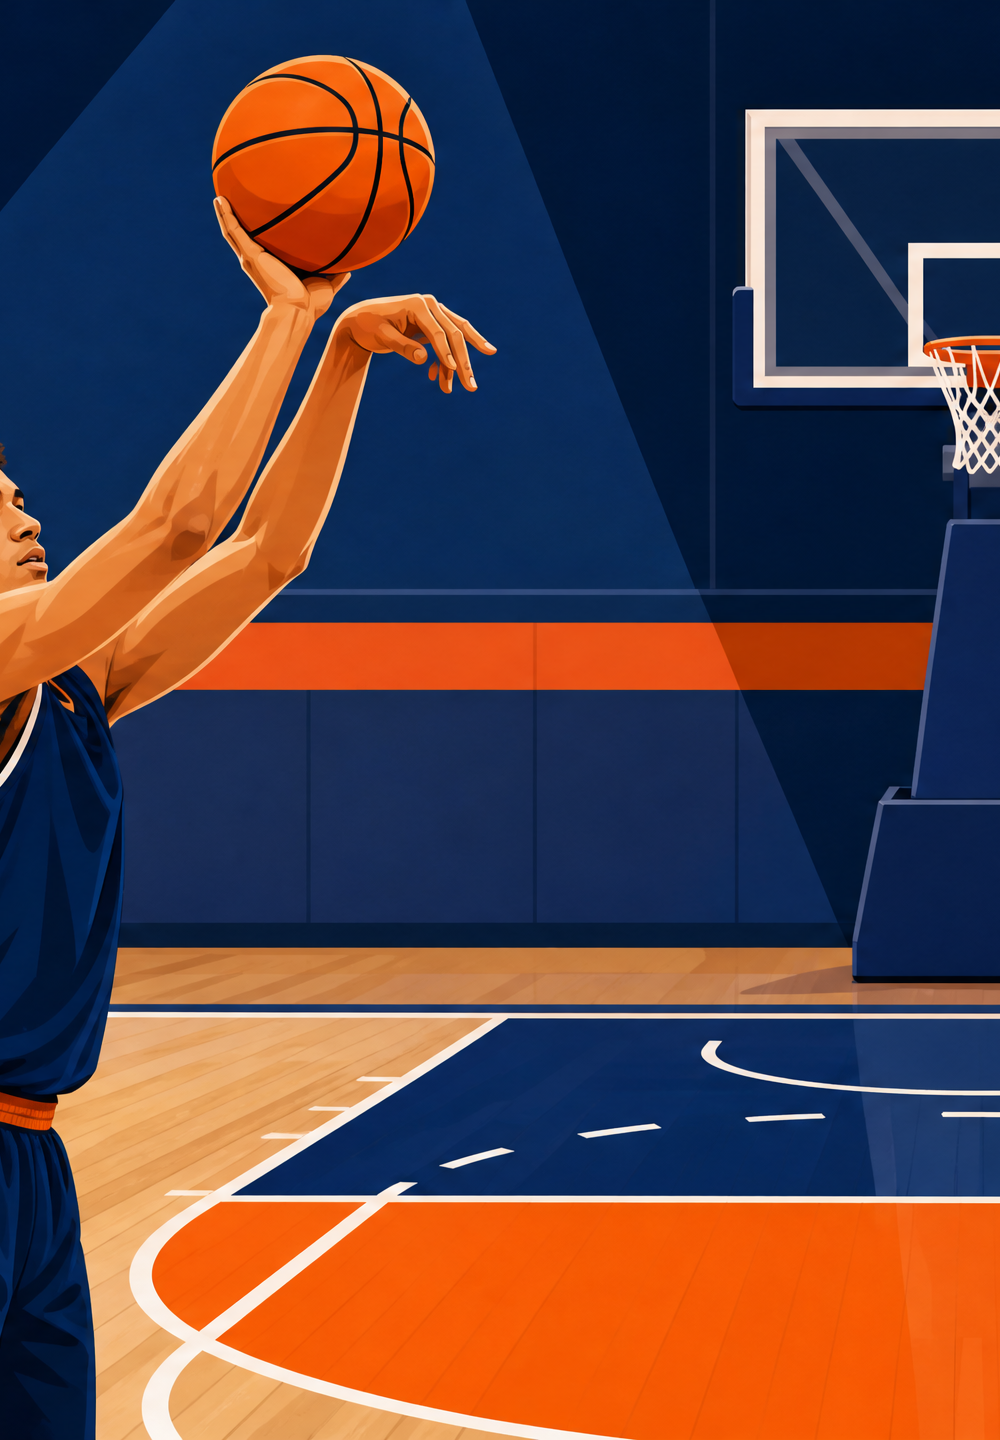
3. Step-by-Step Instructions
Follow these steps to run the rotation smoothly:
- Initial Alignment: Player 1 steps to the free throw line. The remaining four players take their positions on the lane blocks, simulating a live free throw situation.
- The Routine: Player 1 executes their standard pre-shot routine (e.g., deep breath, three dribbles, spin the ball) and attempts the free throw.
- Active Rebounding: As the ball leaves the shooter's hand, Players 2 through 5 must actively box out and secure the rebound. If the shot is made, the ball is quickly retrieved from the net.
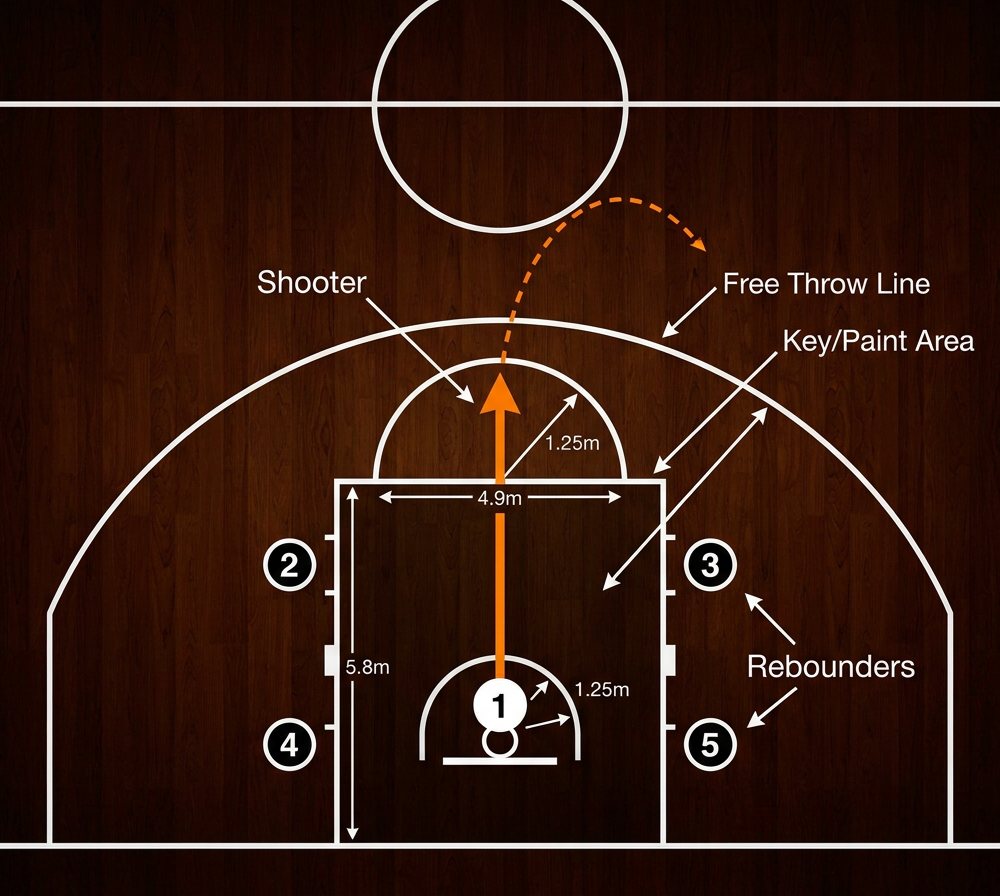
- The Rotation: Immediately after the shot (make or miss), the players rotate positions:
- Player 1 (Shooter): Moves to the bottom rebounding spot on the left side of the lane.
- Player 2 (Top Right Rebounder): Rotates to the free throw line to become the next shooter.
- Player 3 (Top Left Rebounder): Rotates to the top right rebounding spot.
- Player 4 (Bottom Left Rebounder): Rotates to the top left rebounding spot.
- Player 5 (Bottom Right Rebounder): Rotates to the bottom left rebounding spot.
- Continuous Play: Player 2 receives the ball, immediately begins their routine, and takes the next shot. The cycle continues until a specific team goal is met (e.g., 10 consecutive makes as a group, or each player makes 5).
4. Key Coaching Points
To maximize the effectiveness of this drill, emphasize the following coaching points:
- Routine Consistency: Insist that every player performs their exact game-day pre-shot routine every single time. Consistency builds muscle memory.
- Deep Breathing: Teach players to take a deep, centering breath before receiving the ball from the referee (or in this case, the rebounder) to lower their heart rate.
- Follow-Through: The shooter must hold their follow-through (the "gooseneck") until the ball hits the rim or goes through the net.
- Game-Speed Rebounding: Rebounders must not stand flat-footed. They should actively step into the lane and secure the ball high, simulating a live game scenario.
- Positive Self-Talk: Encourage players to use a consistent cue word or phrase (e.g., "Nothing but net," "Smooth") right before the release.
5. Common Mistakes
Watch out for these frequent errors and correct them immediately:
- Rushing the Shot: Players often hurry their routine because others are waiting. Force them to slow down and find their rhythm.
- Inconsistent Footwork: Shooters failing to align their shooting foot with the center of the rim. Ensure their toes are pointed correctly before every attempt.
- Lazy Rebounding: Rebounders standing upright and letting the ball bounce. This defeats the secondary purpose of the drill. Demand aggressive rebounding.
- Dropping the Guide Hand: The non-shooting hand falling away too early, which can alter the trajectory of the ball.
6. Variations & Progressions
Keep the drill fresh and challenging with these variations:
- The "Swish" Rule: To increase difficulty, only "swishes" (shots that do not touch the rim) count toward the team's total goal. A make that hits the rim counts as zero.
- Conditioning Penalty: If a player misses two consecutive free throws, the entire group must complete a quick down-and-back sprint before resuming the rotation.
- Distraction Free Throws: Allow the rebounders to make reasonable noise or wave their hands (without crossing the lane line) to simulate a hostile away-game environment.
7. Age Adaptations
Tailor the drill to suit the developmental stage of your players:
- Under 8 / Under 10: Move the shooting line closer to the basket (e.g., 3-4 meters instead of 5.8m). Focus purely on the shooting form and the concept of taking turns, rather than the complex rotation.
- Under 12 / Under 14: Introduce the full rotation. Emphasize the pre-shot routine and basic box-out techniques. Keep the goals achievable (e.g., total makes rather than consecutive makes).
- Under 16 / Open: Run the drill exactly as described, incorporating the "Swish" rule or conditioning penalties to increase pressure. Focus heavily on mental toughness and fatigue management.

