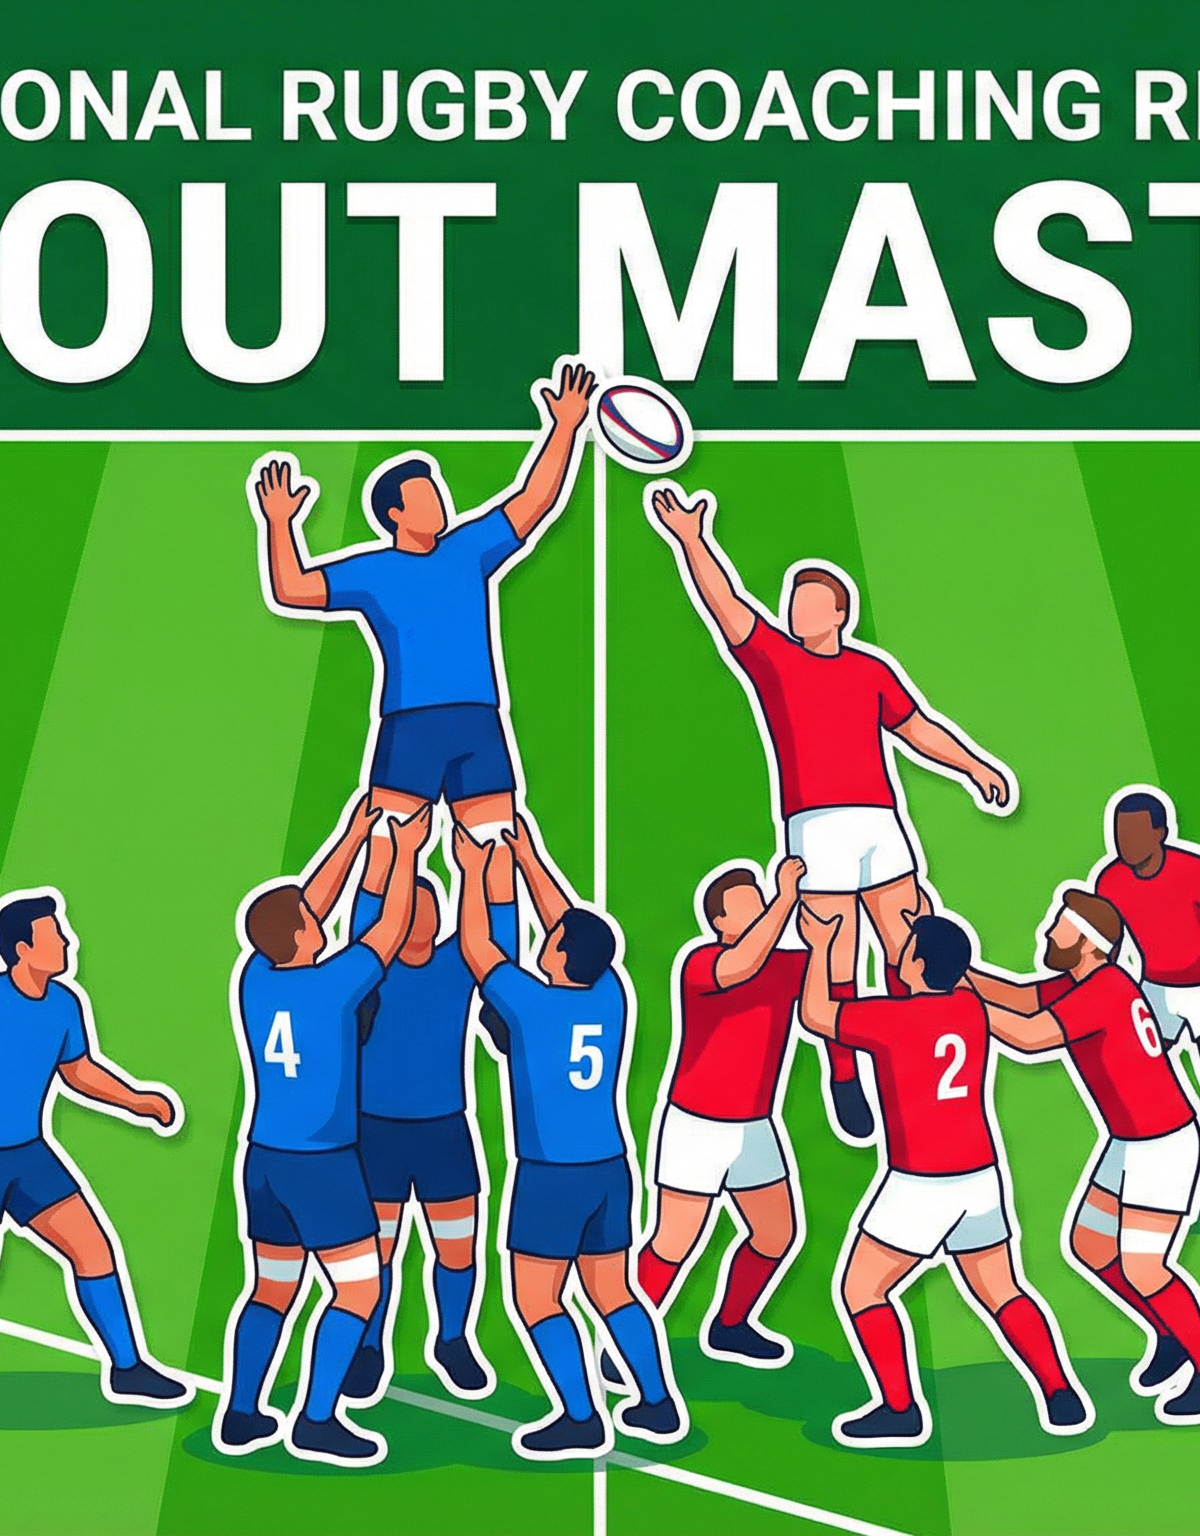
Mastering the 5-Man Lineout Drive & Peel
Equip your forwards with a dynamic 5-man lineout setup that combines a powerful driving maul with a deceptive peel option to break the gain line.
Equipment Needed
1. Overview
The lineout is a critical set piece in rugby, providing a structured platform to launch attacks or secure possession. The 5-Man Lineout Drive & Peel is designed to give your team a dual-threat option from the touchline. By committing five forwards to the lineout, you maintain a strong presence to secure the ball while keeping additional forwards available in open play.
This drill focuses on executing a clean catch at the middle jumper position, immediately setting a driving maul to draw in defenders, and then executing a coordinated peel to exploit the space created around the fringes. It is highly effective when executed inside the opponent's 22-metre area, forcing the defense to choose between committing numbers to stop the drive or covering the open side.
2. Setup

Proper setup is essential for the success of this drill. Ensure all players understand their roles and starting positions before initiating the movement.
- Pitch Area: A standard rugby pitch (100m x 70m), utilizing the area between the touchline and the 15-metre line. The drill should start from a designated mark on the touchline.
- Players Required: 10-12 players minimum (Forwards pack plus Scrum-half and Fly-half).
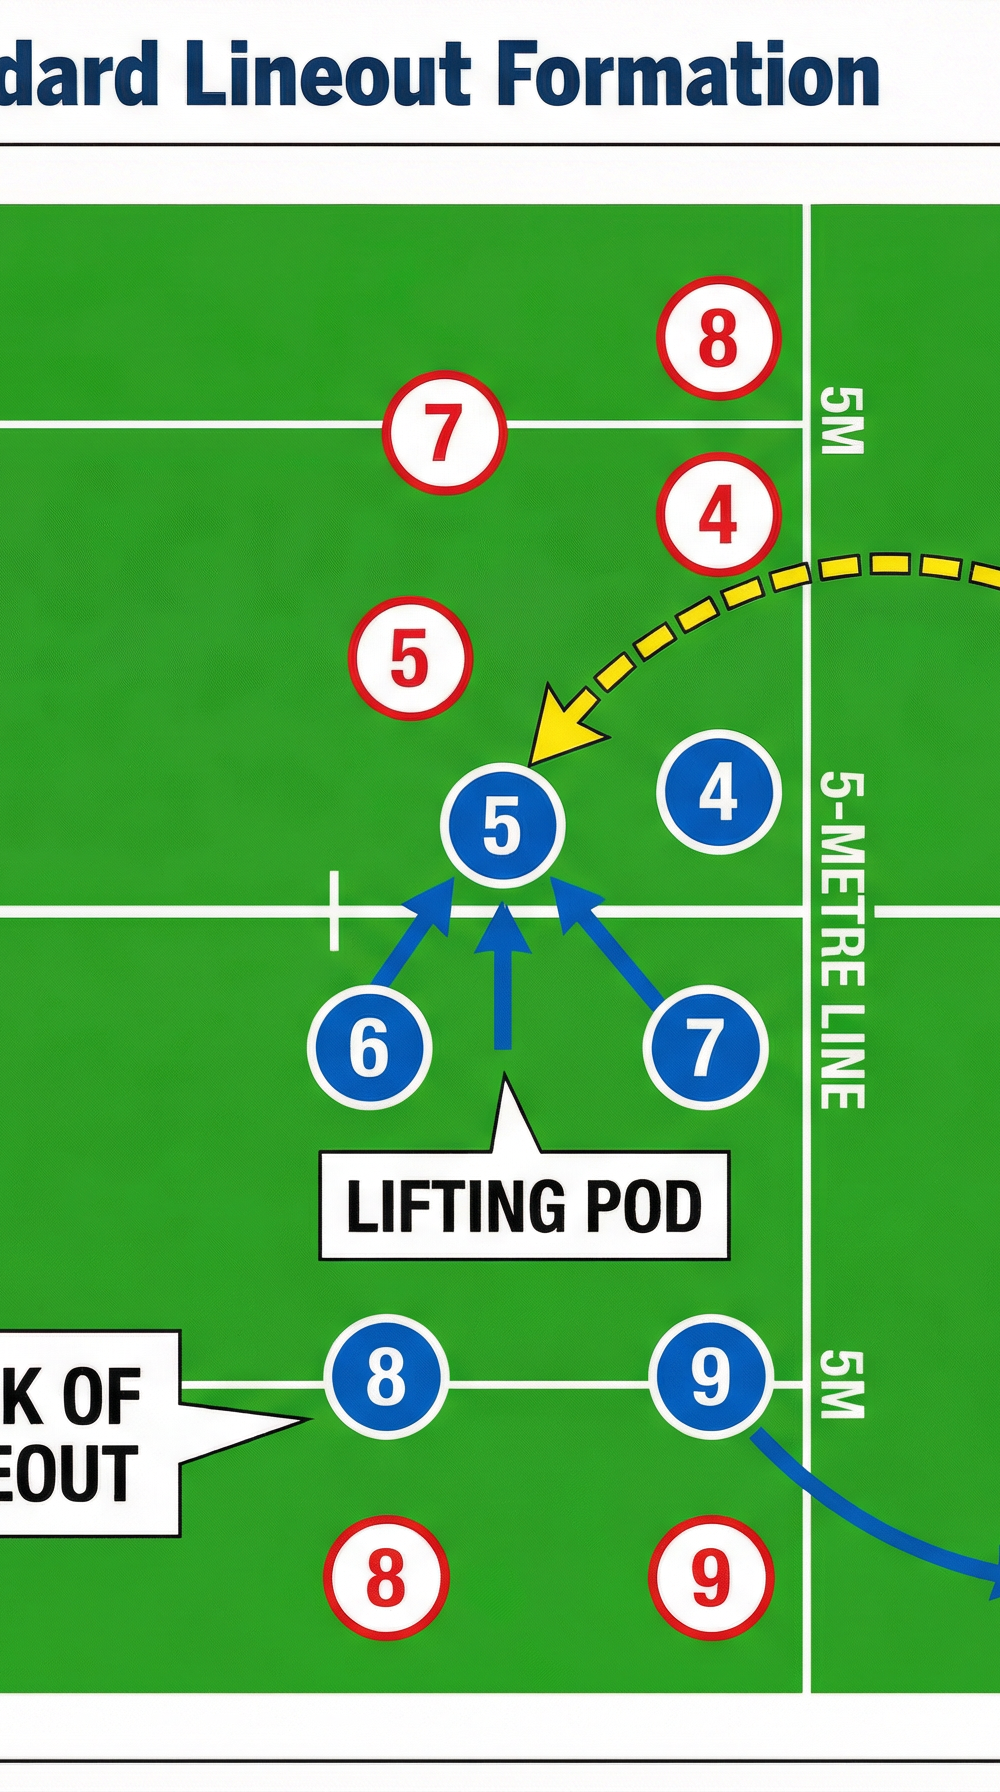
- Positions:
- 2 (Hooker): Positioned on the touchline, ready to throw.
- 4 (Lock): Front lifter, positioned at the 5-metre line.
- 5 (Lock): Middle jumper, positioned approximately 7-8 metres from the touchline.
- 6 (Flanker) & 7 (Flanker): Support lifters and maul drivers.
- 8 (Number 8): Positioned at the back of the lineout, ready to receive the peel.
- 9 (Scrum-half): Positioned 2 metres behind the lineout, ready to distribute.
- 10 (Fly-half) & 12 (Inside Centre): Aligned 10 metres deep, ready to receive a pass if the ball is distributed wide.

3. Step-by-Step Instructions
Follow these sequential steps to execute the drill effectively. Start at a walking pace to ensure timing and coordination before progressing to full match speed.
- The Call and Alignment: The lineout caller (usually the jumper, number 5) makes a clear, concise call to indicate the play. The forwards align quickly, leaving a 1-metre gap between themselves and the opposition (or designated defenders in practice).
- The Movement and Lift: On the trigger word or movement, the jumper (5) makes a sharp dynamic movement (e.g., a dummy step forward then back) to lose their marker. Simultaneously, the lifters (4 and 6) move into position. The hooker (2) throws the ball accurately to the apex of the jumper's leap.
- The Catch and Set: The jumper secures the ball at the highest point and immediately brings it down, turning their back to the opposition. The lifters safely bring the jumper to the ground, immediately binding onto them to form the core of the maul.
- The Drive: The remaining forwards (7 and 8) bind tightly onto the jumper and lifters, driving low and hard to establish forward momentum. The ball is systematically transferred to the player at the back of the maul (usually the Number 8).
- The Peel Execution: As the maul gains momentum and draws in defenders, the player at the back with the ball (8) detaches rapidly, peeling around the blindside or openside fringe. The scrum-half (9) tracks the movement, ready to offer support or receive an offload.
- The Distribution: Depending on the defensive reaction, the ball carrier (8) either attacks the line directly, offloads to the supporting scrum-half (9), or the scrum-half clears the ball to the fly-half (10) to launch the backline.

4. Key Coaching Points

To maximise the effectiveness of this drill, coaches should emphasise the following critical aspects during every repetition.
Throwing Accuracy: The hooker must deliver a flat, fast throw precisely to the jumper's hands. A poor throw compromises the entire movement before it begins. Dedicate 5 minutes of every session to isolated throw-and-catch work.
Lifting Technique: Lifters must get under the jumper quickly, keeping their backs straight and using their legs to generate power. Safety is paramount; the jumper must be brought down securely after every catch.
Immediate Binding: The transition from catch to maul must be instantaneous. Any delay allows the defense to disrupt the formation before momentum is established. Drill this transition in isolation before adding the peel.
Low Body Height in the Drive: When driving the maul, all players must maintain a low body height, keeping their shoulders above their hips and driving with short, powerful steps. A player who stands up is a player who loses the contest.
Communication: Clear, decisive communication is required throughout the movement, especially when deciding the exact moment to execute the peel. The Number 8 or Scrum-half should call the release.
5. Common Mistakes

Watch for these frequent errors and correct them immediately during the session.
Telegraphing the Throw: The hooker giving away the intended target through eye movement or body language before the throw. Teach hookers to look at multiple points in the lineout before throwing.
Slow Transition: A delay between the jumper landing and the formation of the maul, allowing the defense to sack the jumper or counter-drive. Use a stopwatch to time the transition; aim for under 2 seconds from catch to established maul.
High Body Position in the Maul: Players standing too upright in the maul, losing leverage and making it easy for the defense to halt the drive. Use a body-height marker (a cone at hip height) to give players a visual cue.
Premature Peeling: The ball carrier detaching from the maul before it has drawn in sufficient defenders, running directly into covering tackles. Teach players to read the defensive line before committing to the peel.
6. Variations & Progressions

Once the basic movement is mastered, introduce these variations to challenge your players and add complexity to your playbook.
Front Peel: Instead of transferring the ball to the back, the jumper brings the ball down and immediately hands it off to a forward peeling around the front of the lineout. This exploits a defense that over-commits to covering the back.
Dummy Drive and Pass: The forwards set up the maul and begin the drive, but the ball is immediately popped out to the scrum-half who distributes to a crashing inside centre. Effective against a defense that rushes up to stop the maul.
Adding Defensive Pressure: Introduce a fully contested lineout with opposition players actively trying to disrupt the throw, lift, and maul formation. This is the final progression before match application.
7. Age Adaptations

Adapt the drill to suit the physical development and skill levels of your players.
| Age Group | Focus | Key Modification |
|---|---|---|
| Under 12s | Throwing, catching, safe lifting | No contested lineout; focus on technique only |
| Under 14s | Timing of lift and catch | Light opposition; introduce basic maul binding |
| Under 16s | Speed of transition, call systems | Semi-contested; introduce peel decision-making |
| Open / Senior | Full match intensity, exploiting defensive reads | Fully contested; live opposition throughout |