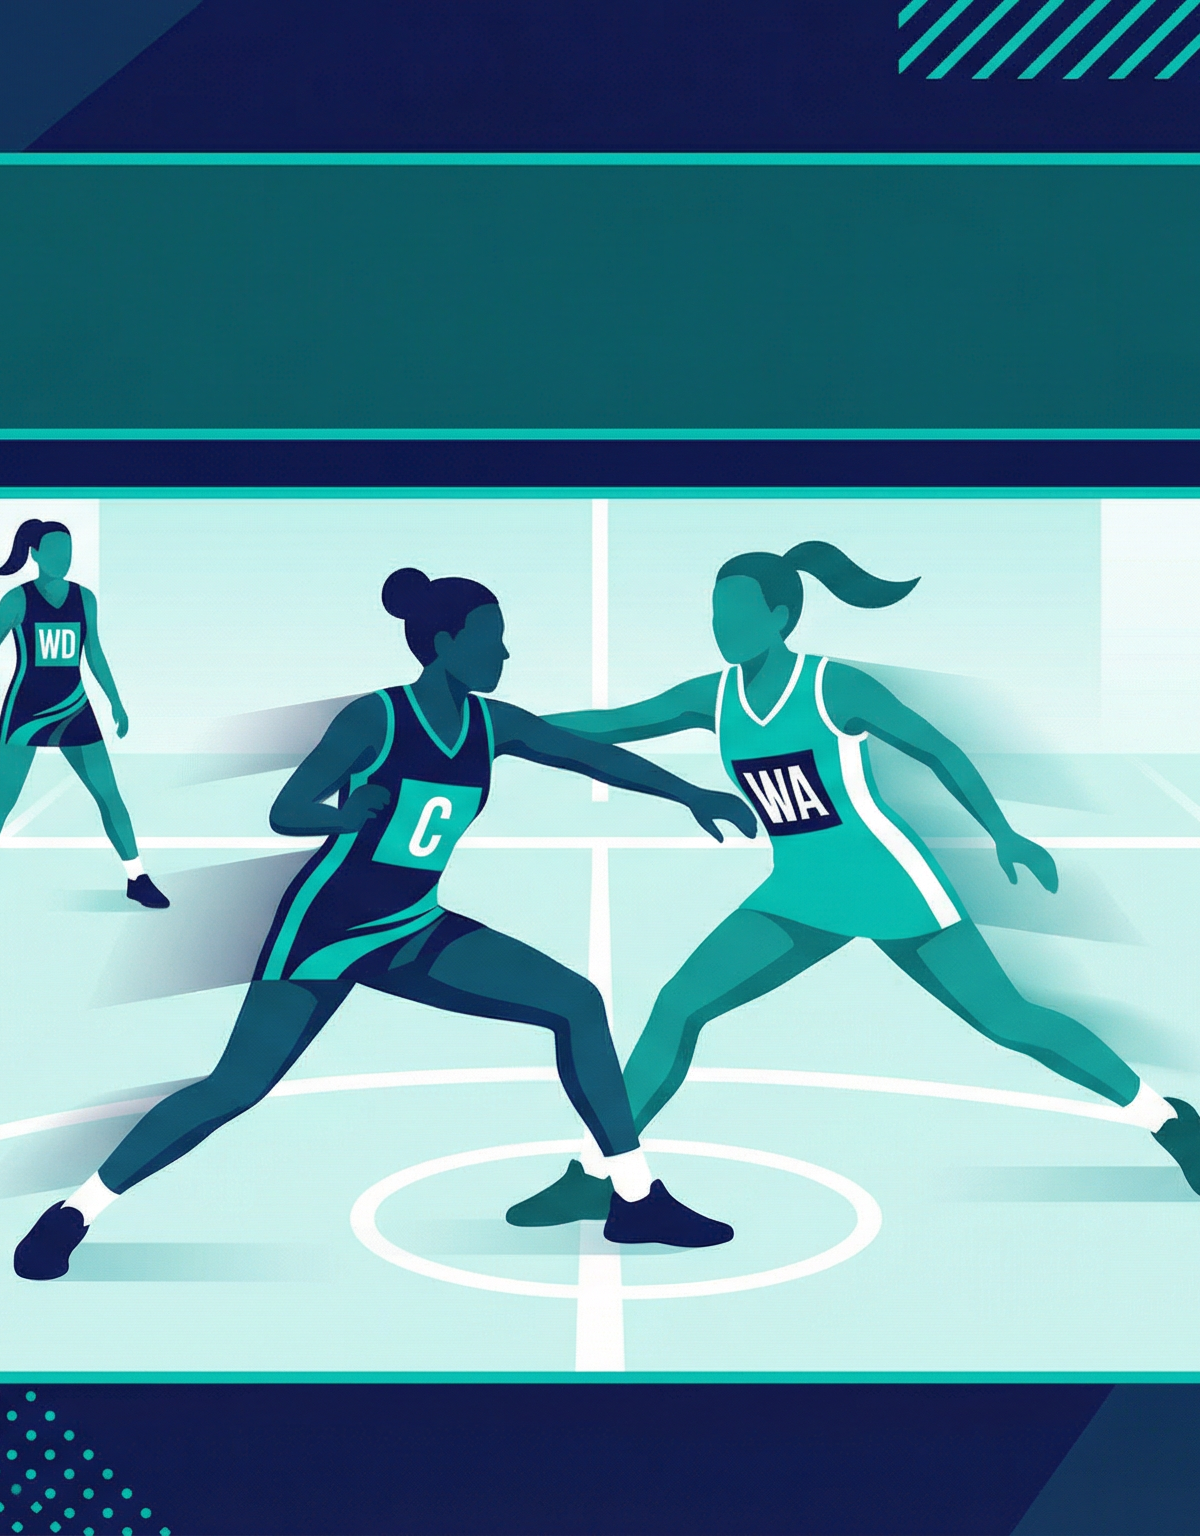
Defensive Press Play at Centre Pass: The Centre-Third Trap
Master the Centre-Third Trap — a coordinated defensive press at centre pass that forces turnovers through directional pressure, sideline traps, and disciplined rotation across the full 30.5m court.
Equipment Needed
Overview
The Centre-Third Trap is a structured defensive press designed to disrupt the attacking team's centre pass before they can establish rhythm in the attacking third. Rather than sitting back in a passive man-to-man defence, your team applies coordinated pressure from the moment the whistle blows, forcing the attacking Centre into a pre-determined direction and funnelling the ball into a sideline trap where an intercept opportunity is manufactured.
This set play is most effective when your team has identified that the opposition Centre consistently passes to their Wing Attack on the left side, when you are defending a narrow lead in the final quarter and need a forced turnover, or when the opposition's Wing Attack is isolated and less composed under pressure. On a standard court of 30.5m × 15.25m, the centre third (approximately 10.17m deep) becomes the battleground — a compressed zone where your defenders can close distances quickly and overwhelm the ball carrier.
Setup

Equipment Required
- 1 full-size netball court (30.5m × 15.25m) or equivalent marked area
- 7 bibs per team (standard position bibs: GS, GA, WA, C, WD, GD, GK)
- 1 match ball
- Cones (optional: 4–6 to mark the trap zone on the right sideline during training)
- Whiteboard or coaching tablet for pre-session walk-through
Player Positions at Setup
The following table shows where each defending player positions themselves before the whistle blows:
| Position | Starting Location | Primary Responsibility |
|---|---|---|
| C (Centre) | Positioned 0.9m from attacking C, offset to their left | Force attacking C to pass right; deny left-side pass |
| WD (Wing Defence) | Tight on attacking WA — within 0.9m, on their attacking side | Deny the easy short pass to WA; be ready to sprint to sideline |
| GD (Goal Defence) | Marking attacking GA — between GA and the centre circle | Cut off the diagonal pass into the attacking third |
| GK (Goal Keeper) | Holding in own defensive third, 3–4m from goal circle edge | Provide last-line cover; do not press forward |
| WA (Wing Attack) | Positioned in centre third, tracking opposition WD | Prevent opposition WD from offering a reset pass |
| GA (Goal Attack) | Floating in centre third, tracking opposition GD | Maintain defensive shape; do not over-commit forward |
| GS (Goal Shooter) | In own attacking third, tracking opposition GK | Hold position; do not enter defensive press zone |
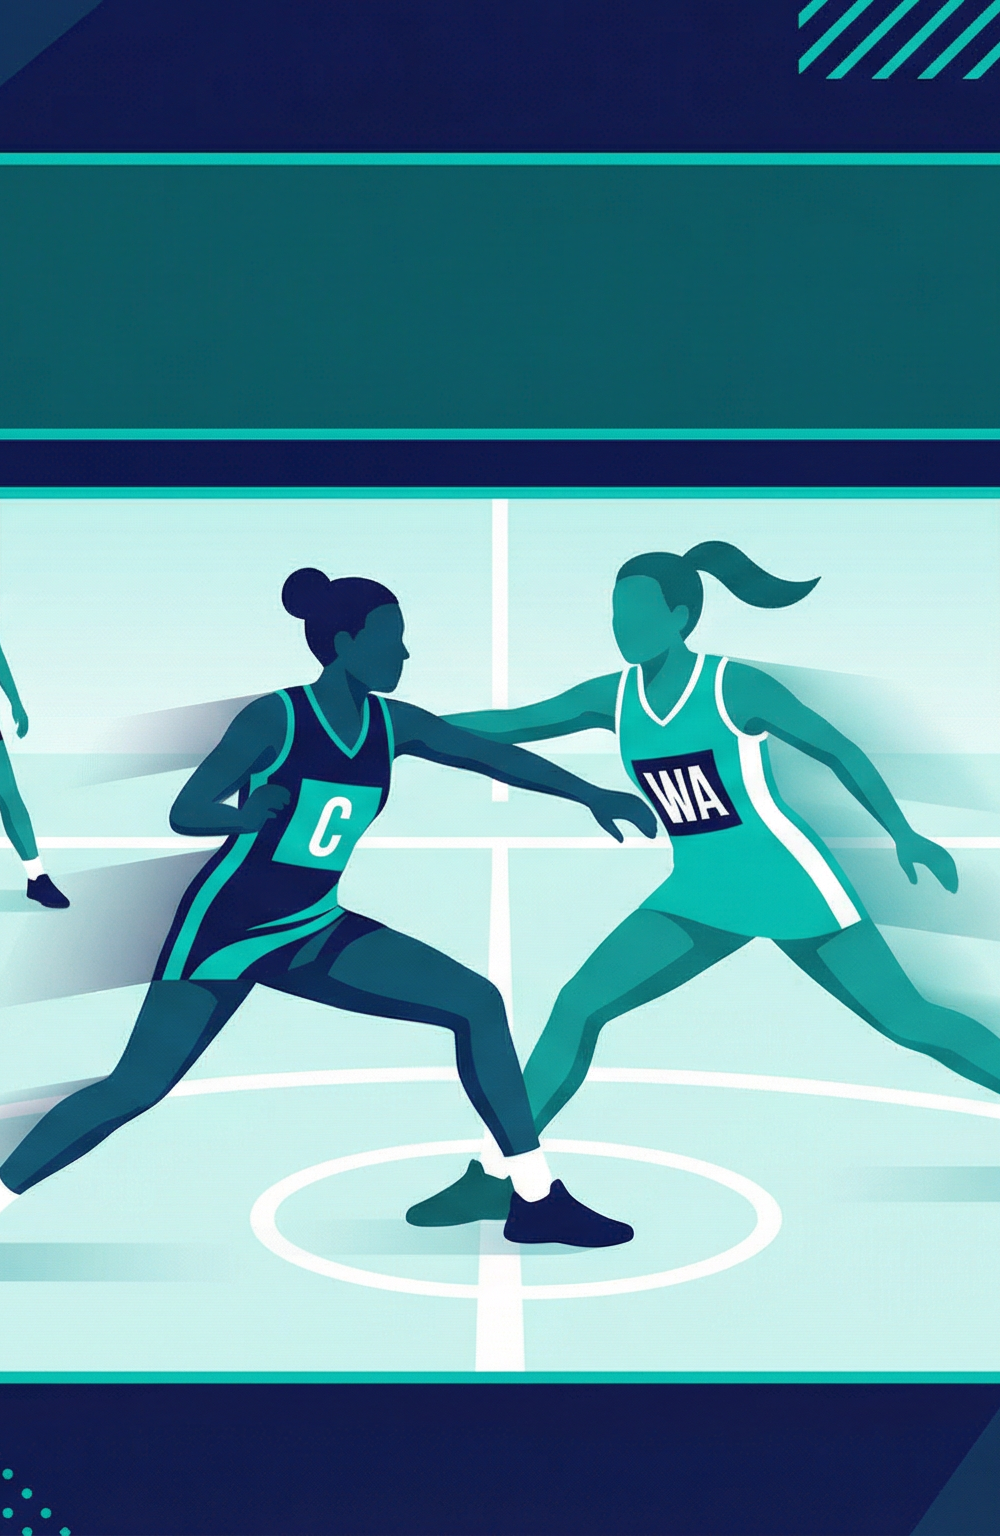
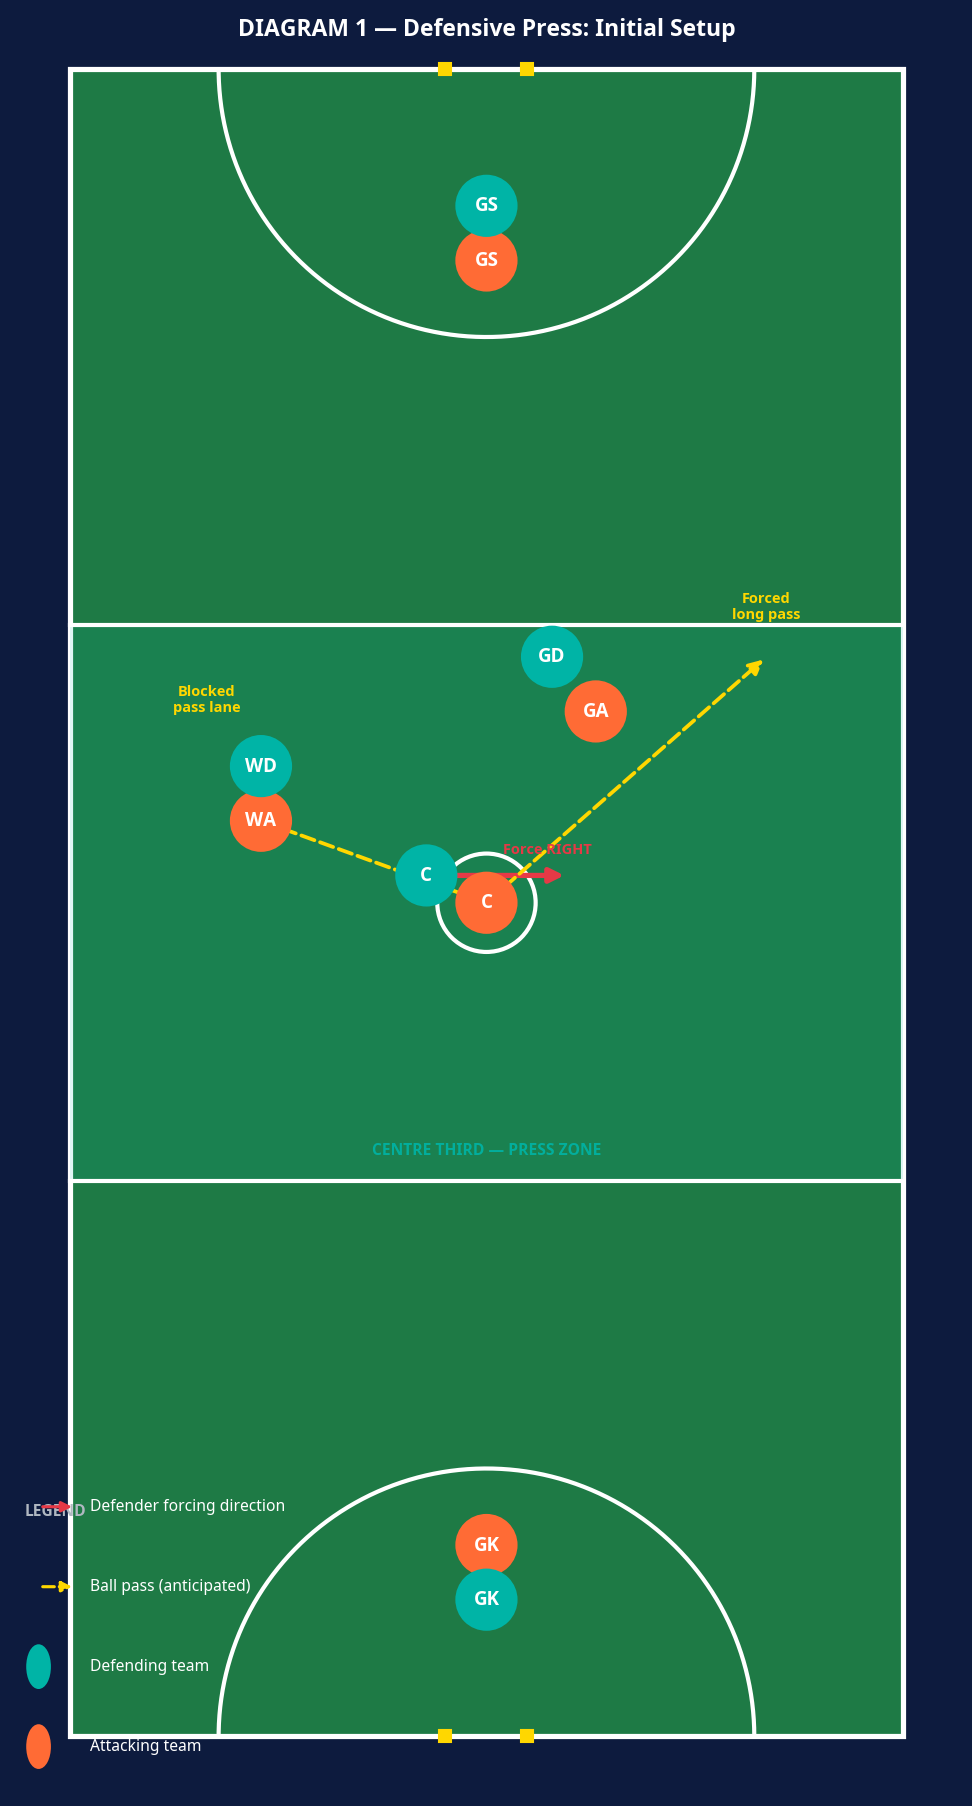
Diagram 1 shows the initial defensive setup at centre pass. Teal circles = defending team; orange circles = attacking team. The yellow dashed arrows indicate the two anticipated pass lanes your defending C is working to deny (left) and force (right). The red arrow shows the direction your C is actively channelling the attacking Centre.
Step-by-Step Instructions
Step 1 — Pre-Whistle Positioning (0–3 seconds before whistle)
Before the umpire blows for centre pass, your defending C must be positioned to the left of the attacking C (from the defending team's perspective), offset by approximately 0.5m. This body position closes the left-side pass lane to WA and forces the attacking C to look right. All other defenders take up their man-marking positions as described in the setup table above. The defending WD should be goal-side and slightly forward of the attacking WA, ready to sprint.
Step 2 — Whistle Blows: Press Activation
The moment the whistle sounds, the defending C steps forward aggressively, maintaining their left-side shadow. They do not attempt to intercept the first pass — their job is to delay the attacking C's decision and force them right. The defending WD simultaneously takes one step back to create a false gap on the right sideline, inviting the attacking C to pass in that direction.
Step 3 — Ball Goes Right: Trap Triggers
As soon as the attacking C releases the ball to the right side (to their WA or into open space on the right), the trap activates:
- The defending WD sprints to close the right sideline, arriving within 0.9m of the ball carrier within 3 seconds.
- The defending C transitions immediately, moving to support the WD and cut off any reset pass back through the centre.
- The defending GD shifts to deny the diagonal pass from the right sideline into the attacking third.
Step 4 — Sideline Trap Execution
With the ball on the right sideline and the attacking WA under pressure, the trap is now set. The ball carrier has three options — all of which are covered: (a) pass forward to GA (denied by GD), (b) pass back to C (denied by defending C), or (c) attempt a long ball to GS (high risk, low percentage). Your defending WD applies maximum legal pressure — 0.9m distance, arms active — while the defending C positions to intercept any attempted reset pass.
Step 5 — Intercept or Forced Error
The desired outcome is either a clean intercept by WD or GD, or a forced error (foot, held ball, or out-of-court pass) by the attacking team. If the intercept is won, the defending team immediately transitions to attack. If the press is broken, all defenders recover quickly to their standard defensive positions — do not chase the ball; reset and defend from your zones.
Step 6 — Reset Protocol
If the attacking team successfully breaks the press and enters the attacking third, all defending players must sprint back to their defensive positions. The GK calls "reset" loudly as a verbal cue. The press is not repeated until the next centre pass opportunity.

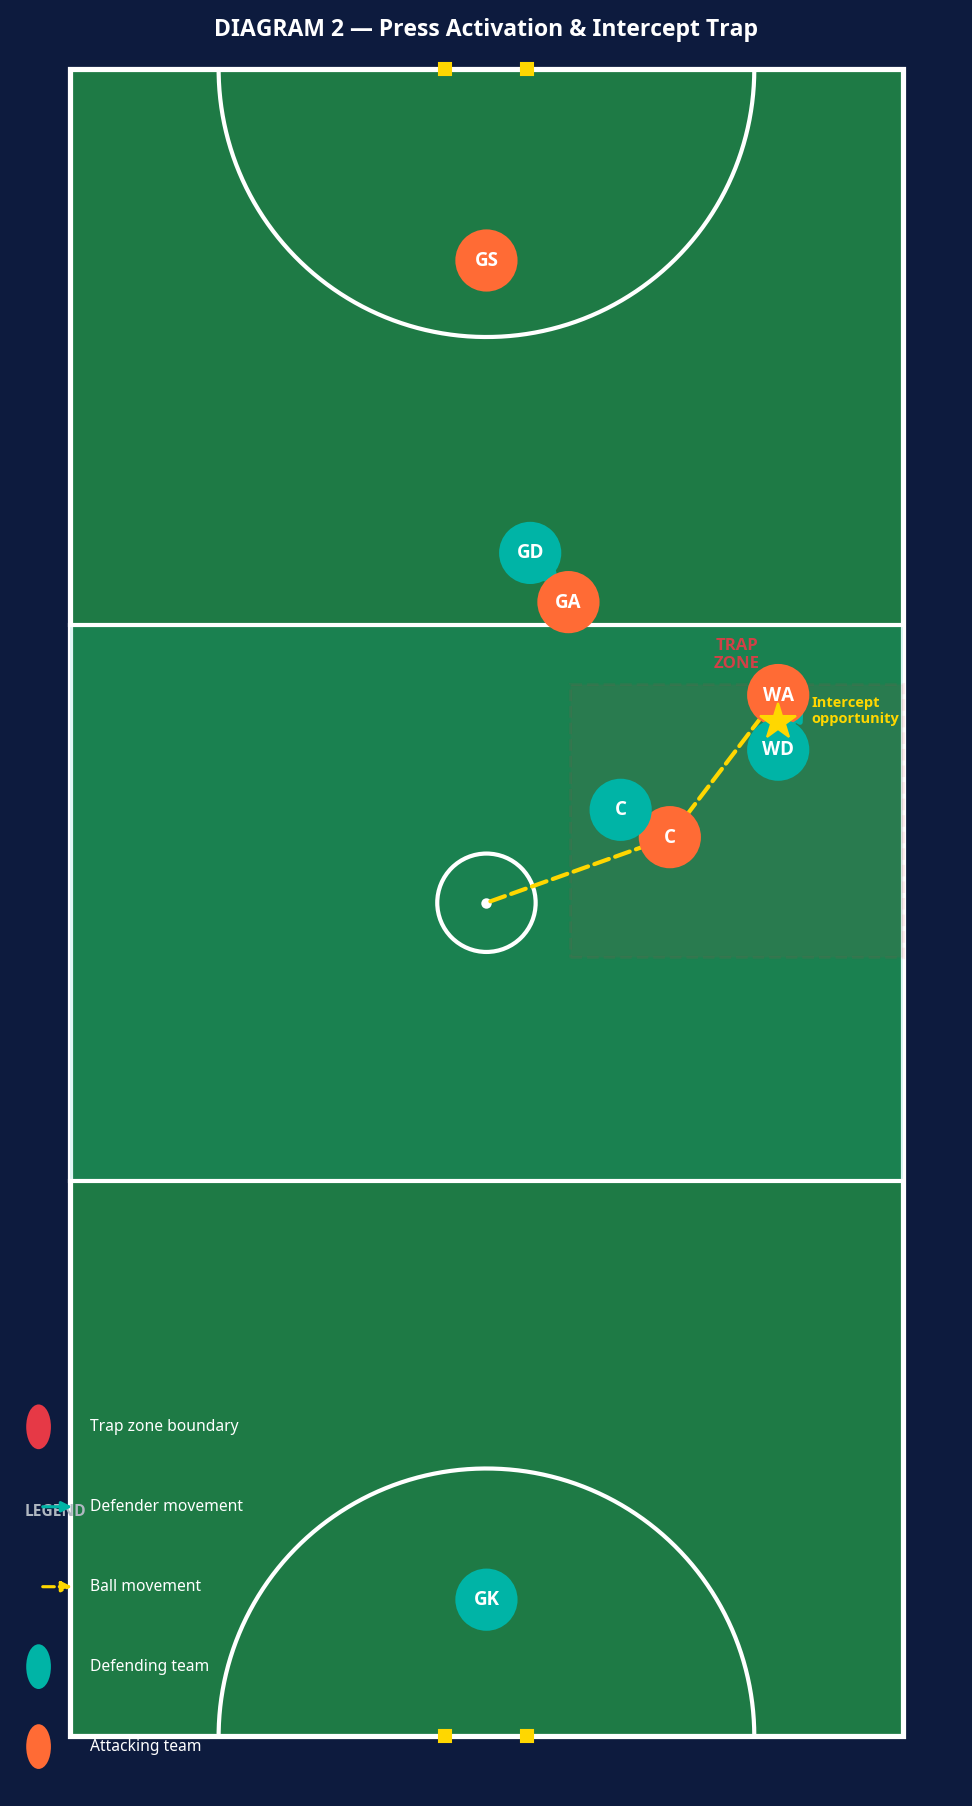
Diagram 2 illustrates the press activation phase. The ball has been passed to the attacking C (orange), who has moved right into the trap zone (red dashed boundary). The defending WD is closing rapidly, the defending C is cutting off the reset lane, and the star marker indicates the primary intercept opportunity.
Key Coaching Points
1. The Defending C Sets the Tone
Everything in this press depends on the defending C's starting position and first movement. Emphasise to your C that their job is not to win the ball — it is to direct the ball. A well-positioned defending C who forces the attacking C right is worth more than one who gambles and gets beaten.
2. WD Must Read the Invitation
The defending WD's initial step back is deliberate — it creates the illusion of space on the right. Drill your WD to recognise the moment the attacking C commits to the right-side pass and to explode into that space immediately. The WD must arrive at the ball carrier before the ball does, or at worst simultaneously.
3. GD Holds the Diagonal
The most common way a press is broken is through a quick diagonal pass to GA. Your GD must resist the temptation to drift toward the trap and instead hold their position between GA and the centre circle. If GD abandons this position, the attacking team has a free pass into the attacking third.
4. Communication Is the Glue
This press only works if defenders talk. The defending C should call "right" the moment they commit to forcing that direction. The WD calls "trap" when they are closing. The GD calls "hold" to confirm they are covering the diagonal. Without these verbal cues, defenders second-guess each other and the press collapses.
5. Fitness Wins the Press
The press requires explosive 3–5m sprints from multiple players simultaneously. If your team is fatigued, the press becomes a liability — defenders are out of position and the attacking team has open lanes. Only deploy the full press when your team has the fitness to sustain it.
6. Know When to Abandon It
If the press is broken cleanly on the first or second attempt, do not persist. A good coach reads the game — if the opposition has identified your press and is exploiting it, switch to a standard man-to-man or zone defence and re-introduce the press later in the game.
Common Mistakes
Mistake 1 — Defending C Gambles for the Intercept
The most frequent error is the defending C reaching for the ball on the first pass rather than maintaining their directional shadow. This leaves them off-balance, out of position, and the attacking C has a free run into the centre third. Correct this by reminding your C: "Your job is to be a wall, not a hand."
Mistake 2 — WD Commits Too Early
If the defending WD sprints to the right sideline before the ball is released, an alert attacking C will simply pass left to their WA in open space. Drill the WD to wait for the ball to leave the attacking C's hands before making their sprint move.
Mistake 3 — GD Drifts Into the Trap
Excited by the trap action, GD often drifts toward the sideline to assist, leaving GA completely free. This is the single most common way the press is broken at intermediate level. Use a cone during training to mark GD's maximum drift position — they must not cross it.
Mistake 4 — Defenders Don't Reset After a Broken Press
When the press is beaten, some defenders continue to chase the ball rather than sprinting back to their defensive positions. This leaves the team structurally exposed in the attacking third. Establish a clear verbal reset cue ("back, back, back") and drill the recovery sprint in training.
Mistake 5 — Applying the Press When Fatigued
Coaches sometimes call the press in the final minutes when their team is physically tired. A half-executed press is worse than no press — it creates gaps rather than closing them. Be honest about your team's fitness level and only deploy the press when they can execute it at full intensity.
Variations & Progressions

Variation 1 — Left-Side Press
Mirror the entire press to force the attacking C left instead of right. This is useful when scouting reveals the opposition's WA on the right is their stronger player. The defending C positions to the right of the attacking C, and the WD on the left side executes the trap. Use this variation to keep the opposition guessing across a match.
Variation 2 — Double-Team at Centre Circle
Instead of a single defending C applying directional pressure, the defending WA drops back into the centre third to create a two-player press on the attacking C at the whistle. This is a high-risk, high-reward variation that requires excellent communication and leaves the defending WA's opponent temporarily free. Best used as a surprise tactic for one or two possessions.
Progression — Full-Court Press
Once your team has mastered the centre-third trap, introduce a full-court press where the press extends into the attacking third. The defending GA and GS apply pressure to the opposition's GD and GK, forcing them to play long balls out of their defensive third. This is a physically demanding progression suitable for well-conditioned, experienced teams.

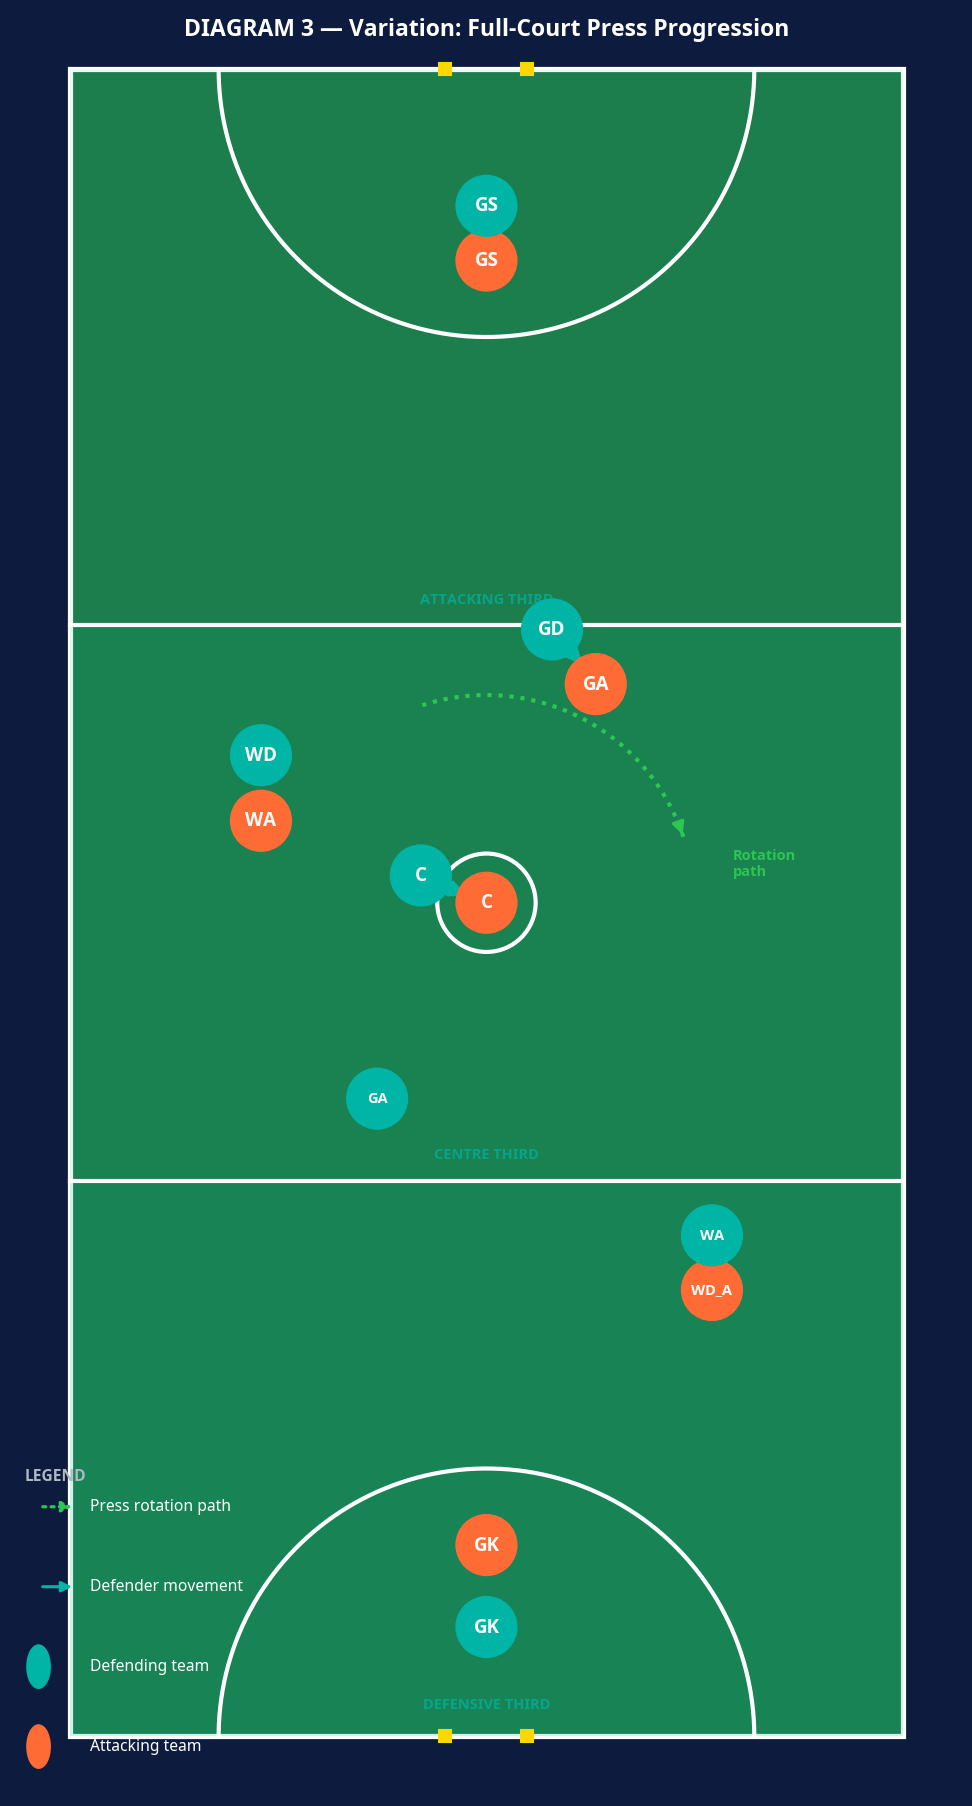
Diagram 3 shows the full-court press progression. All seven defending players (teal) are in active press positions across all three thirds. The green dotted arc illustrates the rotation path defenders use to maintain coverage as the ball moves. This variation requires exceptional fitness and communication.
Age Adaptations

Under 10 & Under 12 — Simplified Two-Player Press
At younger age groups, focus only on the defending C's directional shadow and the WD's closing movement. Do not introduce the full trap concept — instead, teach the two key principles: (1) defenders always stand between their opponent and the goal, and (2) the C tries to make the attacking C pass to one side. Keep instructions to a maximum of two cues per player.
Under 14 — Three-Player Press
Introduce the full C–WD–GD triangle press. At this age, players can understand the concept of a trap zone and the importance of the GD holding the diagonal. Use cones to mark the trap zone during training and walk through the press in slow motion before adding a ball. Focus on communication — introduce the verbal cues "right," "trap," and "hold" as a structured call system.
Under 16 & Open — Full Press with Variations
At senior level, players should be able to execute the full press, the left-side variation, and the double-team variation. Introduce video analysis to show how the press looks from above and where the intercept opportunities arise. At this level, the press should be part of a broader defensive game plan — coaches should script when in the match it will be deployed (e.g., first centre pass of each quarter, or when trailing by two goals).