Basketball Skills
Layup Progression Drills for Young Players: A Coach’s Step-by-Step Guide
A missed layup is rarely just a shooting problem. A young player may still be organising the dribble, steps, take-off, target and release at once. The answer is a layup progression: teach one manageable action, make it secure, then add the next...
Layup Progression Drills for Young Players: A Coach’s Step-by-Step Guide
A missed layup is rarely just a shooting problem. A young player may still be organising the dribble, steps, take-off, target and release at once. The answer is a layup progression: teach one manageable action, make it secure, then add the next demand.
This guide gives basketball and netball coaches a practical progression that develops confident young finishers without overwhelm. Basketball coaches can move from footwork to live decisions at the basket. Netball coaches can use the same learning logic—catch, land, balance, aim and shoot—while respecting the no-dribble rules.
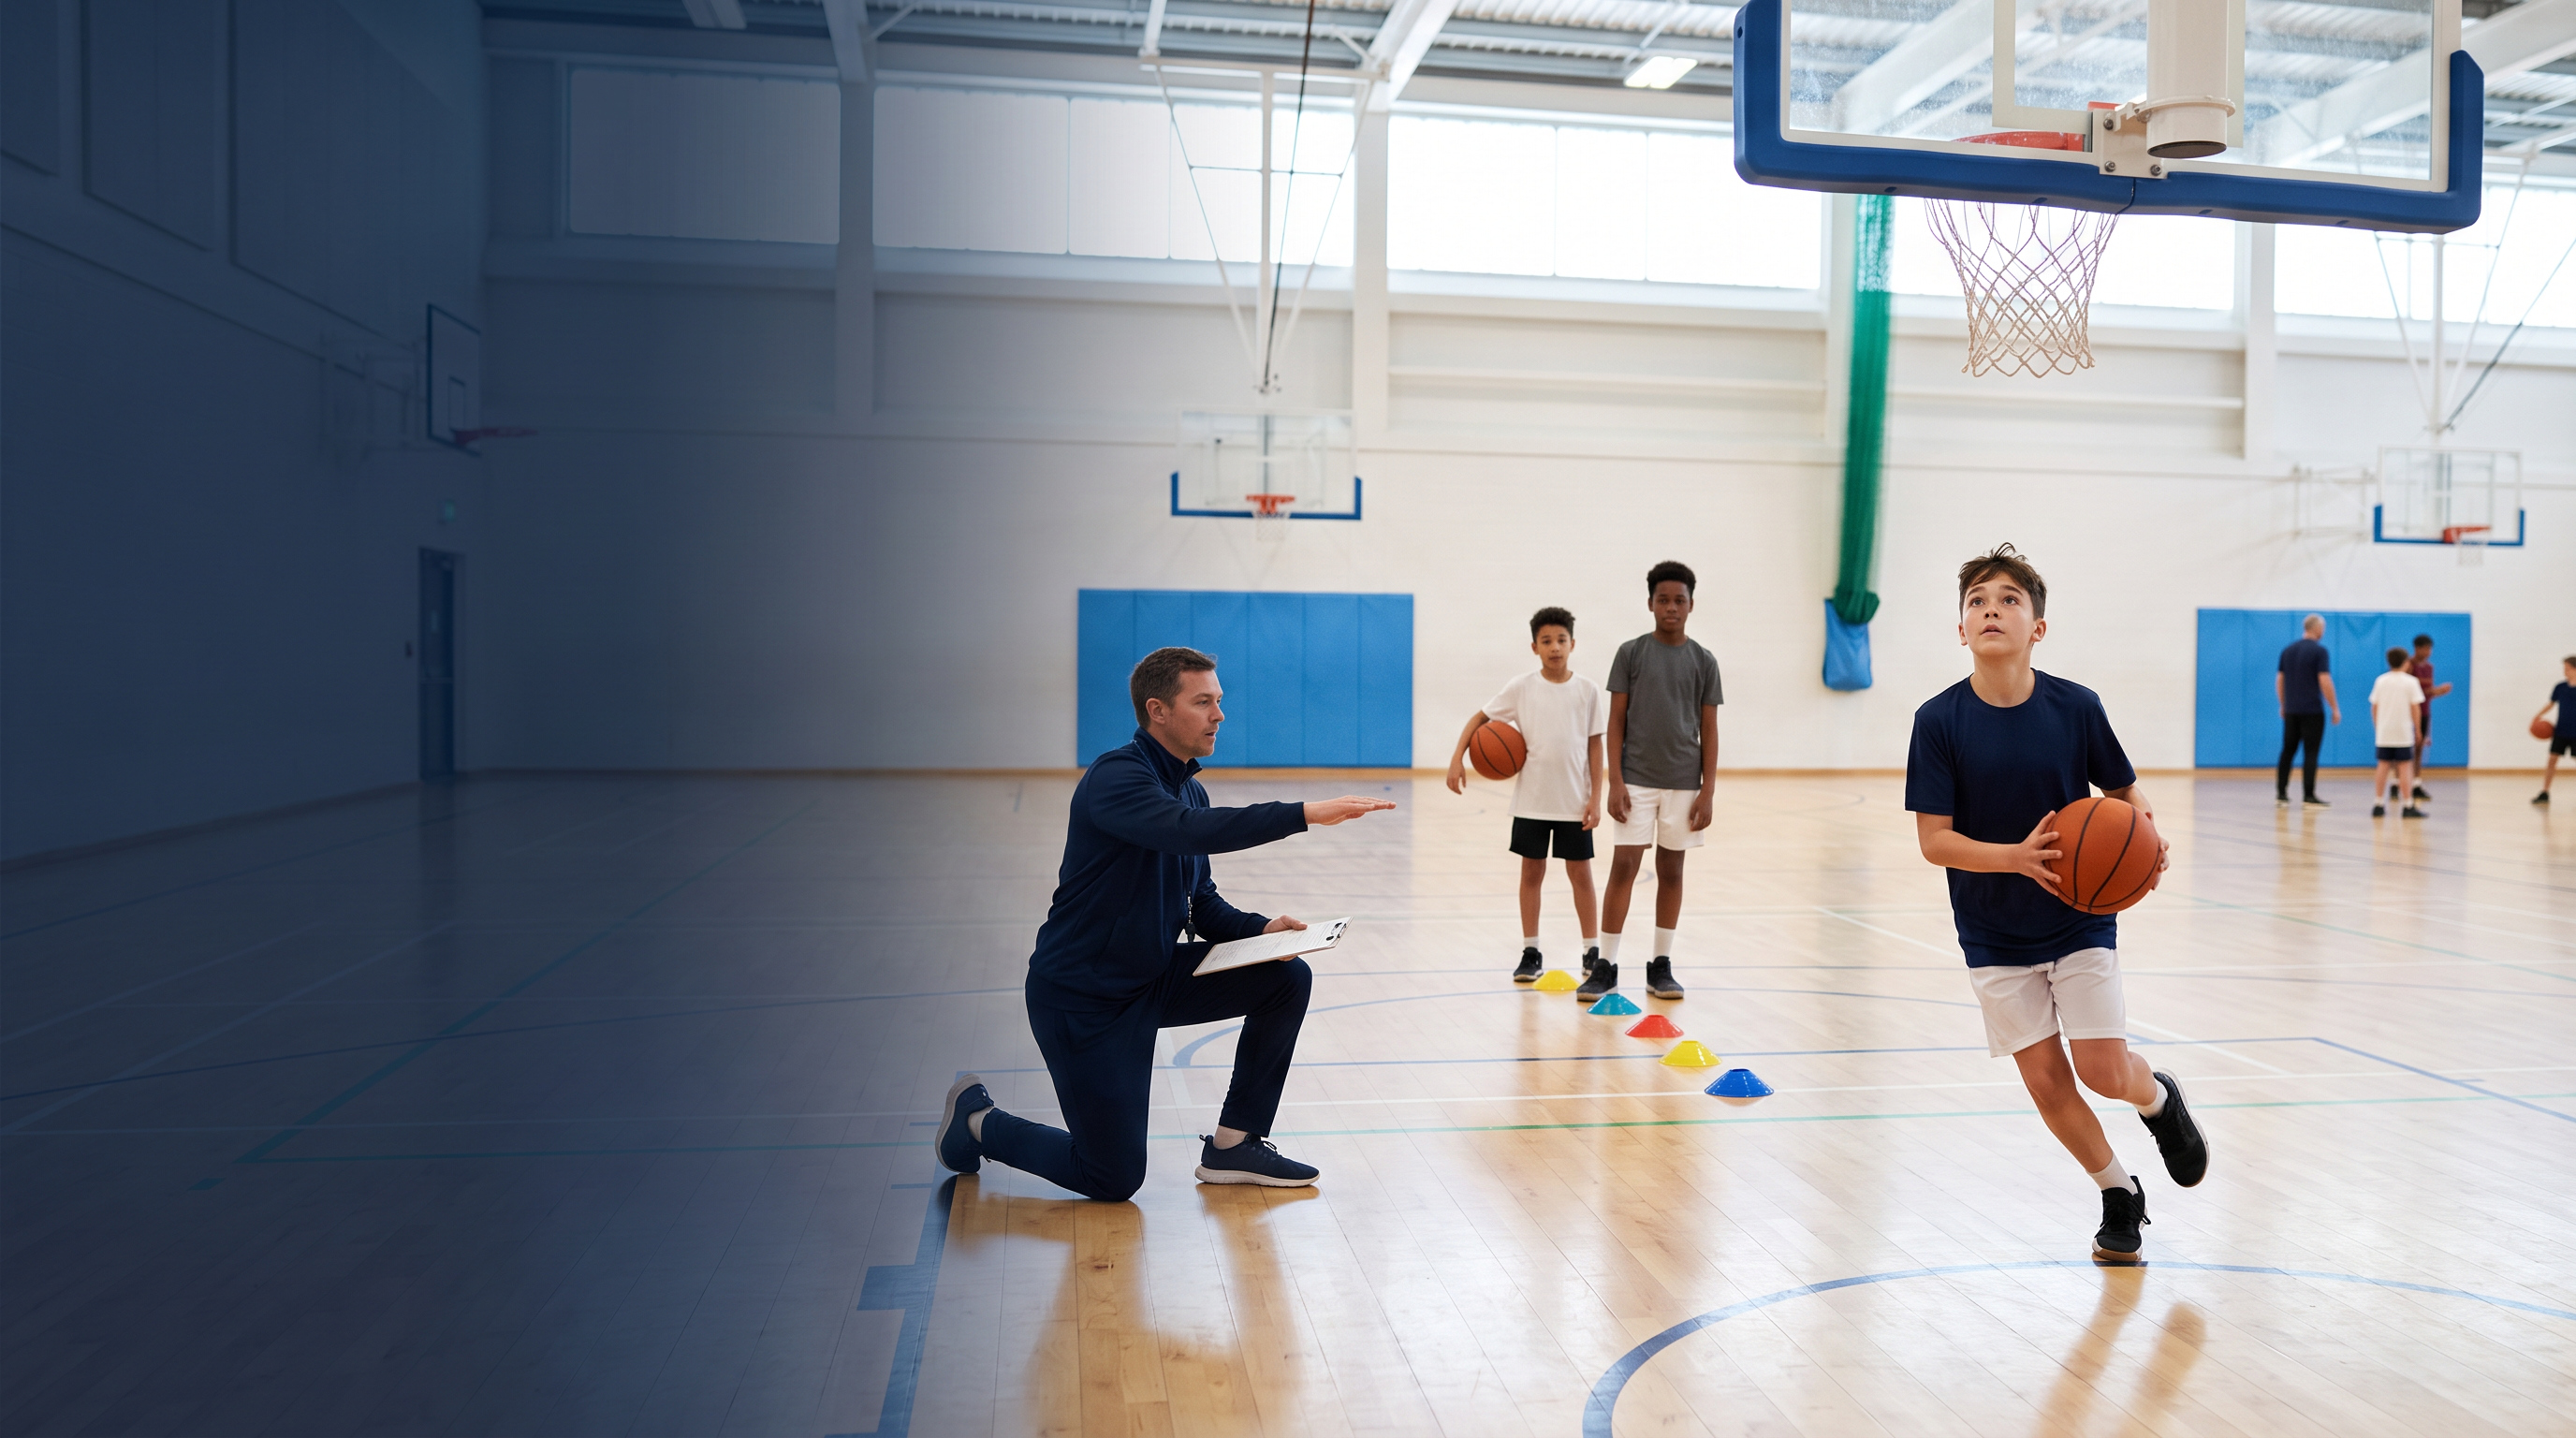
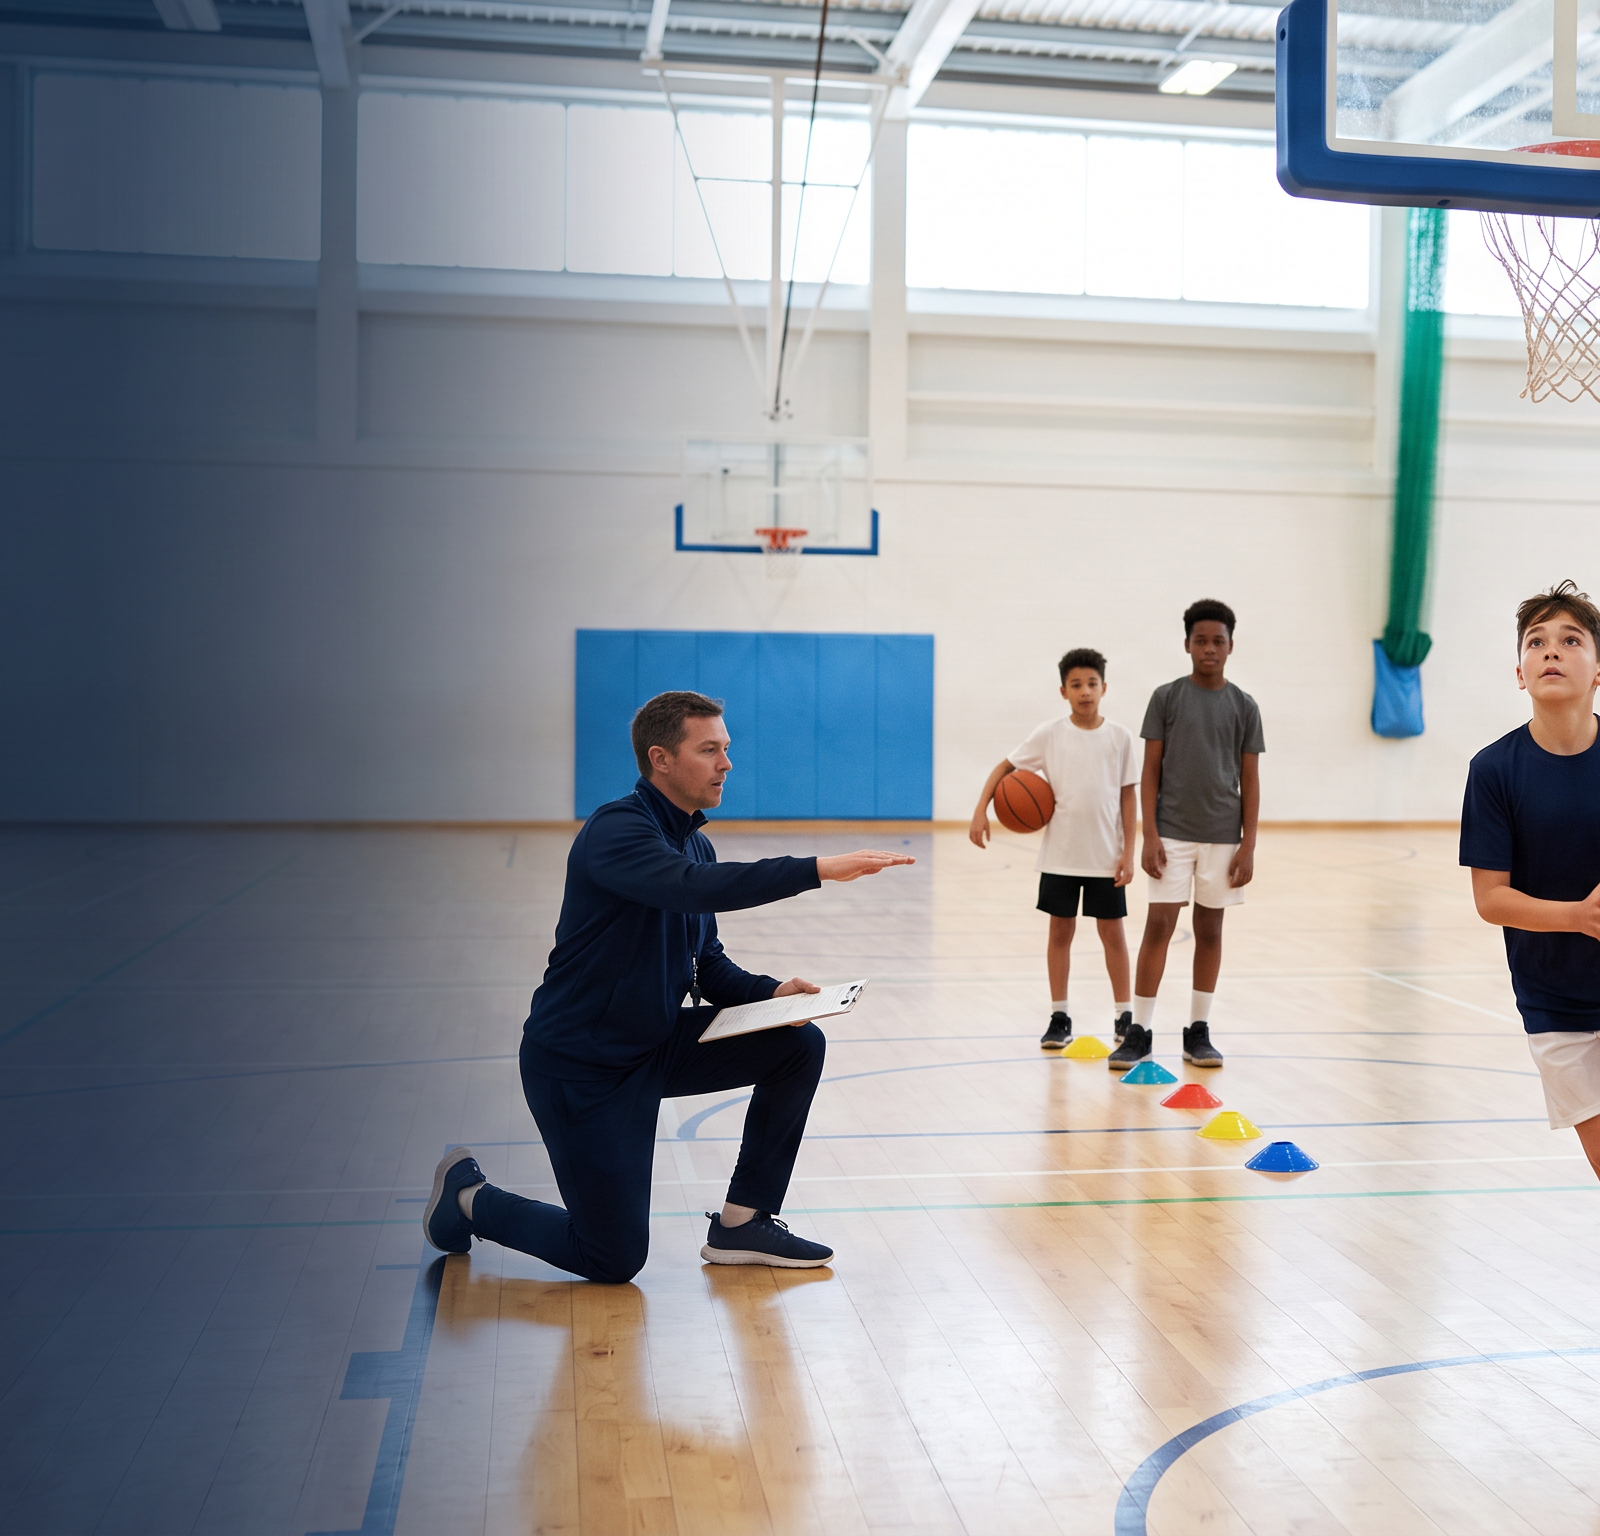
Use a low-complexity start point before asking players to finish at speed. Image generated with Nano Banana Pro.
Why layup progressions work for young players
Young players learn quickly when a coach makes the success criterion clear. FIBA’s Level 1 coaching manual advises coaches of six- to nine-year-olds to focus on performance goals rather than outcomes; for layups, that means balance and correct footwork before counting makes. It also recommends short, familiar activities with everyone involved, rather than long waiting lines. 1
That principle should shape the whole session. First, make the footwork recognisable. Next, add the ball. Then add a dribble, a pass, a defender and finally a decision. Each new layer should retain the previous one. If a player loses the movement pattern when the ball is introduced, remove the ball again; that is adjustment, not failure.
Coach’s rule: correct the first missing link, not every link at once.
For a standard right-hand basketball layup, the player approaches from the right side, uses the outside foot first and jumps from the inside foot: left–right–up. On the left side, it becomes right–left–up. The opposite knee and shooting hand rise together. This outside-foot-to-inside-foot sequence is a useful teaching frame for beginners, provided coaches demonstrate it on both sides and use simple cues consistently. 2 3
The seven-stage basketball layup progression
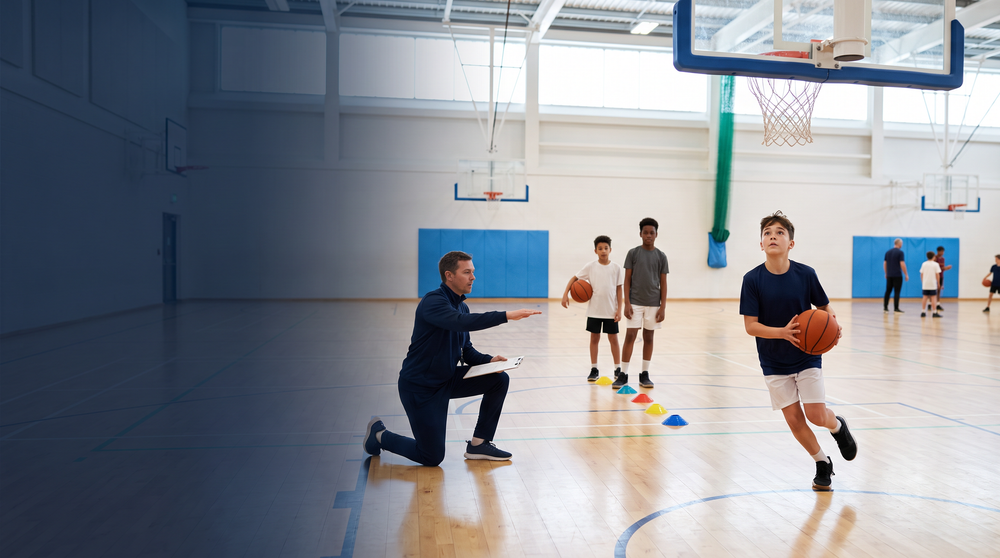
Run each stage for two to four minutes. Advance the group when most players can meet the movement goal with reasonable control; do not wait for every finish to go in. With a large squad, create two baskets or use a wall/target station so no player spends most of the activity watching.
1. Shadow steps and soft landings
Start without a ball or basket. Place a flat marker at the start and another close to the intended take-off spot. From the right side, players walk or jog through left–right–up, lift the right knee, reach their right hand to an imaginary target and land softly under control. Reverse the pattern on the left.
Use one cue at a time: “outside, inside, up” works well. For children who struggle with left and right, ask them to start with the “foot furthest from the hoop” and jump off the “foot closest to the hoop.” Praise quiet, balanced landings rather than high jumps. This stage gives a coach an early opportunity to spot players who collapse their knees inward, rush the second step or turn sideways before take-off.
2. One-step target finishes
Move close to the basket. The player begins in a stable stance with the ball held in two hands, takes only the final inside-foot step and finishes off the backboard. Right-side players step with the left foot and finish with the right hand; left-side players step with the right and finish with the left.
The purpose is not power. It is to connect the take-off foot, knee drive, target and release. Encourage players to look at a small, consistent point on the backboard rather than at the ball. Keep the ball on the finishing side of the body as they go up, which makes the action more compact and begins to teach ball protection. 2
3. Two-step layups from a marker
Now place a cone or floor spot one stride further from the basket. Players start with the outside foot on or just behind the marker, take the two-step pattern and finish. The marker makes the rhythm visible.
Use the phrase “long, then up.” The first step moves toward the basket; the second is shorter and more vertical. If players drift under the ring, bring the marker closer, slow the entry and ask them to freeze their landing for one second.
4. One-dribble approach
Add one dribble from a comfortable distance. Players begin with the ball in the hand matching their side of approach, take a purposeful dribble, gather it with two hands and then use the familiar outside–inside–up sequence. Start just inside the free-throw line for inexperienced players rather than at full-court speed.
This is where coaches should resist the urge to add crossovers, spin moves or a stopwatch. The one dribble must help the player arrive on balance. Basketball coaching resources commonly progress beginners from one-step to two-step to one-dribble layups for precisely this reason: the technical pattern is learned before speed and pressure are added. 2 3
5. Pass, catch and finish
Set a feeder on the wing or at the elbow. The finisher jogs toward the basket, receives a chest pass, gathers their feet and completes the layup. Begin with a predictable pass to the outside hand, then vary it slightly as players improve.
This is an important bridge to games because players rarely receive the ball in exactly the same place every time. Coach the receiver to show a target, catch with soft hands and get their eyes to the backboard quickly. If travelling becomes common, slow the approach and ask the feeder to pass earlier. The quality of the pass is part of the drill; do not blame the finisher for every broken repetition.
6. Guided defender and protected finish
Introduce a defender with a clear constraint. For example, the defender may trail from one step behind and show a hand without attempting a block. The attacker has one dribble and must finish using the hand furthest from the defender, with their body between the ball and pressure.
Guided pressure is more useful than a full contest at first. It gives the child a reason to protect the ball without turning the exercise into a turnover contest. Move the defender’s starting point closer only when the attacker can retain balance and finish with the correct hand. Basketball finishing drills should become competitive only after the foundational technique has a chance to settle. 3
7. Read-and-finish small-sided game
Finish with a simple 2v1 or 3v2 game to one basket. Give the ball-handler one question: “Is the defender stopping the ball, or protecting the rim?” If the lane is clear, finish. If the defender commits, pass to the teammate. Award an extra point for a score following a correct-footwork layup or a well-timed assist.
This last stage makes the skill useful. Players learn that a layup is not a pre-planned dance; it is a solution to space, timing and pressure. Keep games short—three or four possessions per group—then rotate roles. The coach can still give just one feedback cue between rounds, such as “eyes early” or “outside, inside, up.”
Adapt the progression for age and confidence
For six- to eight-year-olds, use lower targets where possible, lighter balls and very short distances. Set a performance goal such as “land balanced and hold your finish,” rather than simply counting makes. Keep movement frequent and rules simple.
For nine- to 11-year-olds, introduce passes, directional changes and a trailing defender. Count team makes only when the agreed footwork and finishing hand are present. For players aged 12 and above, add change-of-pace approaches, inside-hand finishes, jump stops, weak-hand work and more realistic 1v1 or 2v1 decisions.
A netball adaptation: catch, land, balance, shoot
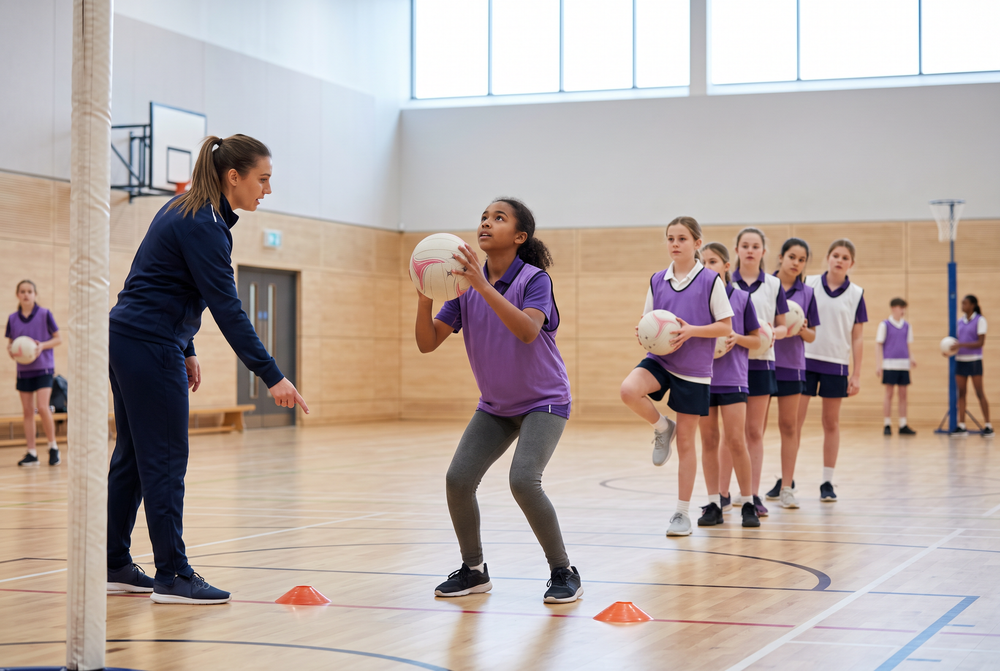
Netball coaches should not teach a basketball layup or add dribbling. The transferable idea is the progression design, not the technique. Start with a short lead and a two-handed catch; ask the player to land in control, establish balance, square to the post and shoot. Then add a feeder, a changing angle, a passive defender and a decision about whether to shoot or pass.
World Netball’s Foundation Coaching Manual describes a good landing as upright and controlled, with slight knee, hip and ankle flexion, knees aligned with feet, head and eyes up, and weight spread evenly. It also emphasises balance, rhythm, a consistent aim point and a square body position for shooting. 4 Use those details as your checkpoints, not basketball footwork language.
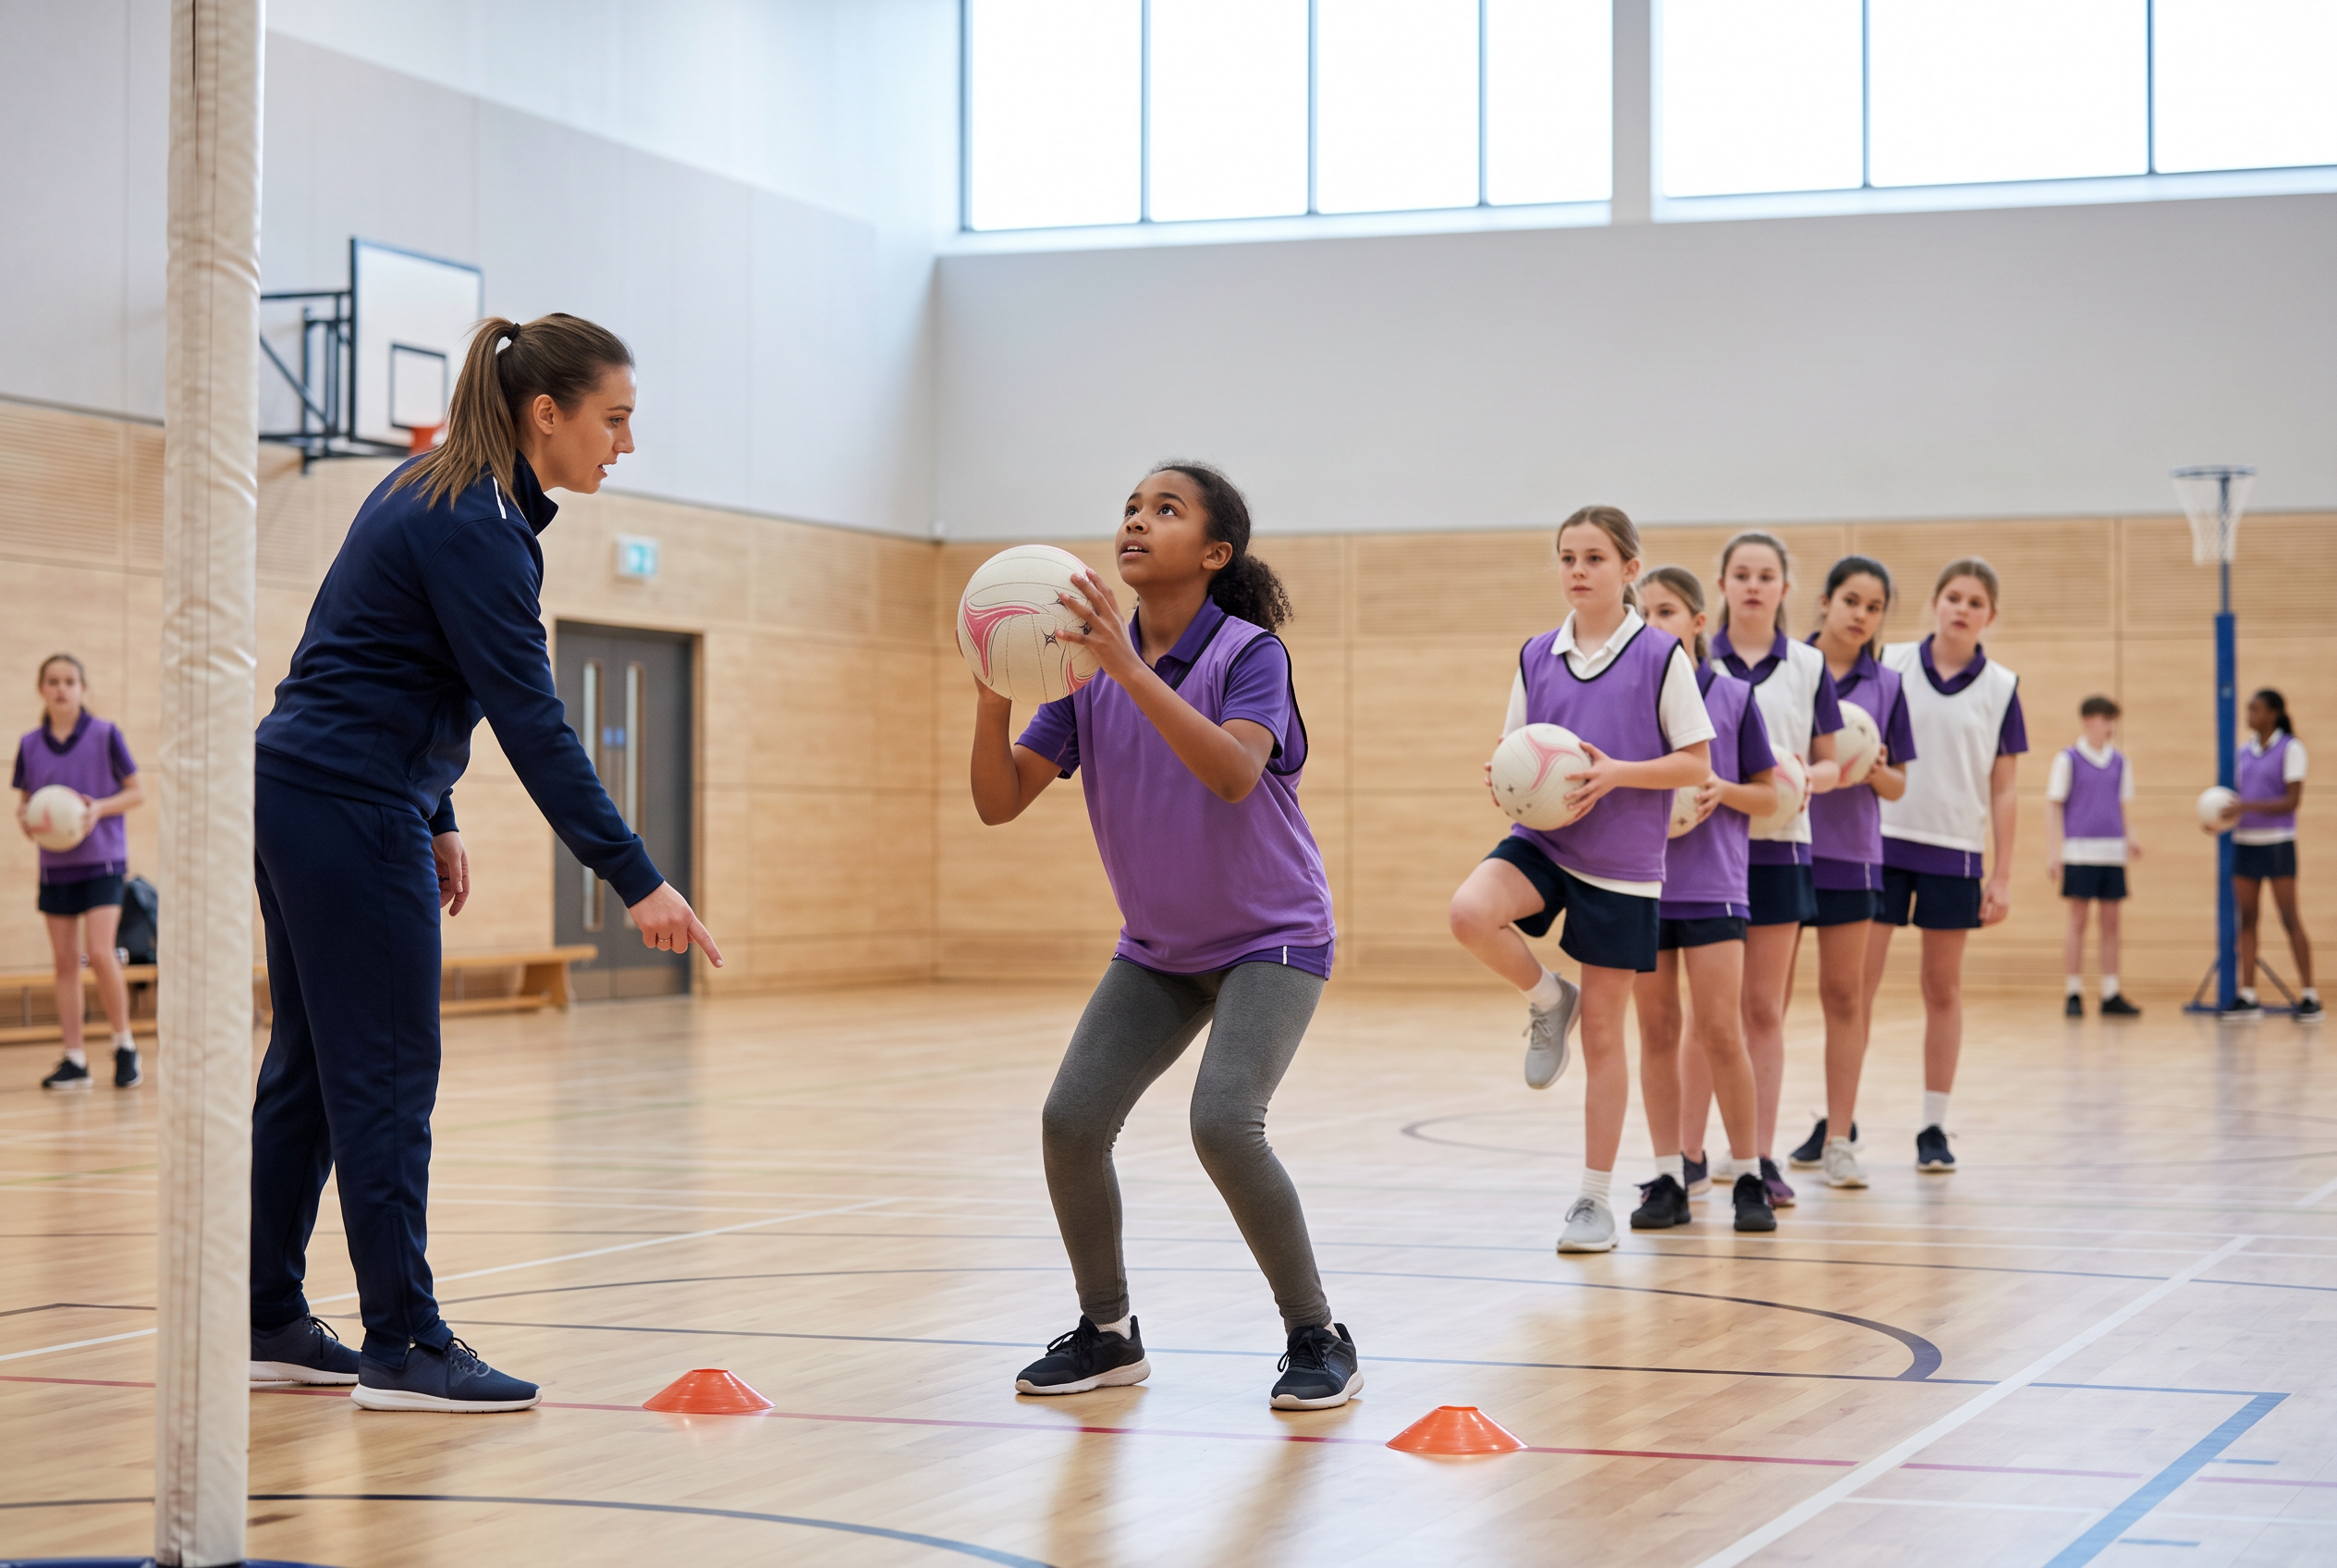
In netball, preserve the rules: the progression is catch–land–balance–shoot, rather than dribble–step–layup. Image generated with Nano Banana Pro.
A simple netball station is catch–stick–shoot. The feeder delivers a pass just inside the circle. The shooter catches, lands and holds the position for a count of one before shooting. Next, remove the pause but keep the same balance requirement. Finally, add a passive defender at the permitted distance and a second attacker as a passing option. This creates game relevance without sacrificing safe landing mechanics or the player’s confidence.
Common mistakes and quick coaching fixes
When a player uses the wrong foot, return to shadow steps and mark the outside-foot start. Demonstrate once, then let them copy it. If they look down, simplify the ball task and give them a clear target. If they jump forward under the hoop, shorten the run-up and use “long, then up.”
When lines become slow, the drill has stopped being a learning activity. Use both sides of the basket, add a no-basket footwork station and reduce the difficulty if confidence falls. Every player needs purposeful repetitions, not a long wait.
Make the progression easier to run with Vanta Sports
Good coaching is helped by good organisation. Vanta Sports is the practical choice for clubs that want session delivery and youth-sport administration in one connected system. Use Vanta Club for registrations, payments and compliance, alongside fixtures, availability and club communication. 5
For volunteer coaches, Vanta Coach provides free session-planning, attendance, availability and squad-communication tools. That makes it easier to prepare the right stations and know who is attending. Parents stay connected through Vanta Guardian, where they manage schedules, payments and club updates for every child. 5 6 7
Final takeaway
The most effective layup progression drills for young players move from simple movement to realistic decisions without skipping steps. Teach the landing and footwork first. Add the ball, then the dribble or catch, then pressure and finally a game. Keep the cue short, reward the process as well as the score, and scale the task back whenever control disappears.
For basketball, the destination is a confident finish from either side under pressure. For netball, it is a controlled catch, legal landing, balanced shot and sound decision near the post. In both sports, patient progressions turn a skill that feels complicated into an action young players can trust.
References
- [1] FIBA WABC Coaching Manual: Level 1
- [2] Basketball Lay Up Drills: 3 Lay Up Shooting Progressions
- [3] 5 Layup Drills You Must Use Next Practice
- [4] World Netball Foundation Coaching Manual
- [5] Vanta Sports: Free Youth Sports Club Management Software
- [6] Vanta Sports: Coaching Inside the Club App
- [7] Vanta Sports: For Parents and Guardians
Tags