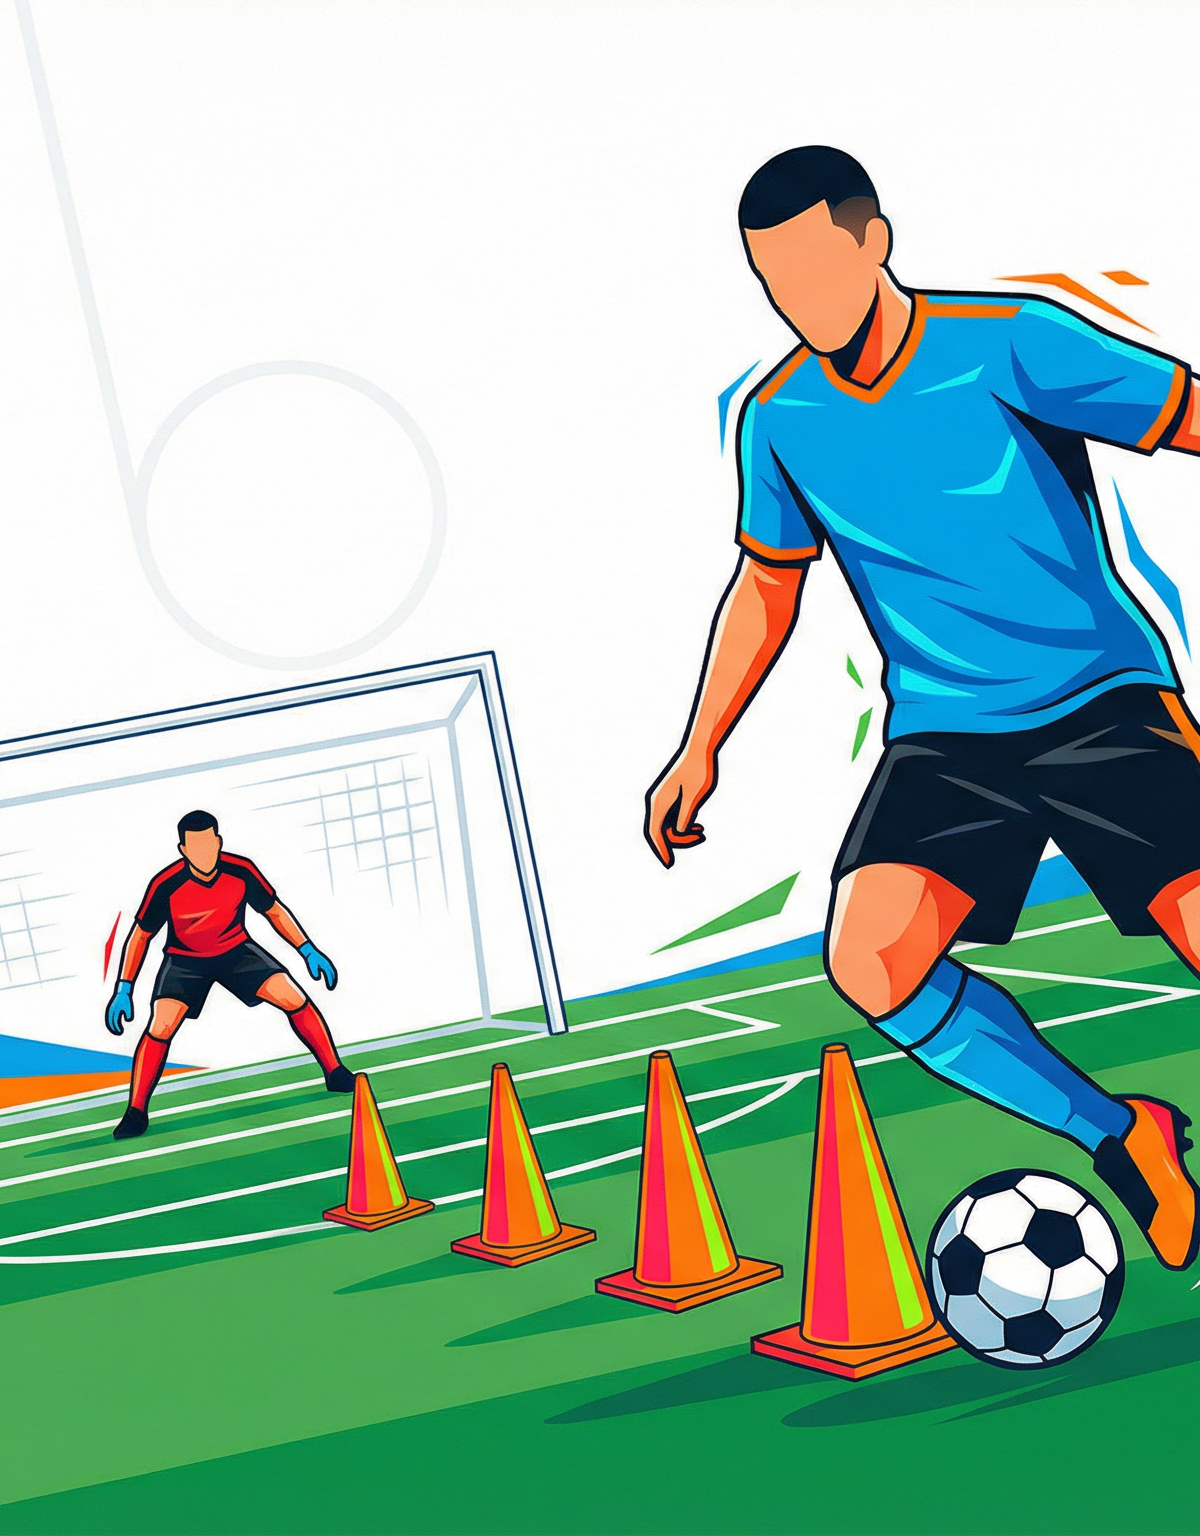
Elite Dribbling & Finishing: Cone Weave to Goal
Develop close ball control, explosive acceleration, and clinical finishing under pressure with this fundamental yet highly adaptable attacking drill.
Equipment Needed
1. Overview
This high-intensity drill is designed to bridge the gap between technical dribbling and match-realistic finishing. Far too often, players can weave through cones perfectly in isolation but struggle to compose themselves when it's time to shoot. The Elite Dribbling & Finishing: Cone Weave to Goal drill forces players to maintain close control in tight spaces, accelerate out of the final move, and execute a high-quality finish before the goalkeeper can set their feet.
As a coach, you should use this drill to develop attacking players' ability to keep their eyes up while dribbling and to teach the critical concept of the "prep touch"—the final touch that sets up the shot. It is an excellent addition to the main phase of a session focused on attacking play in the final third.
2. Setup
Proper setup is crucial for the flow and intensity of this drill. The dimensions provided below are ideal for a standard 11v11 pitch (100-110m x 64-75m), but they can be scaled down for younger age groups.
- Pitch Area: Use one half of a standard pitch, focusing on the central area leading into the penalty box.
- Equipment Needed: 1 full-size goal, 6-8 training cones (preferably bright orange for visibility), 1 starting marker, and a large supply of footballs (at least 10).
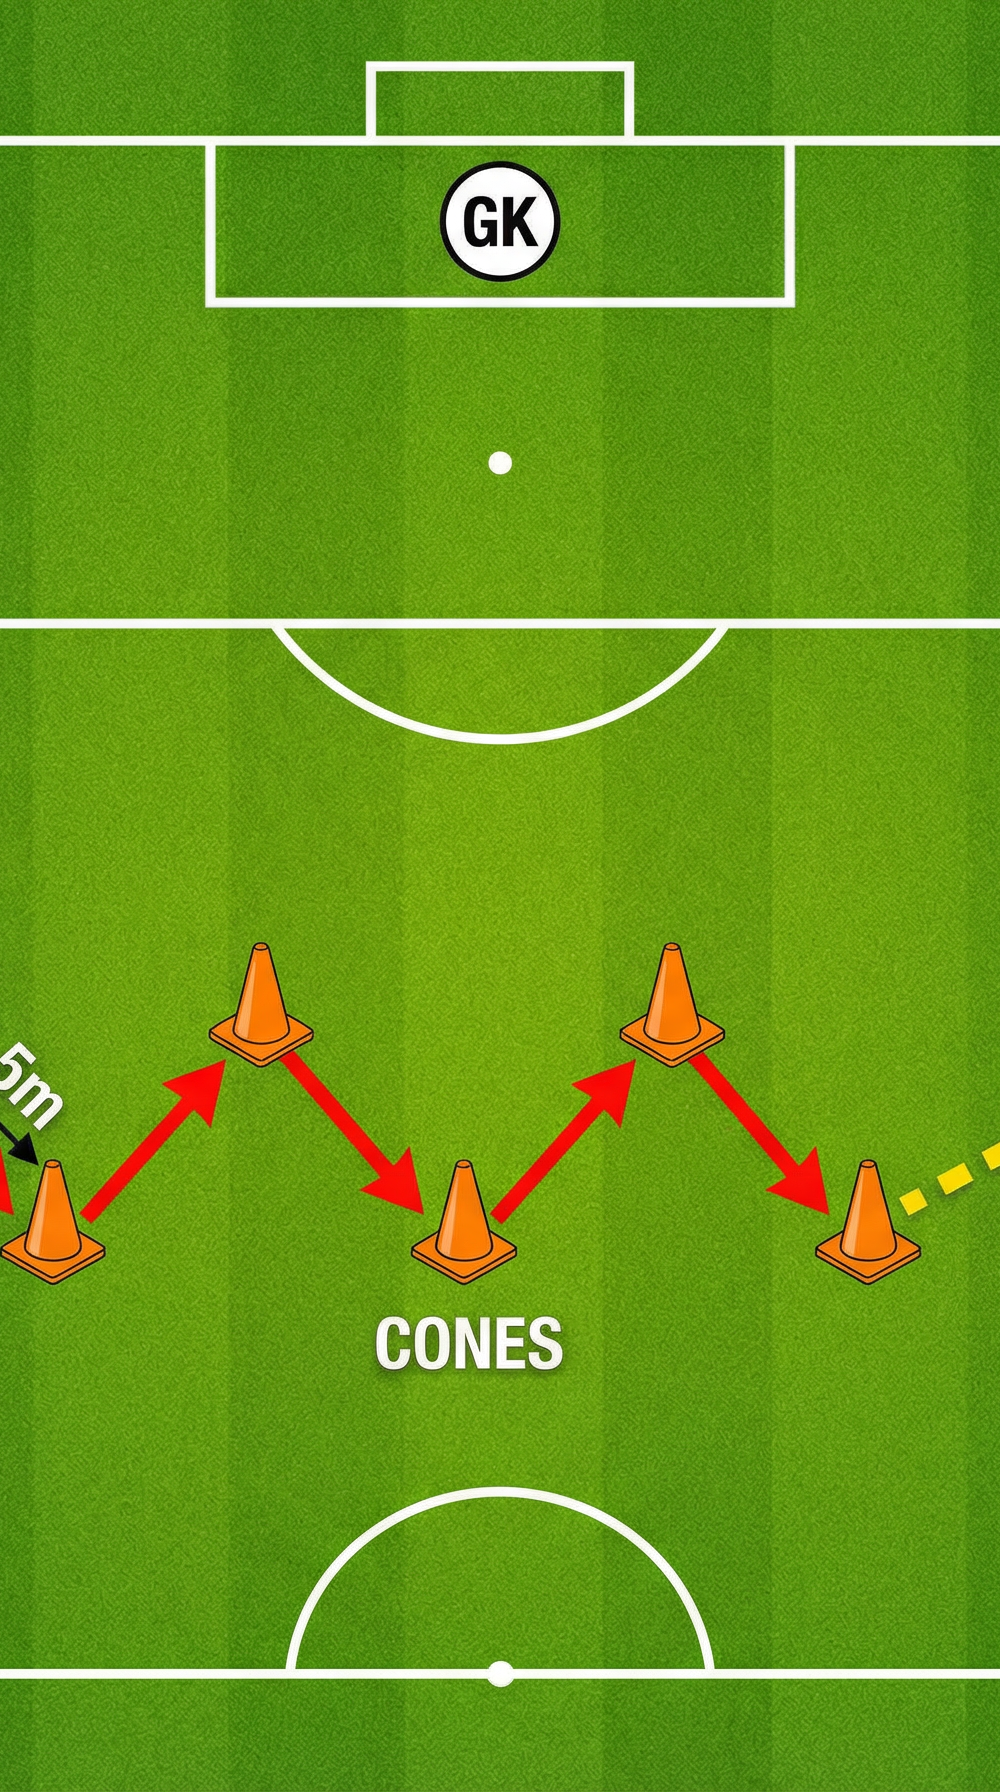
- Cone Placement: Place the starting marker exactly 30 meters from the center of the goal. From the starting marker, set up a zigzag pattern of 6 cones leading toward the penalty area. Space the cones exactly 1.5 meters apart to force tight, controlled touches.
- Player Positions: Position a Goalkeeper (GK) in the main goal. Have the attacking players form a single file line behind the starting marker, each with a ball at their feet.
3. Step-by-Step Instructions
- The Approach: On the coach's whistle, Player 1 begins dribbling from the 30-meter starting marker toward the first cone in the zigzag sequence.
- The Weave: Player 1 navigates through the 6 cones using close control. Encourage the use of both the inside and outside of the foot to manipulate the ball around each cone.
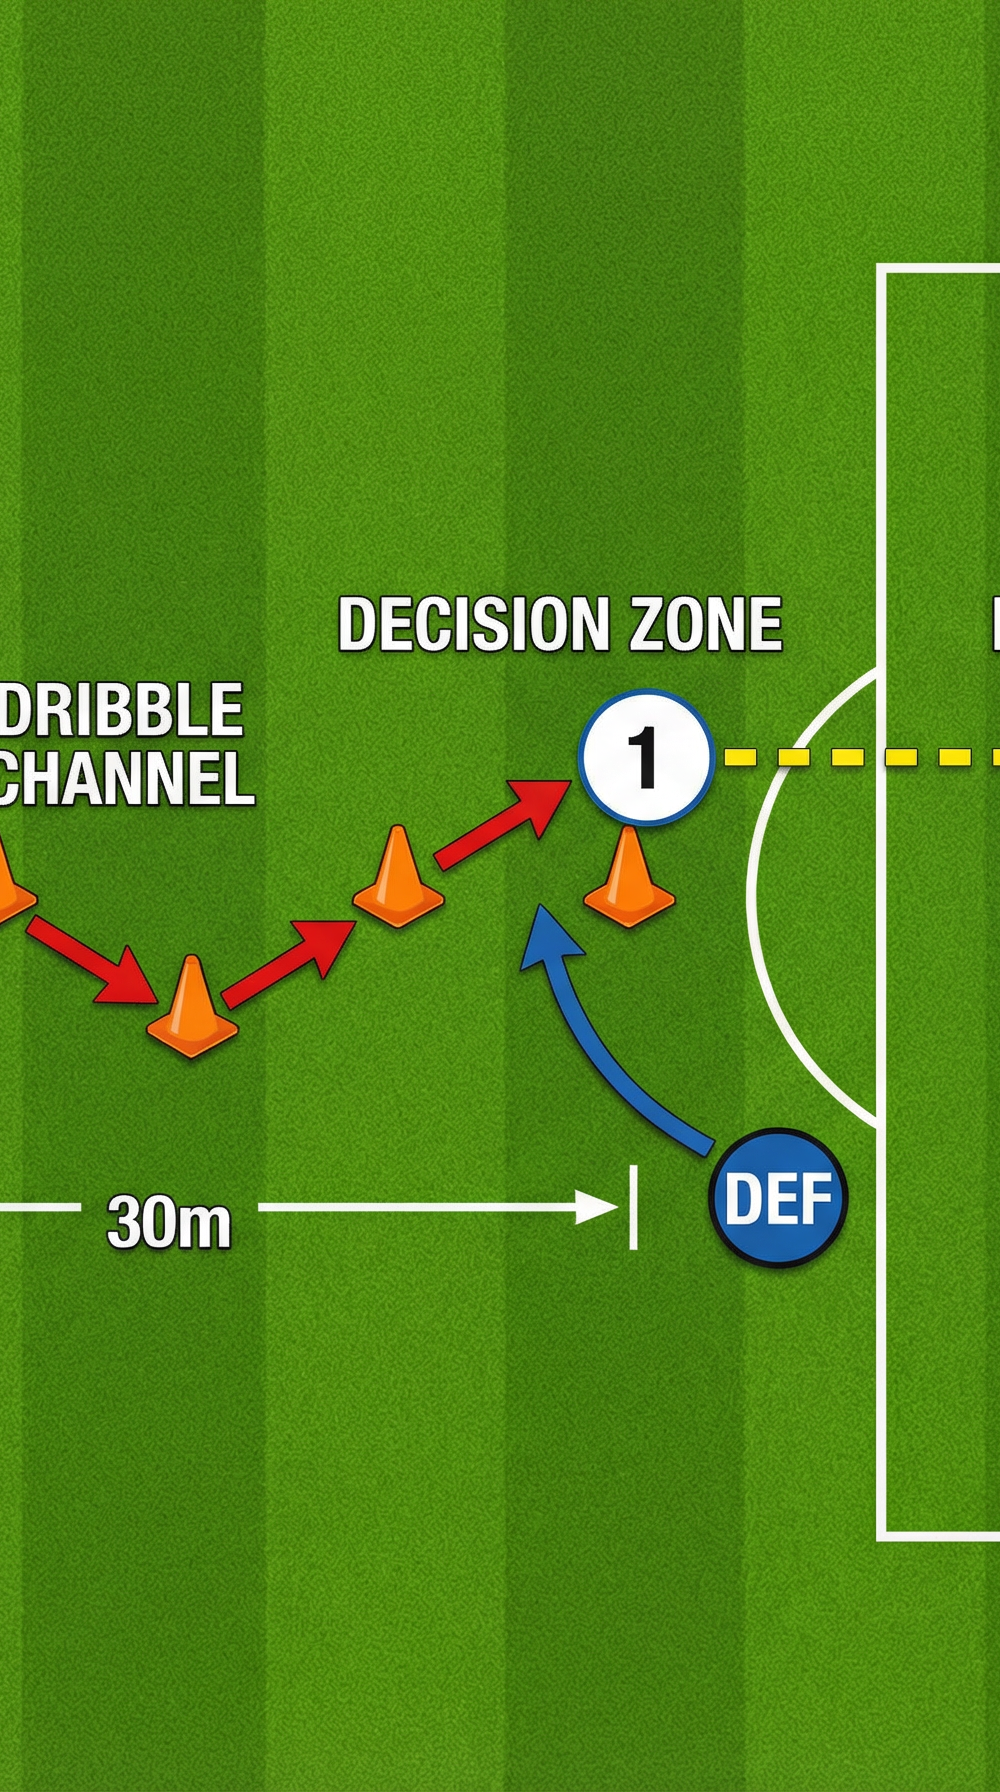
- The Acceleration: As Player 1 passes the final cone (located roughly 20 meters from goal), they must take a slightly heavier, explosive "prep touch" diagonally into space to set up the shot.
- The Finish: Without breaking stride, Player 1 strikes the ball toward goal. The shot should ideally be taken from just outside or on the edge of the penalty area (16-18 meters out).
- The Reset: After shooting, Player 1 immediately jogs back to the starting line to collect a new ball. The next player in line begins their run as soon as Player 1 takes their shot.
4. Key Coaching Points
- Close Control Over Speed: The ball should remain within playing distance (under 1 meter from the feet) during the weave.
- Eyes Up: Players must be aware of the goalkeeper's positioning before they take their final prep touch.
- The Explosive Prep Touch: The touch out of the final cone must be pushed out from under the body to allow the player to generate power on the shot without breaking stride.
- Shooting Technique: Favor accuracy over raw power. Use the inside of the foot for a placed finish into the corners, or the laces for a driven shot, keeping the head and knee over the ball.
5. Common Mistakes
- Looking Down at the Ball: Players staring exclusively at their feet will not see the goalkeeper's movement.
- Stopping Before Shooting: Decelerating or completely stopping the ball after the final cone kills momentum. The transition must be seamless.
- Poor Prep Touch: Too close to the body = player gets jammed up. Too heavy = goalkeeper rushes out to claim.
6. Variations & Progressions
- Weak Foot Only: Players must navigate the cones and take the final shot exclusively using their non-dominant foot.
- Adding a Defender (Pressure): Introduce a passive, then active, defender (DEF) at the edge of the penalty area to force a quick decision.
- Time Limit: Challenge players to complete the weave and get a shot off within 5 seconds to simulate match-day urgency.
7. Age Adaptations
- Under-8 to Under-10: Widen cone gaps to 2-2.5m. Move starting marker to 20m from goal.
- Under-12 to Under-14: Keep standard 1.5m spacing. Focus on weak foot quality and transition speed.
- Under-16 to Open/Senior: Tighten cones to 1m apart. Introduce active defender progression early.