Slalom & Strike: Cone Dribbling with Finishing Drill
A high-repetition attacking drill that sharpens close ball control through a slalom gate before demanding a composed, quality finish under progressive pressure.
Equipment Needed
Overview
The Slalom & Strike drill is a cornerstone of any attacking-focused training session. It combines two of the most fundamental individual skills in the game — close-control dribbling and composed finishing — into a single, high-repetition exercise that players of all levels can benefit from immediately.
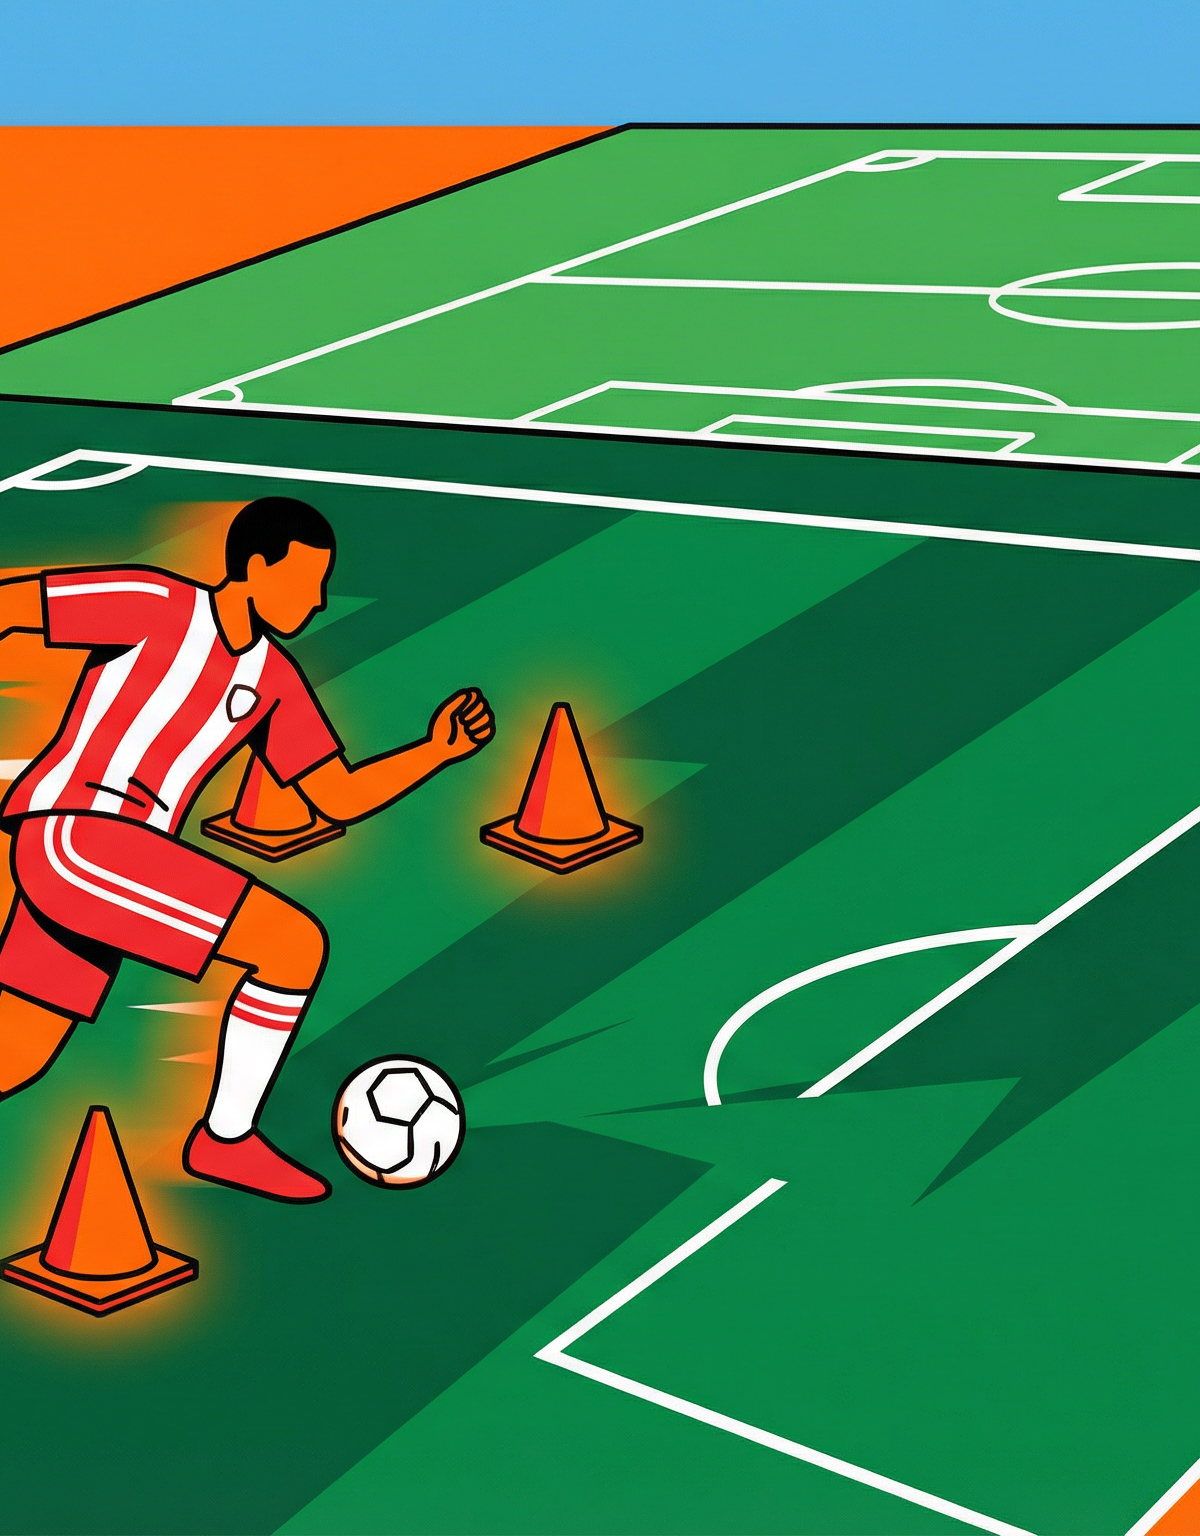
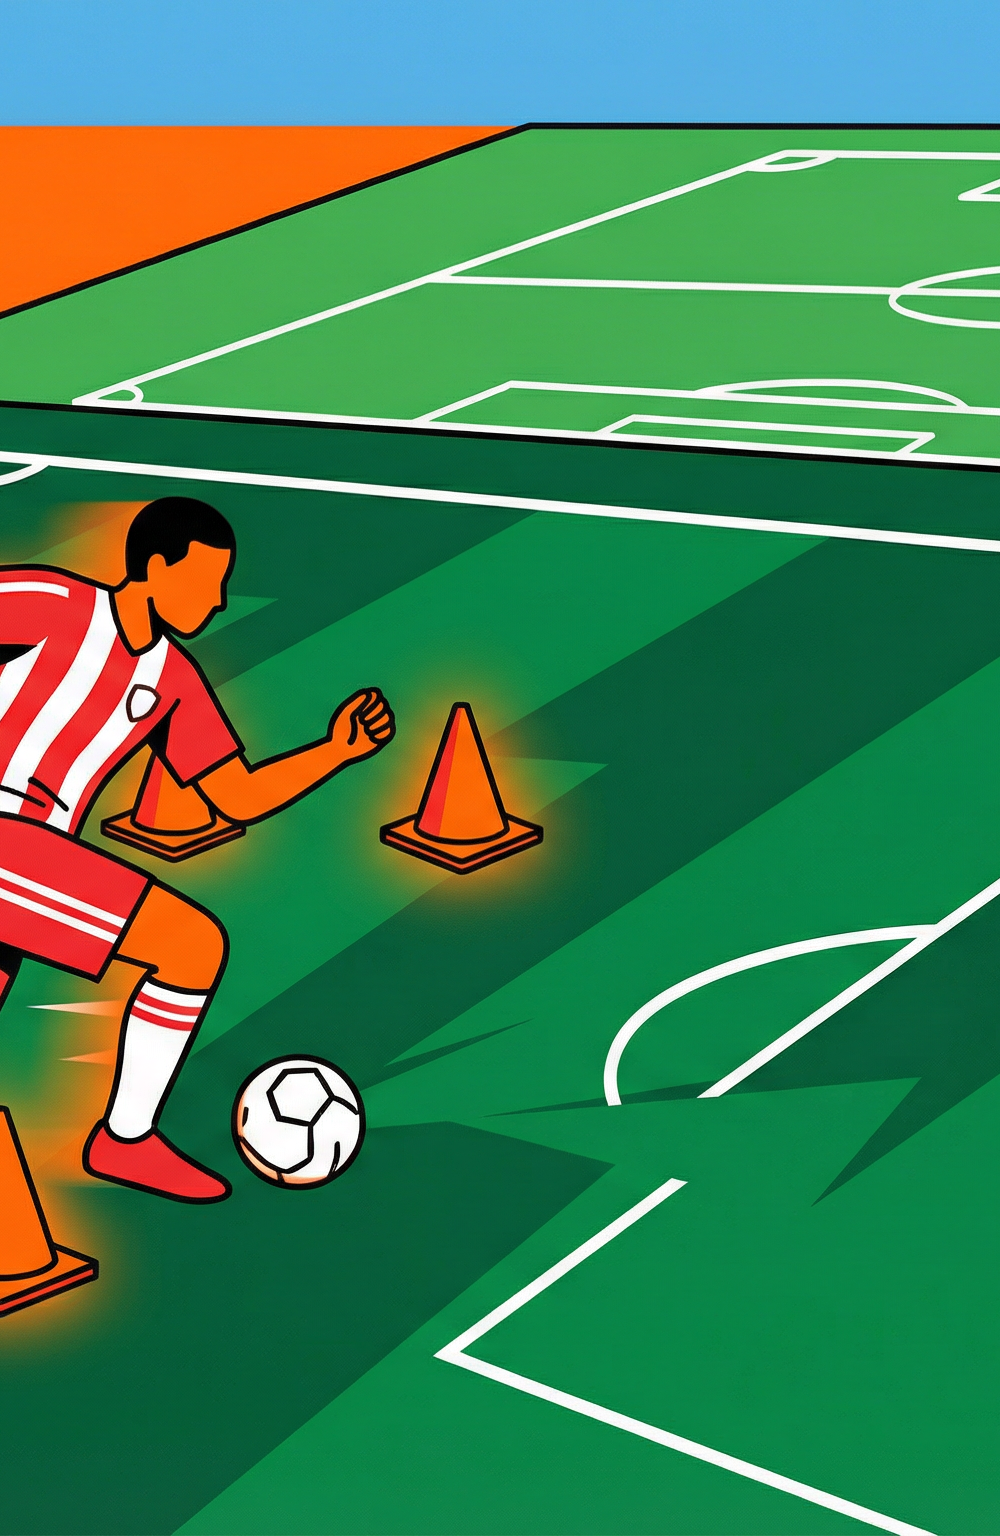
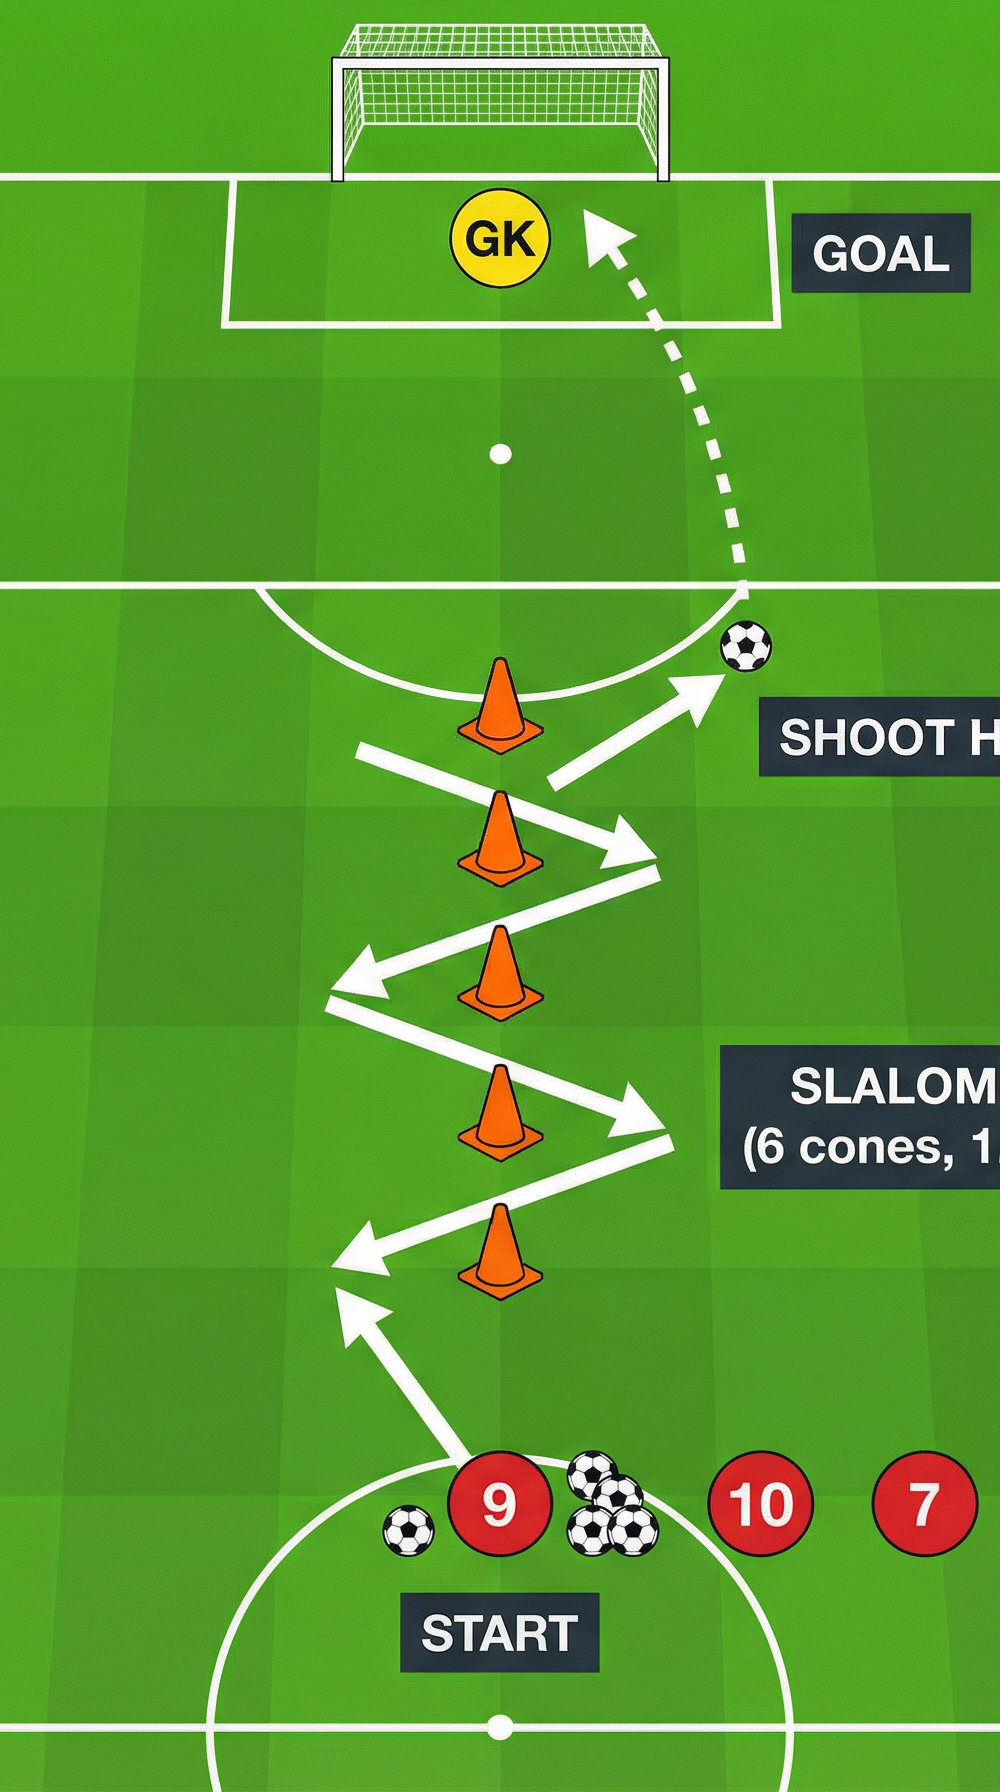
At its core, the drill asks each player to receive a ball, drive forward through a slalom of six cones spaced 1.5 metres apart, and then execute a clean finish on goal. The tight cone spacing forces players to use both feet, shorten their stride, and keep the ball within playing distance at all times. The transition from dribbling to shooting then replicates the real-game demand of shifting from close-control mode into a decisive, powerful strike — a skill that separates good attackers from great ones.
This drill is best used in the technical warm-up phase of a session or as the opening activity of an attacking unit. It is equally effective as a standalone skill circuit for younger players or as a high-intensity finishing block for senior squads. Run for 20–25 minutes, it generates excellent repetition volume while keeping players physically engaged.
Setup
Pitch Area: Use the attacking third of a full-size pitch (100–110m × 64–75m). The working zone runs from approximately 30 metres out from goal to the edge of the penalty area (18-yard box). A full-size goal with a goalkeeper is required.
| Item | Quantity | Notes |
|---|---|---|
| Full-size goal | 1 | With goalkeeper |
| Training cones (orange) | 6 per lane | Placed 1.5m apart in a straight line |
| Footballs | 8–12 | Stacked at the start position |
| Bibs | 1 set | To identify groups if running multiple lanes |
| Marker cones (flat) | 4 | To define the start line and shooting zone |
Player Positions & Numbers:
- GK (Goalkeeper): In goal, set position, ready to receive shots.
- No. 9 (Centre Forward): First in the queue, ball at feet, at the start cone 28–30 metres from goal.
- No. 10 (Attacking Midfielder): Second in queue, ready to go immediately after No. 9 clears the cones.
- No. 7 / No. 11 (Wide Forwards): Third and fourth in queue. In multi-lane variations, these players operate their own lane simultaneously.
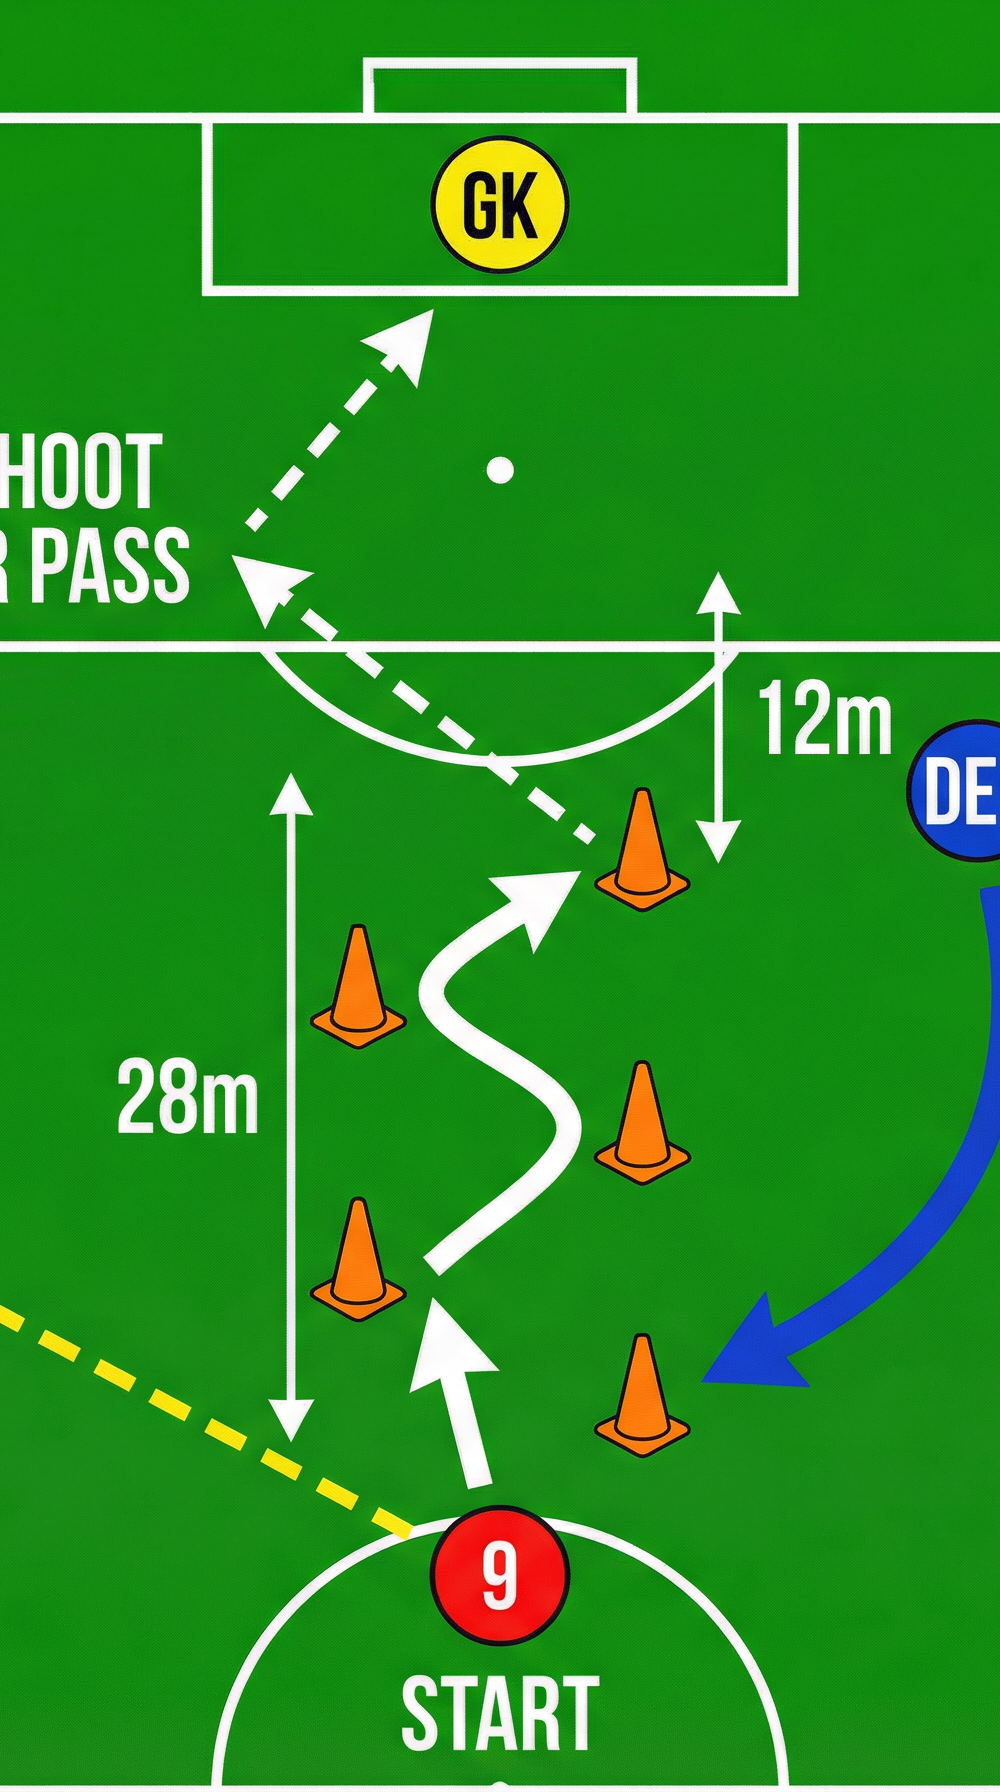
Cone Layout: Place 6 cones in a single straight line running directly toward the centre of goal. Space each cone 1.5 metres apart. The first cone should be 28–30 metres from the goal line. The final cone should sit approximately 12–14 metres from goal — this is the designated shooting trigger point.
Step-by-Step Instructions

Organise the queue. Players line up behind the start cone, 30 metres from goal. Each player has a ball at their feet or collects one from the ball stack. The goalkeeper takes up a standard set position in the centre of the goal.
Initiate the run. On the coach's signal (or immediately after the previous player has shot), the first player — No. 9 — pushes the ball forward into the first cone gate and begins the slalom.
Execute the slalom. The player weaves left and right through all six cones, keeping the ball close (no more than one touch ahead of the foot). Encourage players to use the outside and inside of both feet alternately to navigate each gate cleanly.
Accelerate out of the final cone. After clearing the sixth cone, the player takes one or two positive touches to set the ball into their shooting stride. This transition touch is critical — it should open the body toward goal and set up the dominant foot.
Shoot with intent. The player strikes the ball from approximately 12–14 metres. Emphasise placement over power at this range. Target the corners: low and hard to the goalkeeper's left or right. Players should call their target corner before shooting (e.g., "left post!") to build decision-making habits.
Follow up. After shooting, the player sprints to collect any rebounds off the goalkeeper or post and finishes from close range. This replicates the striker's instinct to attack the second ball.
Rotate. The player retrieves their ball, returns it to the stack, and joins the back of the queue. The next player goes as soon as the shooter has cleared the cone line.
Coach position. The coach stands to the side of the cone line, level with cones 3–4, to observe both the dribbling technique and the quality of the transition touch. Offer individual feedback between each rep.
Key Coaching Points

1. Head Up Through the Cones
Players must resist the temptation to watch the ball constantly. Encourage them to glance up between touches to develop spatial awareness. Use the cue: "Check your head — where's the goal?"
2. Use Both Feet
The slalom is designed to force use of the weaker foot. If a player is consistently avoiding their left foot, adjust the starting side of the slalom so the first touch forces the weaker foot. Reinforce: "Every cone is a chance to practise your weak foot."
3. Ball Distance — Keep It Tight
The ball should never travel more than 1–1.5 metres ahead of the player's body through the cones. A ball that runs too far ahead kills the rhythm and forces a recovery touch. Cue: "Own the ball — don't chase it."
4. The Transition Touch Is the Key Touch
The touch out of the final cone sets up the entire finish. It should be firm, angled slightly across the body, and taken at pace. A poor transition touch forces a rushed or off-balance shot. Cue: "Set yourself — one touch, then shoot."
5. Strike Through the Ball
At 12–14 metres, players should be striking with the laces (instep) for power or the inside of the foot for placement. Discourage toe-pokes. Cue: "Lock the ankle, follow through to the target."
6. Positive Body Language After a Miss
Finishing drills can knock confidence. Insist that every player — regardless of the outcome — sprints to follow up the shot. This builds the habit of attacking the second ball and keeps energy levels high.
Common Mistakes

Mistake 1: Slowing down before the final cone
Many players instinctively decelerate as they approach the shooting zone, losing momentum and making the shot harder. Correction: Instruct players to accelerate through the last cone, not to it. Place a flat marker 2 metres past the final cone and challenge players to reach it before shooting.
Mistake 2: Taking too many touches after the cones
After clearing the slalom, some players take three or four extra touches before shooting, allowing the goalkeeper to set. Correction: Impose a "two-touch maximum" rule after the final cone: one touch to set, one touch to shoot. Count aloud if necessary.
Mistake 3: Shooting across the body from a poor angle
If the transition touch runs too wide, players end up shooting from an acute angle with the wrong foot. Correction: Demonstrate the ideal transition touch — slightly across the body to the strong foot side — and have players walk through it slowly before full-speed repetitions.
Mistake 4: Ignoring the goalkeeper's position
Players often shoot at the centre of the goal without reading where the goalkeeper is standing. Correction: Instruct the goalkeeper to deliberately stand slightly off-centre before each shot. Challenge players to identify and exploit the open side.
Mistake 5: Failing to follow up the shot
After shooting, many players stop and watch the outcome. Correction: Make the follow-up sprint non-negotiable. Any player who does not sprint to attack the rebound repeats their turn.
Variations & Progressions

Progression 1 — Defender Enters at the Final Cone (1v1 Finish)
As the dribbling player clears the last cone, a defender (DEF) enters from a cone positioned 5 metres to the side and attempts to close down the shot. The attacker must now make a real-time decision: shoot early, cut inside, or play a lay-off pass to a supporting No. 10 positioned wide. This replicates the pressure of a genuine attacking scenario and is the most important progression in the drill. Introduce this after players are consistently hitting the target in the base version.
Progression 2 — Two-Touch Combination Before the Cones
Before entering the slalom, the player plays a one-two combination with a supporting player (No. 10) standing 5 metres to the side of the start cone. The return pass must be received on the move and the player enters the cones at pace. This adds a passing and receiving element, improving the transition from combination play into dribbling — a common real-game sequence for centre forwards and attacking midfielders.
Variation — Reduced Cone Spacing (Easier)
For younger or less experienced players, increase the cone spacing to 2–2.5 metres and reduce the number of cones to four. This allows more time and space between touches, reducing cognitive and technical demand while preserving the core structure of the drill.
Age Adaptations

| Age Group | Cone Spacing | Distance from Goal | Shooting Zone | Key Focus |
|---|---|---|---|---|
| Under 8 | 2.5m (4 cones) | 10–12m | 8m | Fun, basic dribbling, no pressure |
| Under 10 | 2m (5 cones) | 15–18m | 10m | Weak foot use, simple finish |
| Under 12 | 1.5m (6 cones) | 20–22m | 12m | Transition touch, placement |
| Under 14 | 1.5m (6 cones) | 25m | 14m | Speed, both feet, power |
| Under 16 | 1.5m (6 cones) | 28m | 16m | Full progression with defender |
| Open/Senior | 1.5m (6 cones) | 30m | 18m | All progressions, decision-making |
Under 8s and Under 10s should experience this drill as a fun, low-pressure activity. Remove the goalkeeper for the youngest groups and use a target (e.g., a cone inside the goal) to aim at. Praise effort and any use of the weaker foot, regardless of outcome.
Under 12s and Under 14s should begin to feel the competitive element. Introduce a simple scoring system: 1 point for hitting the target, 2 points for a corner finish. This age group benefits enormously from the transition-touch coaching point.
Under 16s and Senior players should run the full drill with the defender progression and the two-touch combination entry. At this level, the drill becomes a genuine finishing circuit and can be used as a pre-match activation exercise as well as a training tool.