Wide Attack Crossing & Finishing: Deliver, Move, Convert
A structured crossing and finishing drill that sharpens delivery quality from wide areas, teaches coordinated near-post and far-post runs, and builds clinical finishing under realistic match pressure.
Equipment Needed
Overview
The Wide Attack Crossing & Finishing drill is a cornerstone session for any team that looks to exploit wide areas and deliver quality balls into the penalty box. It simultaneously develops the technical delivery of your wide players (#7 and #11), the timed movement of your strikers and attacking midfielders (#9 and #10), and the late-arriving runs of box-to-box midfielders (#8). When executed correctly, this drill replicates the exact sequences that produce goals at every level of the game — from grassroots to the professional game.
Use this drill in the attacking phase of your weekly training cycle, ideally two to three days before a match when players are fresh and technically sharp. It works equally well as a standalone attacking unit session or as the centrepiece of a full 11v11 shape-and-finish session. The drill is most effective when run at high tempo with minimal stoppages, forcing players to make decisions at match speed.
Setup

Pitch Area: Use the attacking half of a full-size pitch (approximately 50–55m in length × 64–75m wide), incorporating the full penalty area (40.32m × 16.5m) and goal area (18.32m × 5.5m). The drill operates primarily in the final third.
Equipment Required:
- 1 full-size goal (7.32m × 2.44m)
- 1 active goalkeeper (GK)
- 12–16 footballs (positioned in two supply stations at each wide crossing position)
- 8 cone markers (4 per side) to define the crossing channel and wide starting positions
- 4 flat disc cones to mark the edge-of-box trigger line (approximately 25m from goal)
- Bibs in two colours for attacker/defender differentiation in progressions
- Optional: rebounders or mannequins for unopposed phases
Player Positions & Starting Locations:
| Position | Number | Starting Location |
|---|---|---|
| Right Winger | #7 | Wide right, 3–5m inside the touchline, level with the penalty area |
| Left Winger | #11 | Wide left, 3–5m inside the touchline, level with the penalty area |
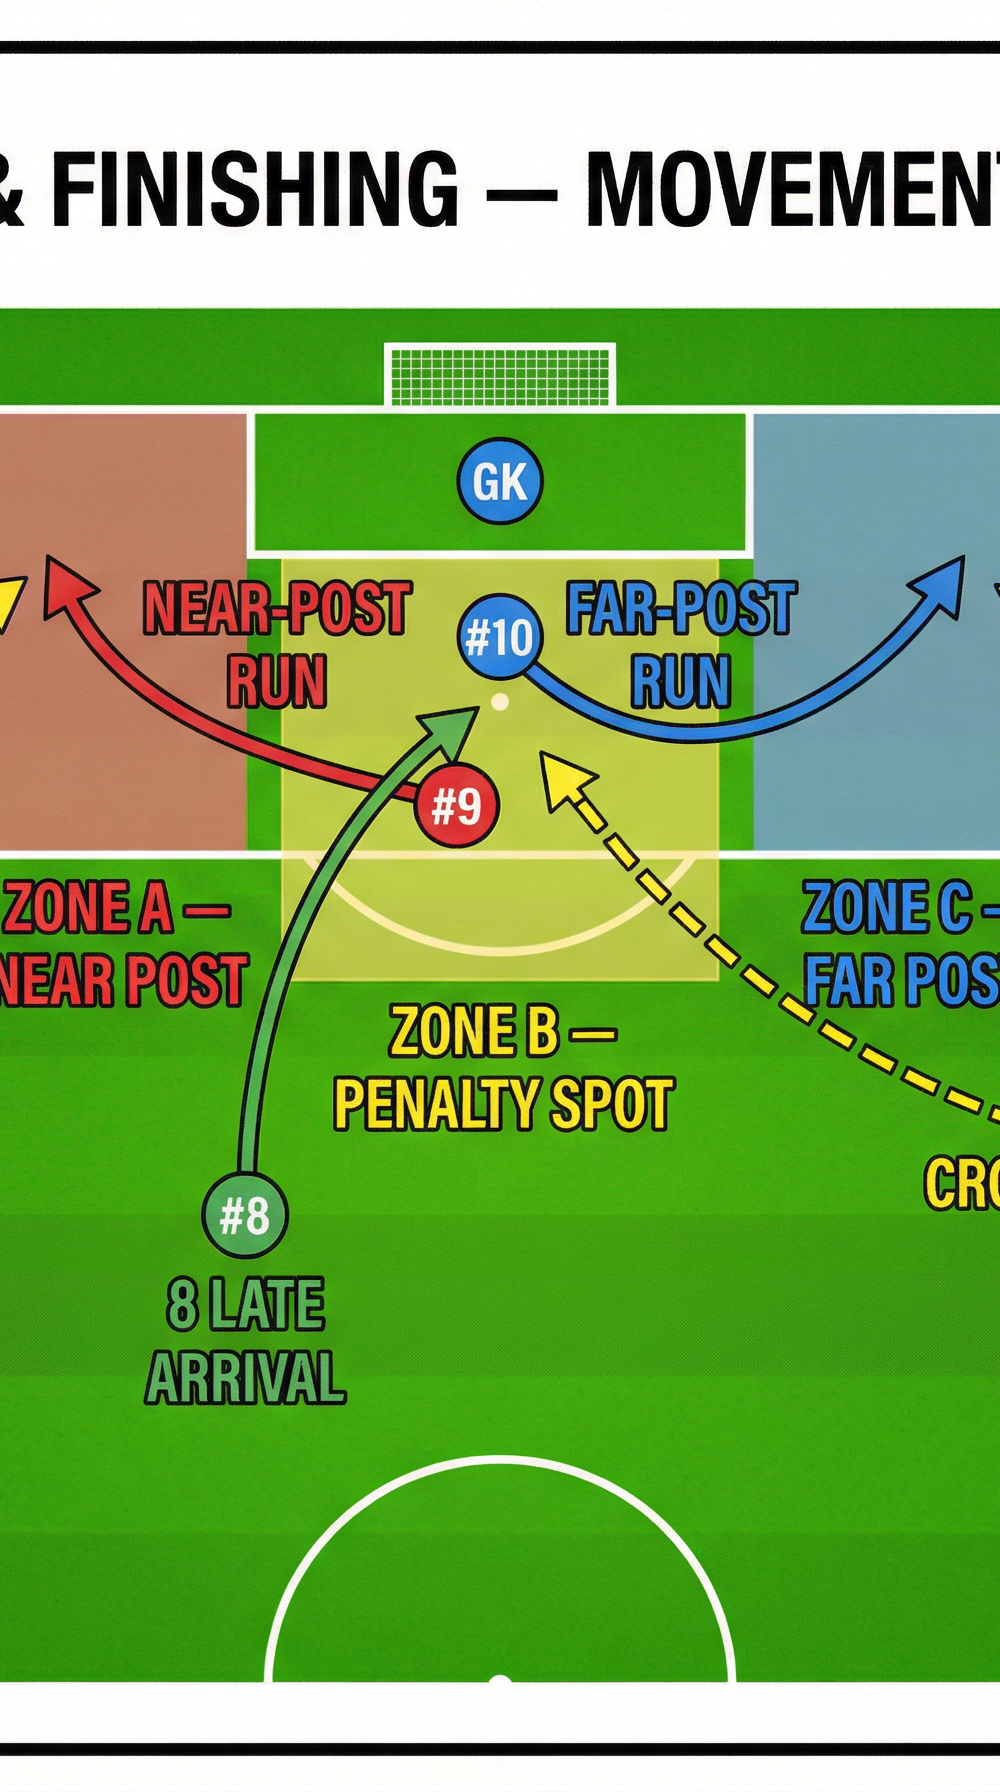
| Centre Forward | #9 | Penalty spot, facing away from goal |
| Attacking Midfielder | #10 | Edge of the penalty area, central |
| Box-to-Box Midfielder | #8 | 25m from goal, central |
| Goalkeeper | GK | Starting position on the goal line, 1–2m off centre |
Set up two ball supply stations — one at each wide crossing position — each stocked with 6 footballs. Players rotate through positions every 8–10 repetitions.
Step-by-Step Instructions

Phase 1 — Unopposed Crossing (Minutes 1–10)
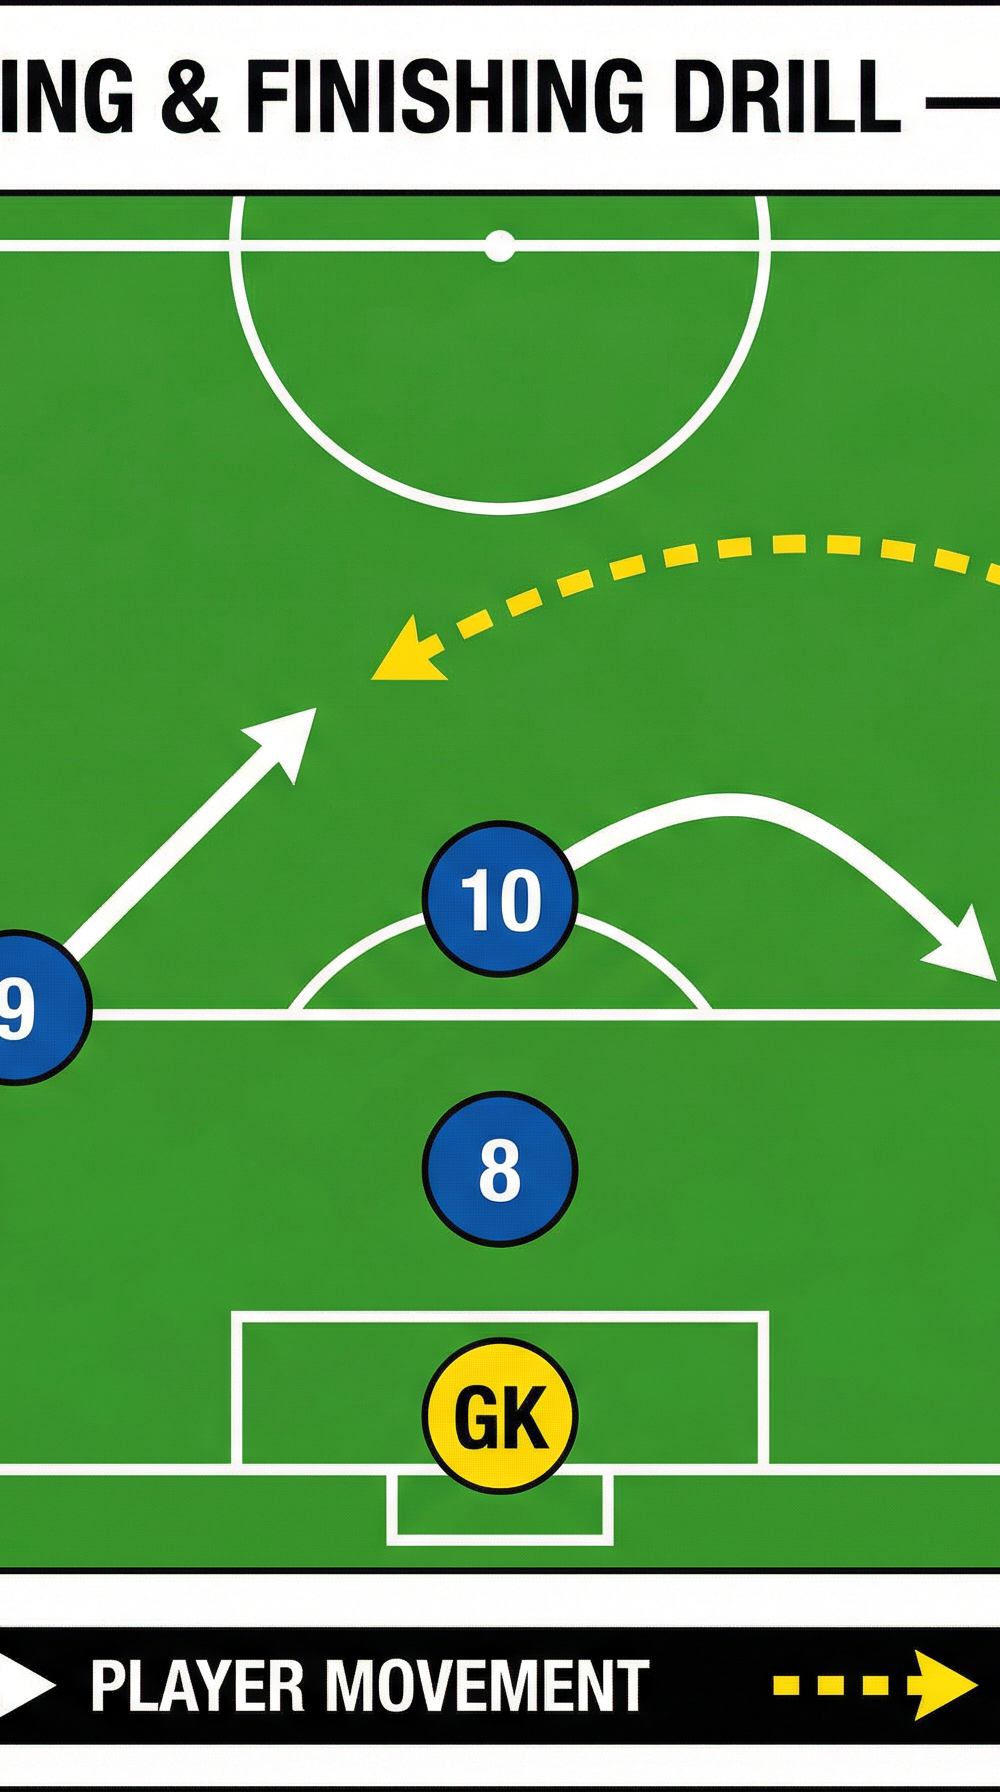
- The coach or a designated server plays a pass out to #7 on the right flank. #7 receives the ball approximately 30m from the byline and drives forward into the crossing channel.
- As #7 begins their run, #9 makes a near-post diagonal run, moving from the penalty spot toward the near post, arriving as the ball is delivered. The run should be timed so #9 arrives at the near post at the same moment the ball does — not before.
- Simultaneously, #10 makes a far-post run, starting from the edge of the penalty area and curving around the back of #9's run toward the far post.
- #8 reads the play and makes a late-arriving run to the penalty spot, arriving 1–2 seconds after the initial cross is delivered, ready to convert any clearance or second ball.
- #7 delivers the cross from the byline or from a position 3–5m inside the byline. Instruct crossers to vary delivery: driven cross to near post, lofted cross to far post, or cut-back to the penalty spot.
- Finishers attempt to score. After each repetition, all players reset to starting positions. Repeat from the left side with #11 as the crosser.
- Run 5 repetitions from the right, then 5 from the left. Rotate players through positions after each full set.
Phase 2 — Opposed Crossing with Passive Defenders (Minutes 11–20)
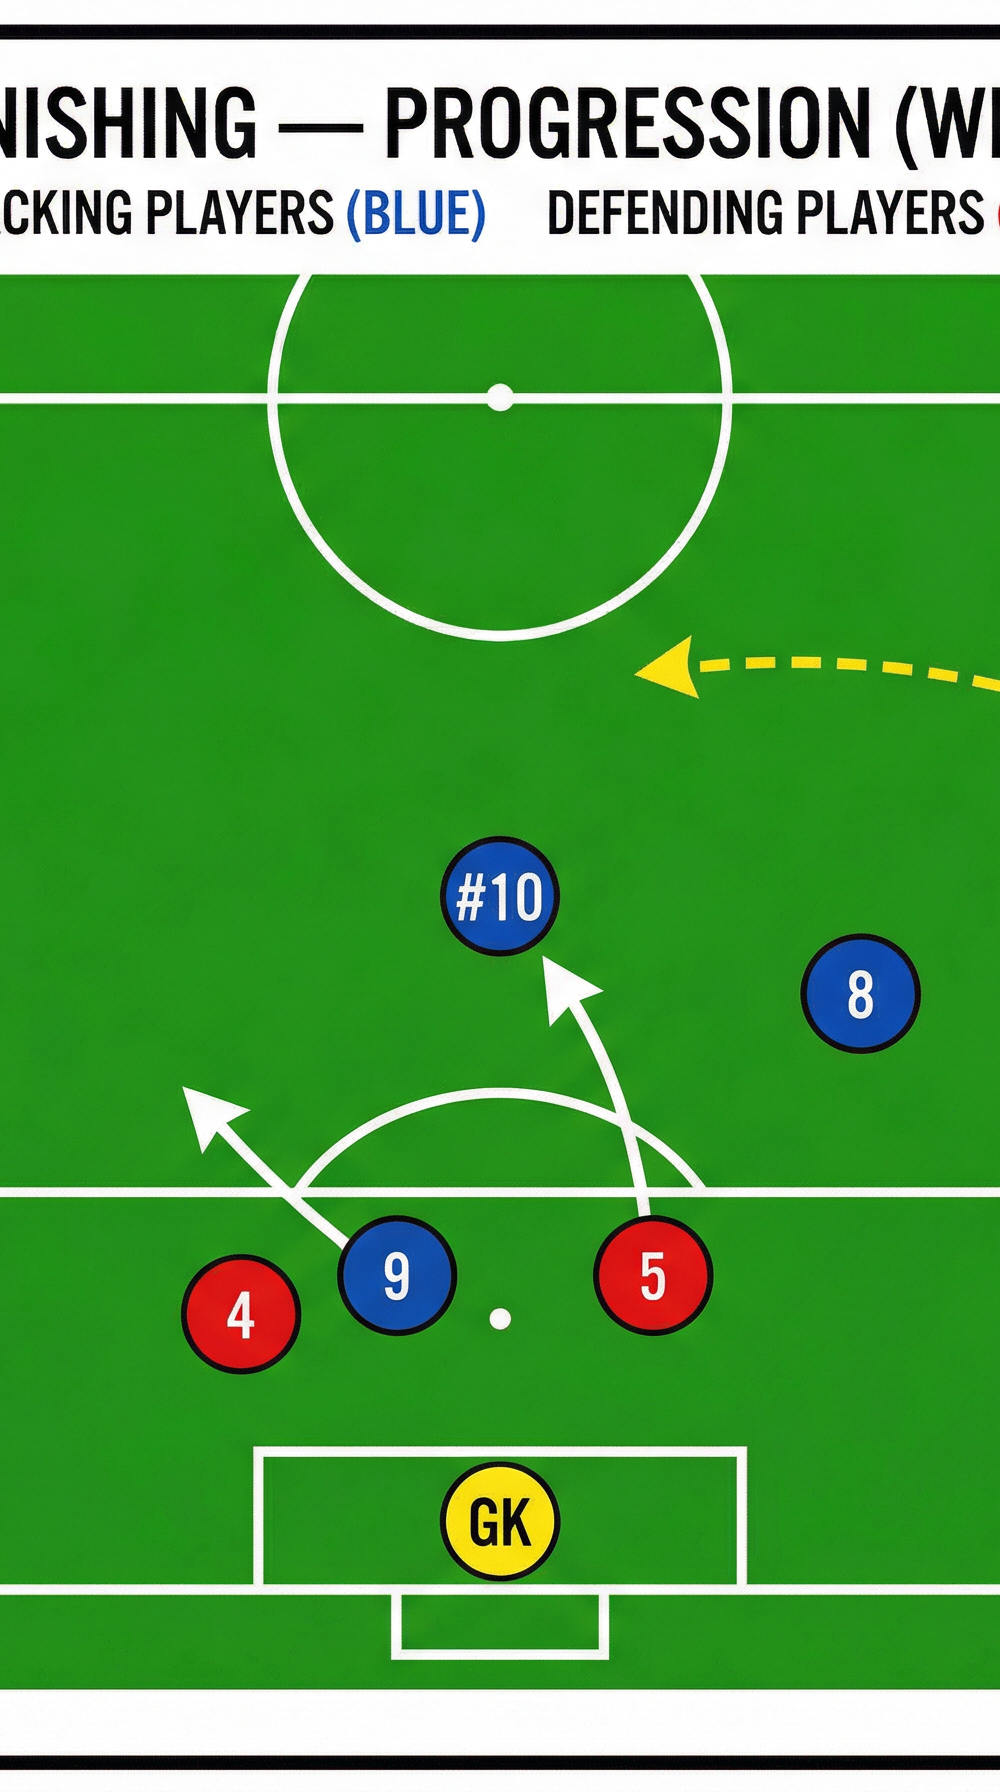
- Introduce two centre-backs (#4 and #5) who start in the penalty area and apply passive pressure — they track runners but do not aggressively contest the ball. This forces attackers to time and angle their runs to create separation.
- The sequence follows the same pattern as Phase 1, but now #9 and #10 must make bent, disguised runs — showing one way before breaking the other — to lose their markers.
- Coaching emphasis in this phase: the moment of the crosser's head going down to strike the ball is the trigger for all runs to accelerate into their zones.
Phase 3 — Live Crossing with Active Defenders (Minutes 21–35)
- Add a full back (#2) on the side opposite the crosser to track the opposite winger, and make both centre-backs fully active.
- The drill now runs as a 5v3 attack vs. defence in the penalty area. Defenders can win the ball and play out to a target cone 30m away to score a defensive point.
- The coach calls which side the attack starts from. #7 or #11 must beat a cone (representing a full-back) before crossing — add a live full-back in the most advanced progression.
- Run for 3-minute blocks with a 90-second rest. Target: attackers score at least 60% of repetitions.
Key Coaching Points
1. Timing of the Run, Not Just the Cross
The single biggest error in crossing and finishing is poor run timing. Strikers must hold their run until the crosser's head drops to strike the ball. Arriving too early allows defenders to recover; arriving too late means the ball has already passed. Coach this relentlessly in Phase 1 before adding defenders.
2. Quality of the First Touch into the Crossing Channel
The wide player's first touch must set up the cross — not just control the ball. A touch that goes too far ahead forces a rushed delivery; a touch too close to the feet kills momentum. Instruct #7 and #11 to use the outside of the foot to push the ball into space at a 45-degree angle, allowing them to generate pace before delivery.
3. Three Distinct Delivery Options — Read the Situation
Crossers must be coached to read the positions of the runners before delivering. If #9 has beaten their marker to the near post, drive it low and hard. If #10 has space at the far post, flight it. If both are marked, the cut-back to #8 arriving late is the highest-percentage option. Encourage crossers to look up once before delivering.
4. Positive Body Shape on the Finish
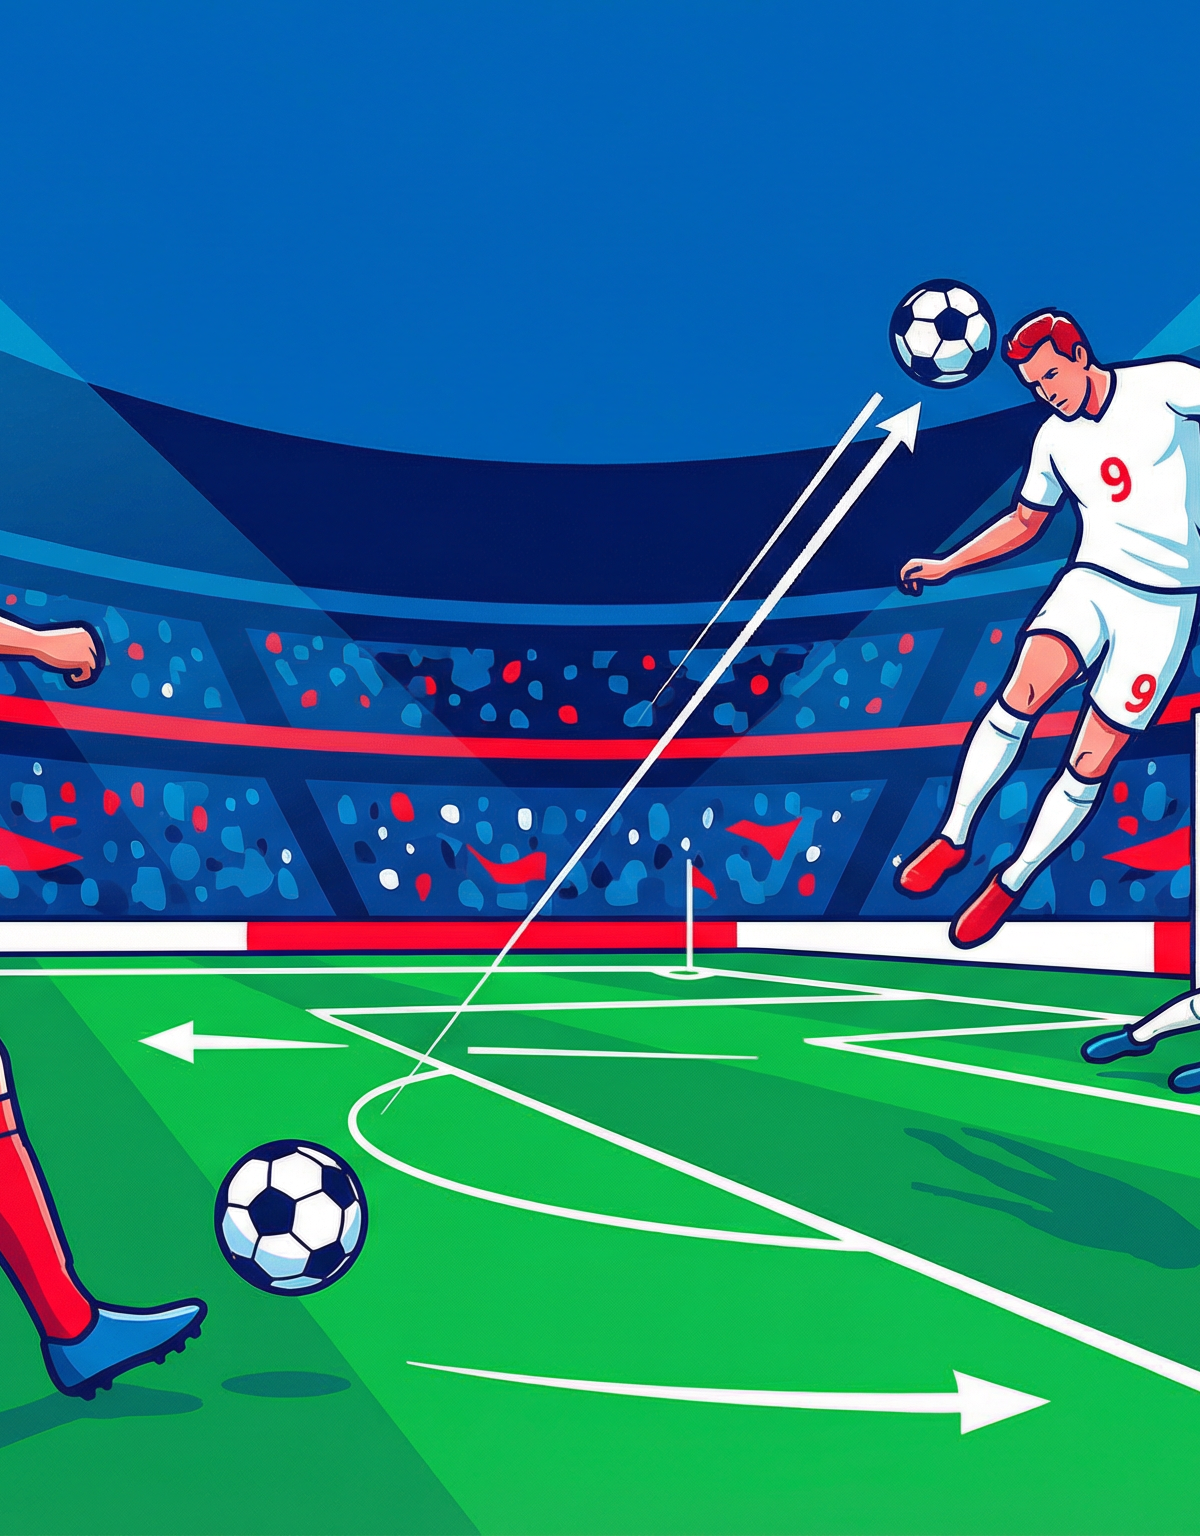
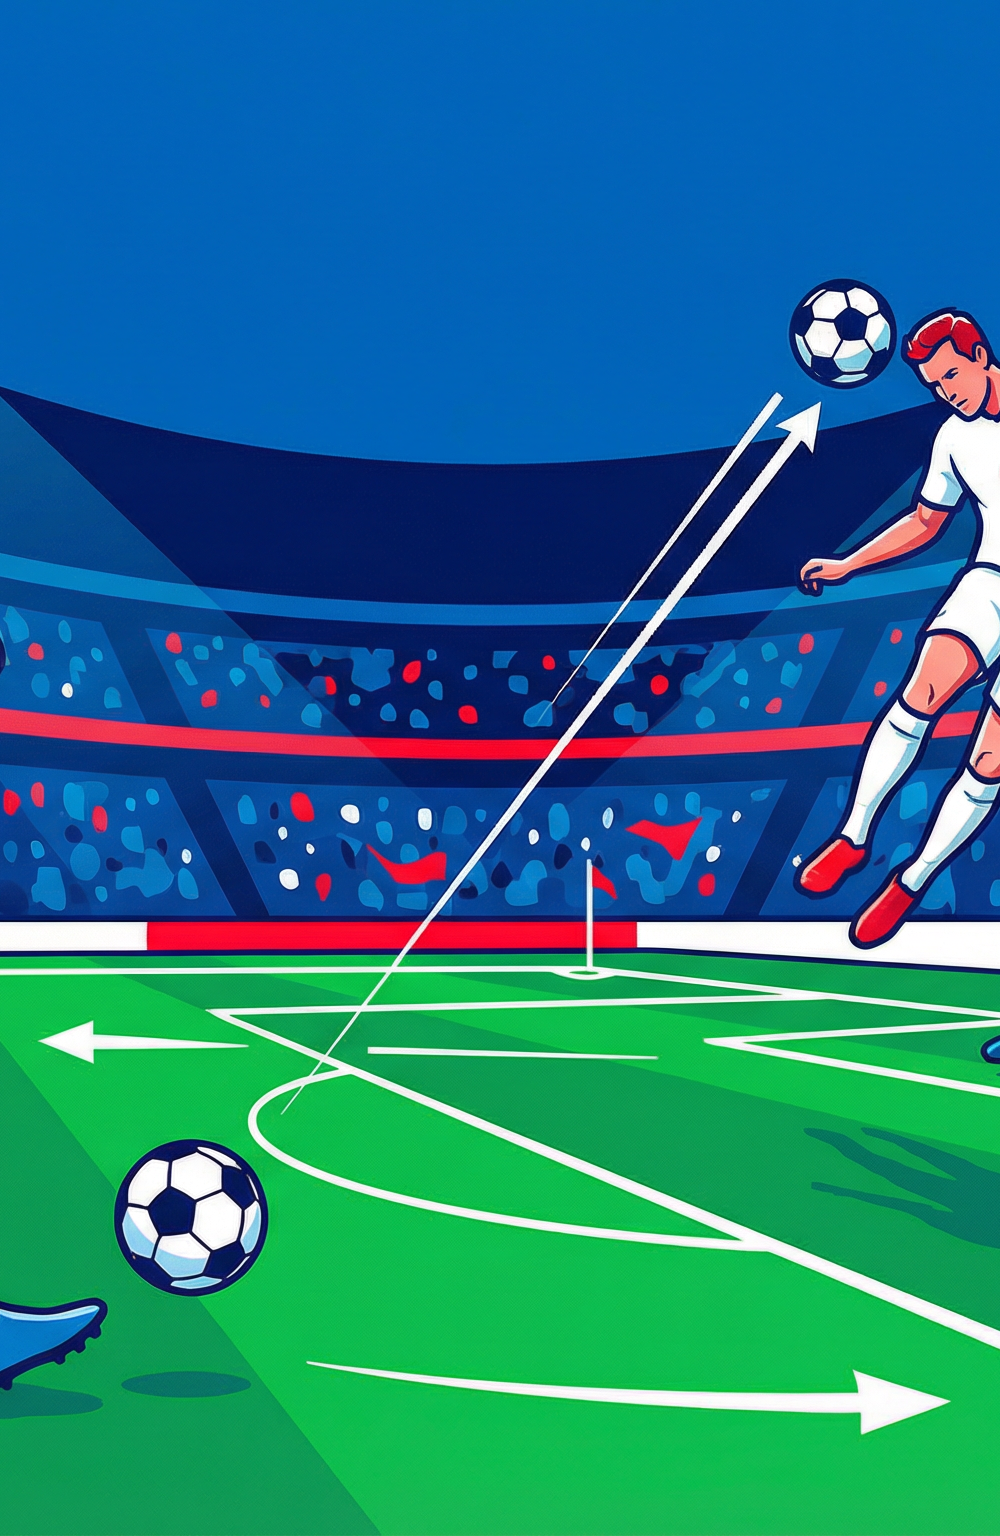
Finishers must attack the ball with positive body shape — weight forward, non-kicking foot beside the ball, eyes on the ball through contact. For headers, coach players to generate power from the neck and upper body, directing the ball downward toward the corners of the goal.
5. Goalkeeper Starting Position and Decision-Making
The goalkeeper must be coached in parallel. They should start 1–2m off their line, set their feet before the cross is delivered, and make a clear decision: come for the cross or hold position. Indecision is more dangerous than either choice. If they stay, they must be set and ready to react to a shot.
6. Second-Ball Mentality
Coach #8 and the wider players to anticipate the cross being cleared or saved. The player who wins the second ball most often wins the game. Instruct #8 to arrive at the penalty spot with pace, ready to shoot first time. #7 and #11 should follow in after crossing, looking for rebounds.
Common Mistakes
Mistake 1 — Crossing Too Early (Before Reaching the Byline)
Wide players often panic and cross from 20–25m out before they have beaten the full-back or reached an optimal delivery position. The result is a cross that is easy for the goalkeeper to collect and gives defenders time to organise. Correction: Set a cone at the 18-yard line and instruct crossers that they must carry the ball past this cone before delivering. Reward crosses delivered from inside the cone line.
Mistake 2 — All Three Runners Going to the Same Zone
Without clear instruction, #9, #10, and #8 will all gravitate toward the same area — usually the penalty spot — creating congestion and making the goalkeeper's job easier. Correction: Assign each player a specific zone before each repetition (near post, far post, penalty spot) and enforce it. Use coloured cones to mark each zone visually.
Mistake 3 — Flat, Predictable Runs
Runners who approach the penalty area in a straight line are easy to track and mark. Defenders simply step across and block the run. Correction: Coach players to use a curved approach run — starting wide of their zone and bending their run into it — which makes it physically harder for a defender to maintain contact while also watching the ball.
Mistake 4 — Poor Contact on the Finish
Under pressure and in motion, players often scoop or slice the ball over the bar rather than keeping it down. This is usually caused by leaning back at the moment of contact. Correction: In Phase 1, pause the drill after each finish and check body position. Reinforce: lean forward, strike through the centre of the ball, follow through low.
Mistake 5 — Crosser Not Following In
After delivering the cross, wide players often stop and watch. This removes a potential scoring option and reduces the team's numbers in the box. Correction: Make it a rule that every crosser must follow their delivery into the penalty area. Award bonus points in competitive phases for goals scored by the crosser following in.
Variations & Progressions


Variation 1 — Two-Touch Restriction on Crossers
Restrict #7 and #11 to a maximum of two touches before delivering the cross. This replicates the pressure of a real match where a full-back is closing down and eliminates the habit of over-dribbling in wide areas. It also forces players to improve their first touch quality into the crossing channel.
Variation 2 — Combination Play Before the Cross (Overlap/Underlap)
Introduce a full-back (#2 or #3) who makes an overlapping or underlapping run to receive a lay-off from #7 before crossing. This adds a realistic combination-play trigger and teaches the timing of overlap runs. The crosser now becomes the overlapping full-back, while the winger becomes a runner in the box. This variation is excellent for teams that use inverted wingers.
Progression 1 — Add a Live Full-Back Defender
Place a live defending full-back against the crosser. The wide attacker must now beat the defender 1v1 before crossing. This is the most realistic and most demanding progression. Rotate defenders every 4–5 repetitions to maintain intensity. Award the defending team a point for every cross they prevent.
Progression 2 — Trigger from a Central Build-Up
Instead of a direct pass to the wide player, begin the sequence with a 4v2 rondo or a central midfield combination (e.g., #6 to #10 to #7). The wide player only receives the ball after a successful combination. This integrates the crossing drill into a broader attacking pattern and improves the realism of the trigger for the wide run.
Age Adaptations

Under-10 / Under-12 (Ages 9–12)
Reduce the pitch dimensions to a smaller area (approximately 40m × 30m) and use a smaller goal. Focus exclusively on Phase 1 (unopposed) and limit to two runners (#9 near post, #10 far post). Do not introduce defenders. Emphasise the fun of scoring and the basic concept of timing a run. Use size 3 or size 4 balls. Allow unlimited touches for crossers.
Under-14 / Under-16 (Ages 13–16)
Run Phases 1 and 2 in full. Introduce passive defenders in Phase 2 and coach the concept of bent runs and zone occupation. Begin to introduce the two-touch restriction for crossers. Use full-size goals and size 5 balls. Introduce the competitive scoring element (attackers vs. defenders) to build intensity and decision-making under pressure.
Open Age / Senior (17+)
Run all three phases at full intensity. Introduce live defenders from the start of Phase 2. Add the combination-play progression to replicate match patterns. Demand first-time finishes wherever possible. Use video analysis of the session to review crossing decisions and run quality in the debrief. Set measurable targets: e.g., score from at least 6 out of 10 crosses in Phase 3.