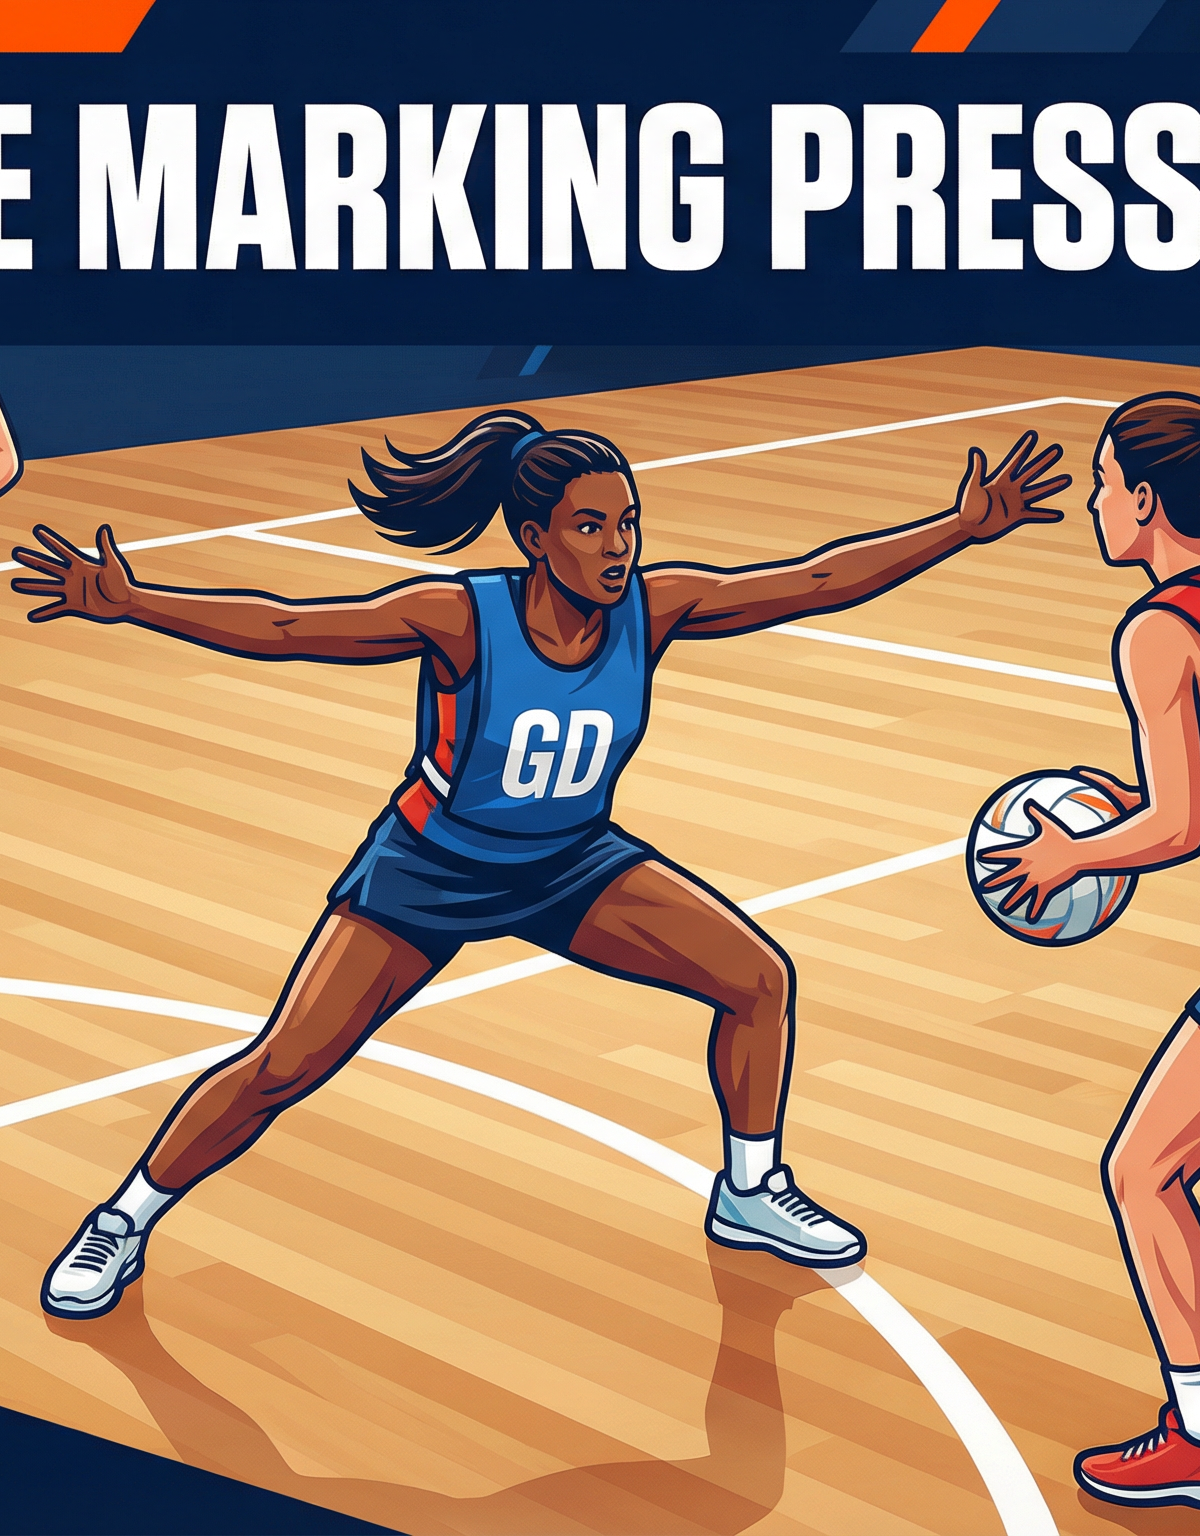
High-Intensity Defensive Marking & Intercept Drill
Master the art of tight one-on-one marking and explosive intercept timing with this comprehensive defensive pressure drill.
Equipment Needed
1. Overview
This high-intensity defensive marking drill is designed to develop relentless one-on-one pressure and train defenders to identify and execute clean intercepts. In modern netball, passive defending is easily bypassed by quick ball movement. This drill teaches players how to dictate the attacker's space, maintain vision of both player and ball, and explode into the passing lane at the critical moment. It is particularly effective for circle defenders (GK, GD) and midcourters (WD, C) looking to disrupt flow through the transverse lines.
2. Setup
Court Area: Centre third and one goal third (approx. 20m x 15.25m).
Players: Minimum 7 players (3 Attackers, 3 Defenders, 1 Feeder).
Equipment: 1 Netball, 6-8 spot markers or cones, standard court markings.
Positioning:
- Place the Feeder (F) on the sideline at the centre transverse line with the ball.
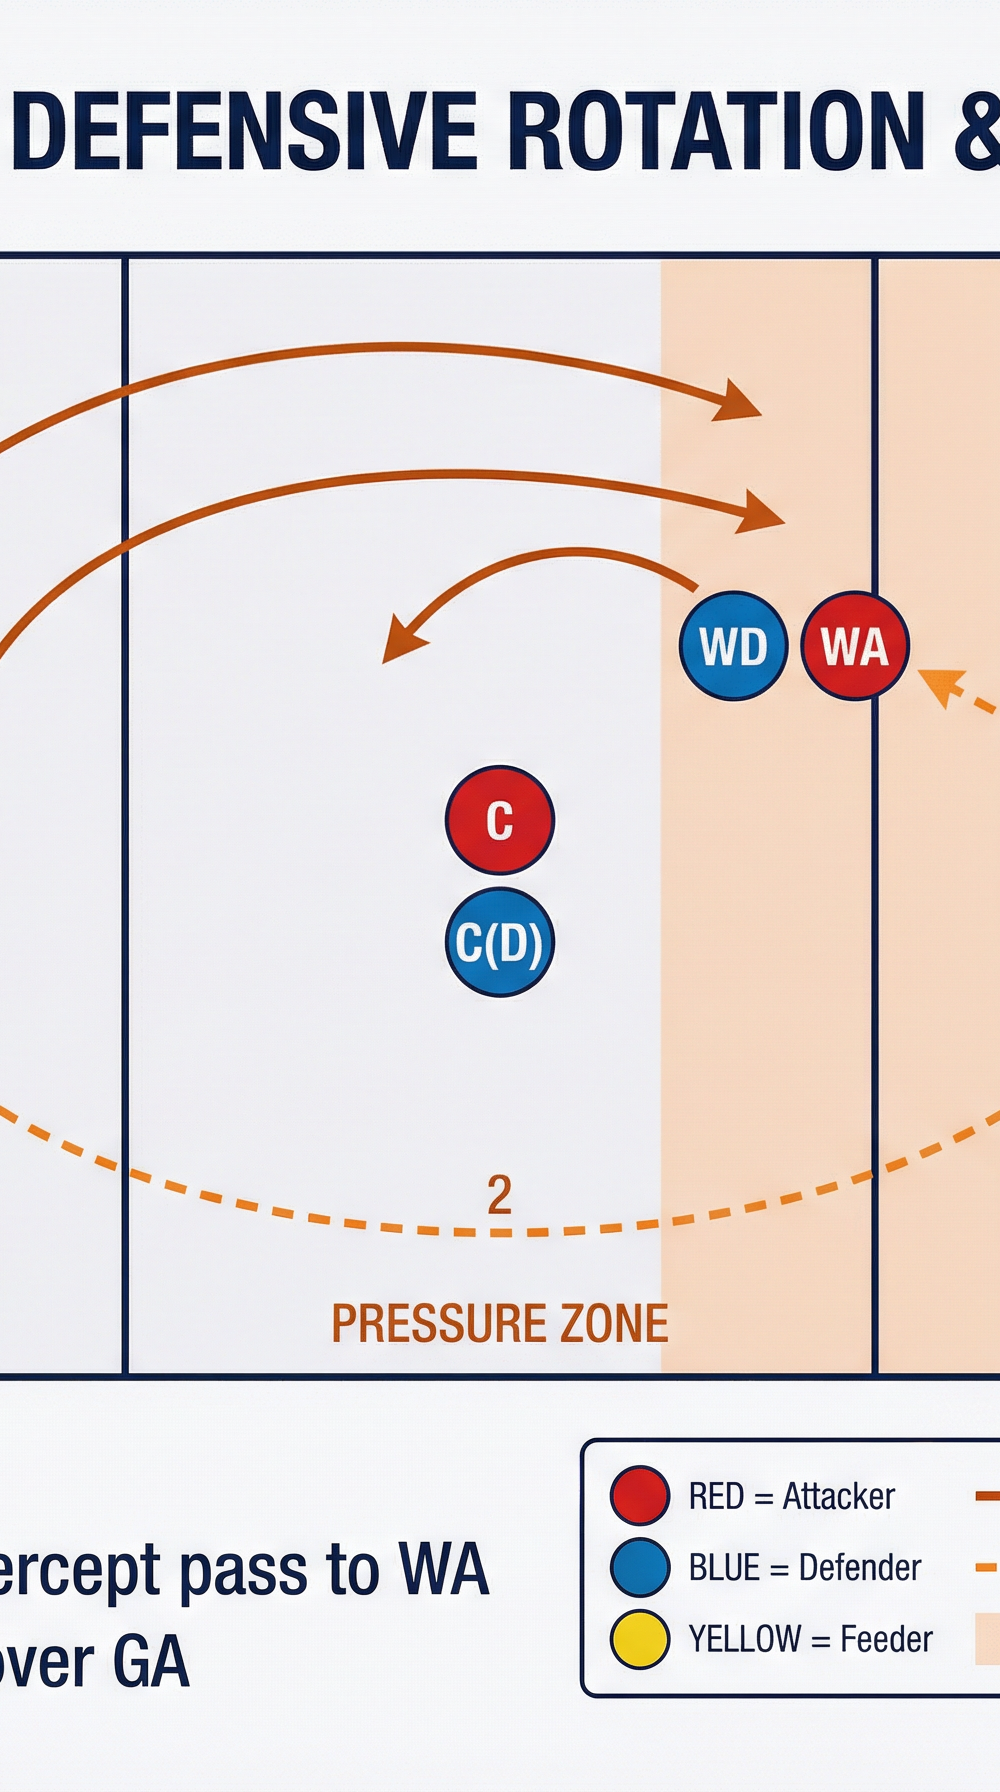
- Set up three attacking stations: Goal Attack (GA), Wing Attack (WA), and Centre (C) inside the centre third.
- Match up three defenders: Goal Defence (GD) on GA, Wing Defence (WD) on WA, and a defensive Centre (C(D)) on C.
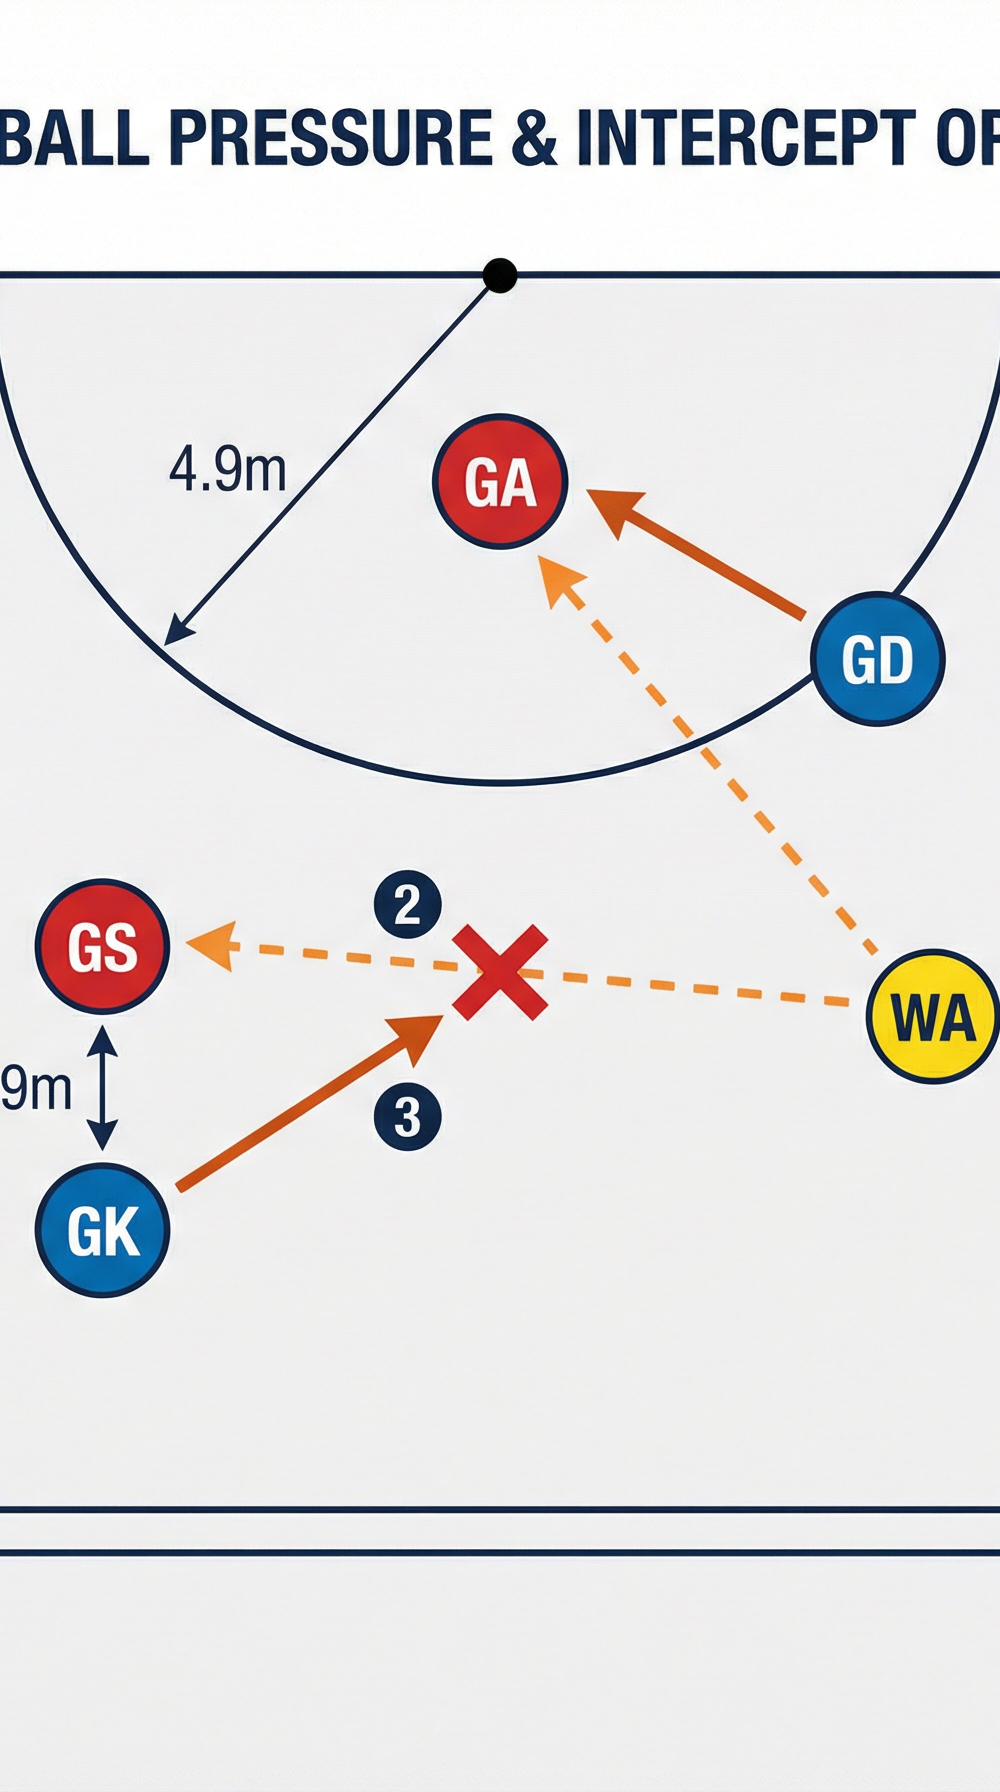
- Defenders must start exactly 0.9m (3 feet) away from their respective attackers, demonstrating legal marking distance.
3. Step-by-Step Instructions
- The Initiation: The Feeder (F) starts with the ball on the sideline and calls "Go!"
- Attacking Movement: All three attackers (GA, WA, C) initiate dynamic movements (dodges, sprints, changes of direction) to get free for a pass.
- Defensive Shadowing: The defenders (GD, WD, C(D)) must shadow their opponents tightly. They must use fast, small footwork to maintain an angled body position that allows them to see both their attacker and the Feeder.
- The Pass: The Feeder selects one attacker and delivers a strong, flat pass.
- The Intercept Attempt: The defender marking the intended receiver must read the cue of the pass and explode forward, aiming to take a clean, two-handed intercept before the ball reaches the attacker.
- Recovery & Transition: If the pass is completed, the defender must immediately recover to the 0.9m distance and set up the 'arms over the ball' defend. If the pass is intercepted, the defender must quickly transition and pass back to the Feeder.
- Reset: Reset positions and repeat for 5 repetitions before rotating roles.

4. Key Coaching Points
- Vision is Everything: Defenders must maintain an open body angle (typically 45 degrees) to see both their direct opponent and the ball carrier. "See the player, see the ball."
- Active Footwork: Encourage small, rapid steps rather than long lunges. Defenders need to stay on the balls of their feet, ready to change direction instantly.
- Dictate the Space: Don't just follow the attacker; use body positioning to force them into less dangerous areas of the court (e.g., pushing them wide towards the sidelines).
- Timing the Intercept: The drive for the intercept must happen as the ball leaves the Feeder's hands, not before (which risks being beaten by a fake) or after (which is too late).
- Clean 0.9m Recovery: When beaten, the priority is a fast recovery back to the legal 3-foot distance to set up the next phase of pressure.
5. Common Mistakes
- Ball Watching: Turning the head completely to watch the Feeder, losing sight of the attacker who then easily slips away on a back cut.
- Flat Footedness: Standing flat-footed while marking, making it impossible to react quickly to sharp changes of direction.
- Lunging In: Reaching in for an intercept with the arms rather than driving through with the legs, often resulting in a contact penalty.
- Late Recovery: Jogging back into position after a missed intercept, giving the attackers a free pass to the next phase.
6. Variations & Progressions
- Add a Second Feeder: Introduce a second Feeder on the opposite sideline to increase cognitive load and force defenders to constantly scan and adjust their vision.
- The 'Denial' Progression: Instead of allowing the pass, challenge the defenders to completely deny their attacker the ball for 5 continuous seconds. If the attacker doesn't get the ball, the defenders win a point.
- Full Court Transition: If a defender secures an intercept, the drill immediately transitions into a fast-break attacking scenario towards the opposite goal.
7. Age Adaptations
- Under 10s: Focus purely on the 'shadowing' aspect. Remove the ball initially and play 'tag' where the defender tries to stay close enough to touch the attacker's shoulder.
- Under 12s/14s: Emphasize the 0.9m distance and the 45-degree body angle. Use softer, slower passes from the Feeder to build confidence in intercept timing.
- Under 16s/Open: Run the drill at match intensity. Introduce fatigue by running a quick sprint drill immediately before starting the defensive marking phase.