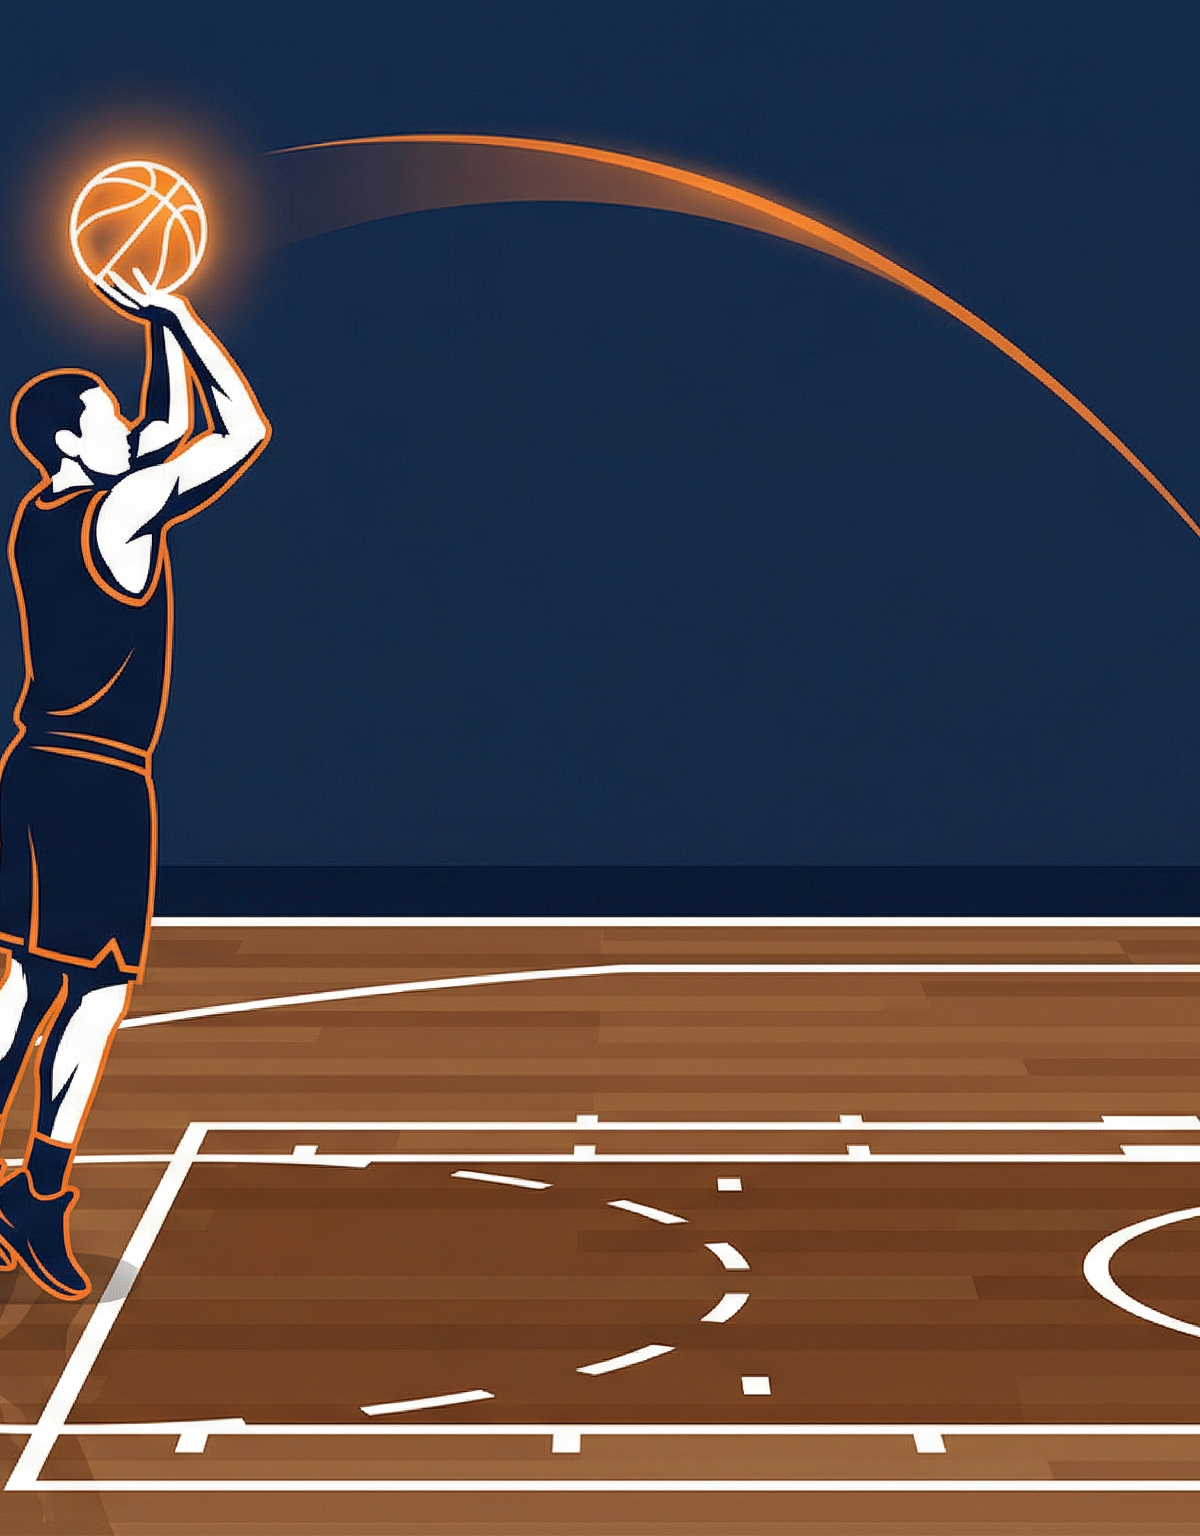
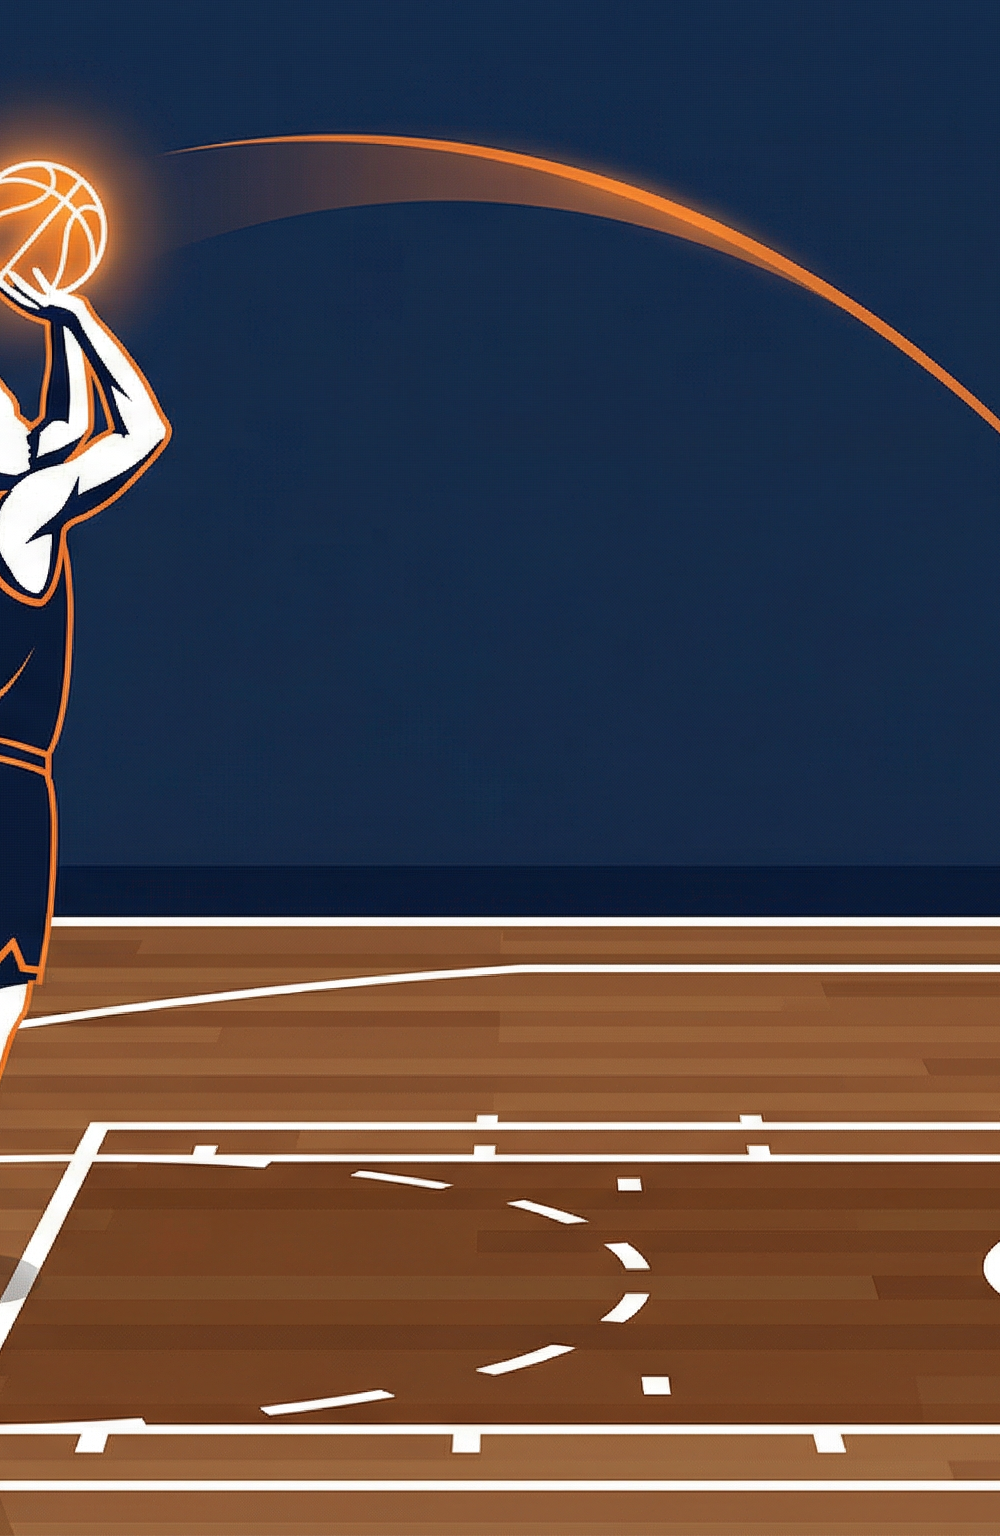
High-Pressure Free Throw Shooting Routine
Develop a consistent, game-ready free throw routine under simulated pressure with this comprehensive team drill.
Equipment Needed
Overview
Free throw shooting is often the deciding factor in close games, yet many coaches struggle to replicate game-like pressure during practice. The High-Pressure Free Throw Shooting Routine is designed to build consistency, focus, and muscle memory while introducing elements of fatigue and peer pressure. By incorporating physical conditioning and team accountability, this drill ensures players are prepared to step to the line with confidence when the game is on the line. It is an excellent drill to use at the end of practice or immediately following a high-intensity conditioning segment.
Setup
Proper setup is crucial for maximizing the efficiency of this drill. You will need a standard FIBA half-court (28m x 15m proportions) and at least two basketballs.
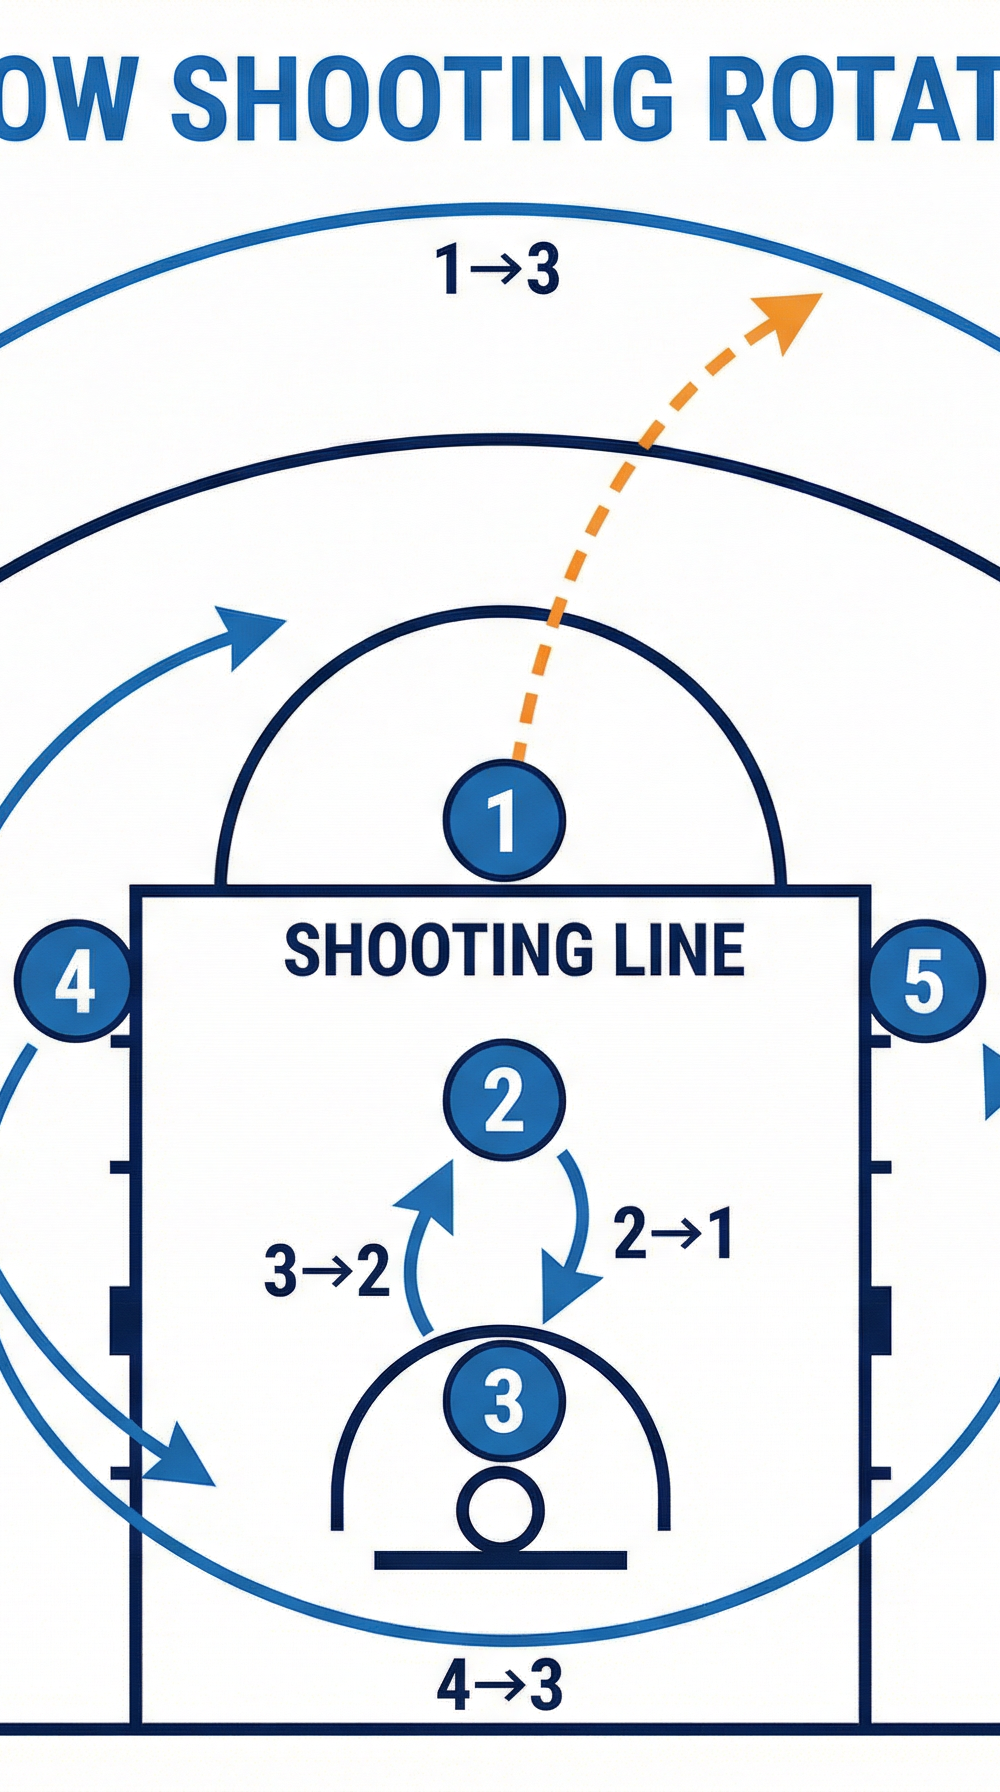
- Players: Minimum of 5 players per basket. If you have a larger team, utilize multiple baskets to keep players engaged and minimize standing time.
- Positions:
- Player 1 (Shooter): Starts at the center of the free throw line (4.9m from the baseline, 5.8m from the endline to the free throw line).
- Player 2 & Player 3 (Rebounders): Positioned on the low blocks on either side of the lane.
- Player 4 & Player 5 (Distractors/Next Shooters): Positioned at the elbows (top of the key left and right).
- Equipment: 2 basketballs per basket.
Step-by-Step Instructions
- Establish the Routine: Before stepping to the line, Player 1 must execute their personal free throw routine (e.g., three dribbles, deep breath, spin the ball). This routine must be identical every single time.
- The Shot: Player 1 receives the ball from a coach or manager and takes the first free throw.
- Rebounding Action: As the ball is released, Players 2 and 3 execute a proper box-out on the imaginary offensive players, securing the rebound regardless of whether the shot is made or missed.
- Simulated Pressure: While Player 1 is shooting, Players 4 and 5 provide verbal distraction (without crossing the line or making physical contact) to simulate a hostile away-game environment.
- Rotation: After Player 1 takes two free throws, the rotation occurs.
- Player 1 moves to the rebounding line (replaces Player 2).
- Player 2 moves to the opposite rebounding line (replaces Player 3).
- Player 3 moves to the elbow (replaces Player 4).
- Player 4 moves to the opposite elbow (replaces Player 5).
- Player 5 steps to the free throw line to become the new shooter.
- Conditioning Penalty: If a player misses both free throws, the entire group must complete a down-and-back sprint before the next shooter steps to the line.

Key Coaching Points
- Consistency is Key: Emphasize that the pre-shot routine must be exactly the same every time. Whether it is the first quarter or the final seconds of overtime, the physical and mental preparation should not change.
- Target Focus: Instruct players to focus on a specific target, such as the back of the rim or the net loops, rather than the entire basket.
- Follow Through: Watch for the 'goose-neck' follow-through. The shooting hand should remain elevated and relaxed until the ball goes through the net.
- Breathing Control: Teach players to take a deep, controlled breath before initiating their shooting motion to lower their heart rate, especially after the conditioning segments.
- Positive Self-Talk: Encourage players to use a cue word or positive affirmation during their routine to maintain confidence.
Common Mistakes
- Rushing the Shot: Players often speed up their routine when fatigued or under pressure. Coaches must enforce a deliberate, controlled pace.
- Inconsistent Footwork: Watch for players stepping to the line differently each time. The lead foot should be aligned with the center of the rim.
- Dropping the Follow-Through: A common error is dropping the shooting arm too early, which often results in a short shot. Ensure the follow-through is held.
- Ignoring the Rebounders: Rebounders must actively track the ball and secure it high. Passive rebounding defeats the secondary purpose of the drill.
Variations & Progressions
- Swish Only (Advanced): To increase difficulty, only shots that 'swish' (do not touch the rim) count as a make. Any shot that hits the rim, even if it goes in, is considered a miss.
- Consecutive Makes (Intermediate): The team cannot rotate until the shooter makes two free throws in a row. This significantly increases the pressure on the shooter.
- Fatigue Shooting (Conditioning): Before stepping to the line, the shooter must complete 10 push-ups or a full-court sprint to simulate late-game physical exhaustion.
Age Adaptations
- Under 10: Focus entirely on form and routine. Remove the conditioning penalties and distractions. Use a smaller ball and lower the hoop if necessary.
- Under 12 - Under 14: Introduce the concept of a consistent routine. Add mild conditioning penalties (e.g., 5 jumping jacks for a miss) to begin associating focus with physical effort.
- Under 16 - Open: Implement the full drill with intense distractions and significant conditioning penalties to simulate high-stakes varsity or collegiate game environments.