The Pressure Cooker: Elite Defensive Marking & Rotation
A high-intensity drill designed to teach defenders how to apply relentless 0.9m marking pressure, force errors, and execute seamless rotations to shut down attacking leads.
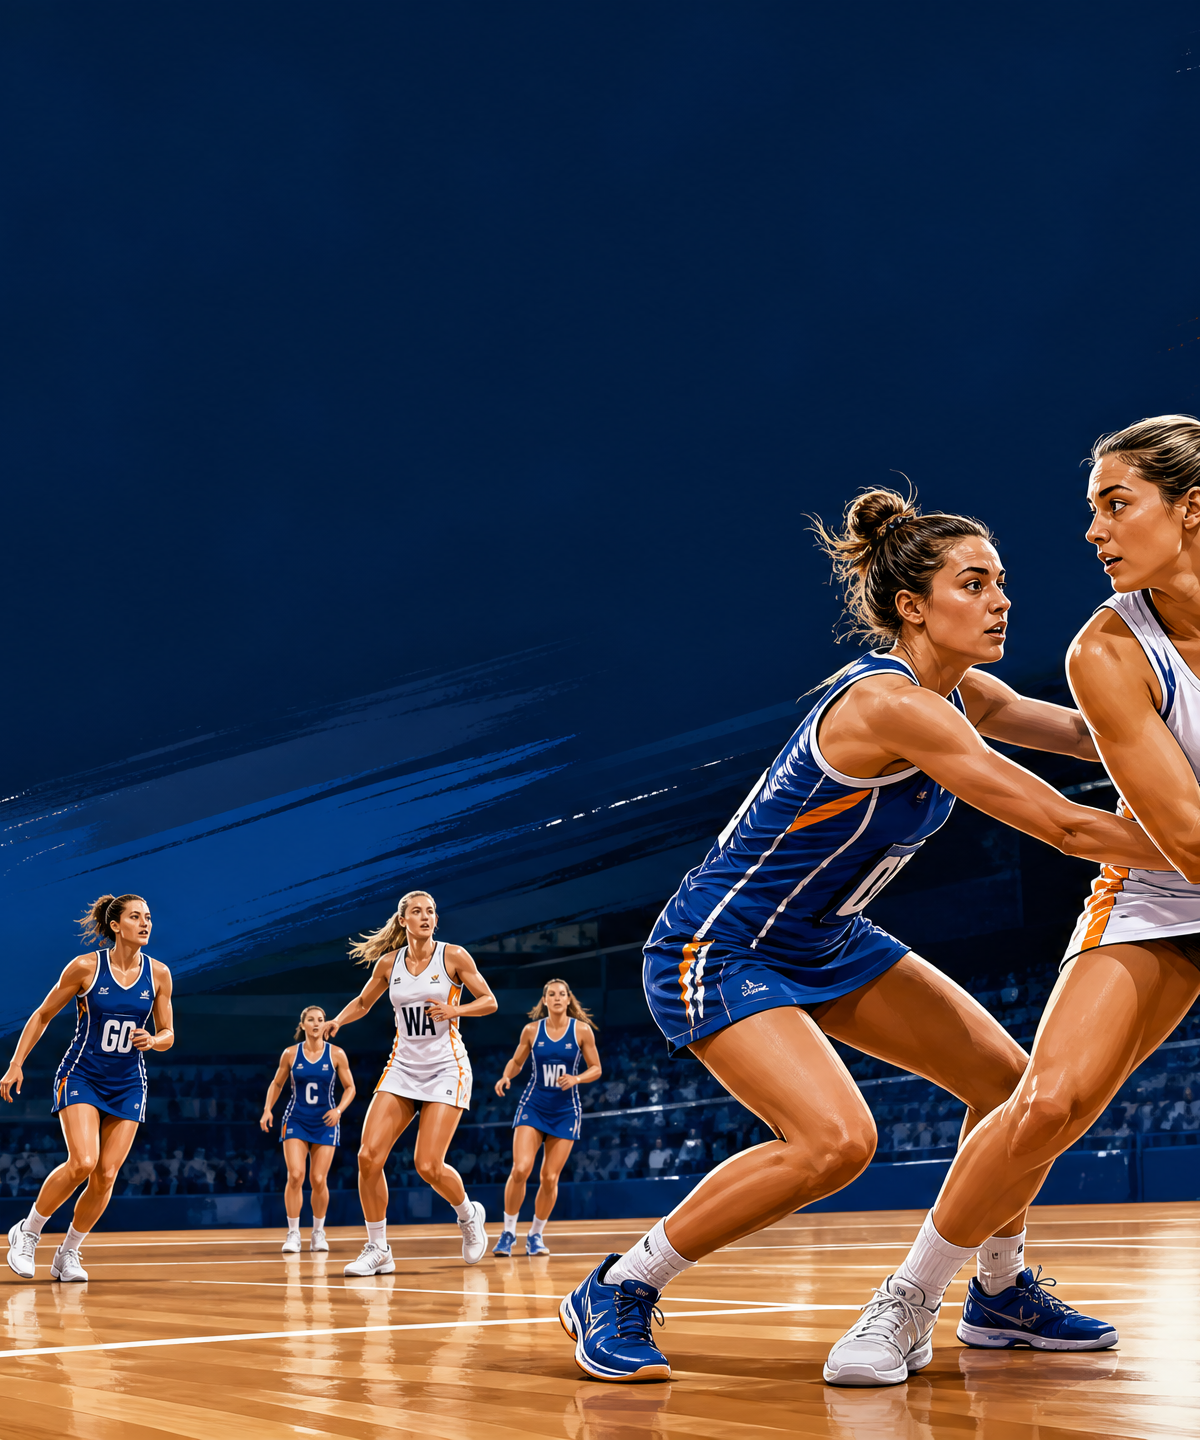
Equipment Needed
1. Overview
The Pressure Cooker is a dynamic, high-intensity defensive drill focused on establishing and maintaining the critical 0.9m marking distance while anticipating and rotating to cover attacking leads. In modern netball, static defense is easily exposed; defenders must work as a cohesive unit to suffocate the ball carrier, force rushed decisions, and create interception opportunities.
This drill bridges the gap between individual marking skills and unit defense. It is highly effective for teams struggling to maintain pressure over 60 minutes or those getting beaten by quick, short-pass attacking plays. Use this drill during the tactical phase of your session, after a thorough physical warm-up and basic footwork exercises.
2. Setup
Equipment Needed:
- 1 Netball
- 6-8 Cones (to mark boundaries if not using a full third)
- Bibs (2 contrasting colours)
Court Setup:
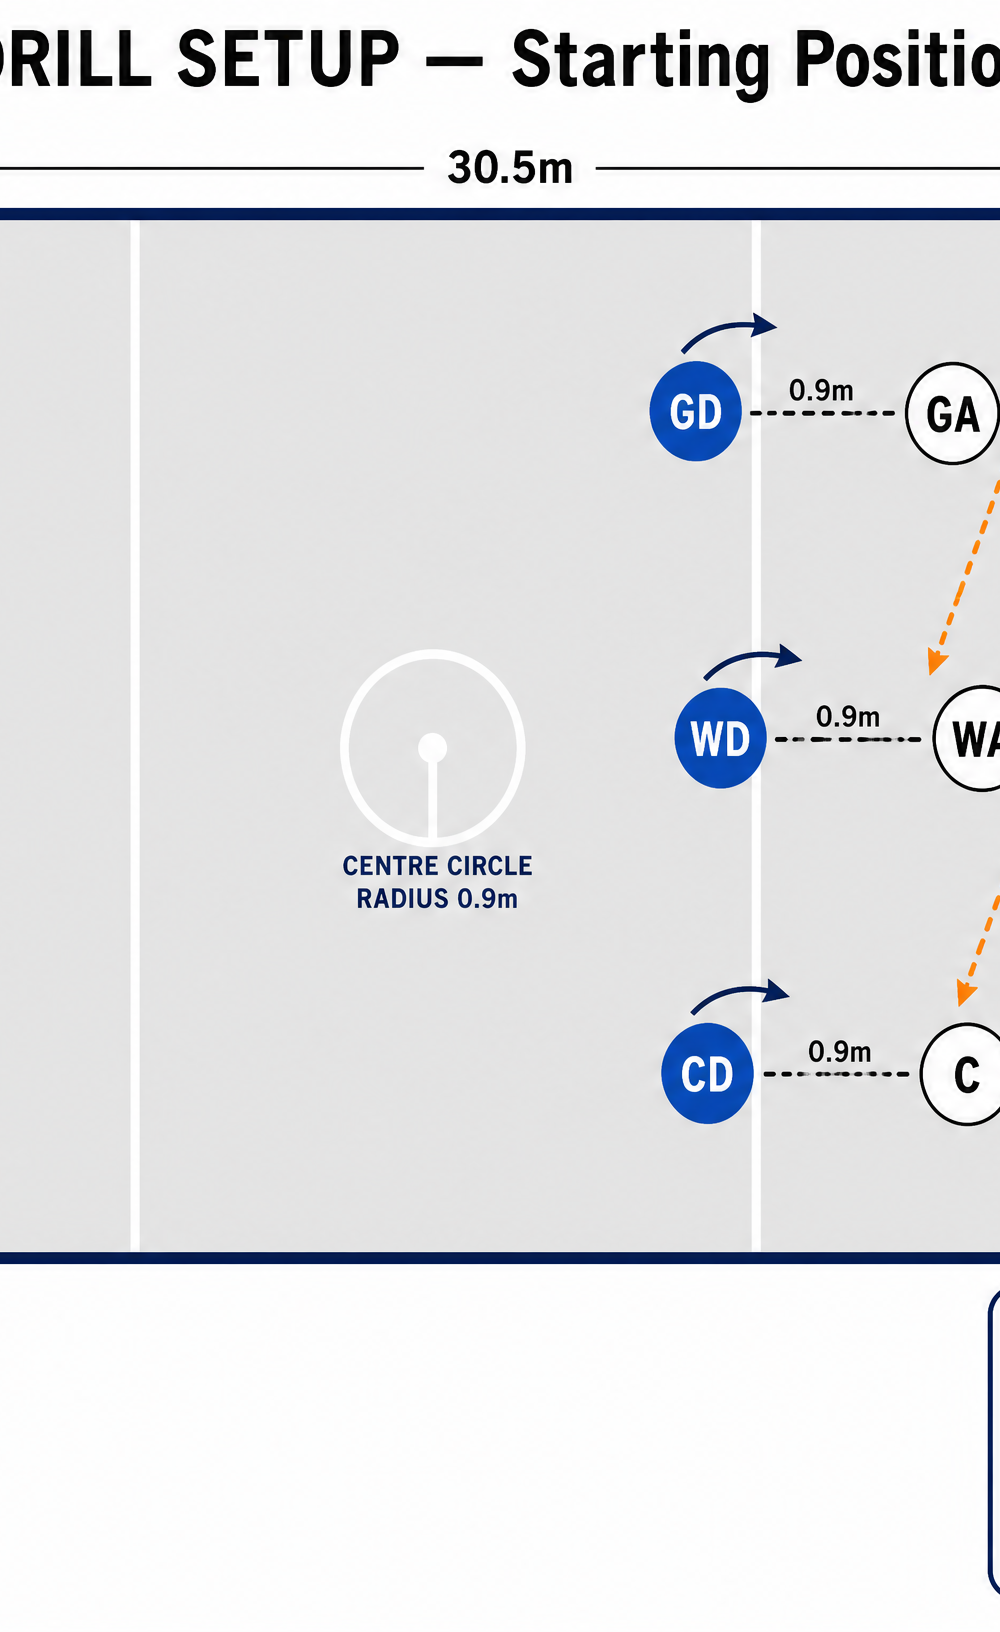
- The drill takes place across two-thirds of the court (15.25m x 20.3m), utilizing the centre third and one goal third.
- Ensure the court is clear of hazards and the 0.9m distance can be accurately judged.
Player Positions:
- Attackers (White Bibs): Goal Attack (GA), Wing Attack (WA), Centre (C).
- Defenders (Blue Bibs): Goal Defense (GD), Wing Defense (WD), Centre Defense (CD/C).
- Note: Additional players can rotate in as feeders or wait on the transverse line.
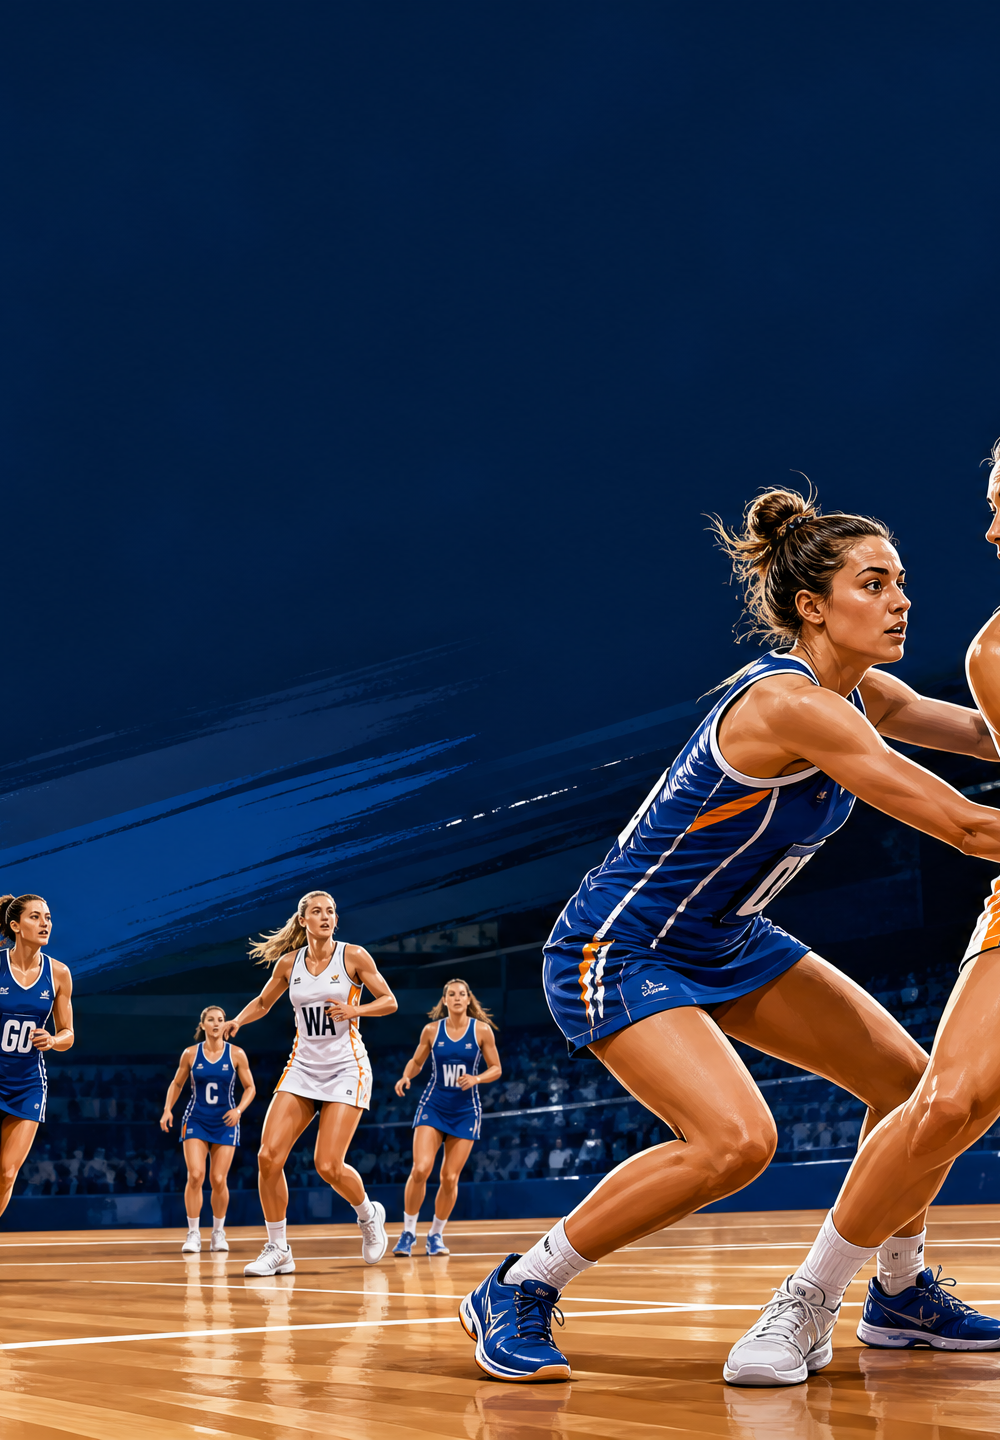
3. Step-by-Step Instructions
Phase 1: The Initial Setup & Static Pressure
- Starting Positions: Attackers (GA, WA, C) set up in the centre third, slightly spread out. Defenders (GD, WD, CD) match up one-on-one.
- The 0.9m Mark: On the coach's whistle, defenders must immediately establish a strict 0.9m distance from their respective attacker. They must hold this stance for 3 seconds without the ball in play.
- Stance Check: Ensure defenders are on the balls of their feet, knees slightly bent, arms up and angled to dictate the attacker's space, and vision split between the attacker and the potential ball source.
Phase 2: Dynamic Lead and Rotation
4. The Trigger: The coach (or a designated feeder off-court) introduces the ball to the C (Attacker).
5. The Attack: The WA and GA initiate dynamic leads towards the ball carrier. They should use varied timing and angles (e.g., WA drives straight, GA drops back and then drives out).
6. The Defensive Response:
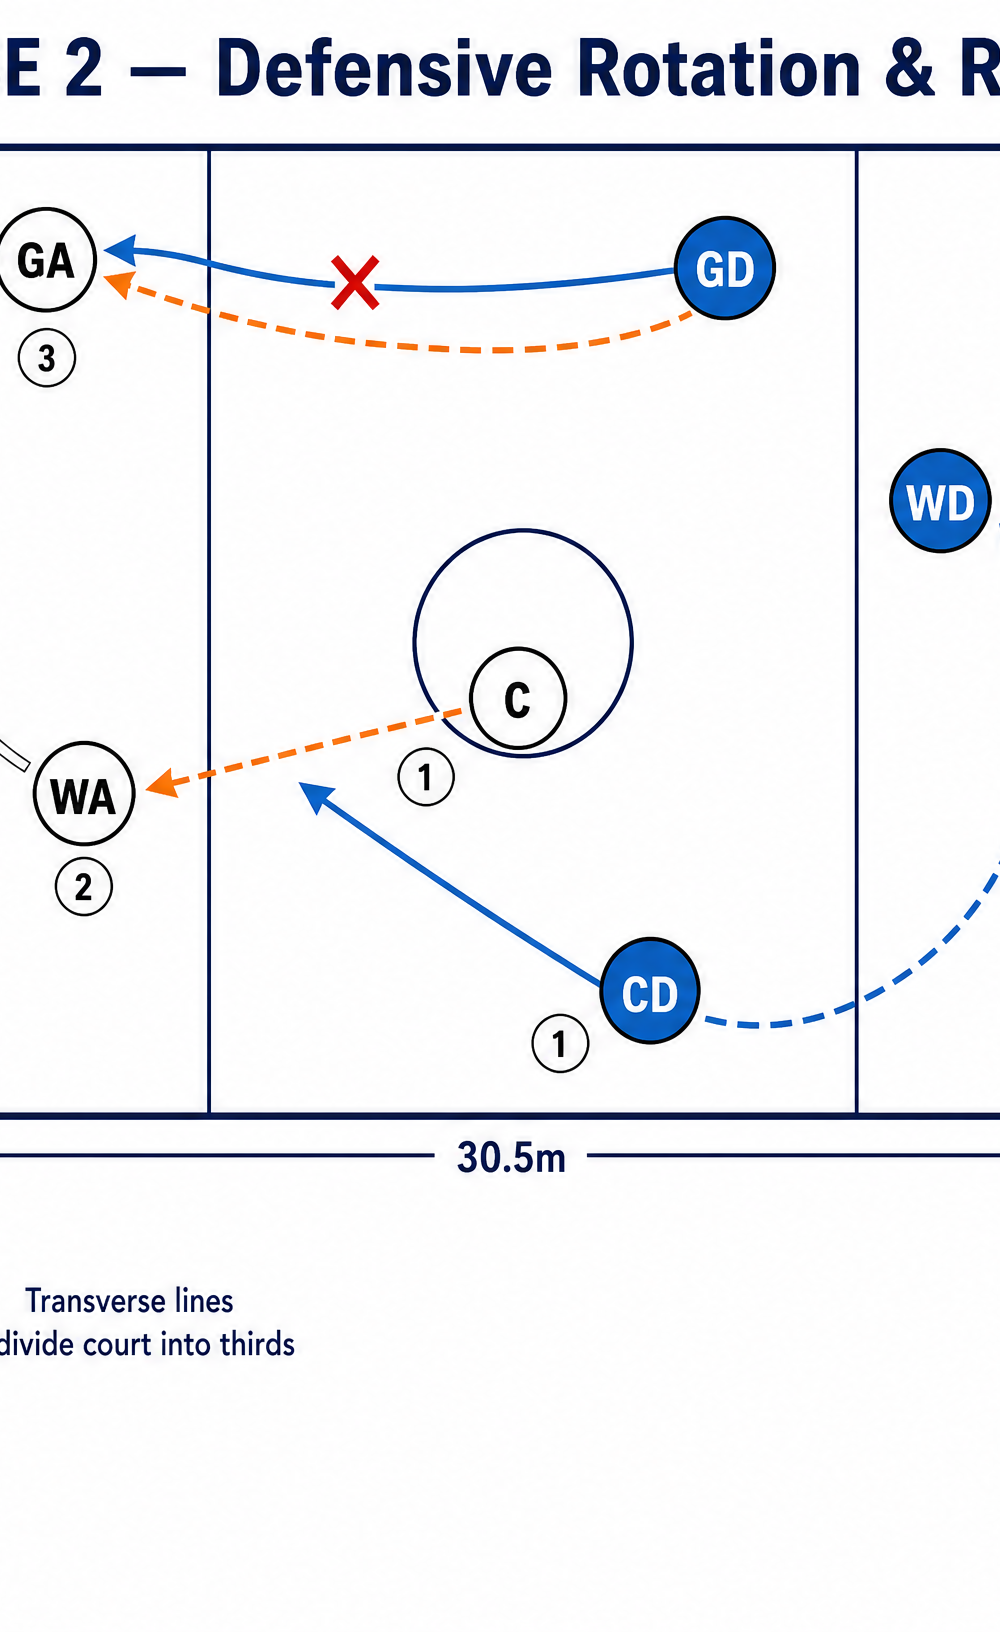
- The CD must immediately apply intense pressure over the 0.9m mark on the C, forcing a difficult pass.
- The WD and GD must track their players' leads, maintaining an angled body position to see both player and ball.
Phase 3: The Intercept or Reset
7. The Rotation: If the WA makes a strong lead that beats the WD, the GD must read the play and rotate across to cover the space, while the WD recovers to pick up the GA (switching).
8. The Outcome: The drill continues until either the defense secures an interception/deflection, or the attackers successfully complete 5 consecutive passes.
9. Reset: Once the outcome is reached, the ball is returned to the start, players reset to their initial positions, and the drill repeats. Rotate players every 3-4 minutes to ensure high intensity.
4. Key Coaching Points
- Dictate the Space: Defenders shouldn't just react; they must dictate where the attacker can go by angling their body and using their outside arm to close off preferred driving lanes.
- Vision is Everything: Defenders must maintain 'split vision'. Staring only at the attacker means missing the pass; staring only at the ball means losing the attacker. See both.
- Footwork on the 0.9m: The 0.9m distance isn't static. As the attacker moves, the defender must use quick, small adjustments (fast feet) to maintain that exact distance without lunging or breaking the 0.9m rule.
- Communication on the Switch: When a rotation or switch is required, it must be vocal and immediate. "Switch!" or "Mine!" ensures no attacker is left unmarked during the crossover.
- Recovery Speed: If beaten on the initial drive, the defender's priority is immediate recovery to the next dangerous space, not jogging behind the play.
5. Common Mistakes
- Breaking the 0.9m Rule: Lunging forward or leaning in too close before the ball is released, resulting in an obstruction penalty.
- Flat Footed Stance: Defenders getting caught flat-footed, making them slow to react to sharp changes of direction by the attackers.
- Ball Watching: Turning the head completely to watch the ball flight, losing sight of the attacker who then easily slips away into open space.
- Silent Defense: Failing to communicate during screens or crosses, leading to confusion and two defenders covering one attacker while another runs free.
6. Variations & Progressions
- Progression 1: The Overload (3v4). Add an extra attacker (e.g., GS) to force the three defenders to work harder on zone coverage and rapid rotations when outnumbered.
- Progression 2: Time Limit. Attackers only have 3 seconds to release the ball on every pass. This forces quicker decisions and rewards the defense for sustained 0.9m pressure.
- Variation 1: Confined Space. Restrict the drill to just one-third of the court. The reduced space makes it harder for attackers to find gaps and emphasizes tight, aggressive marking.
7. Age Adaptations
- Under 10s / Under 12s: Focus purely on establishing the correct 0.9m distance and basic body angle. Remove the complex rotations. Use stationary passing first before adding dynamic movement.
- Under 14s / Under 16s: Introduce the concept of switching and rotating. Emphasize communication and recovery speed.
- Open / Elite: Run the drill at match intensity. Introduce complex attacking screens and require the defense to seamlessly navigate them while maintaining pressure on the ball carrier.

