Mastering the Mid-Court Press: A Netball Zone Defence Set Play
A comprehensive guide for coaches on implementing a high-pressure zone defence to force turnovers and create fast-break scoring opportunities.
Equipment Needed
1. Overview
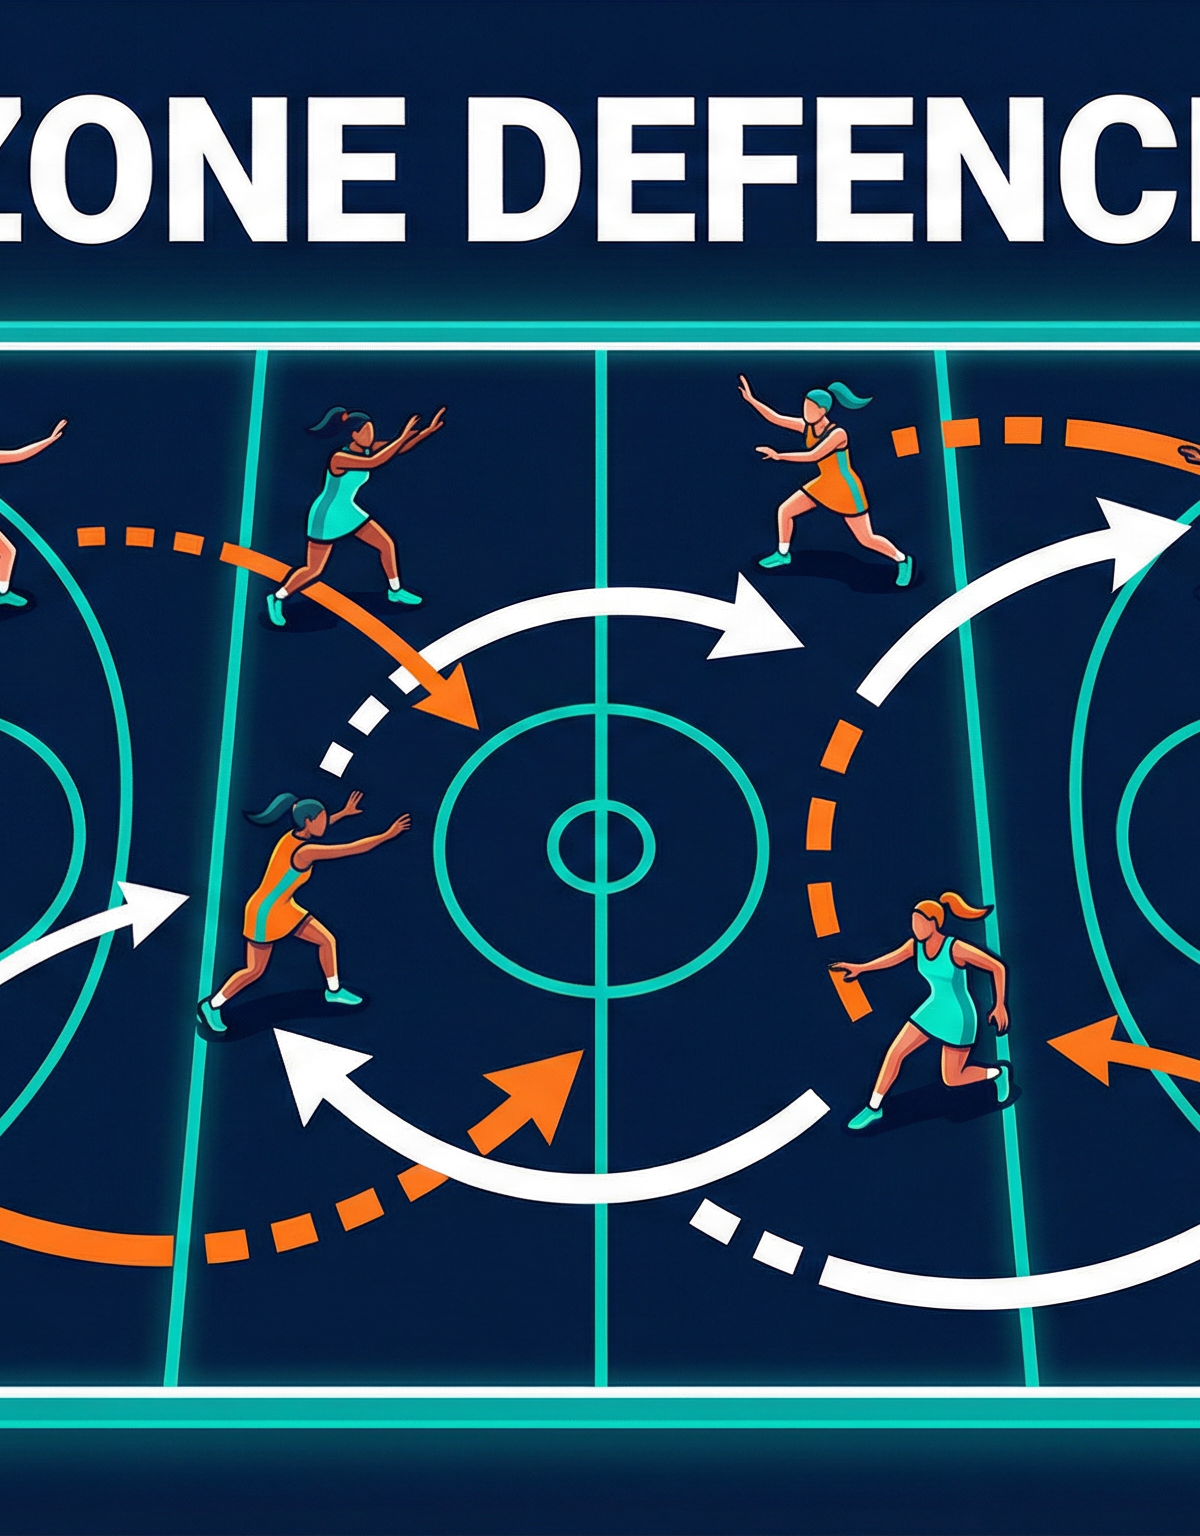
This zone defence set play is designed to apply intense pressure on the opposition's attack as they attempt to transition the ball through the centre third. The primary objective is to force a turnover by creating a high-pressure 'press zone' on one side of the court, cutting off easy passing options and forcing the ball carrier into a high-risk or panicked decision. It is most effective when used against teams with a predictable, slow-moving attack or those who heavily rely on their Wing Attack (WA) for transitional play. By creating an overload on the ball-carrier, you dictate the flow of play, increase your chances of an intercept, and create opportunities for a fast-break counter-attack.
2. Setup

- Players Required: 7 players are required to run the full defensive zone, ideally against 7 attacking players to simulate match conditions.
- Equipment: A set of bibs for two teams, at least two netballs, and cones (optional, for marking initial setup positions for younger players).
- Court Setup: A full-sized netball court (30.5m x 15.25m) is required. The drill begins from an opposition Centre Pass or a throw-in from the defensive transverse line.
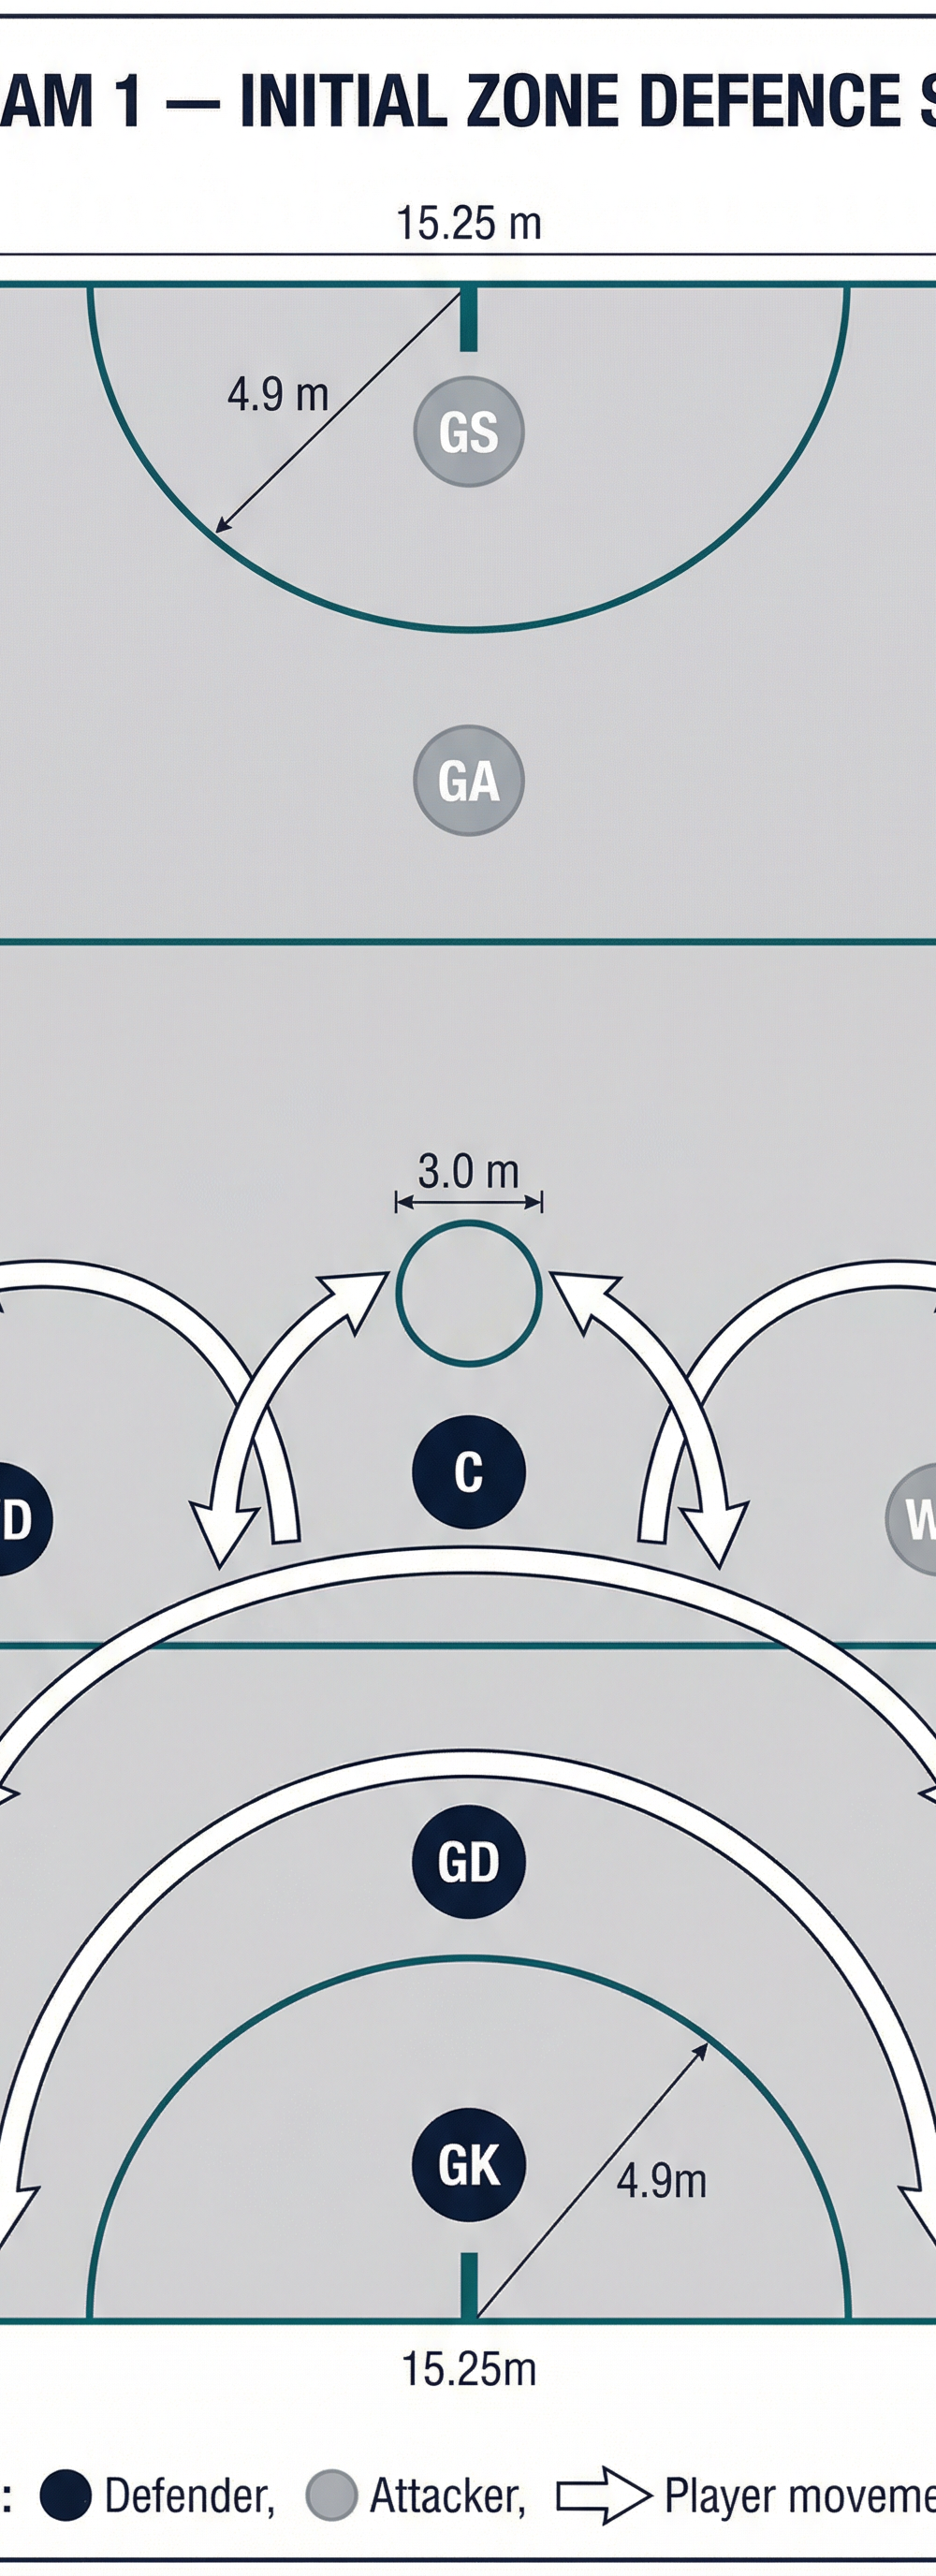
Player Positions
Players should be set up in their standard positions, but with a specific zonal mindset. The initial formation is a compact 2-3-2 structure, ready to shift and react as a single unit. Refer to the diagram below for the starting positions.

3. Step-by-Step Instructions
- Initial Formation (Diagram 1): The team sets up in the 2-3-2 zone. The GK and GD establish a strong presence in and around the defensive goal circle. The WD, C, and GD form a flexible wall across the centre third, denying easy access to the circle edge. Their starting positions are slightly staggered to cover multiple channels.
- The Trigger — Ball to the Sideline: The zone press is activated when the opposition successfully passes the ball from the centre circle to a player in the outer channel of the court, typically near the sideline in the centre third. This is the cue for the entire defensive unit to commit to the press.
- Aggressive Ball-Side Shift (Diagram 2): As soon as the trigger occurs, the entire zone shifts aggressively towards the ball. The defender closest to the ball (often the WD or C) sprints to apply intense, one-on-one pressure on the ball carrier, aiming to restrict their vision and force a rushed pass. This player is the 'jammer'.
- Cutting Off Options and Creating the Overload: The rest of the defensive unit slides across in unison. The C and GD move to intercept the next logical passes (e.g., to the GA or a cutting C). This creates a 3-player overload around the ball, leaving the attacker on the far side of the court open but unreachable. The defence is essentially squeezing the attack against the sideline.
- The Interception and Transition (Diagram 3): The intense pressure and lack of viable short options should force the attacker into a high, looping pass over the top, a rushed pass into a defender's hands, or a held-ball call. The off-ball defenders (especially C and GD) should anticipate this and be ready to pounce. Once the turnover is secured, the team immediately transitions into a fast-break attack, looking for the quick pass into the now-open space.
4. Key Coaching Points
- Communication is Critical: Players must be constantly talking, calling out 'BALL!', 'SHIFT!', 'JAM!'. The zone only works if all seven players move as one connected unit.
- Patience and Discipline: Don't get drawn out of position before the trigger. The strength of the zone is its initial structure. Wait for the pass to the sideline before committing to the press.
- 3-Foot Marking: The 'jammer' must apply disciplined 3-foot pressure. The goal is to force a bad pass, not necessarily to win the ball directly from the player.
- Anticipate the Forced Pass: The off-ball defenders must read the pressure being applied and anticipate where the forced pass will go. This is where most intercepts will happen.
- Transition Speed: As soon as the turnover is won, the mindset must switch instantly from defence to attack. The first pass should be fast and decisive to exploit the opposition's unset defensive structure.
5. Common Mistakes
- Players Don't Shift Together: One or two players shift, but the rest remain static. This creates huge gaps for the attack to exploit.
- Jammer Gets Too Flat: The player pressuring the ball gets caught directly in front, allowing the attacker to easily see and pass over their head. Encourage an angled approach to cut off one side.
- Eyes Only on the Ball: Off-ball defenders watch the ball instead of reading their direct opponent and the space. They need to be aware of both to anticipate the next pass.
- No Transition After Turnover: The team works hard to win the ball back, but then is slow and hesitant in attack, allowing the opposition to reset their defence.

6. Variations and Progressions
Progressions (Harder)
- The 'Double Jam': On the coach's call, two players commit to jamming the ball carrier, creating immense pressure but leaving a nearby attacker open for a very short time. This is a high-risk, high-reward variation.
- Full Court Press: After a goal, the team immediately sets up the zone from the opposition's centre pass, aiming to win the ball back before it even leaves the centre third.
Variations (Easier)
- Half-Court Zone: Run the drill only in the defensive half of the court. The attack starts from the transverse line, making it easier for the defence to learn the initial shifts.
- Coach-Led Attack: The coach acts as the attacking playmaker and deliberately passes to the trigger points, allowing the defence to practice the coordinated shift without the pressure of a live opponent.
7. Age Adaptations
- Under 12 / Under 14: Focus on the basic concept of shifting with the ball. Use cones to show the zones players are responsible for. Start at walking pace and build up. The key is understanding the collective movement, not perfect execution.
- Under 16 / Open: Players should be able to execute the full press and transition. Introduce tactical elements like the 'double jam' and focus on the speed of the transition from defence to attack. Analyse opposition attacking structures and identify the best times to implement the zone during a match.