Goal Circle Shooting Accuracy Under Pressure
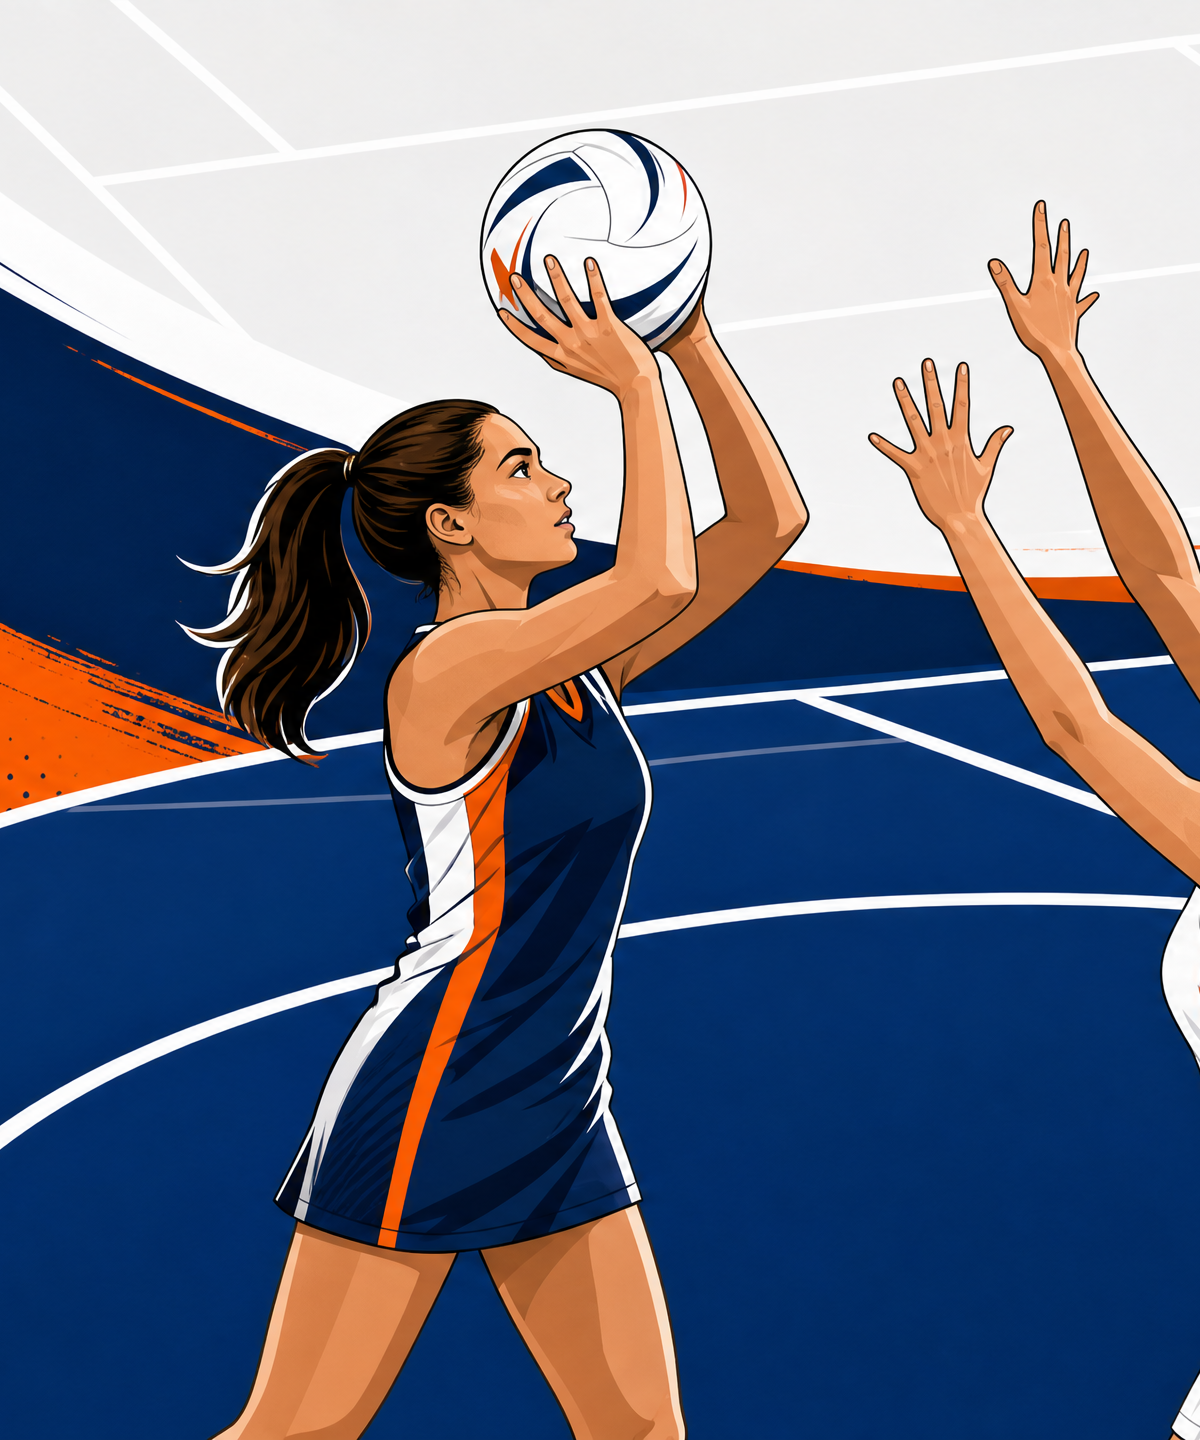
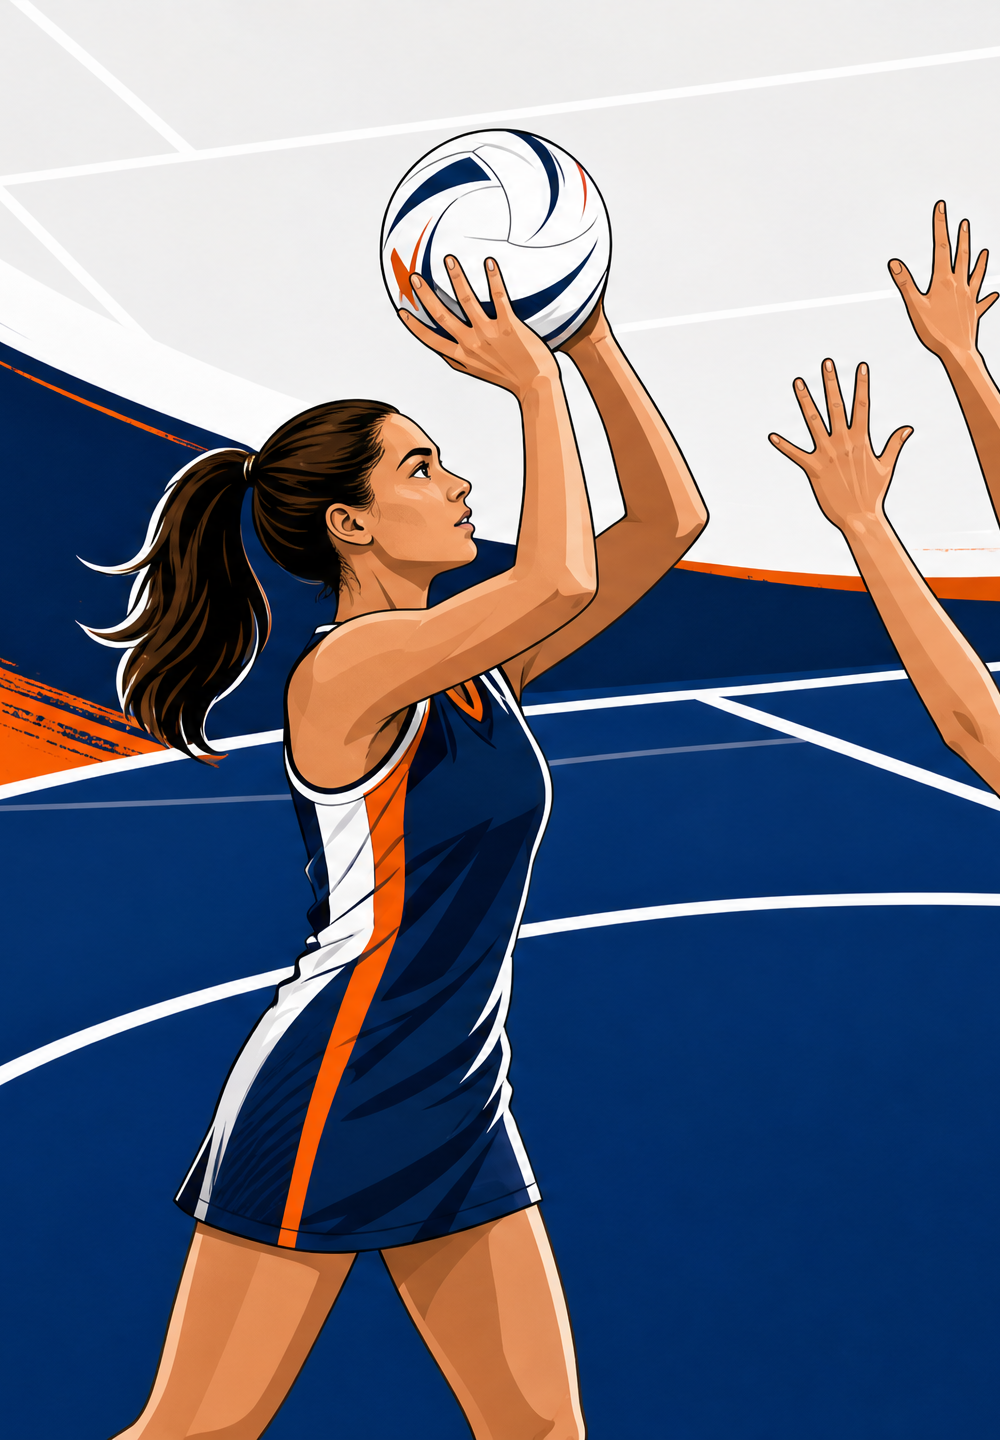
A high-intensity shooting drill designed to improve GS and GA accuracy while moving under defensive pressure within the goal circle.
Equipment Needed
1. Overview
This drill is essential for developing your shooters' ability to maintain accuracy and composure when fatigued and under direct defensive pressure. In a real match scenario, a Goal Shooter (GS) or Goal Attack (GA) rarely gets a completely free, static shot. They must work hard to lose their defender, receive the ball on the move, balance quickly, and execute the shot.
By simulating match-like intensity within the 4.9m radius of the goal circle, this drill bridges the gap between practice shooting and game-day performance. It focuses on the crucial transition from dynamic movement to a stable, accurate shooting base.
2. Setup
Equipment Needed:
- 1 Netball post (standard 3.05m height)
- 2-3 Netballs
- 4-6 marker cones
- Bibs for attackers and defenders
Court Setup:
Utilise one goal third of a standard netball court (10.25m deep x 15.25m wide). Ensure the goal circle arc is clearly marked.
Player Positions:
- Attackers: 1x Goal Shooter (GS), 1x Goal Attack (GA)
- Defenders: 1x Goal Defence (GD), 1x Goal Keeper (GK)
- Feeders: 2x Feeders (F1, F2) positioned outside the goal circle.
3. Step-by-Step Instructions
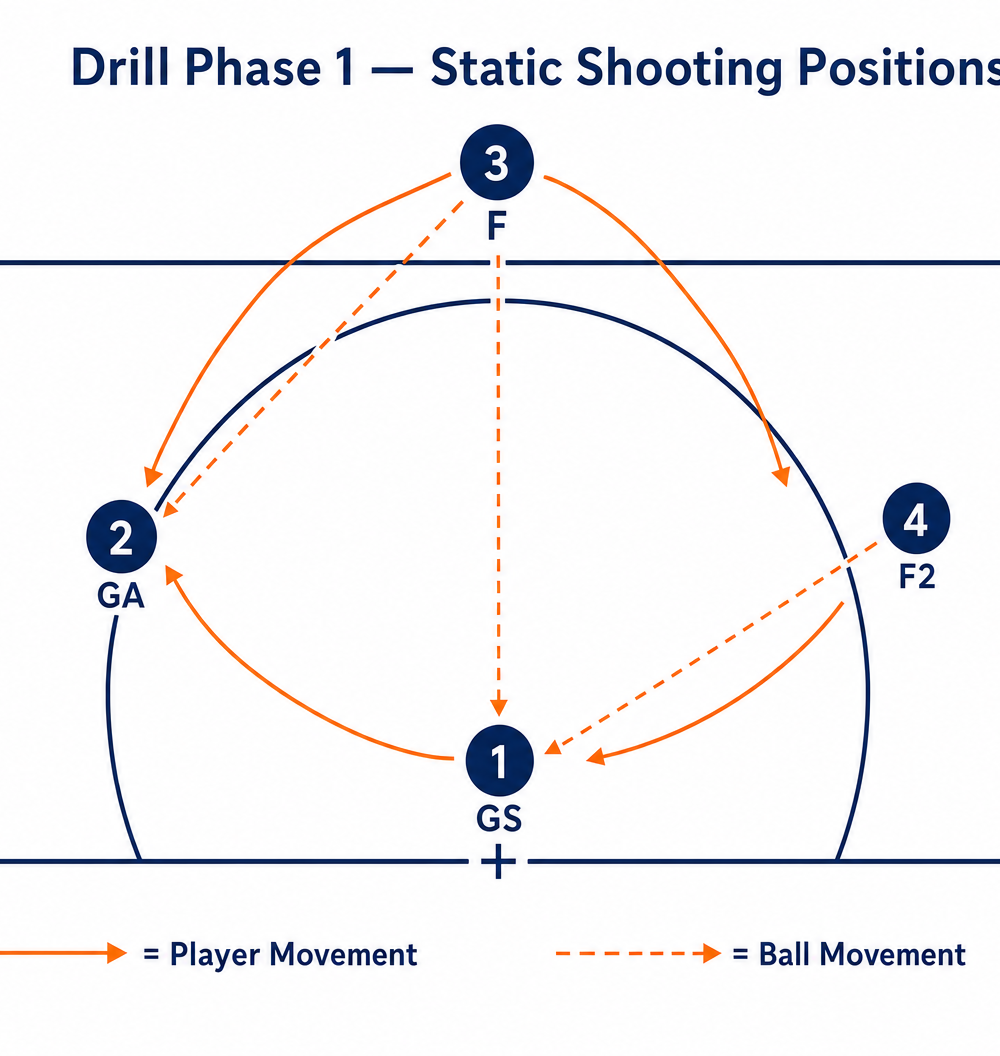
Phase 1: Static Shooting Positions
- Position the GS near the post and the GA on the left side of the goal circle edge.
- Place F1 at the top of the goal circle and F2 on the right wing outside the circle.
- The ball starts with F1. F1 passes to F2.
- F2 passes to the GS, who takes a static shot.
- F1 then receives the ball back, passes to GA, who takes a static shot.
- Rotate positions after 10 successful shots each.
Phase 2: Dynamic Lead & Shoot
- Introduce passive defenders (GD and GK) with arms raised but not actively challenging for the ball.
- GS and GA start at the back of the circle near the post.
- F1 and F2 are positioned at the top left and right of the goal third transverse line.
- GA makes a curved lead towards F1 to receive the first pass.
- As GA receives the ball, GS leads out towards the top of the circle to receive the second pass from GA.
- GS must quickly balance and take the shot over the passive GD.
- Repeat for 3 minutes, then swap attacking and defending roles.
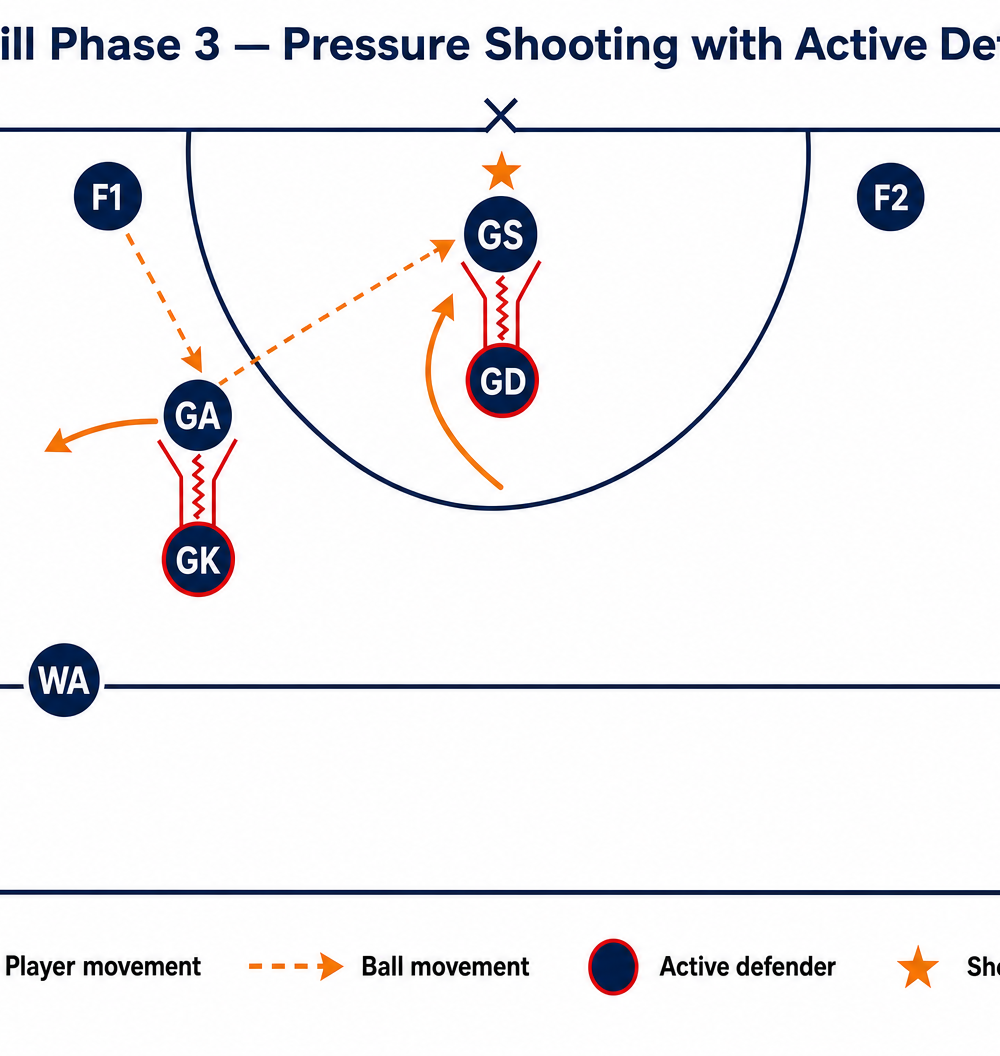
Phase 3: Pressure Shooting with Active Defence

- GD and GK become active defenders, closely marking GS and GA.
- The drill begins with a pass from F1 to GA, who must work to lose the GK.
- GS must make a sharp cut to lose the GD and receive the pass from GA in a strong shooting position.
- The defenders must apply full three-foot pressure on every shot.
- Attackers must secure any rebounds. If a shot is missed, play continues until a goal is scored or the defenders secure the ball and clear it to a feeder.
4. Key Coaching Points
- Strong Base: Emphasise the importance of landing with feet shoulder-width apart, knees slightly bent, providing a stable platform for the shot.
- Quick Release: Encourage shooters to transition from the catch to the shooting motion smoothly and quickly, before the defender can set their three-foot distance.
- Eye Focus: Shooters must lock their eyes on the back of the ring as soon as they turn, ignoring the defender's arms.
- Follow Through: Ensure a high release point and a strong flick of the wrist, with fingers pointing towards the ring after the ball is released.
- Rebounding: Shooters must follow their shot immediately, positioning themselves between the defender and the post for any potential rebound.
5. Common Mistakes
- Dropping the Ball: Bringing the ball down to the chest or waist before shooting, allowing the defender an opportunity to tip or intercept.
- Rushing the Shot: Throwing the ball at the ring without establishing balance first, leading to inaccurate attempts.
- Fading Away: Leaning backwards away from the defender while shooting, which reduces power and accuracy.
- Ignoring the Rebound: Standing still and watching the shot rather than moving into a rebounding position.
6. Variations & Progressions
- Time Pressure: Introduce a 3-second rule for the shooters to release the ball after receiving the pass.
- Fatigue Element: Require the shooters to complete a shuttle run or 5 burpees before entering the circle for the dynamic phase.
- Overload Defence: Introduce a third defender (e.g., Wing Defence) to pressure the feeders and disrupt the timing of the passes into the circle.
7. Age Adaptations
- Under 8 / Under 10: Lower the goal post to 2.44m (8ft). Focus purely on Phase 1 (static shooting) with no defenders. Emphasise correct shooting technique over movement.
- Under 12 / Under 14: Introduce Phase 2 with very passive defence. Focus on the timing of the leads and balancing before the shot. Use a standard 3.05m post.
- Under 16 / Open: Run the full drill with high-intensity active defence. Emphasise physical conditioning, quick decision-making, and shooting under severe pressure.