Goal Circle Shooting Accuracy Circuit: Feed, Set and Finish
A progressive, coach-ready Netball shooting circuit that builds balanced landings, consistent release mechanics, and smarter goal-circle decisions from three purposeful targets.
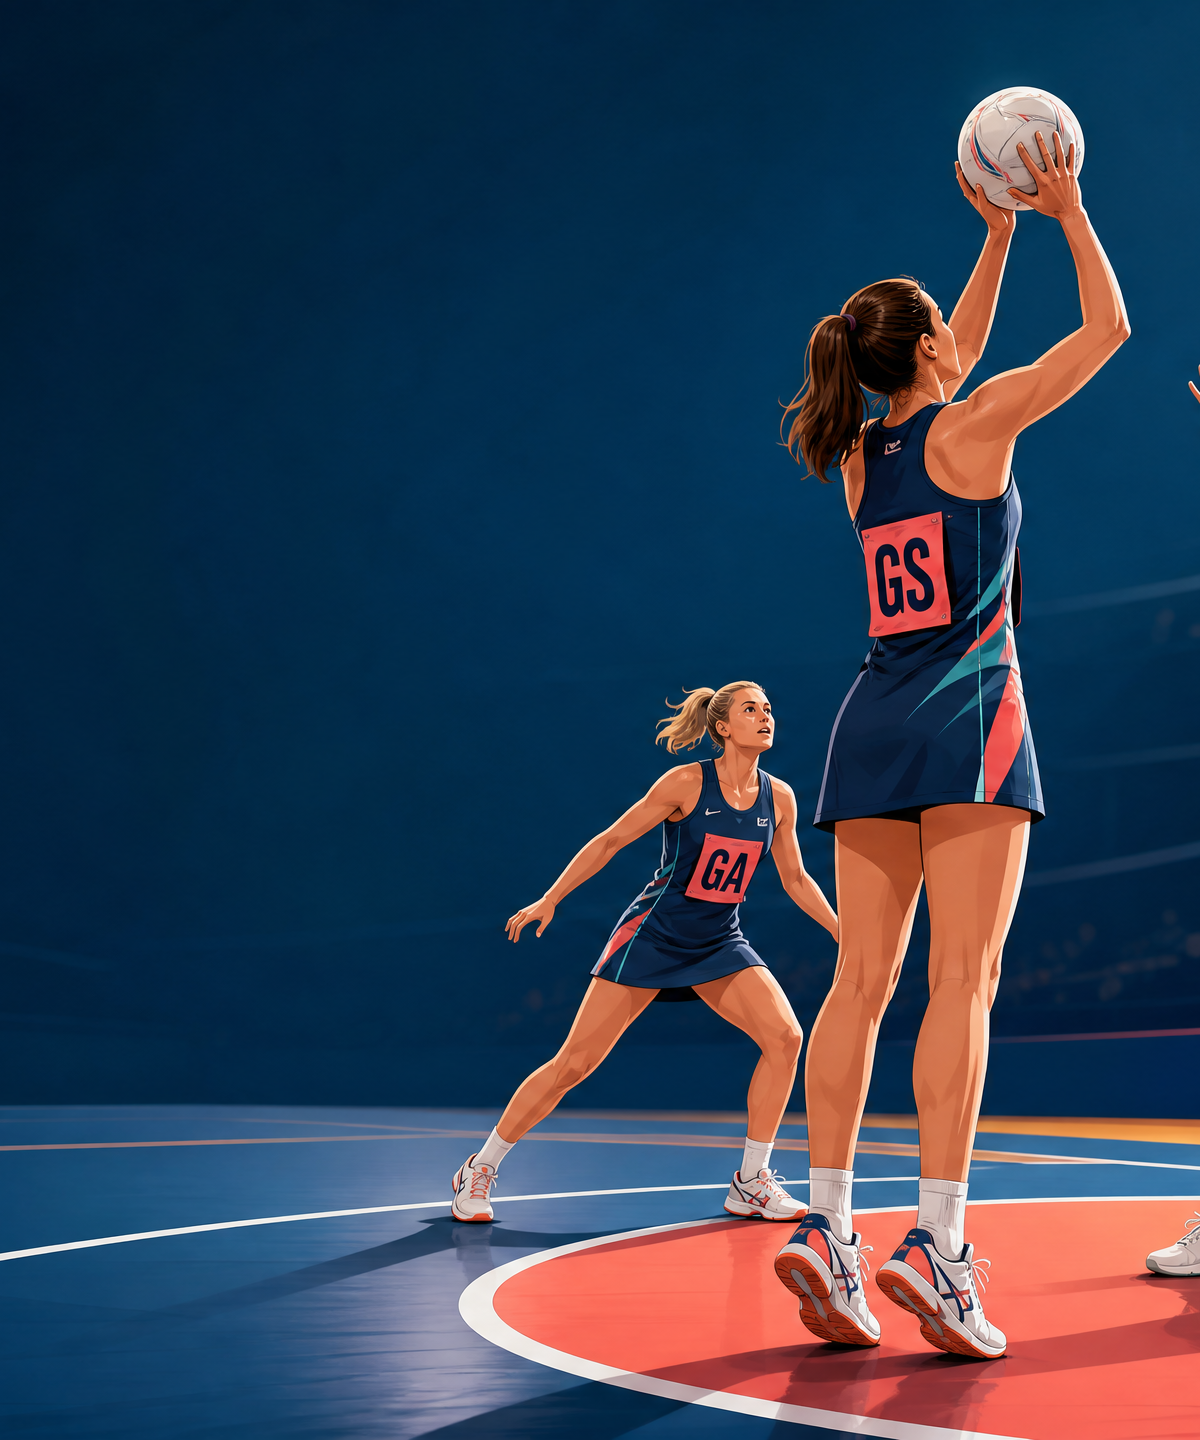
Equipment Needed
Overview
Goal Circle Shooting Accuracy Circuit is a repeatable shooting block that teaches a GS and GA to arrive balanced, receive cleanly, and finish from three purposeful locations in the goal circle. It gives coaches a controlled way to move players from unopposed technique into game-relevant decision-making without losing the quality of the shot. Use it early in an attacking session after a whole-body warm-up, as a 20–25 minute technical station, or as a short shooting standard before a match.
The drill uses the regulation 30.5 m × 15.25 m court, three equal thirds, and the 4.9 m radius goal circle.1 Only GS and GA may shoot, so WA and C are used as realistic feeders.1 The outcome is quality, not volume: players name a target, land under control, set their base, and repeat the action under changing pictures.
| Session detail | Coach specification |
|---|---|
| Difficulty and group | Intermediate; ideal for 8 players, but starts with 4 attacking players |
| Time | 25 minutes: 4-minute brief and set-up, 3 x 5-minute blocks, 1-minute recoveries, 4-minute review |
| Core positions | 1 GS, 2 GA, 3 WA, 4 C; add 6 GD and 7 GK for progression |
| Outcome target | Each shooter records 12 shots per block and reaches at least 8 makes before moving a target farther out |
Setup
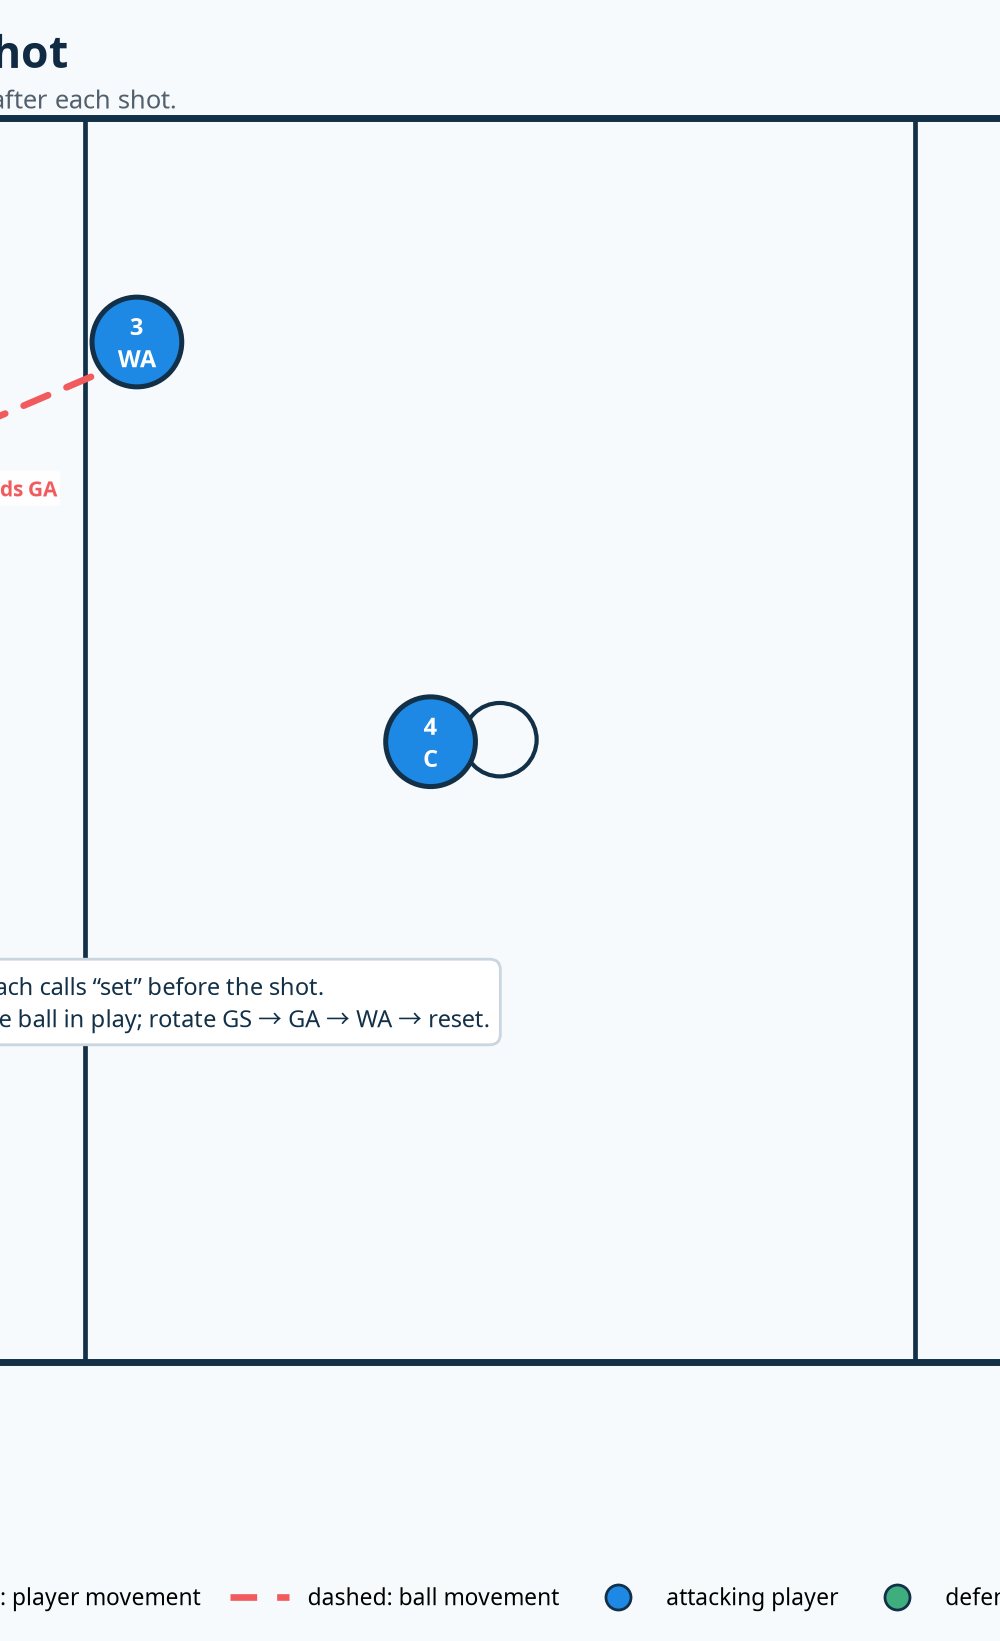
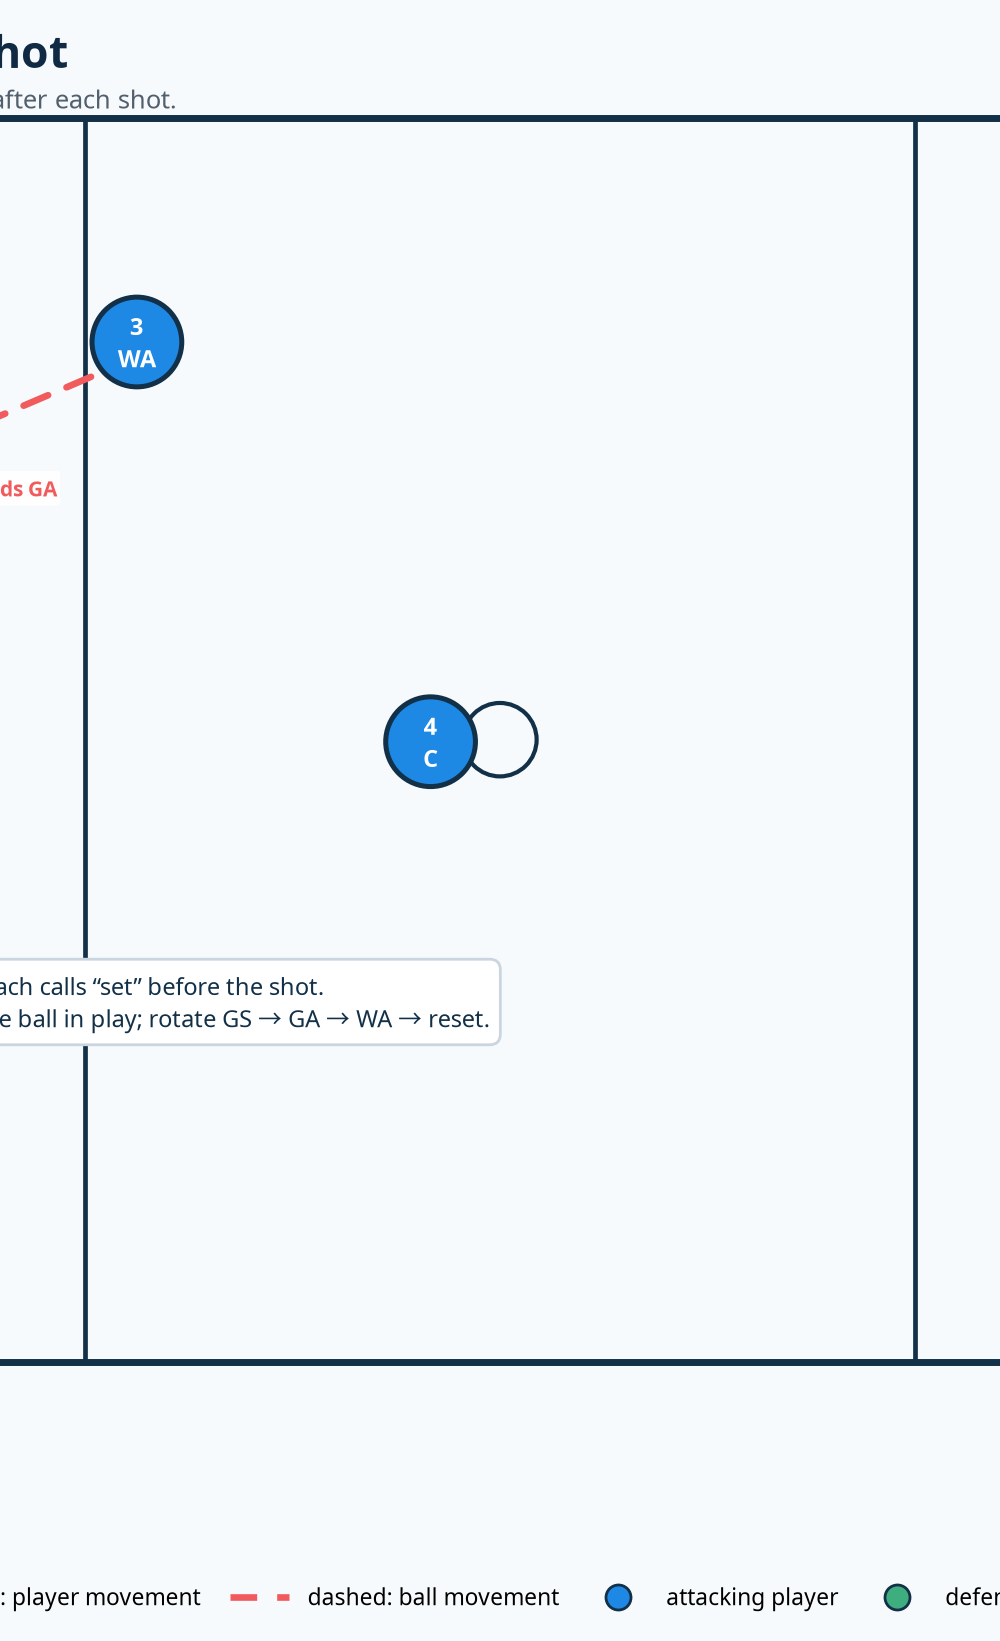
Use one attacking third. Place three flat cones in the circle: Target 1 is 3.0 m from the post on the left, Target 2 is 3.8 m front, and Target 3 is 3.0 m on the right. Set GA’s feed cone 1.5 m outside the circle; WA begins 2 m inside the third and C 1 m over the transverse line. Keep the retriever on the sideline.
Use standard numbers: 1 GS, 2 GA, 3 WA, 4 C, 5 WD, 6 GD, 7 GK. GS starts on Target 1; GA starts at the feed cone; WA and C make the first two links. Use one ball. Players have three seconds to release it and must establish a legal landing foot before pivoting or shooting.2
Step-by-Step Instructions
Demonstrate the finish first. Put the GS on Target 2 with no defender. Show the sequence: eyes to the ring, hands ready early, soft reception, decisive landing, stable base, ball set above the forehead, elbow under the ball, and full follow-through. Ask the group what a “held” shooting base looks like before play begins.
Run the feed pattern. C (4) passes to WA (3); WA turns and feeds GA (2) at the outside circle cone. GA lands, scans the GS, and drives one or two strides towards the circle edge to create a passing lane. Use a straight, catchable pass that arrives on the GS’s outside shoulder rather than a floaty ball over the head.
Create the shot. GA feeds GS (1) at Target 1. GS must catch, land, set, and shoot without taking an extra adjustment hop. GA holds the space after delivery rather than running beneath the shot. The coach calls either “hold” or “quick” on the catch. “Hold” means GS must visibly stabilise for one second; “quick” means she may release as soon as the base is balanced.
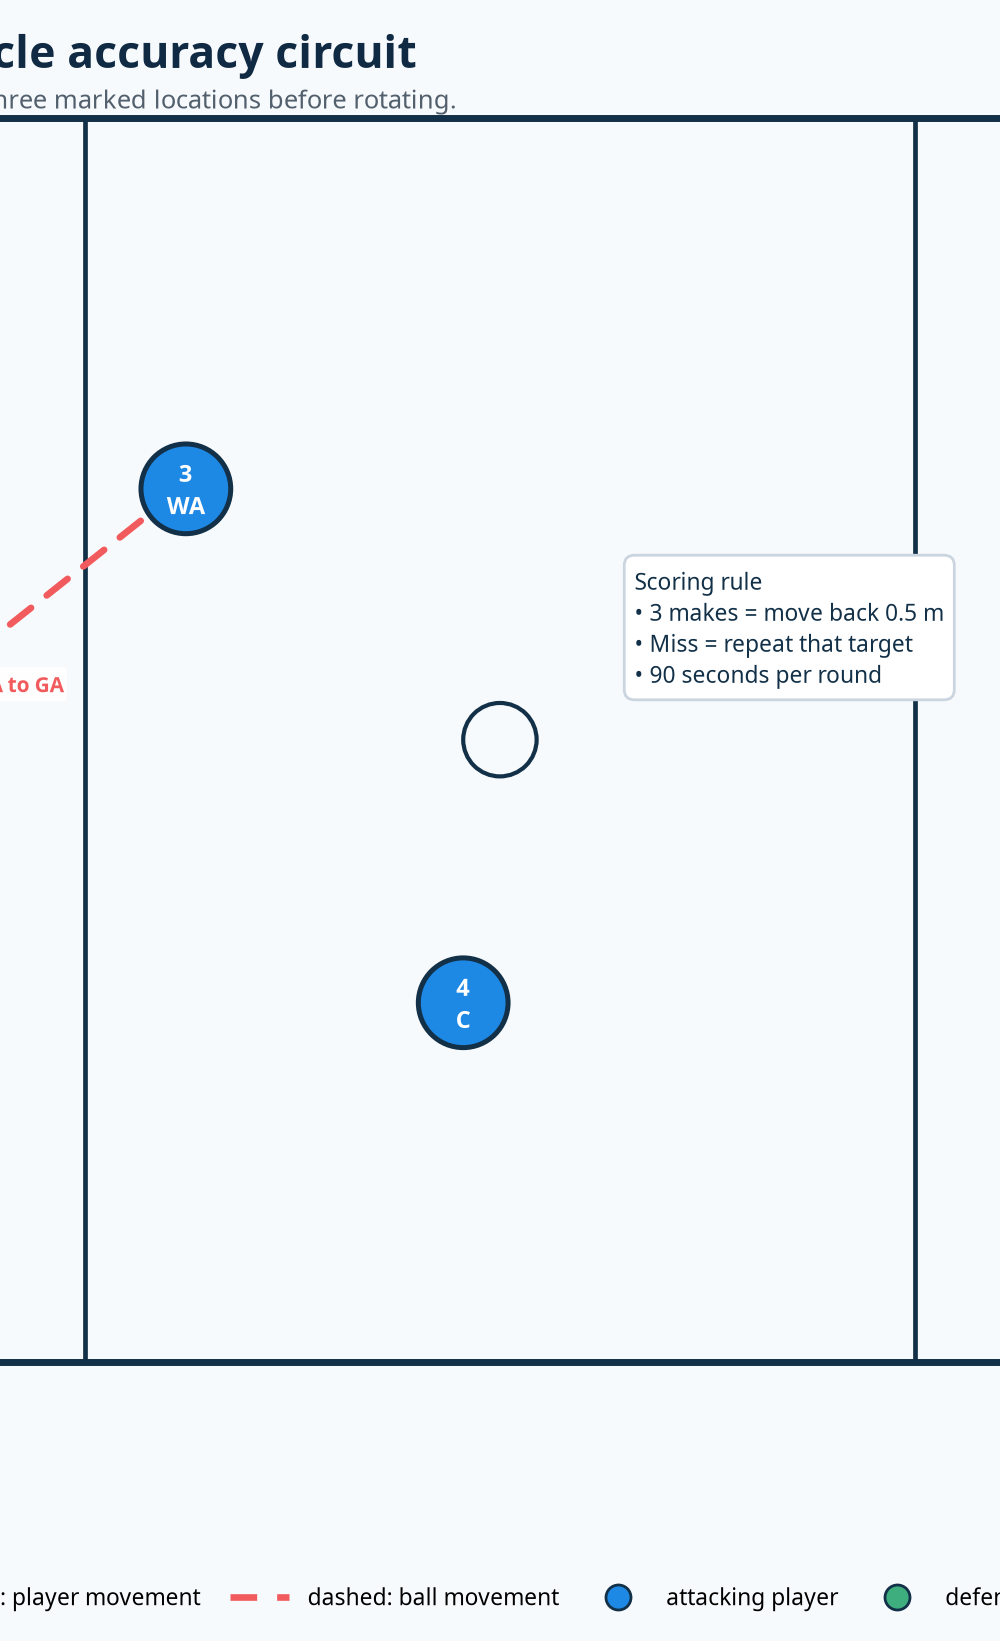
Move through all three targets. After the shot, GS moves Target 1 → Target 2 → Target 3. A make earns one point. A miss means the shooter repeats that target before moving on. This prevents the common habit of escaping a difficult angle rather than solving it. Record makes out of 12, not just total goals, so players learn to own their percentage.
Rotate with purpose. After three completed targets, GS rotates to GA, GA to WA, WA to C, and C becomes the reset player or ball retriever before returning to GS. Rotate only after a player has completed the sequence, not after a random number of shots. This preserves role understanding and keeps the feeder accountable for the quality of the ball.
Coach in short blocks. Run 90 seconds of work, then stop for 20 seconds. Give one observable cue only—such as “land and hold,” “show the target hand,” or “finish through the ring.” Restart immediately and assess whether the cue changed the next three shots. Run three 5-minute blocks, alternating which shooter opens each block.
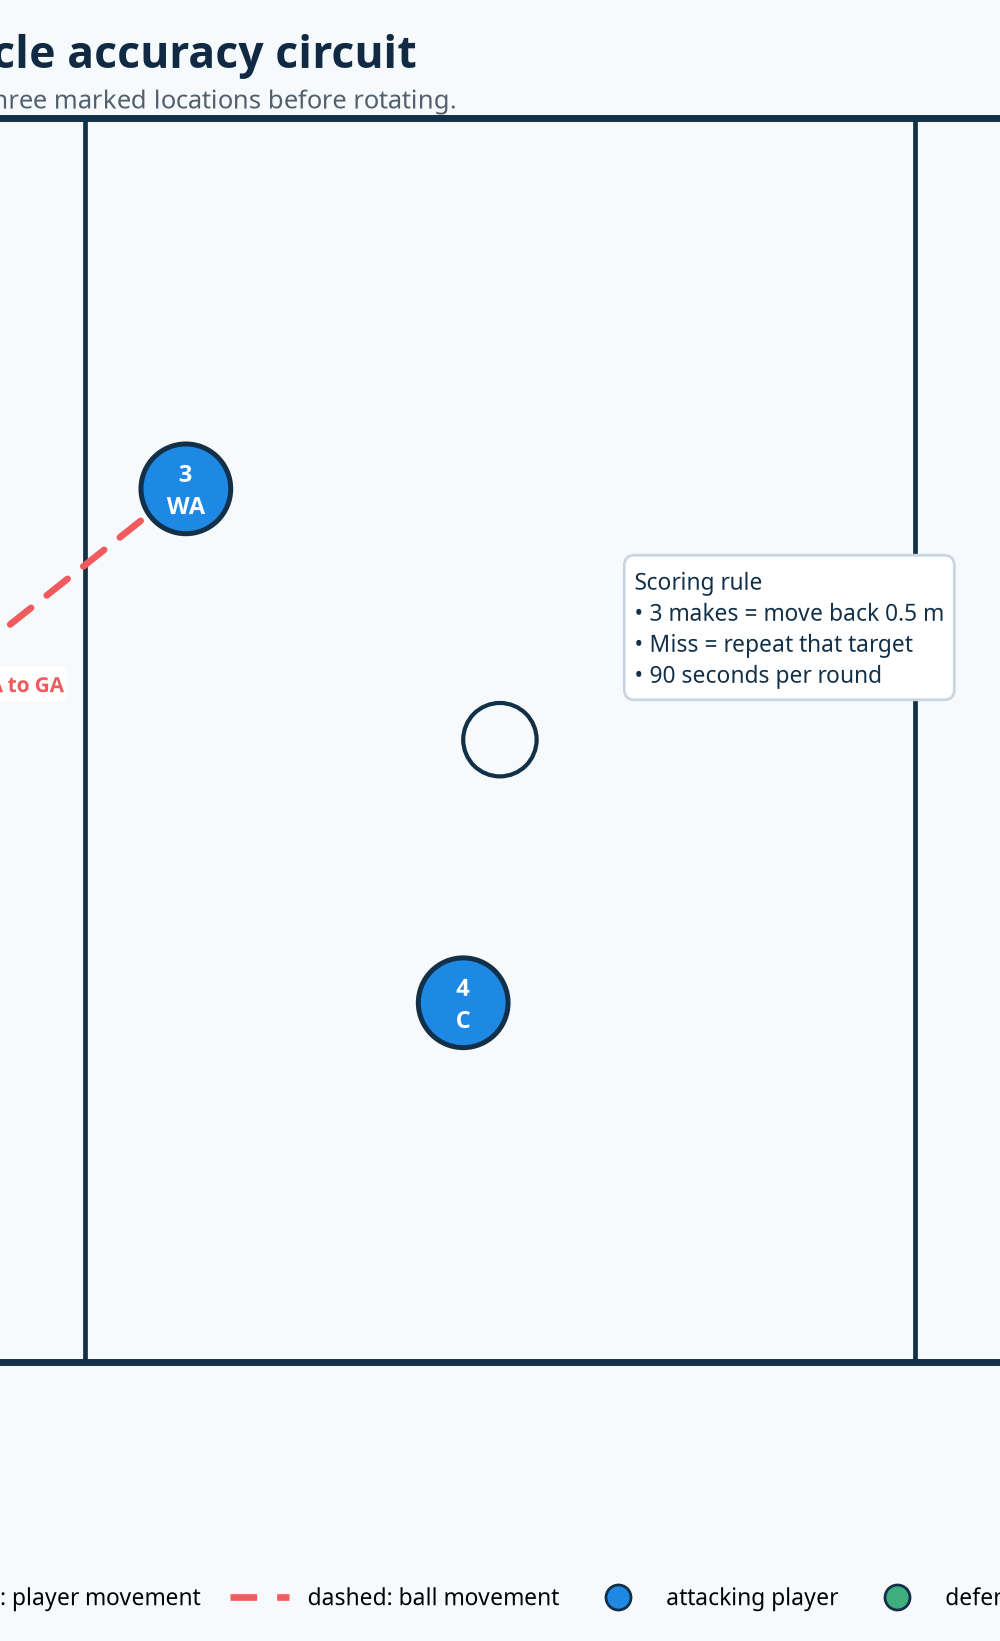
Coach’s focus: Do not let the goal mask poor process. A made shot with a drifting landing, late eyes, or a falling-away release is still a coaching intervention. Praise the repeatable action first; the goal is the evidence, not the entire lesson.
Key Coaching Points
| Coaching point | What the coach should see and say |
|---|---|
| Balanced landing | The shooter lands quietly with knees soft and weight centred. Say: “Own the landing before you own the ring.” |
| Early preparation | Hands are up before the pass arrives, with eyes tracking ball to ring. Say: “Show your hands; see your target.” |
| Strong shooting line | The ball is set over the forehead, shooting elbow under the ball, and guide hand quiet. Say: “Elbow under; lift through.” |
| Target discipline | GS names the cone before the feed and keeps the same pre-shot routine at all three locations. Say: “Same routine, new angle.” |
| Feeding quality | GA leads the ball to the shooter’s outside hand and stays available for a re-offer. Say: “Feed the shooting shoulder, then clear.” |
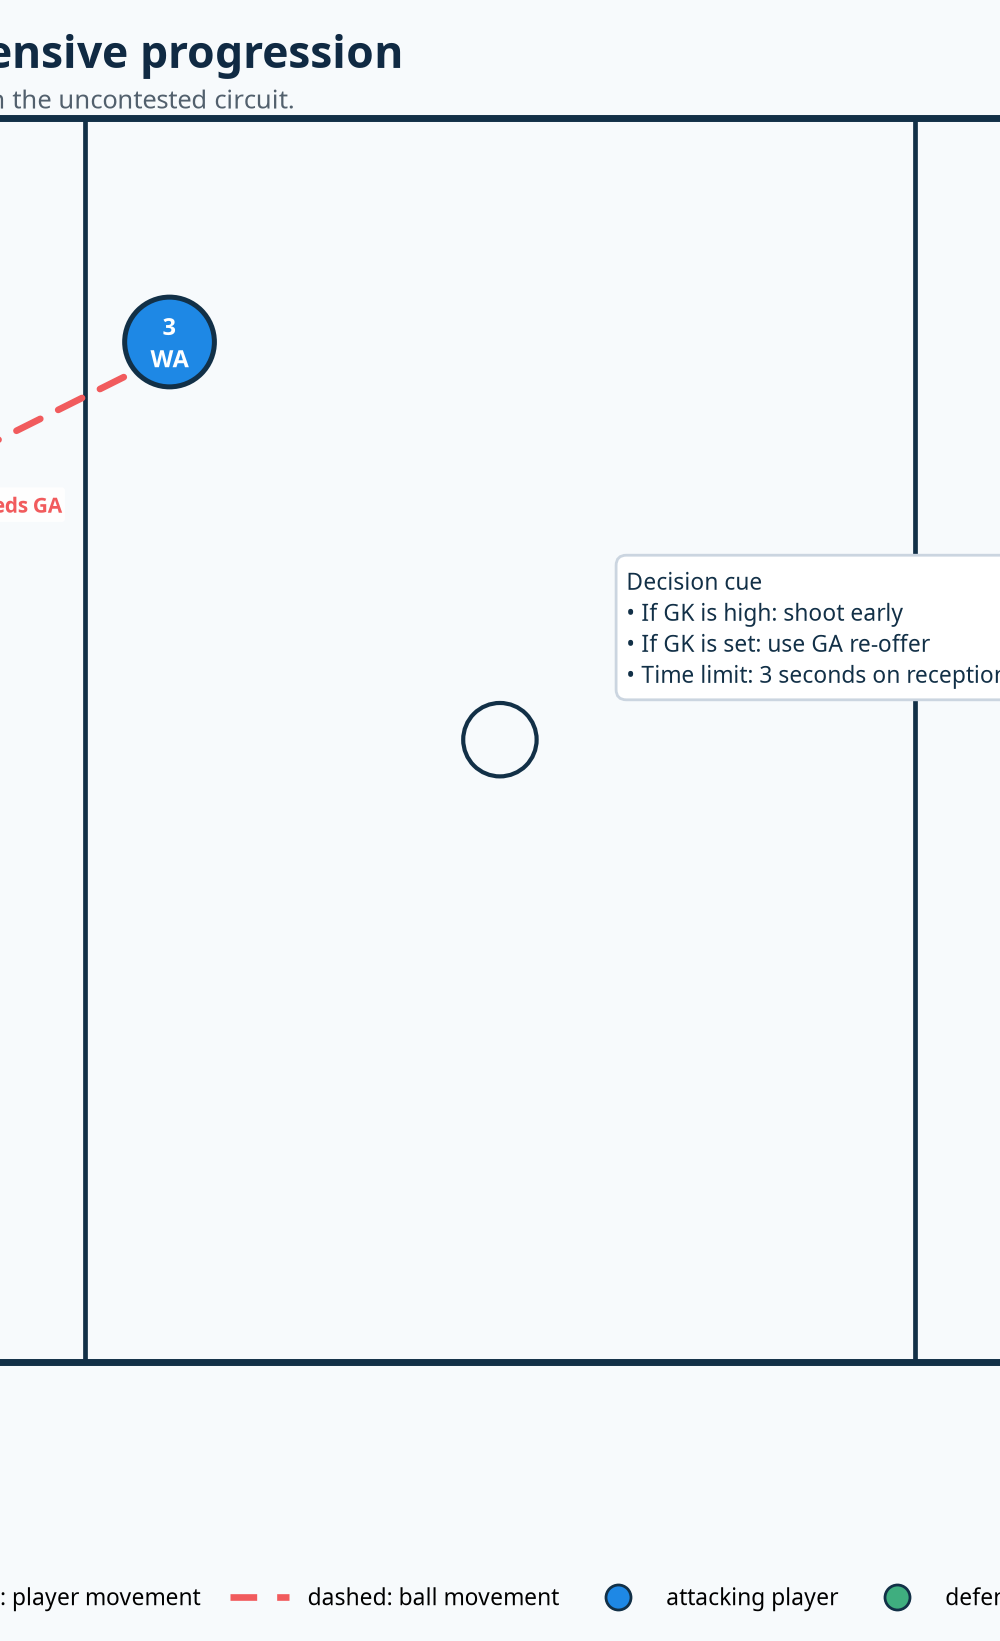
| Scanning before release | On progression, the shooter reads whether GK is high or set, then shoots or re-offers. Say: “Read first, then commit.” |
Common Mistakes
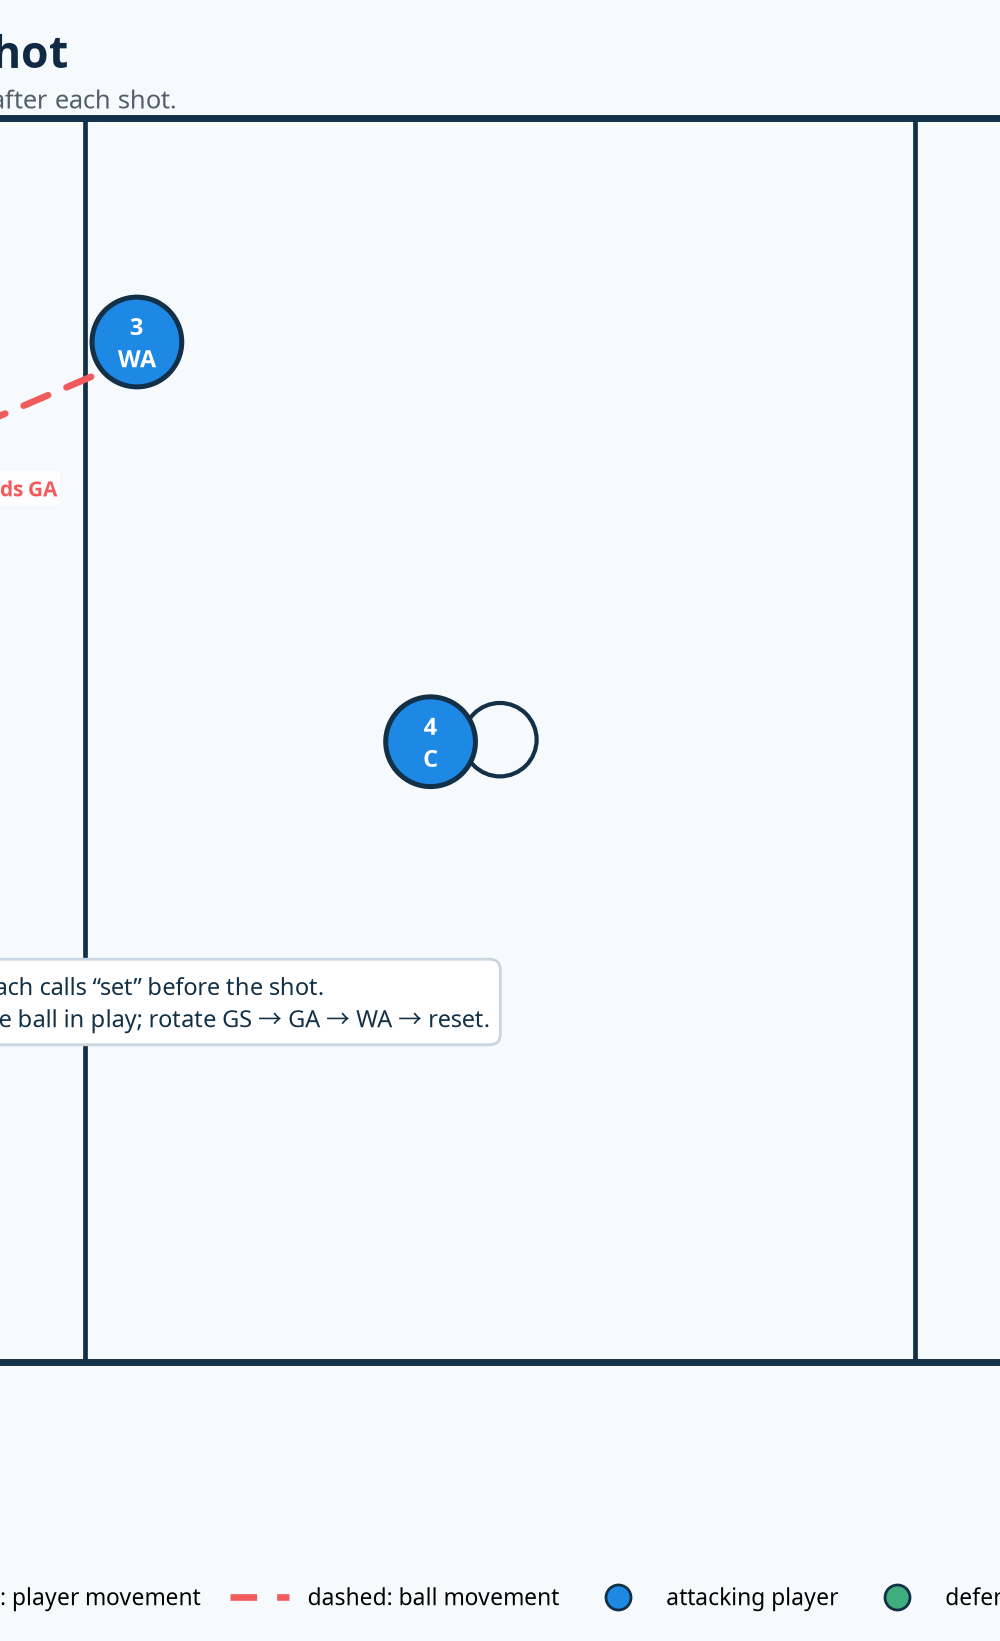
The first common error is a shooter who receives with feet too square and then shuffles to find comfort. Stop the rep and return her to the cone without a ball; rehearse one landing foot, one stable base, and a controlled pivot. The second is a GA who feeds late or directly across the GS’s body. Correct the passer’s angle, not just the receiver’s catch: ask GA to step towards the ball and pass to the space on the shooting side.
A third error is a player who rushes because she assumes every shot must be immediate. Remind her that the three-second rule provides enough time to land and set, but it is not permission to hold the ball unnecessarily.2 Finally, watch for a follow-through that finishes sideways or drops early. Have the shooter hold the follow-through until the ball reaches the ring; that gives you a visible check on whether the hand has completed the line of the shot.
Variations and Progressions
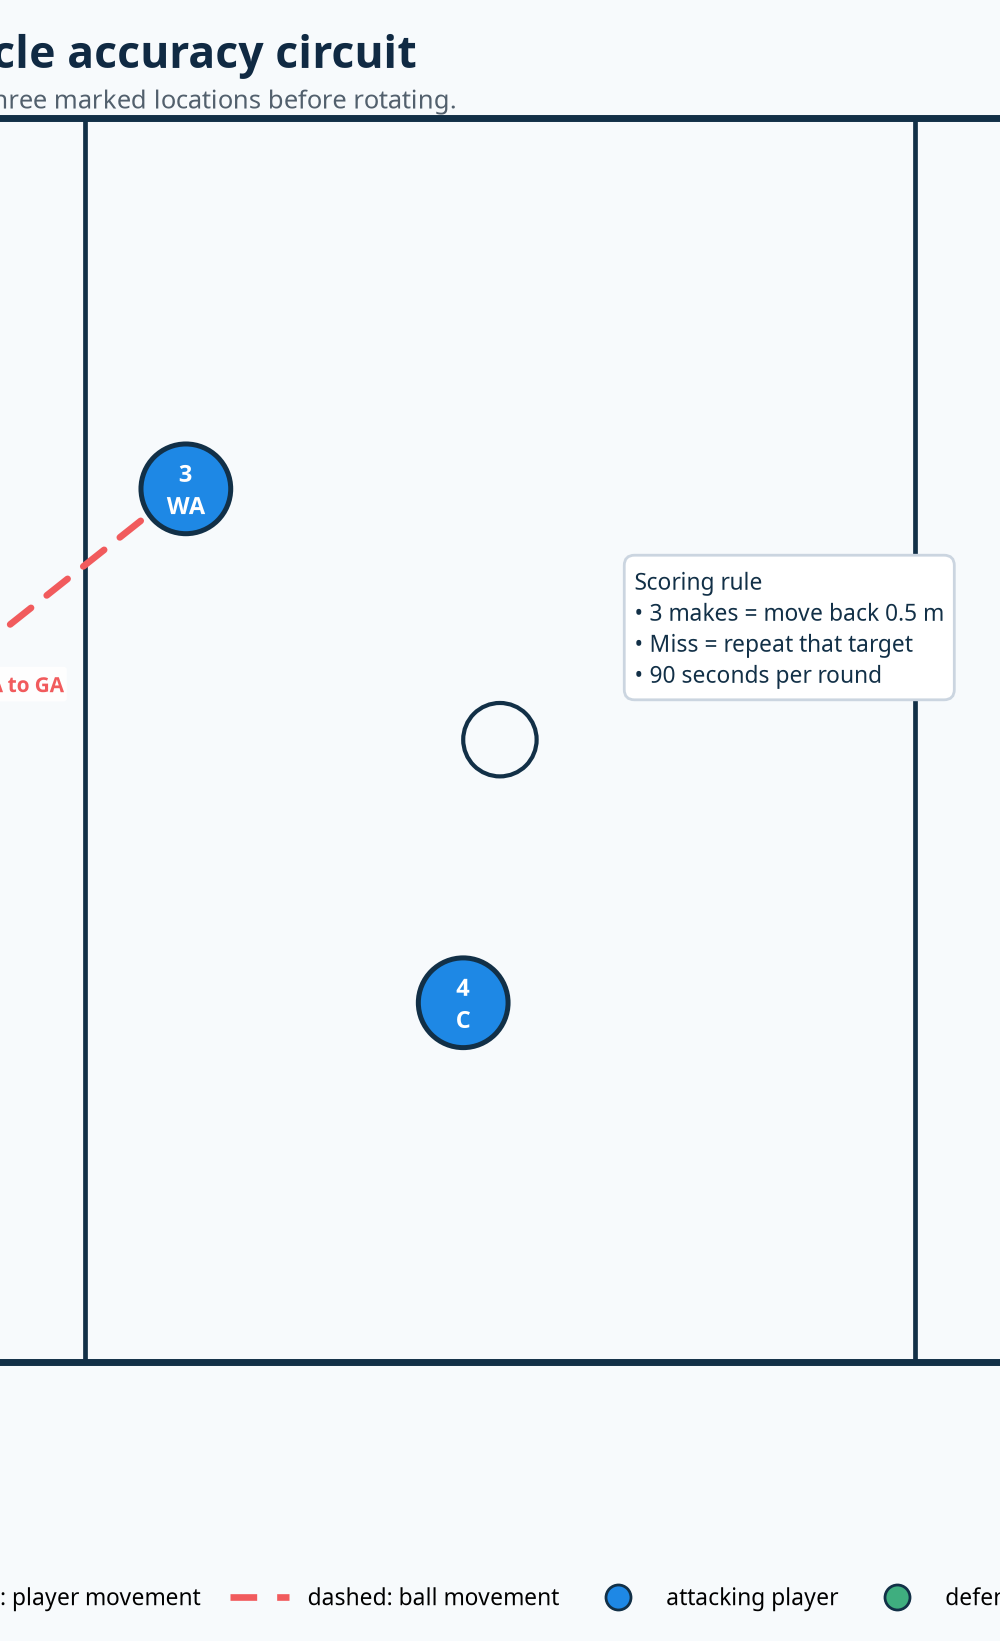
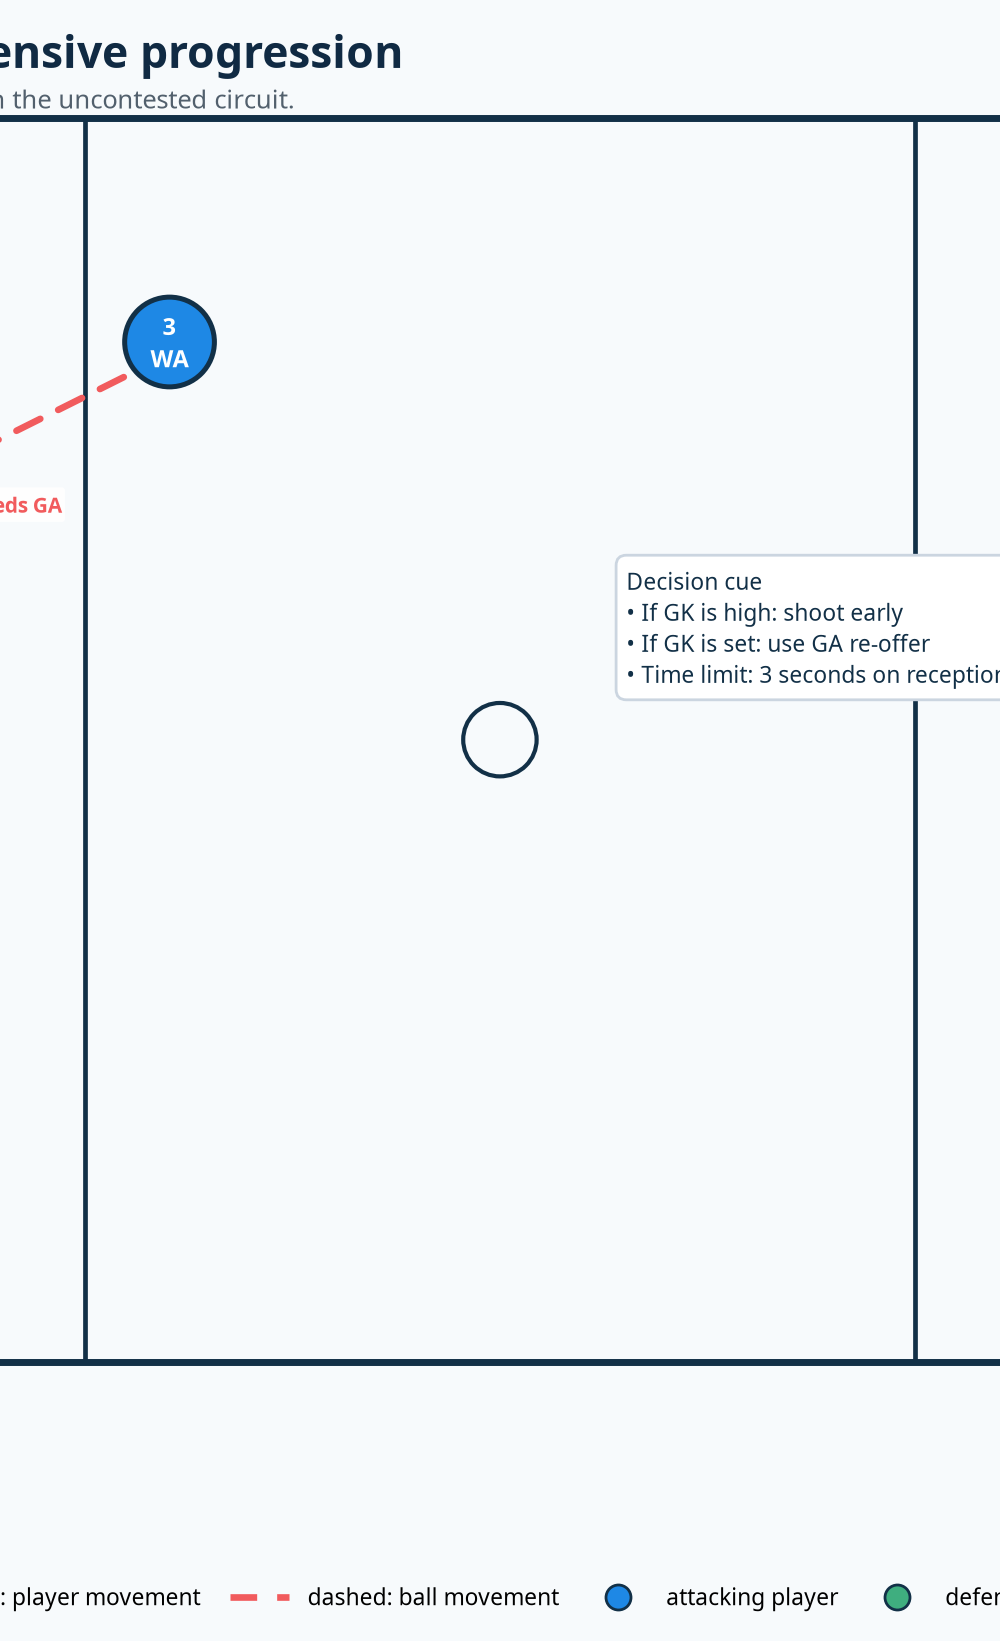
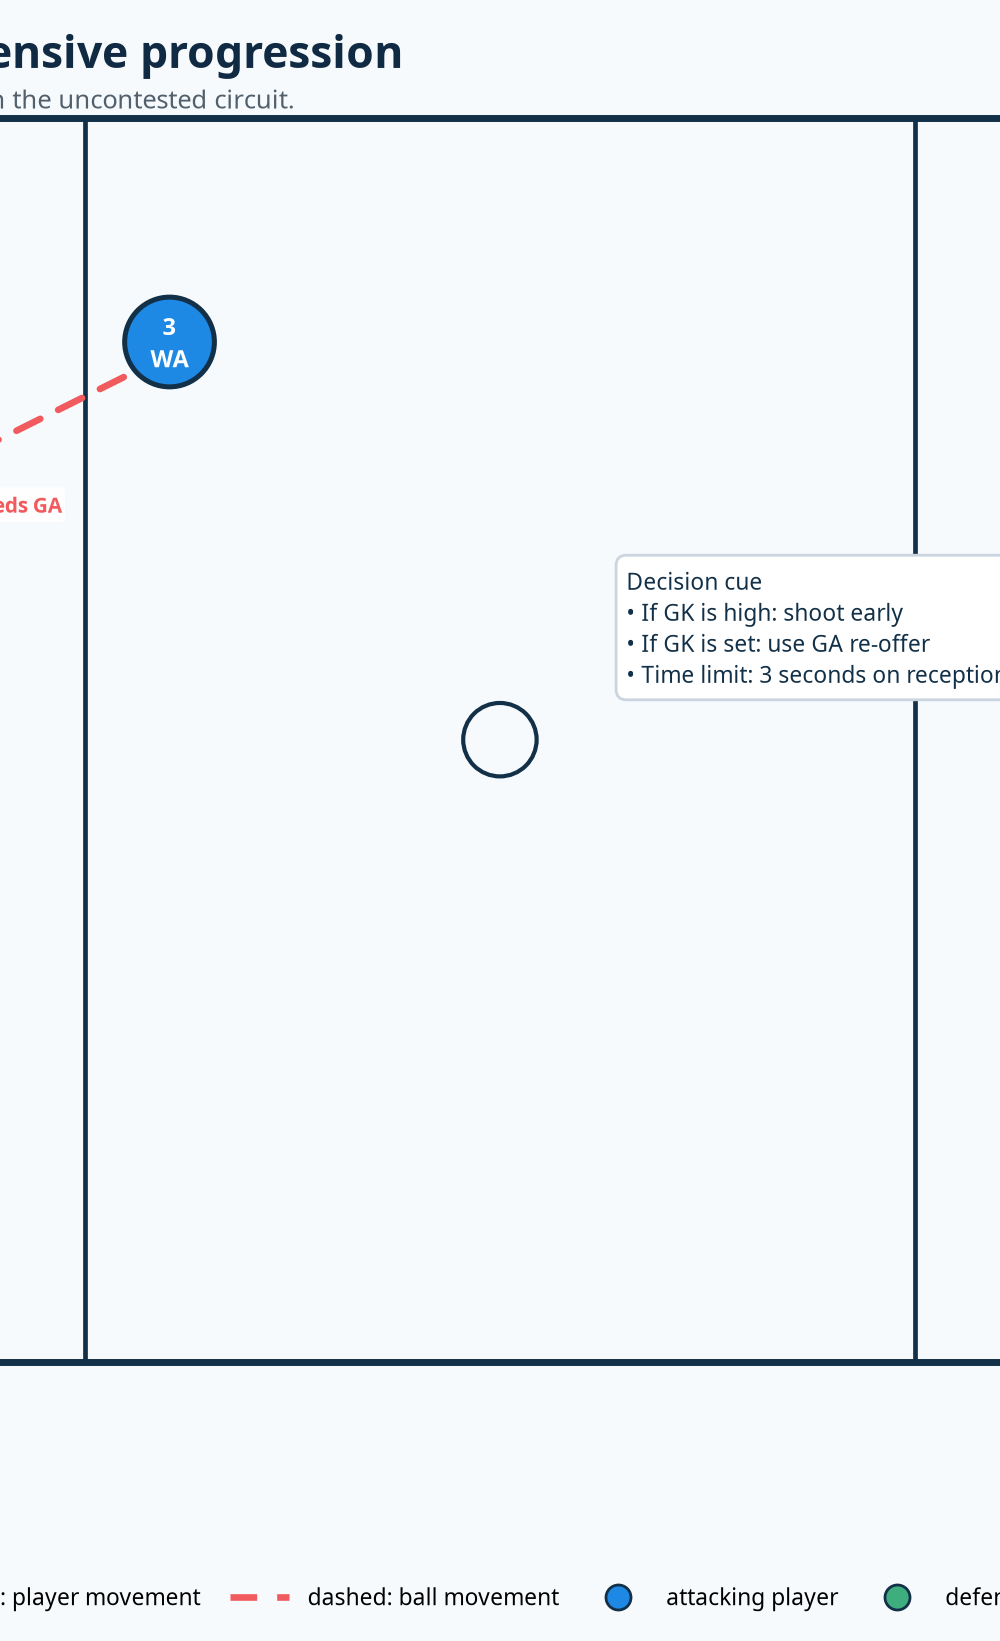
Start with the base circuit in Diagram 2. Reduce pressure by allowing GS to choose her favourite target after a miss, or by moving all three targets 0.5 m closer to the post. This is useful when the learning objective is landing stability rather than range.
For the first progression, make the feed live. Add GD (6) to shadow GA from 1.5 m away and require GA to create a fresh lane before delivery. The GS still shoots uncontested, but the ball now arrives from a more realistic picture. For the advanced progression, add GK (7) in the circle. GK begins 1.5 m from GS and may close to a legal 0.9 m obstruction distance once GS has caught the ball.2 Give GS three seconds to decide: shoot early if GK is high, or pass back to GA and re-offer if the contest is set. Count one point for a goal and one process point for a correct re-offer.
Age Adaptations
For Under 8, use a lowered or modified goal where available, place two targets 2.0–2.5 m from the post, and use a larger, softer ball if local policy permits. Eliminate the defender and score successful landing-and-hold actions as well as goals. Give players five shots before rotating so they can feel the pattern.
For Under 10, retain two or three targets at 2.5–3.0 m, but coach only one technique phrase for the whole block: “hands ready” or “hold the finish.” Use 60-second rounds and no live contest. For Under 12 and Under 14, run the full three-target circuit as written and introduce shadow GD plus target percentages. At Under 16 and Open level, use all three targets from 3.8–4.5 m, add a live GK, restrict the GS to three seconds, and demand a purposeful re-offer if the shot is not on.
Review and Measurement
Finish with each GS and GA naming one technical cue and reporting makes/attempts from left, front, and right. Next session, start at the lowest-percentage target and improve the process before increasing distance.

