Netball Technique
Footwork Landing Techniques to Prevent Injuries in Netball
Help young netball players land with more control, confidence and consistency. These practical coaching cues and drills build safer footwork habits that transfer directly into match play.
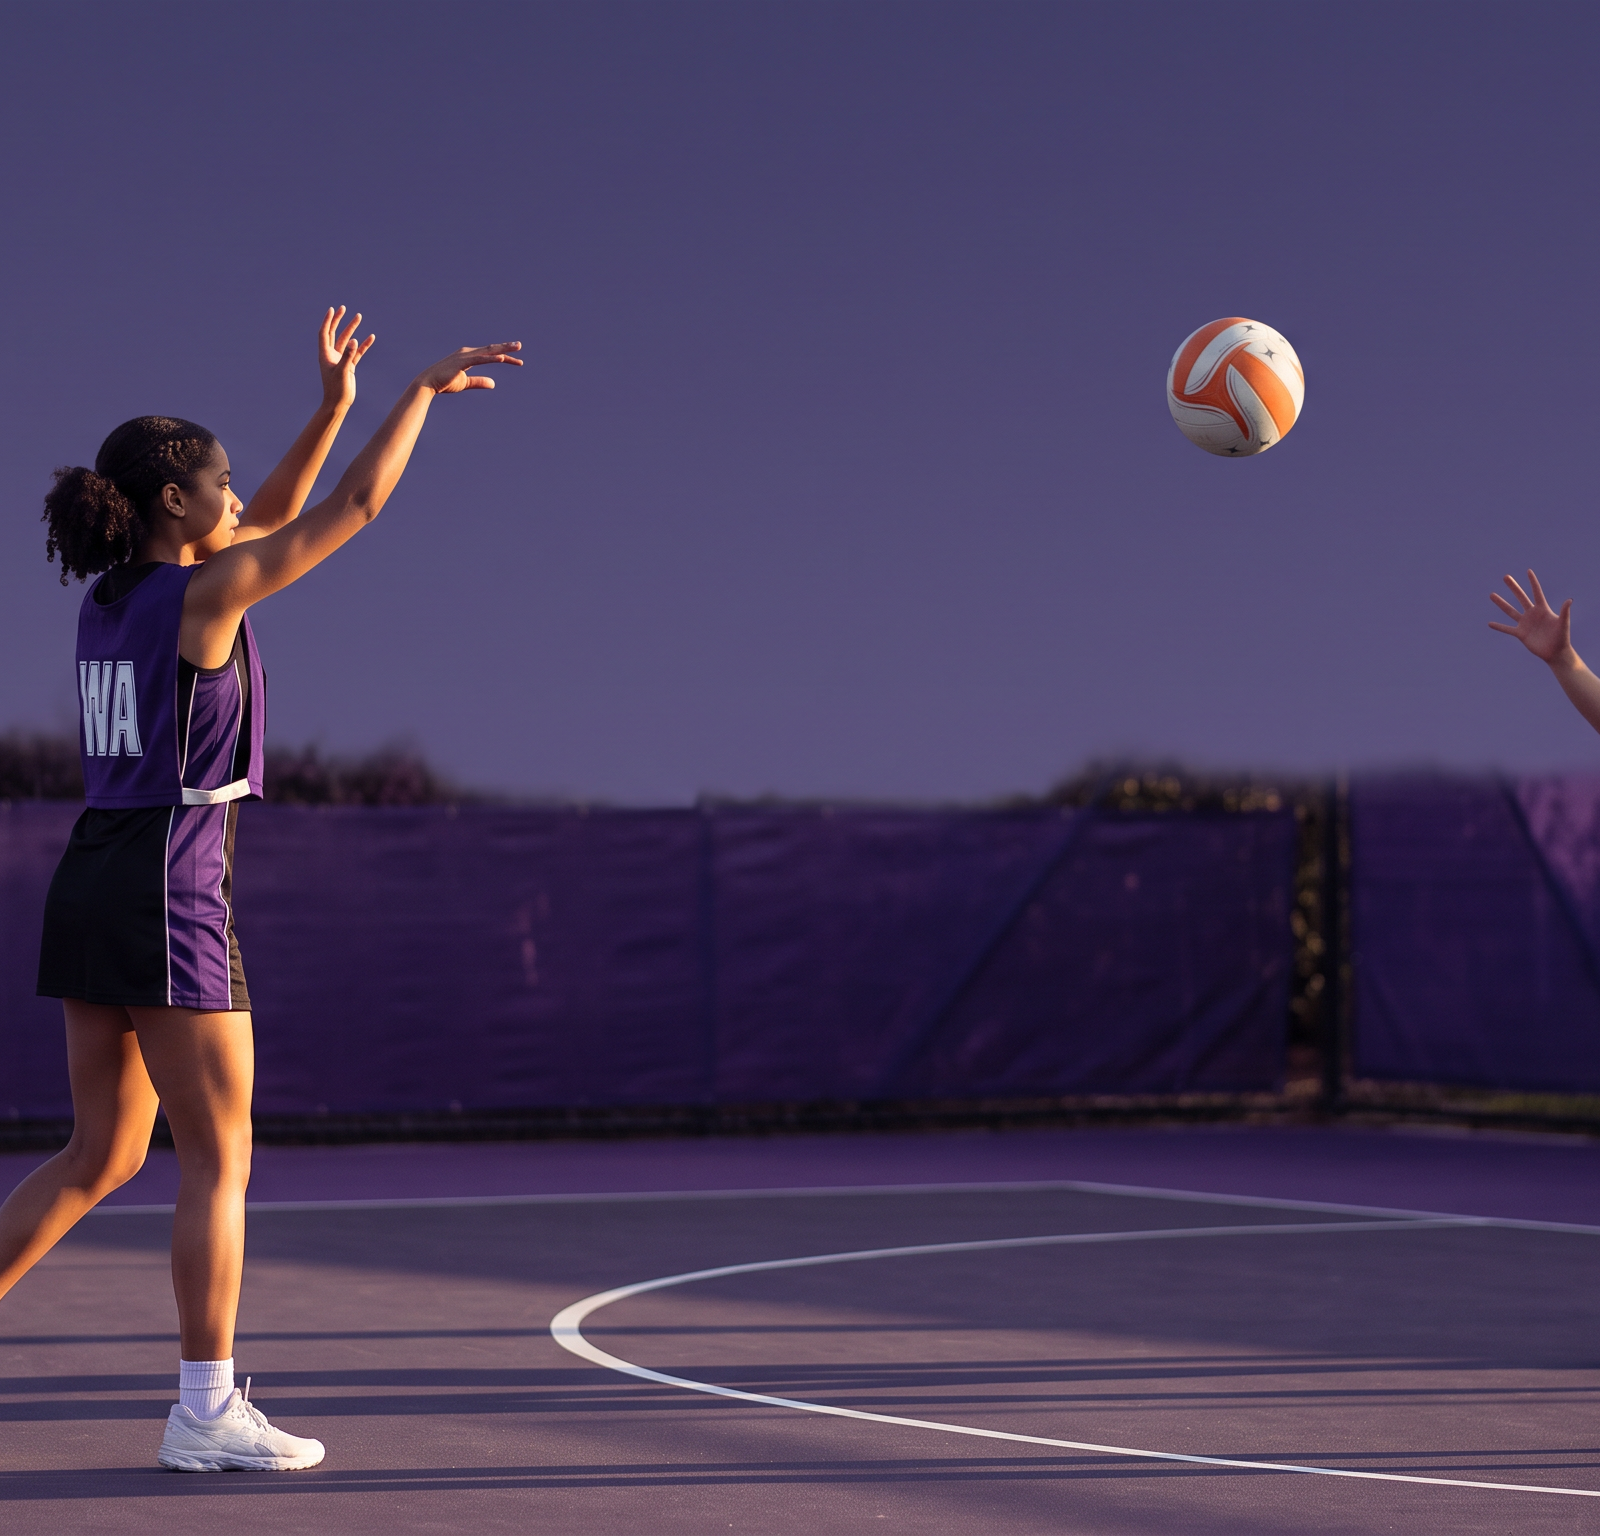
Landing is one of netball’s most repeated movements, yet it is often coached as an afterthought. Players jump for rebounds, receive passes under pressure, stop quickly and change direction in crowded spaces. Each moment asks the body to absorb force while remaining balanced enough for the next decision. Teaching reliable landing technique helps coaches reduce avoidable risk and gives young athletes confidence to play decisively.
The aim is not to make players fearful of jumping. It is to make a safe landing automatic. When athletes can catch, land, stabilise and scan without losing position, they are better placed to pass, pivot and defend. The framework below turns a complex skill into practical habits that can be reinforced in every session.
Why landing mechanics matter in netball
Netball involves frequent deceleration. A player may leap for an interception, land while catching, then establish a pivot foot instantly. If the feet, hips and trunk do not work together, force can be pushed into the ankle, knee or lower back. A single awkward landing may not cause an injury, but repeating poor movement patterns can increase the chance of problems over a season.
Young players deserve particularly careful coaching. Growth spurts can temporarily change coordination, limb length and confidence. Rather than labelling a player clumsy, give them simple, repeatable positions and low-pressure practice. Good landing mechanics are a performance skill first, with the added benefit of helping protect the body.
The landing position every coach should teach
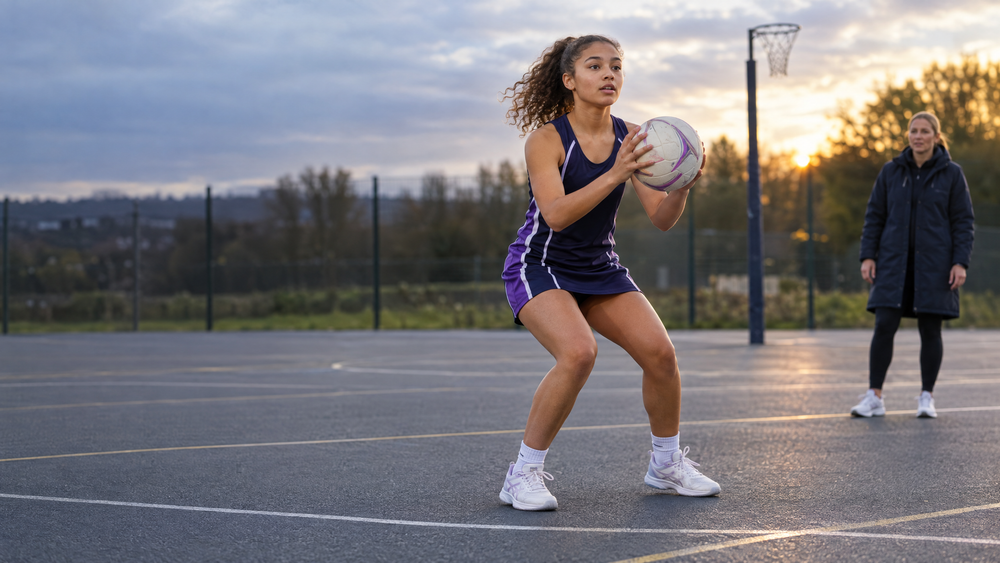
The best cues are short enough to use when a session is busy. Break the landing into visible behaviours players can feel and coaches can spot from the sideline.
Land softly and quietly
Ask players to land as quietly as possible. A noisy, stiff landing often shows that the body is not sharing force effectively. Encourage ankles, knees and hips to bend together on contact, as if the player is absorbing the floor rather than punching into it. The torso should be tall but not rigid, with the chest over the hips.
A two-foot landing is a useful foundation for younger athletes and early technical work. Feet should arrive roughly hip-width apart, with weight spread through the whole foot. Encourage a small bend at the knee and hip, then a brief pause before the next movement. This makes balance visible and stops players rushing through an unstable position.
Keep the knee tracking over the toes
From the front, the knee should follow the line of the middle toes. It need not be perfectly still, but it should not collapse markedly inwards on contact. Cue “knee over toes” or “show me your laces” rather than complicated anatomical language. Watch both legs, as players can look secure on one side while losing control on the other.
The foot should point towards the intended next action. If it turns sharply inward or outward, the knee may struggle to track cleanly. Use a mirror, phone video or coaching partner for quick feedback. The aim is a controlled, athletic shape, not a frozen squat.
Prepare the trunk, eyes and arms
Landing is not just a lower-body movement. Players should keep their head up, eyes scanning and arms ready to secure the ball or balance. A collapsing chest or wildly swinging arms can pull the body away from its base of support. Coach “land tall, bend low, look up”: stable torso, force absorption and awareness of the next pass.
Three practical drills to build safer footwork
1. Stick the landing: build body awareness
Set out small court squares or use existing netball markings. Players make a gentle vertical jump, land with two feet inside the square and hold their finish for three seconds. Start without a ball so the player can focus on quiet feet, soft knees and a level pelvis. Once the shape is secure, add a catch from a partner just before landing.
Coach from the front and side. Look for feet landing hip-width apart, knees tracking over toes, a soft hip-and-knee bend and a stable trunk. Use one cue at a time. Ask every player to listen for a quiet landing on the first round, then focus on the three-second hold on the second. Progress to a forward, diagonal or small lateral hop.
Practical tip: Do not increase jump height until players can repeatedly own the hold. Quality of control matters more than how high they leave the floor.
2. Cone-gate landings: teach alignment under direction
Create a short gate with two cones, wide enough for a player to land safely between them. Players begin a few metres away, jog in, receive a gentle pass and land in the gate before passing back. The gate gives a clear visual target without forcing the feet into an unnatural position.
Vary the entry angle so players practise approaching from the left, right and straight ahead. Ask them to stop for one beat, then pivot and pass. This adds netball-specific decision-making while preserving the landing standard. If the knee drifts inward, slow the drill, reduce approach speed and return to a simple catch-and-hold before reintroducing the pass.
Practical tip: Keep the cone gate generous at first. Narrowing it too quickly can make athletes chase the cones instead of landing in a balanced position.
3. Catch, land, scan: connect technique to match play
Place a feeder five to seven metres from the player and a coach or teammate in front holding a coloured bib. The player moves into space, catches, lands under control and calls out the bib colour before pivoting to a second passing option. The scan requirement stops athletes staring at their feet and links landing quality to their next decision.
Use a mix of two-foot and split-stance landings. For a split stance, teach the player to distribute weight through both legs, bend at both knees and keep the front knee aligned with the toes. The feet should feel stable enough to pivot without a desperate shuffle. Rotate the landing lead leg so players develop symmetry rather than always relying on a preferred side.
Practical tip: Give feedback after the rep, not while the player is in the air. A single cue such as “quiet and balanced” is more useful than a long list of corrections.
Progress skills before intensity
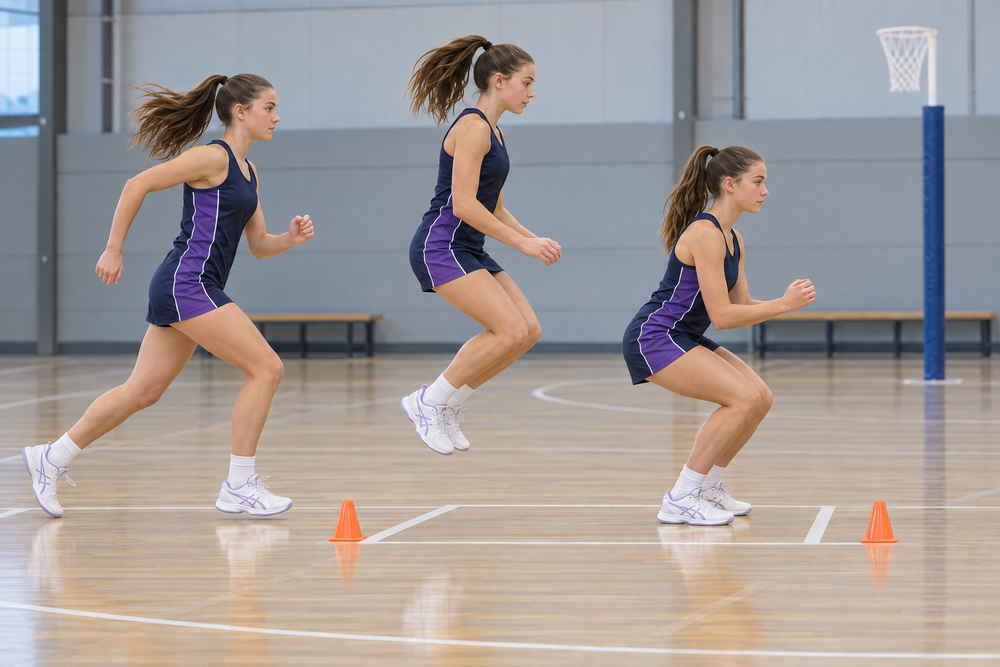
A safer progression starts with predictable movements and gradually introduces game demands. Begin with stationary jumps and catches. Move to forward and diagonal approaches. Add a passive defender, then a live defender only when players can maintain control without being rushed. Finally, include rebound work, contested catches and fatigue-based scenarios.
Change one variable at a time. If you increase speed, keep the pass predictable. If you introduce a defender, keep the landing target simple. This helps identify whether a breakdown comes from mechanics, timing, ball handling or decision-making. Build landings into warm-ups, not just a specialist injury-prevention block. Two minutes of quiet hops, stick holds and controlled catches before a technical session reinforces the message repeatedly.
Common landing errors and simple fixes
The most common error is a stiff, straight-legged landing. Reframe the correction as “absorb the ground” and demonstrate a small hip-and-knee bend. Another frequent issue is the knee falling inward. Reduce speed, use a visual target for the knee line and make the player hold the finish long enough to feel the correction.
Players may also land with feet too close together, lose balance backwards or rush into an extra step before they are stable. Strip away pressure: remove the ball, shorten the distance and use a stable two-foot hold. Rebuild complexity only when the player can repeat the movement well. Any player reporting pain, swelling, giving way or persistent discomfort should stop the drill and be assessed through the club’s appropriate welfare and clinical process.
Make safer landings a whole-club habit
Consistent coaching language matters. Agree simple phrases across age groups, such as “quiet feet”, “knee over toes” and “land, hold, scan”. When every coach reinforces the same standard, players do not have to relearn the skill as they progress through the club. It also helps guardians understand why a session may spend time on basic movement before game play.
For youth sports programmes, organisation supports good coaching. Vanta Sports brings Club, Coach, Guardian and Player apps together so coaches can plan sessions, share drill expectations, keep families informed and give players a clearer view of their development. Use it to distribute a short landing checklist before training, record the focus of each practice and communicate simple at-home balance work. Better systems leave more attention for observing movement, giving useful feedback and helping every player improve.
Ready to Take Your Training to the Next Level?
Discover how Vanta Sports helps coaches run better practices. Learn more about Vanta Sports
Tags