

Rugby
Ruck Clear-Out and Clean-Out Drill
Master the art of the clear-out with this progressive drill that teaches players to dominate the contact area, secure possession, and build quick ruck ball for attacking play.

What you need
Cones, Balls, Tackle bags
Setup
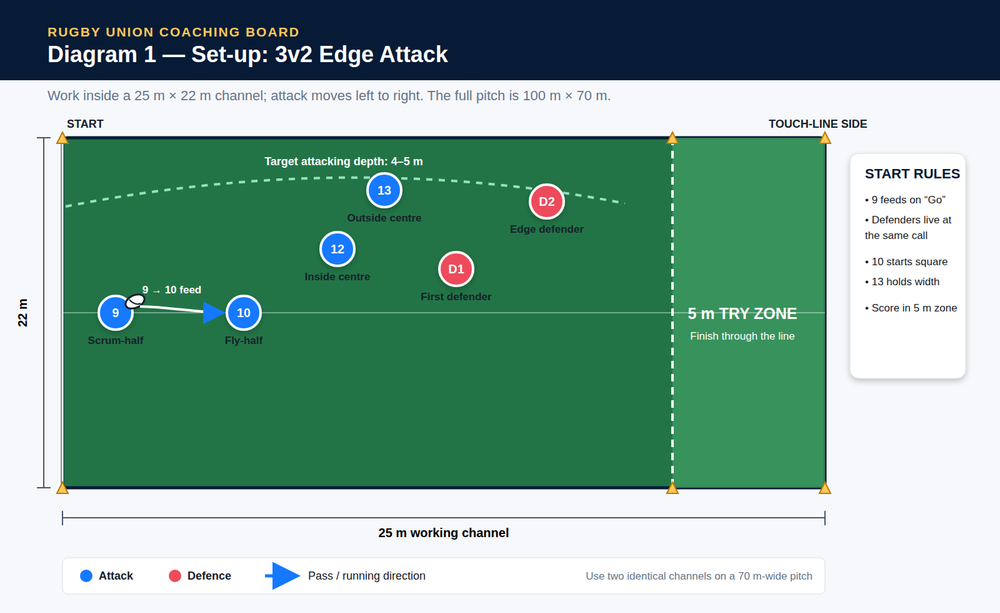
- Area: Set up a 15m x 10m grid using cones.
- Players: 8 players (minimum). Divide into two groups of 4. If you have more players, create multiple stations or rotate groups.
- Equipment: 1 rugby ball per group, 4-6 cones, 2 tackle bags (or hit shields) if available.
- Formation:
- Place a tackle bag (or a coach holding a shield) at one end of the grid as the "ruck pad."
- Have one player (the "tackled player") lie on the ground with the ball, simulating a tackled player. The ball should be placed back towards their team.
- Two attackers stand 5m away, facing the ruck pad.
- One defender (or coach with shield) stands 3m beyond the ruck pad, acting as the opposition jackal or counter-rucker.
- The remaining players wait in a queue at the side.
Step-by-Step Instructions
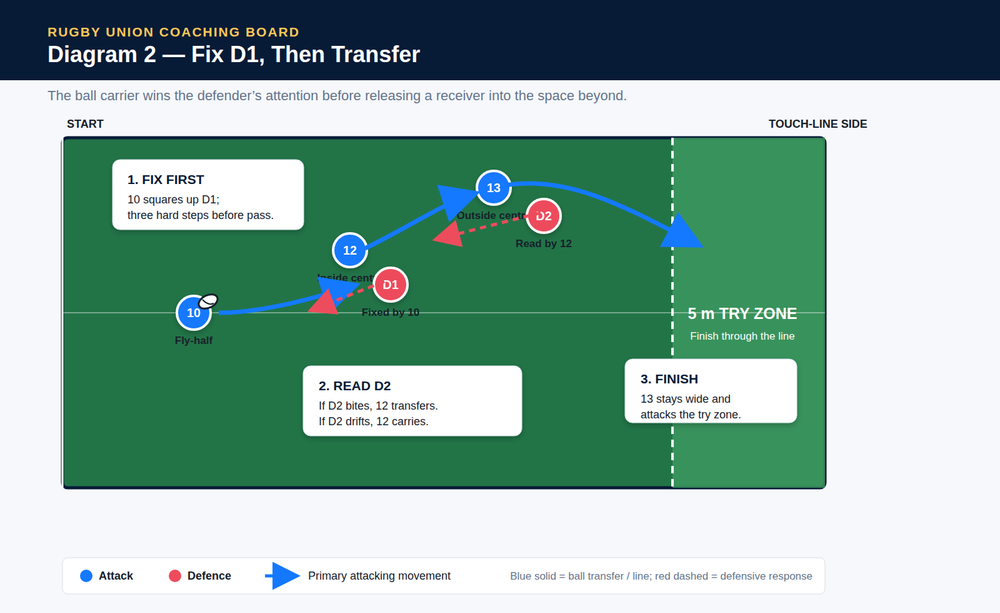
- Set the scene: The coach calls "Ruck!" The first attacker (clearer) sprints towards the tackled player and the ruck pad.
- Approach and bind: The clearer approaches the ruck pad low and fast. They bind onto the pad (or shield) with a strong grip, driving their shoulder into the contact area. Their feet should be active, driving forward.
- Clear-out: The clearer drives the pad (or defender) backwards and to the side, away from the ball. They must stay on their feet and maintain a strong, low body position.
- Secure the ball: The second attacker (scrum-half or supporting player) follows immediately, picks up the ball from the tackled player, and passes to the next player in line (or to a designated receiver).
- Reset: After the pass, the tackled player gets up and joins the back of the queue. The clearer becomes the new tackled player (or rotates to the queue). The defender resets.
- Repeat: The next group of two attackers starts. Continue for 8-10 repetitions per group, then rotate roles.
Coaching progression:
- Start with a static pad to teach technique.
- Progress to a live defender (50% resistance) to add realism.
- Finally, allow full contest at the breakdown.
Coaching Points
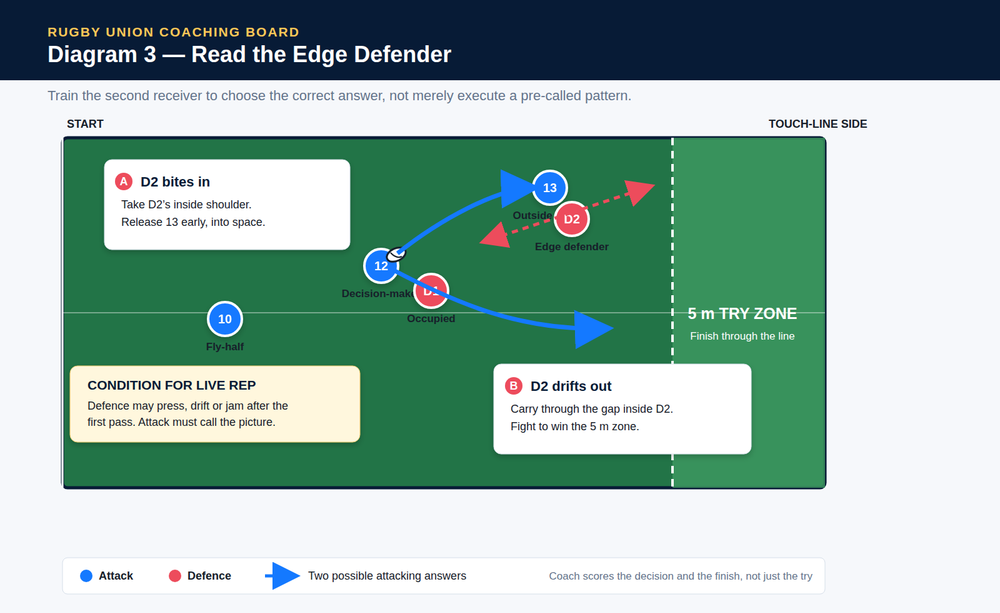
- Low body height: Get low before contact. Bend at the knees and hips, not the waist. Keep the back flat and head up.
- Footwork: Take short, powerful steps into contact. Do not dive or lunge. Drive through the target with your legs.
- Binding: Bind tightly onto the opposition player or pad. Use a strong grip with the arms and drive with the shoulder.
- Body position: Stay square and drive through the middle of the target. Do not clear out from the side, as this is illegal and ineffective.
- Leg drive: Continue driving with your legs after contact. The clear-out is not a one-time push; it's a continuous drive until the threat is removed.
- Communication: The clearer should call "Clear!" or "Mine!" to signal their intent. The supporting player should communicate "Ball!" to indicate they are securing possession.
- Safety: Ensure players keep their heads up and avoid leading with the head. Emphasise safe technique at all times.
Common Mistakes
- Standing too tall: Players approach upright, making it easy for the defender to hold them off or counter-ruck. Remind them to get low early.
- Diving at the legs: Diving at the legs is illegal and dangerous. It also fails to remove the threat effectively. Coach players to drive through the target.
- Not binding: Players who fail to bind properly can be penalised for dangerous play. Emphasise a strong, legal bind.
- Clearing out from the side: This is illegal (entering from the side) and can result in a penalty. Coach players to approach through the gate (from their own side).
- Stopping feet on contact: Players who stop moving their feet allow the defender to regain balance. Encourage continuous leg drive.
- Ignoring the ball: The clear-out is only successful if the ball is secured. The supporting player must be ready to pick up the ball immediately.
- Overcommitting: Sometimes one clear-out is enough. Players should not pile in unnecessarily and leave their team short in the defensive line.
Progressions & Variations
- Progression 1: Live Defender: Replace the pad with a live defender who offers 50% resistance. This adds realism and teaches the clearer to adapt to movement.
- Progression 2: Two Defenders: Add a second defender (jackal) who tries to steal the ball. The clearer must clear out both, or the supporting player must secure the ball quickly.
- Progression 3: Full Contest: Allow full contest at the breakdown. The defence can counter-ruck, and the attack must secure possession. This simulates match conditions.
- Variation 1: Wide Ruck: Set up the drill near the touchline to simulate a wide ruck. This challenges players to clear out in less space and with different angles.
- Variation 2: Multiple Rucks: Set up two ruck pads in a line. The attackers must clear out the first, then immediately move to the second. This develops fitness and decision-making.
- Variation 3: Time Pressure: Use a stopwatch to time how quickly the team can secure the ball and pass away. This encourages speed and efficiency.
- Variation 4: Small-Sided Game: Finish with a 4v4 or 5v5 game where the focus is on effective rucking and quick ball. Award bonus points for quick ruck ball.
