Drills & Plays
Expert coaching drills and set plays with tactical diagrams, step-by-step instructions, and coaching tips
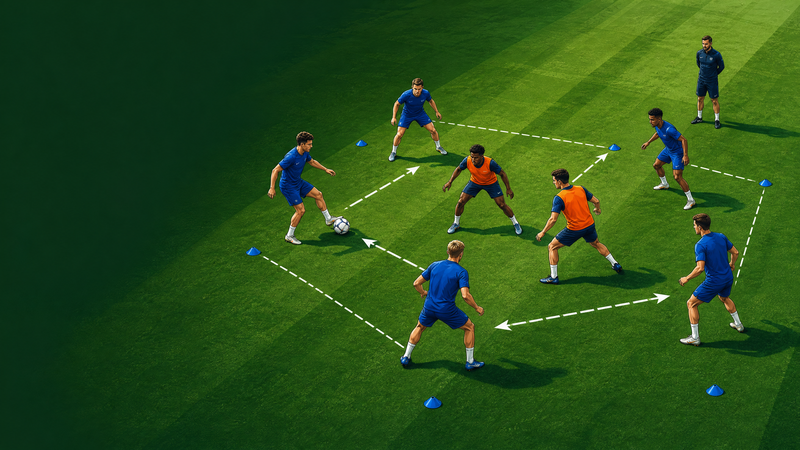
6v2 Rondo Passing and Possession Drill: Receive, Fix and Play Away
Run a sharp, repeatable 6v2 rondo that teaches players to create angles, receive side-on, draw pressure and move the ball beyond it.
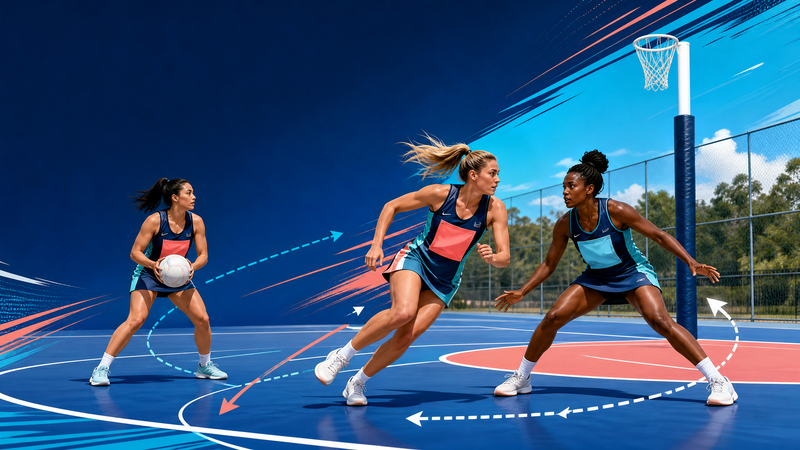
Netball Dodging and Leading: Create Separation, Then Attack Space
A progressive three-player Netball drill that teaches attackers to sell a dodge, break into space and receive a well-timed pass under realistic defensive pressure.
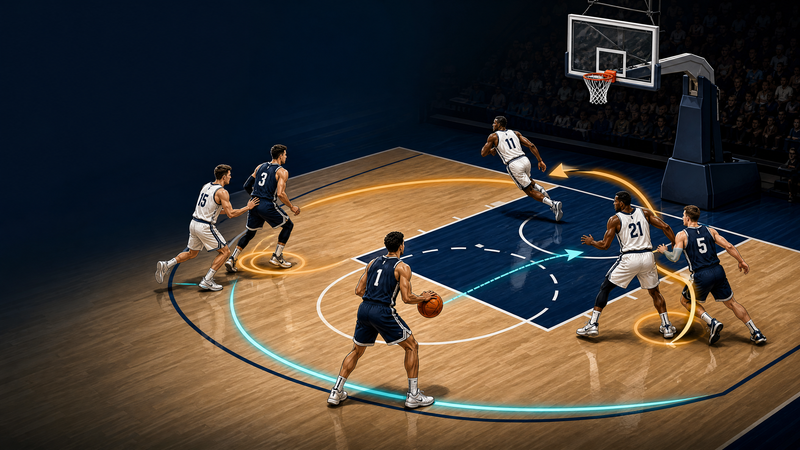
Flex Offense Continuity: Baseline Cut and Down-Screen Series
Install a repeatable 4-out, 1-in Flex continuity that creates a baseline layup first, an open wing jumper second, and a disciplined next-side re-entry every possession.
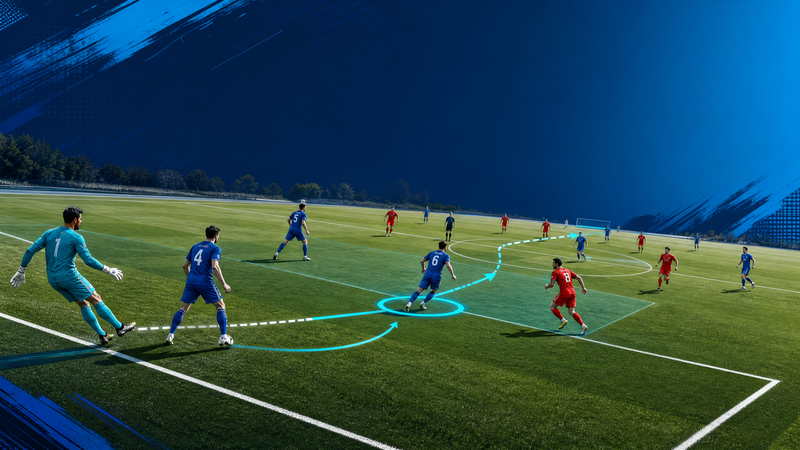
Build-Up from the Back: Beat the High Press with a 4-3-3 Structure
Coach a clear 4-3-3 build-up structure that helps players create width, free the number 6, and play through or around an organised high press.

Forward Pod Play with Late Offload Option
A session-ready forward-pod pattern that helps coaches create gainline momentum, challenge the guard-defender pair, and release a safe late offload into the next attacking wave.

Dodge, Lead and Re-offer: A Netball Timing Drill for WA, C and GA
A progressive 22-minute attacking drill that teaches WA, C and GA to create separation, time a lead and re-offer safely against live pressure.
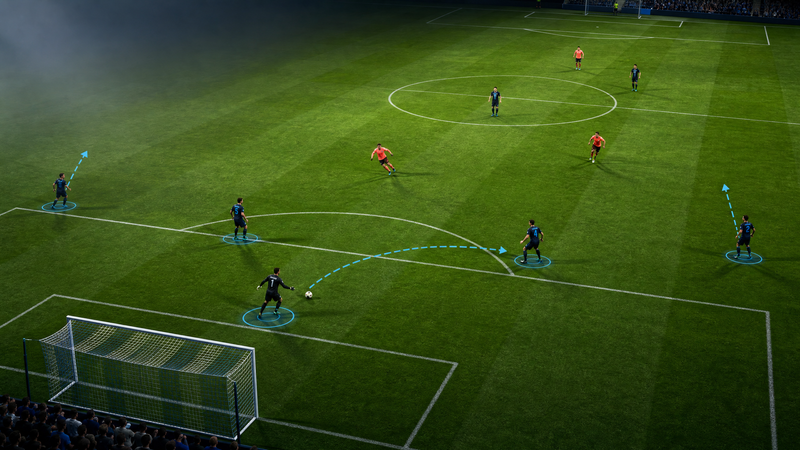
Build-Up From the Back: Creating a 3+2 Platform and Playing Through the First Press
A coach-ready 11v6 set play that teaches a goalkeeper-led 3+2 build-up, how to draw the first press, and how to exit through a third-player combination.

Powerplay Field-Setting Play: Attacking Off-Side Squeeze
A match-ready powerplay field plan that helps coaches build pressure outside off stump, protect two boundary channels, and rehearse every fielder’s movement on release.

Hawk: Middle-Pod Lineout Steal on Opposition Throw
Teach a legal, repeatable middle-pod lineout steal that wins opposition ball and immediately converts it into organised attacking possession.

Netball Dodging & Leading Drill: Clear, Front-Cut, and Drive
A game-realistic attacking drill that teaches C, WA, and GA to create separation, time the feed, and link a circle-edge entry under pressure.

Build-Up From the Back: 4-3-3 Press-Resistant Exit
Teach your 4-3-3 to use the goalkeeper, stretch the first press, and break into midfield with clear positional and timing cues.
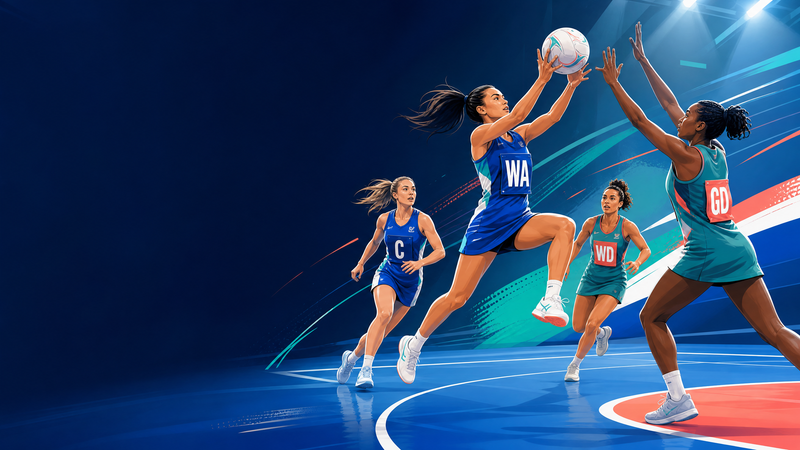
Penalty Pass Advantage: Wide Release to Circle Split
A coach-ready attacking-third set play that turns a penalty pass into a controlled wide release, a two-option circle split, and a disciplined scoring chance.
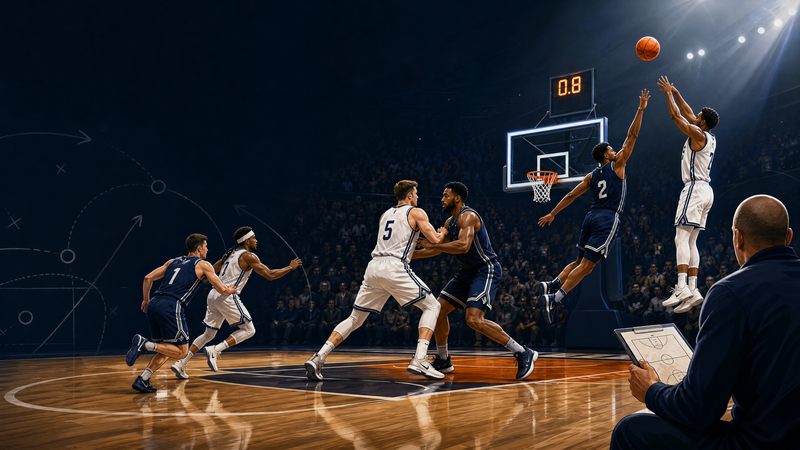
SLOB Box Flare: End-of-Game Buzzer Beater for a Right-Wing Three
Install a timed baseline-out-of-bounds action that creates a right-wing buzzer-beater while preserving an immediate rim counter.

Goal Circle Shooting Accuracy Circuit: Feed, Set and Finish
A progressive, coach-ready Netball shooting circuit that builds balanced landings, consistent release mechanics, and smarter goal-circle decisions from three purposeful targets.
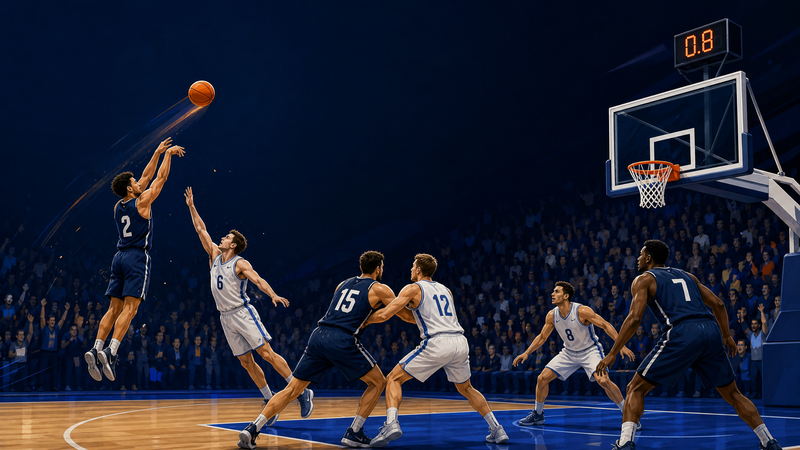
BLOB Corner Lift: 2.5-Second Basketball Buzzer-Beater Set Play
Teach a repeatable 2.5-second baseline inbound that frees your best shooter for a wing three while preserving an immediate safety valve.

Quick Advantage: A Three-Player Throw-In to Break the Press
Coach a fast, repeatable three-player throw-in routine that creates a 3v2, releases the full-back into the exit channel, and protects against the counterattack.

Rugby Union Scrum Blindside Attack: 6-Peel to Wing Finish
Teach a reliable short-side scrum strike in which the blindside flanker peels off No. 9, reads the inside defender, and either carries through the front door or releases the wing into the 2m channel.

SLOB Elevator: End-of-Game Buzzer-Beater Package (4.8 Seconds)
Teach a reliable sideline-out-of-bounds Elevator action that frees your best shooter for a late-game catch-and-shoot, with a built-in rim counter against top-locking or switching defenses.

Football Free Kick Wall Manipulation and Far-Post Delivery Play
Coach a legal, repeatable direct free-kick routine that fixes the wall, times delayed runs, and delivers a high-quality far-post chance.

Rugby Own-22 Exit 1: Screen, Clear and Chase
A session-ready Rugby Union exit strategy that teaches your team to turn stable own-22 ruck ball into territory, pressure, and a connected chase.

Running Between the Wickets: Call, Commit and Turn Drill
A progressive, game-relevant running drill that teaches batters to make early calls, finish safely through the crease and convert a clean single into a sharp second run.
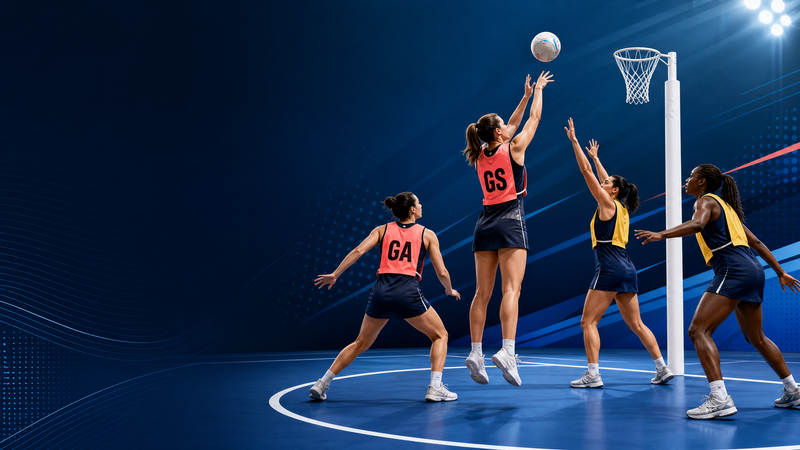
Goal Circle Shooting Accuracy: Three-Spot Set-and-Shoot Circuit
A progressive, game-relevant shooting circuit that sharpens a GS and GA’s footwork, balance and scoring confidence from three repeatable goal-circle spots.

Post Moves & Footwork: Catch, Read, Finish Drill
A repeatable 20-minute post-development drill that teaches the 5 to establish position, read pressure, and finish with a decisive baseline or middle move.

Penalty-Box Movement Play for Crosses: Near-Post Decoy, Late Arrival and Far-Post Finish
Teach your forwards to create three distinct finishing lanes from a wide cross through disciplined timing, decoy movement and a secure second-phase structure.

Half-Court Trap Press: Sideline Funnel, First-Pass Rotation & Recovery
Teach your team to funnel the ball into a controlled sideline trap, steal the first release pass, and recover into a disciplined half-court defence.

Crossing & Finishing Drill: Overlap, Three Runs, One Decisive Finish
Coach a decisive wide overload, three coordinated box runs and purposeful first-time finishing in one match-realistic attacking practice.

Death Overs Bowling Plan: Yorker Fence and Pace-Off Chase
A coach-ready final-overs plan that links ball-by-ball intent to a disciplined 11-player field, giving bowlers clear yorker and pace-off options under pressure.

Own 22 Exit: Screen to 15, Contestable Clearance and Counter-Punch
Build a calm, repeatable exit from your own 22 that gives the fly-half three clear answers: clearance, contestable kick, or an edge counter-punch.

Gate-to-Drive: Ruck Clear-Out & Clean-Out Continuity Drill
A progressive, coach-ready ruck drill that teaches players to identify the threat, enter legally, clear with purpose, and play the next phase at speed.

Slot Pick-and-Roll Execution: Screen, Pocket Pass & Corner Read
A progressive half-court teaching drill that gives guards and screeners the timing, spacing, and reads to execute a clean slot pick-and-roll against drop coverage.
Showing 30 of 30 drills