Drills & Plays
Expert coaching drills and set plays with tactical diagrams, step-by-step instructions, and coaching tips

T20 Innings Acceleration: 14–20 Over Set Play
A coach-ready 24-ball set play that teaches batting pairs to turn overs 14–20 into controlled boundaries, hard-run twos and smarter strike rotation.

Rugby Defensive Line Speed & Alignment: The Launch–Connect–Reload Drill
Build a faster, connected defensive wall by coaching the launch, the inside-out alignment, and the three-second reload after contact.

1–3–1 Zone Offense: High-Post Overload and Baseline Runner
Teach your team to crack a 1–3–1 zone with a decisive high-post touch, a late baseline runner, and an inside-out skip read.

Middle-Overs Run Chase: Rotation, Pressure and the Two-Run Squeeze
Coach a batting pair to turn middle overs into controlled momentum through decisive calling, soft-hand placement and repeatable one-to-two running patterns.

Scrum Blindside Zip: One-Pass Edge Attack
Coach a fast, repeatable blindside scrum strike that uses a flat wing line, a square decoy and immediate inside support to win the narrow channel.

Netball Zone Defence Set-up Play: 2–3–2 Canopy and Sideline Funnel
Coach a connected 2–3–2 zone that funnels the first wide pass, steals the next option, and turns the intercept into a composed counterattack.

1-3-1 Zone Offense: Baseline Runner and High-Post Flash
Install a decisive 1-3-1 zone offense that creates a nail catch, frees the baseline runner, and teaches your players to finish high-low or punish the weak-side shift.

Defensive Heading & Clearing: 4v3 Box-Dominance Drill
Build confident, coordinated aerial defending by coaching players to attack the first ball, clear it away from danger, and win the second contact under game-realistic pressure.

Wide-Overlap Lineout: Fix-and-Release to the Open-Side Wing
A coach-ready lineout launch that turns a clean five-man catch into a fast, connected wide overlap and a clear finish for the open-side wing.

Horns Lift 3: A Timed Three-Point Set Play from the FIBA Horns Alignment
Install a clean Horns action that uses a ball screen, weak-side lift, and skip-pass read to create a balanced catch-and-shoot three for your 2 guard.
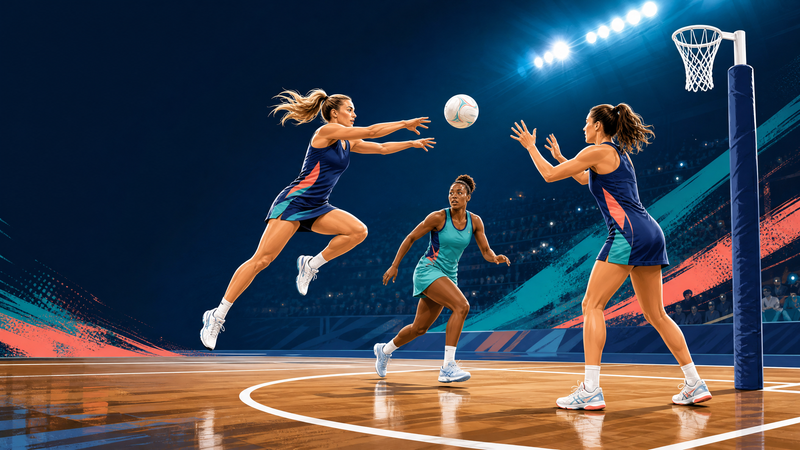
Circle Edge Rotation: A Timed GA–GS Finish for the Attacking Third
Teach a clean, timed circle-edge rotation that clears the Goal Attack, releases the Goal Shooter’s front cut, and creates a high-percentage shot before the defence can reset.

Horns Flare: Create a Top-Slot Three-Pointer
Teach a precise Horns elbow-entry and flare-screen sequence that creates a clean top-slot three, with built-in counters for closeouts and switches.

Goal-Kick Build-Up: Create the First Free Player and Play Through the Press
Coach a repeatable 11v11 goal-kick structure that creates a free first receiver, uses the No. 6 as a release player, and switches away from an aggressive press.

Repeatable Free-Throw Shooting Routine: Build the “Same Every Time” Habit
A coach-ready, 20-minute free-throw routine that builds repeatable mechanics, fast feedback, and calm execution under pressure.

Counter-Pressing After Loss: The Three-Second Regain Play
Teach your team to react as one after a turnover, win the ball back in the first three seconds, and turn the regain into an immediate scoring action.

Cricket Death Overs Bowling Plan: Yorker, Wide Yorker & Pace-Off Sequence
A coach-ready six-ball death-overs plan that aligns yorker execution, field placement, pace variation and clear team communication to defend the boundary under pressure.
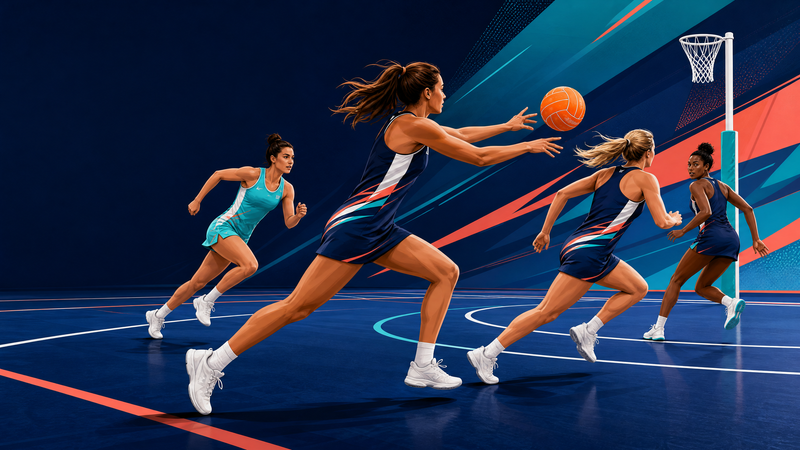
Penalty Pass Advantage Play: Inside WA Release to Circle Entry
Coach a repeatable penalty-pass pattern that uses the infringer’s temporary exclusion to free WA inside, create a clean second pass to GA, and feed GS goal-side.

Hammer Cross: Sideline Inbound Play Against Man-to-Man
Teach a reliable sideline inbound sequence that creates a front-rim layup, a switch counter, and a safe perimeter release against man-to-man pressure.

Goalkeeper Shot-Stopping: Set, Save, Recover
A progressive, match-relevant goalkeeper practice that sharpens set position, low-corner diving technique, rebound control, and recovery for a second shot.

Forward Pod Play with Offload Option: Win the Seam, Release the Back Door
A coach-ready attacking pattern that teaches a three-forward pod to win the gain-line seam, make a disciplined offload decision, and reload quickly when the release is not on.

1–2–2 Full-Court Press Break: Inbound, Middle Flash & Advance
Teach a dependable 1–2–2 press break that creates a safe middle outlet, beats the first trap, and converts full-court pressure into an organised attack.

Quick Advantage Throw-In: Set, Bounce and Break
Coach a fast, repeatable right-touchline throw-in that creates a third-man receiver beyond the first line of pressure.

Rugby Union Penalty Corner Attack: Tap–Sweep Edge Play
A coach-ready tap-penalty pattern that uses a hard midfield decoy and a sweeping fullback to create a high-quality edge decision close to the try line.

Defensive Closeout and Recovery: Nail-to-Wing Skip-Pass Drill
Teach defenders to close out under control from help position, recover through the paint on a skip pass, and finish each possession with a disciplined contest.

Right-Sided Crossing & Finishing: Three-Run Final-Third Drill
Build match-ready wide combinations, targeted crossing decisions, and staggered finishing runs with a practical final-third pattern coaches can deliver immediately.

First-Phase Backs: 13-Edge Launch From Ruck
A coach-ready first-phase ruck play that uses a hard 12 decoy and a square 13 to put the wing into space without sacrificing the direct carry.

4v4 Transition Game: Win It, Break It, Protect It
A high-tempo 4v4 directional game that teaches players to counterpress on loss, attack decisively on regain, and maintain compact support around every transition.

Four-Man Lift-to-Launch Lineout Set-Piece Drill
Build a dependable four-man lineout that wins a clean No. 4 take, connects immediately with No. 9, and launches the first attacking wave before the defence can set.

Fast Break Centre Pass: Wide Release to Circle-Edge Finish
Teach your midcourt to turn a centre pass into a three-pass, high-tempo entry that reaches the shooting circle before the defensive unit can set.
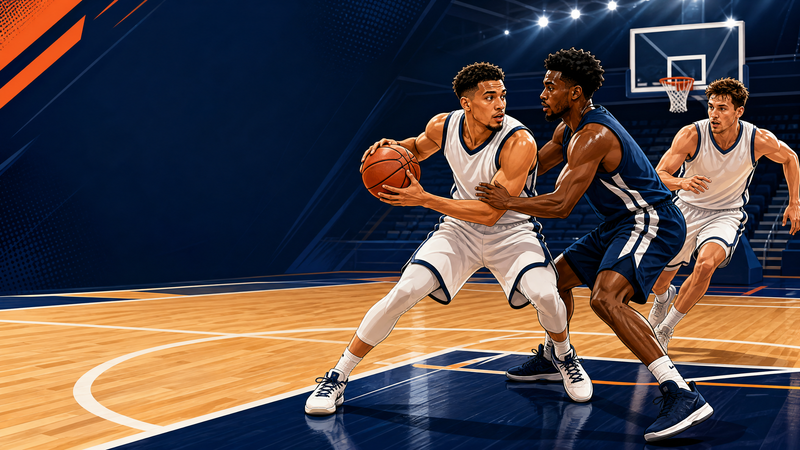
Pressure Window Passing: Accuracy Under Live Ball Pressure
A progressive half-court passing drill that teaches players to protect the ball, create a passing window, and deliver on-target passes while defenders apply real pressure.
Showing 30 of 30 drills